
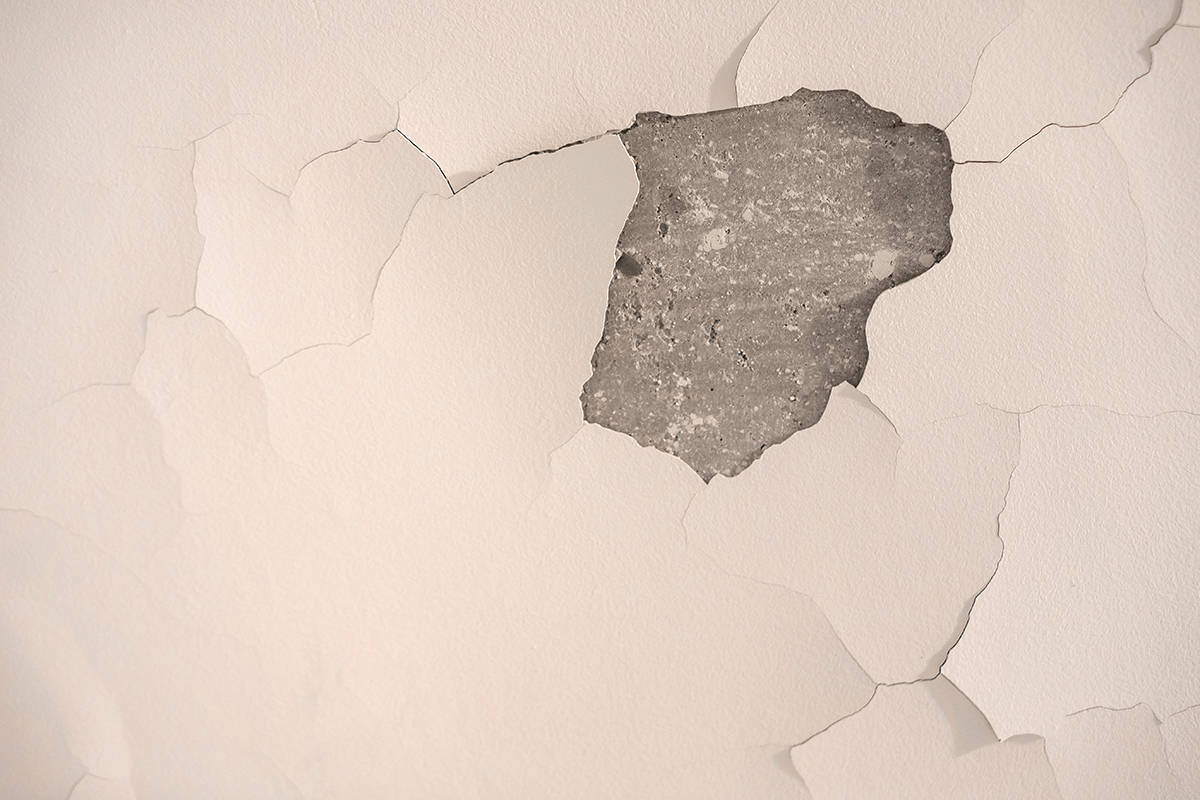
Ceiling cracks are a common problem in older homes. They may be caused by various factors, including settling foundations and poor construction. However, cracks in the ceiling are not always a sign of foundation problems.
This article will tell you about types of ceiling cracks and what they mean.
Table of Contents
- Ceiling Cracks Caused by Settling Foundations
- Stress Cracks
- Hairline Cracks
- Sheetrock Cracks
- Stair-Step Cracks
- Corner Cracks
- How to Fix Ceiling Cracks
- Inspect the area around the crack
- Test the ceiling texture to determine if it is dry
- Clean the area around the crack and remove any debris.
- Apply a primer for good adhesion of the paint
- Wait for the primer to dry
- Apply drywall compound
- Sand off any uneven areas of the drywall compound with a sanding block
- Apply a second layer of compound over the crack and allow it to dry
- Sand again
- Paint
Ceiling Cracks Caused by Settling Foundations
If your home has settled beyond its foundation, this can cause cracks to form on the walls and, of course, in other places inside your home, such as ceilings.
As the floor sinks lower than it should be relative to its foundation, you’ll see cracks develop along any lines that were once parallel with one another (such as where two pieces of drywall meet).
This type of cracking isn’t usually serious unless it’s accompanied by significant shifting or cracking sounds coming from underneath your feet when walking across certain areas of your house; if this happens, then you might have some serious structural damage that requires professional attention ASAP!
Note: You might also experience ceiling cracks caused by poor construction or improper installation processes.
Stress Cracks
Stress cracks are common in ceilings and are usually caused by the settling of the house.
These cracks are usually thin and run parallel to the ceiling joists. Stress cracks usually do not require repair.
Hairline Cracks
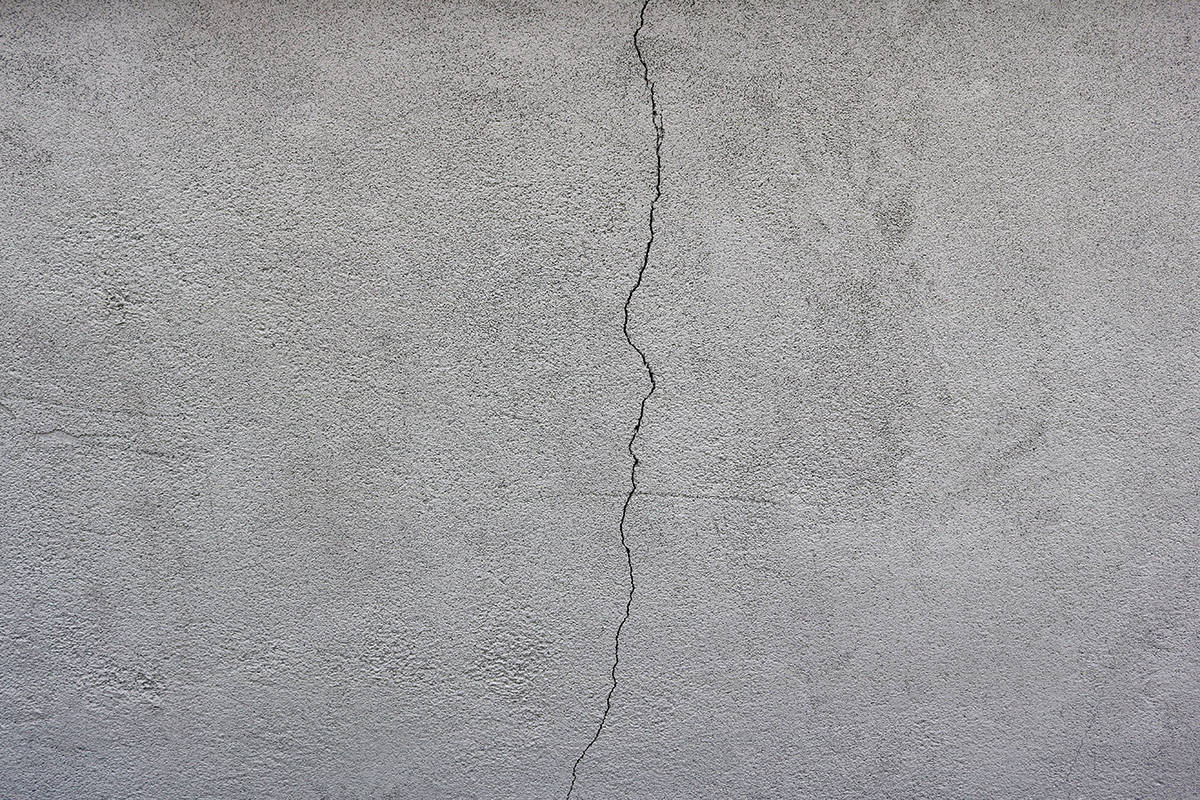
A hairline crack is a small crack that can be caused by the drywall shrinking. These tiny cracks are not structural and don’t need to be repaired. They can simply be filled in with spackle and sanded to a smooth surface, or you can paint over them.
Sheetrock Cracks
These cracks can be an indication of structural damage but are often caused by a problem with the house’s foundation or by a leak from plumbing or roofing.
When a house settles, it is common for the walls to move slightly inward and outward as they settle into place. Sheetrock is made to stretch slightly in order for this movement to occur without breaking.
However, over time sheetrock will begin to crack along its seams if there is too much movement happening in your home’s foundation or walls.
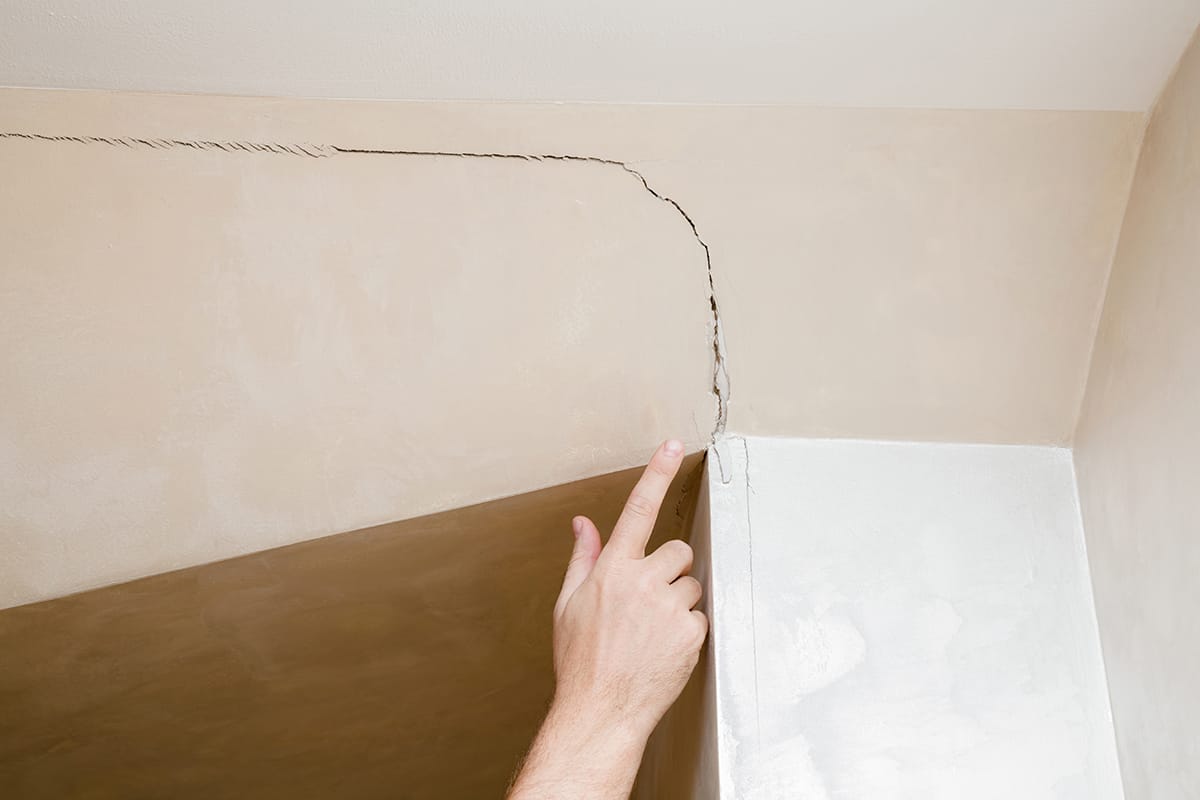
Stair-Step Cracks
Stair-step cracks are usually caused by the settling of your home. Because older homes were built with wood that wasn’t treated with moisture resistance like modern technology is today, these cracks are more likely to show up in older homes than in newer ones.
The stair-step crack runs in a diagonal line across the ceiling above a door or window opening, and it looks like steps or risers on a staircase when viewed from below.
Stair-step cracks can be caused by poor construction practices that don’t allow for proper support during building phases. If you notice this kind of crack in your ceiling, it’s probably time to consider calling in an expert to fix it right away.
This kind of repair requires cutting out drywall tape and re-taping joints properly before sealing them up again with the joint compound, so there’s no chance for future problems down the road!
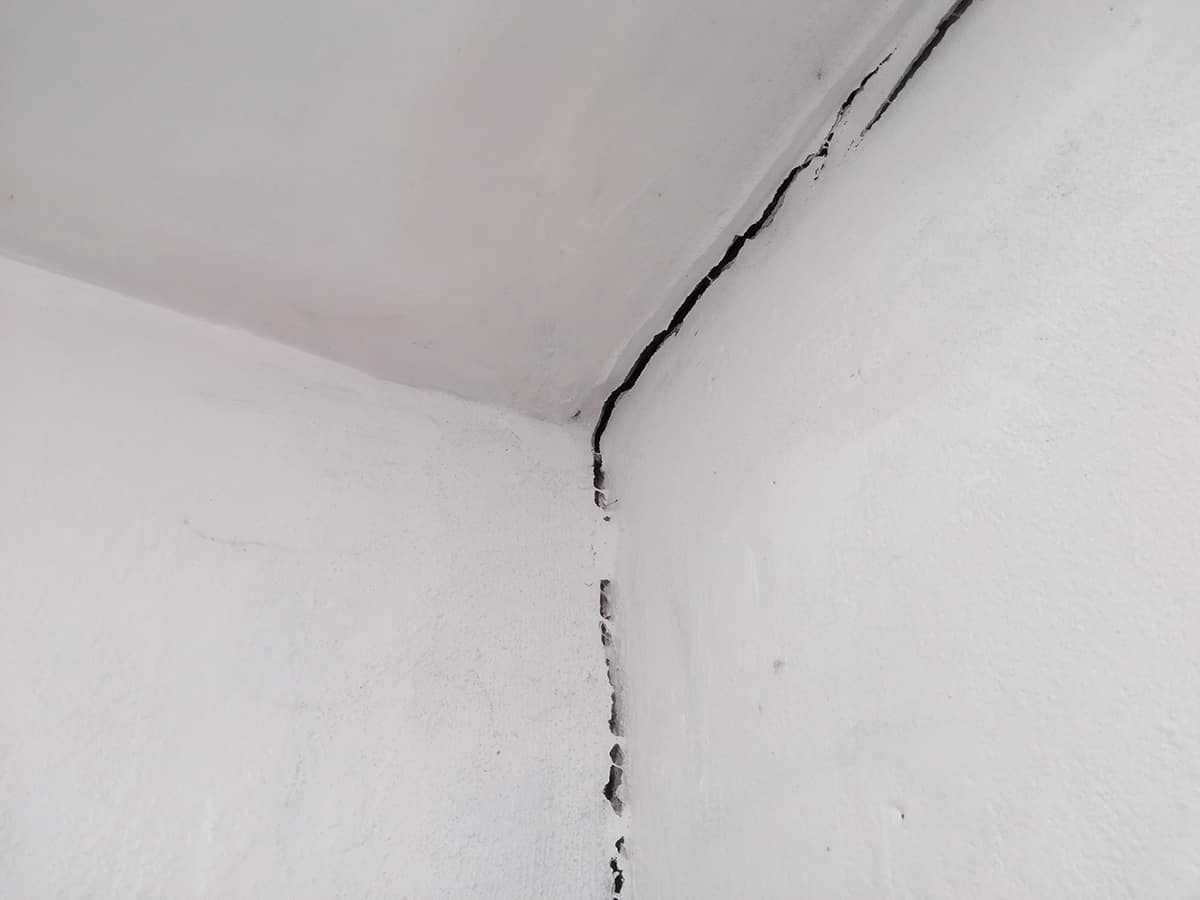
Corner Cracks
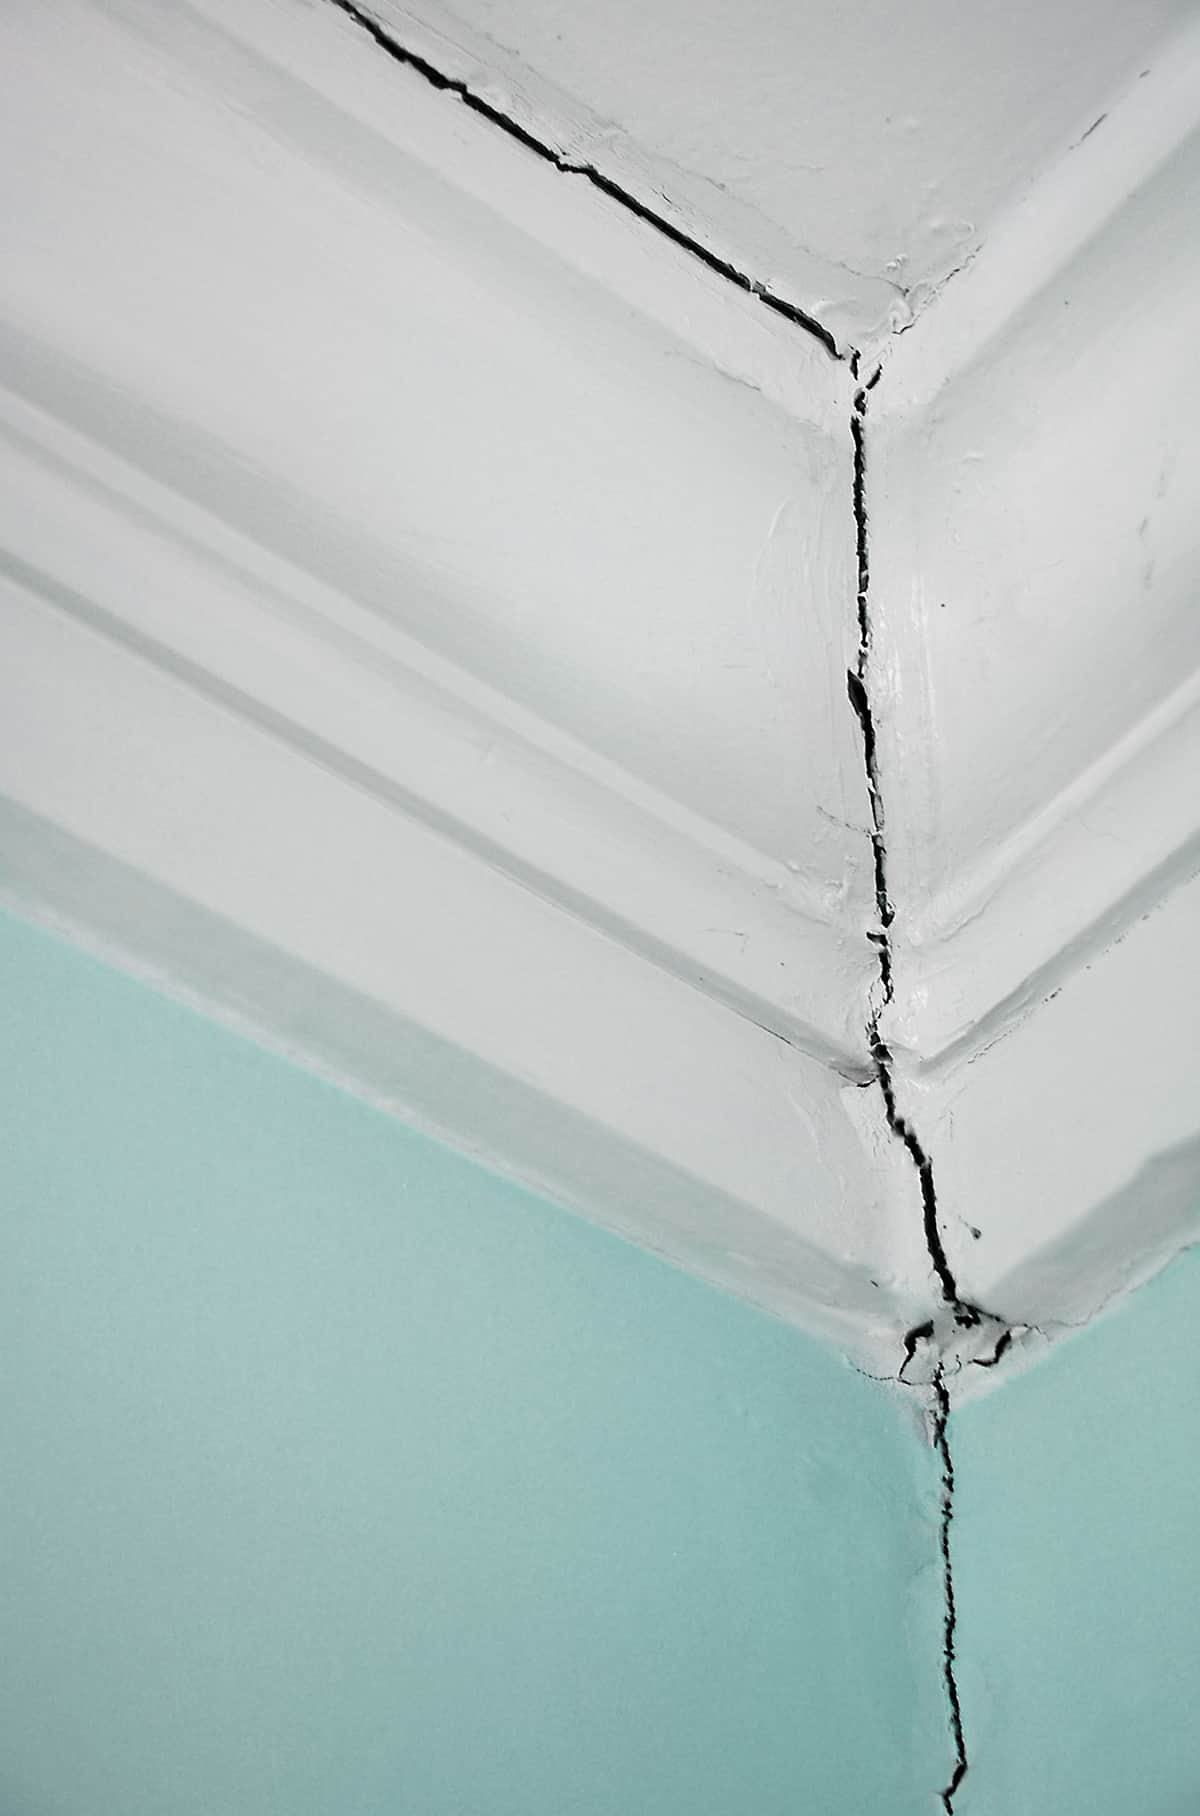
Corner cracks are another common type of ceiling crack. At first glance, they can be difficult to identify. In order to determine whether or not you have a corner crack, look for cracks that run at right angles and intersect one another at a 90-degree angle. A combination of these features will indicate a corner crack.
Corner cracks can occur when the foundation walls start to shift due to settling or soil expansion; this movement causes the corners of your house to separate from one another by about an inch over time.
If you notice vertical lines in your basement walls that continue up into your ceiling, then it may be due to settlement rather than an actual separation between two rooms (in which case it would show up as two parallel lines).
How to Fix Ceiling Cracks
You can fix ceiling cracks easily with some simple tools and materials available at your local hardware store.
- To fix a ceiling crack, you’ll need:
- Quick-set compound, sanding block, and paint (or primer if the area has white spots)
- A paintbrush
Inspect the area around the crack
When repairing a crack in your ceiling, it’s important to inspect the area around the crack. As you look at the surrounding area, check for:
- Movement in the crack
- Damage to surrounding surfaces and other cracks
- Sagging or bulging of walls or ceilings (this may indicate an issue with moisture)
Test the ceiling texture to determine if it is dry
You can determine if your ceiling texture is dry or not by simply touching it. If the texture is wet, wait a day or two for it to dry out before applying any paint or tape.
If the texture remains wet when you touch it, use a fan to speed up the drying process.
Clean the area around the crack and remove any debris.
Remove any dust or dirt from the area around the crack. Use a damp rag to wipe away any loose material, and be sure not to leave any dust or dirt behind.
It’s especially important to remove any loose material that may have fallen into the crack itself (it can cause more damage later). If there’s a lot of dust, use a vacuum to suck it up before continuing with your repair work.
Apply a primer for good adhesion of the paint
A primer is a sealer that helps the paint adhere to the drywall. Primer also helps to keep the paint from peeling, and it can help hide any seams in your ceiling.
If you don’t have any cracks, priming may be unnecessary; however, if you’re dealing with cracks or seams, then primer will make sure that your new coat of paint adheres properly so that it doesn’t peel or come off in chunks later on.
In addition to providing good adhesion for your new paint job, applying a latex-based primer before painting may help prevent future cracks from occurring in this area of your home’s interior walls (if they ever do).
Wait for the primer to dry
Allow the primer to dry completely. Depending on your climate and the brand of primer you use, this can take anywhere from 30 minutes to several hours.
If you want to speed up the drying process, use a fan or open a window to circulate air around your work area. Do not proceed to step 3 until your primer is completely dry!
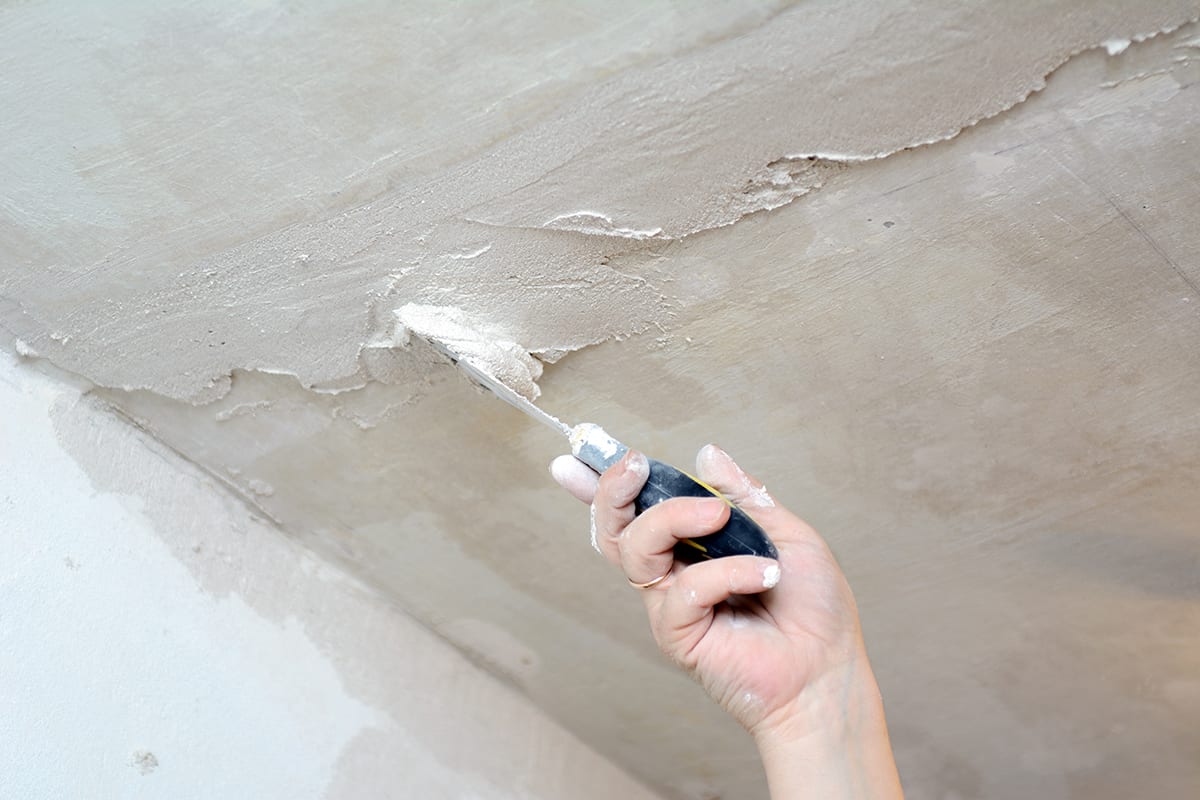
Apply drywall compound
Apply the drywall compound over the crack and allow it to dry completely. This can take several hours, depending on the thickness of the material.
Check your manufacturer’s instructions for information about how long it will take for your specific product to dry.
Sand off any uneven areas of the drywall compound with a sanding block
If you have any areas where the drywall compound is uneven, use a sanding block to sand those areas down and even them out. If you don’t have a sanding block, you can use coarse-grit sandpaper instead. To avoid scratching up your walls or ceiling further, always sand lightly.
You’ll want to make sure that the area of the drywall compound that you are working on will be covered by the new layer of the compound at all times; if this is not possible, then consider using a pole sander instead of hand-sanding.
Apply a second layer of compound over the crack and allow it to dry
Once the first layer of the compound is dry, apply a second layer over the crack and allow it to dry. If you’re using spray foam, skip this step and move on to Step 4 (the topcoat).
Use a putty knife to apply the second layer of compound evenly over the first. Don’t worry about covering up all of your repairs; this is just for reinforcement.
Once both layers are dry, use a damp sponge or paintbrush to smooth out any rough edges from where you spread the liquid or poured screed into holes in your ceiling.
Now that everything looks even again and has hardened well enough to handle being touched without breaking apart, it’s time for another coat!
Sand again
Sand again with a sanding block until smooth. Sanding blocks are more effective than sandpaper because they don’t leave behind the tiny particles that can clog up your pores and create more cracks. You can buy them at any hardware store or home improvement center.
Paint
Paint over the crack using paint that matches your ceiling color. You can use a roller for large areas and a paintbrush for small areas. Make sure you clean the area thoroughly before painting and make sure you use paint that is intended for ceilings. Allow the paint to dry completely before applying a second coat, if necessary.