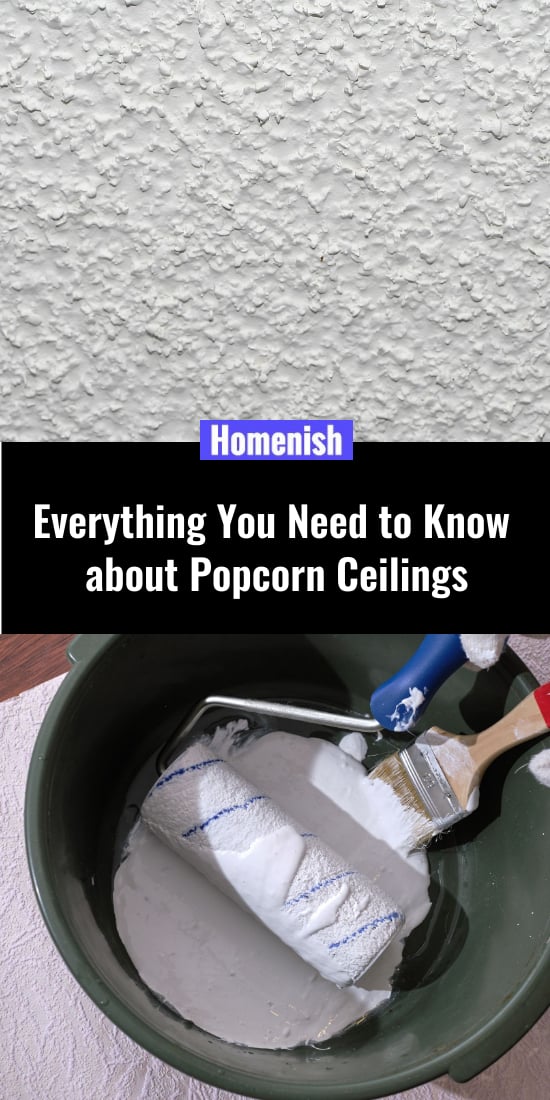
If you have ever stepped inside a 20th-centuryhome, it’s likely that you’ve come across popcorn ceilings. These types of ceilings gained popularity a few decades ago because of their cheap and easy installation. The old forms of this textured ceiling contained a chemical called asbestos,
However, there are now many modern versions of popcorn textures with less of a bubbled look that contain asbestos-free products. To find out whether this textured ceiling is right for you, learn more about its characteristics, pros/cons, and how to create a popcorn texture for your ceiling.
Table of Contents
What are Popcorn Ceilings
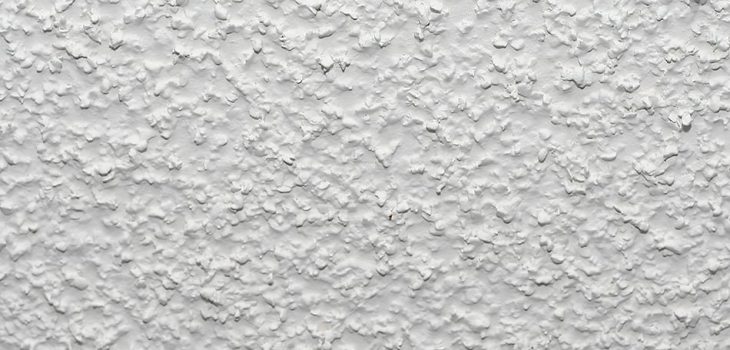
Popcorn or stucco ceilings are also known as cottage cheese ceilings because of their bumpy look. These textured ceilings became highly popular in residential homes that were built between the decades 30s and 90s. Characterized by their bubble-like appearance, popcorn ceilings are commonly found in bedrooms, entryways, and basements.
Advantages of Popcorn Ceilings
Hide Ceiling Imperfections
One of the biggest advantages of popcorn ceilings is their ability to hide imperfections, such as old water leaks, mud and tape seams, poor workmanship, and even cracks. While a smooth and non-textured ceiling tends to be more popular, it doesn’t hide the flaws in the ceiling.
Provide Noise Insulation
Popcorn ceilings are better at absorbing sound, hence the reason they are also called acoustic ceilings. This is due to the raised bumps on the surface area, which help reduce noise.
Easy and Cheap to Install
Popcorn ceilings gained popularity because of how cheap and easy they are to install. DIY enthusiasts can apply this texture on their ceiling without the help of a contractor. Since there is less time required to apply popcorn on the ceiling, it is often a less expensive option than painting.
Drawbacks
Difficult to Clean
Keeping the surface of the popcorn ceiling clean is extremely difficult because of the bumpy texture. Over time, spider webs, dust, and dirt can accumulate and get caught up in the bumps. Smokers will also notice the dark stains on their ceiling, which can be quite difficult to remove. A simple brush on the head of your vacuum cleaner may get rid of the dust or debris, but if you press a little too hard, it can break the raised bumps.
Difficult to Paint
Since popcorn ceiling is a heavy texture, it makes painting the surface more difficult. This is something you need to bear in mind if you plan to redecorate your home in the future. You won’t be able to paint this ceiling texture using a regular paint brush. The raised surface will fall off when wet. My advice? Use a segmented foam roller.
Prone to Damage
Water stains can cause the textured ceiling to come loose or even peel off over time. Water leaks in the kitchens, bathrooms, or basements where moisture is prevalent will harm your popcorn ceiling. What to do? Remove the popcorn ceiling and apply moisture-resistant and stain-blocking paint before reinstalling this texture. Watch this video on how to remove the popcorn ceiling https://www.youtube.com/watch?v=ktO8VMdH_04.
Asbestos Issues
Older homes with popcorn ceilings may contain asbestos, which is a cancer-causing toxin. However, modern homes that were built after the year 1977 don’t contain this chemical as it was banned. If you wish to remove your asbestos-containing popcorn ceiling, make sure you follow the relevant safety instructions.
Is Asbestos in Popcorn Ceilings Dangerous?
Not necessarily. While asbestos is a dangerous toxin, it only becomes harmful to humans when its tiny fibers become loose and get released into the air. As long as the surface of your popcorn ceiling isn’t chipped, the risk of asbestos damaging your health is minimal. If your ceiling remains in good condition, you won’t need to remove the popcorn texture as the removal process will more than likely release the asbestos fibers into the air and all over your home.
Furthermore, if your home was built after the 70s, then you don’t even need to worry about the presence of asbestos in your popcorn ceilings as the Clean Air Act in the US banned it.
Popcorn Ceilings Vs. Smooth Ceilings

Popcorn ceilings are well-suited for a home’s interior, depending on the look you want to achieve. For those who prefer an aesthetic appearance, this type of textured finish can perfectly hide cracks on the ceiling, scuff marks, and any other imperfection much better than smooth ceilings.
This is due to the three-dimensional texture being so coarse that it disguises the shoddy repair works. Smooth ceilings, on the other hand, show all the cracks and flaws, thus making them more difficult to maintain.
Popcorn ceilings are also better at blocking noise than smooth ceilings due to their raised surface. These types of ceilings are ideal in bedrooms where noise is an issue.
In terms of appearance, there is no denying the modern and polished look of smooth ceilings. However, the spider webs and cracks can easily show up on those seamless, flat surfaces, which are harder to conceal than popcorn ceilings.
While it’s true that popcorn ceilings aren’t favored by everyone since their drawbacks can deter some people from installing them in their homes, it does boil down to personal taste and budget. Their bumpy texture can make the space appear smaller by casting harsh shadows so if you grow tired of your popcorn texture, you can always remove it as shown on the previous video.
How to Make Popcorn Ceilings More Appealing
Recessed and flush ceiling lights aren’t suitable for popcorn ceilings. You need soft lighting in the form of floor or table lamps that minimize harsh shadows. This will make the popcorn ceiling’s texture appear softer.
Another trick to make a popcorn ceiling literally pop like popcorn is to paint it a bright color. Since this type of ceiling tends to discolor quickly, a fresh coat of paint will bring it back to life. Use a bold color like blue or orange to make the ceiling look less porous.
How to Create Popcorn Ceiling Texture
Popcorn ceilings are created using the highly durable styrofoam material that resembles cottage cheese. This material is sprayed to the ceiling, but the process can be time-consuming. Applying a popcorn texture to your ceiling is relatively simple as explained here:
Prepare your ceiling first: you’ll need a sponge or cloth and a bucket of warm soapy water to thoroughly clean the ceiling. And don’t forget the ladder! Make sure all the excess dirt and grime are removed from the ceiling. To protect your furnishings and floor whilst spraying the ceiling, cover them with plastic sheets.
Prime the ceiling’s surface: a stain-blocking primer is recommended for priming your ceiling. You’ll only need to apply one coat of primer but be sure to allow 24 hours for the primer to dry before moving on to the next step.
In case you wish to skip the priming part, you should know that popcorn textures are for standard white ceilings so in order to give the ceiling a uniform look, it’s recommended to prime the area before spraying. You can then paint the texture after it dries using a color other than white.
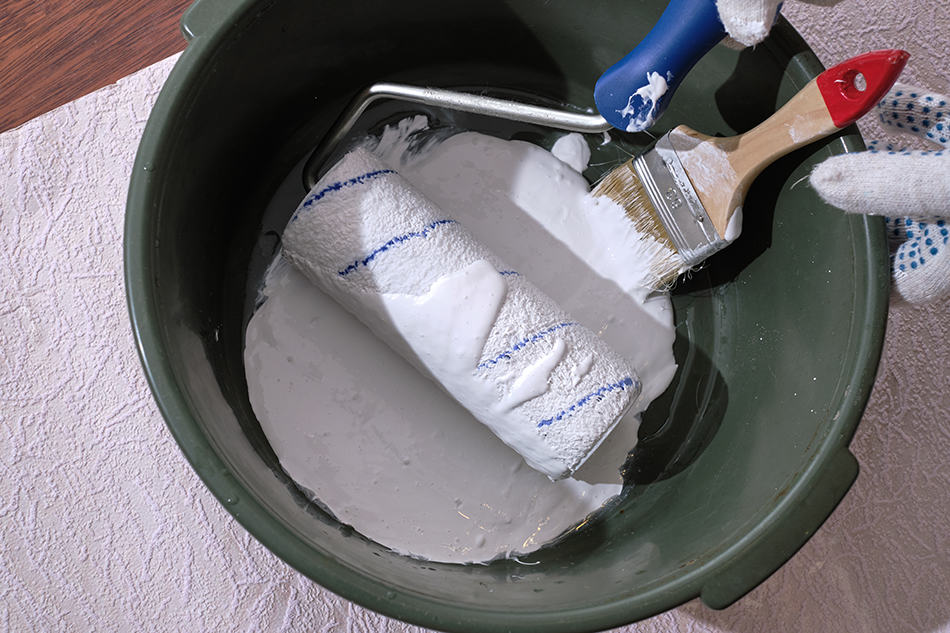
Applying the popcorn texture to the ceiling: before you begin applying this texture to your ceiling, open all the windows for adequate ventilation while you work. Wear a face mask and goggles as the particles can get into your eyes and mouth. Next, get a large bucket and mix the bag of popcorn texture with water. The mixture must have the consistency of cottage cheese. If the mixture is too thin, it will crack soon after application. Try stirring the compound thoroughly whilst adding additional powder until you reach the desired consistency. This process takes time and requires a little patience and practice to perfect.
When a popcorn ceiling gets damaged by unsightly cracks or stains, it can easily be patched using the original texture and color. You can find popcorn ceiling patch products in the form of aerosol spray or cans in pre-mixed containers.
As long as the popcorn texture isn’t peeling, it can be painted on a regular basis to update its look. To do this, you must first brush off all the dirt or spider webs with a long-handled soft-bristle brush. To prevent water stains from showing up, apply two coats of paint to fill all the imperfections of the ceiling.
Here is a video on how to repair your popcorn ceiling: https://www.youtube.com/watch?v=TXwrHH_qvyQ
Final Thoughts
When updating your basement, bedroom, or hallway ceiling, it’s ultimately up to you to decide which texture best suits your home. If you want to save money in the short-term and you like the look of popcorn ceilings, then opting for these textured finishes makes sense as they are one of the most inexpensive ways of hiding ceiling imperfections.