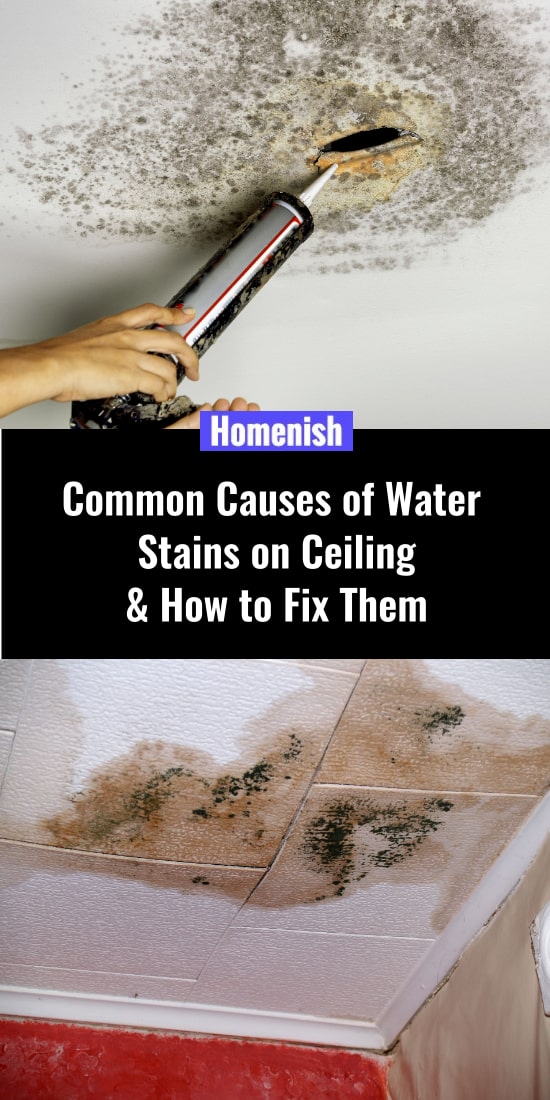
If you have unsightly water stains on your ceiling, a simple coat of paint will not address the issue, as they may come back soon after. Even if it’s only a small stain, it could be a sign of a leak, which requires immediate attention. Water stains on ceilings, especially if they are yellow or darkish green, can result in mold growth or, even worse, ceiling damage.
By simply covering up the stain without addressing the cause of the leak, you will run the risk of serious structural damage. This is why it’s imperative to find the cause of the stain and repair it as soon as possible. Follow the tips below to help you pinpoint the exact cause of the water stains on the ceiling and how to fix them.
Table of Contents
Possible Causes of Water Stains on Ceiling
- Roof damage: roofing materials don’t last forever. Since shingles are exposed to the elements, they can weaken over time. The heavy snow or rain will, as a result, find its way through the shingles and into your home. If you have an attic space, the water leak will eventually come through the ceiling of the attic and into your living space.
- Clogged gutters: during winter, the ice buildup around the clogged gutters can compromise their function. When the ice starts melting in the leaky gutters, the water will find its way to your home as it has nowhere else to go! Your gutters require regular maintenance and cleaning in order to prevent debris from clogging them up.
- Water pipe leaks: leakage from faulty water pipes is another possible cause of water stains on your ceiling. Hard, scaly water can also be another reason that damages the water pipes.
- Lack of ventilation in the attic: another likely reason for water stains on the ceiling is attic condensation. When the attic space isn’t adequately ventilated, the excess moisture can penetrate through the ceiling and eventually create mold.
- Upper-floor bathroom grout issues: if you have a bathroom on the second or third floor of your home, the worn out grout around the bathtub, toilet, or shower can drain into the floor and cause ceiling stains.
- Faulty appliances: appliances, such as a washing machine in the upper bathroom, have both a drain and water supply line. In the event the appliance starts leaking during operation, the water will penetrate through the ceiling below. Since some washing machines leak from behind rather than underneath, the dripping water will take some time before showing on the ceiling.
Consequences of a Water Leak
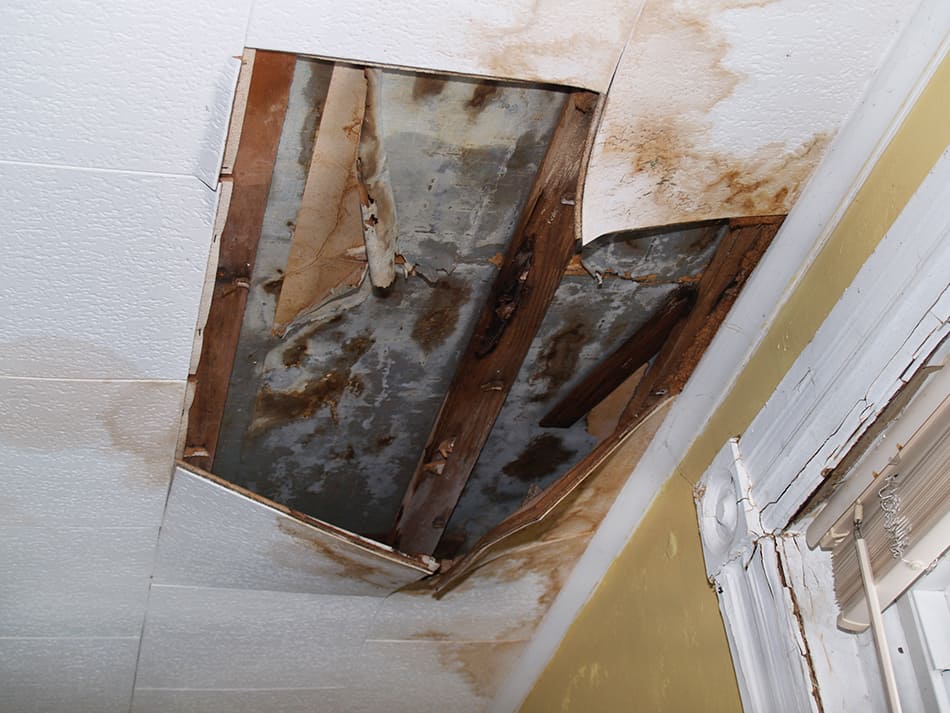
- Perhaps the most serious consequence of a water leak is the damage it can cause to the roofing structure, such as the ceiling joists, rafters, and wooden framing.
- The damaged insulation in the attic space as a result of a water leak can cause your utility bills to significantly increase.
- Mold is another side effect of a water leak. Painting over the stain won’t cover the damage. You’ll need to replace the portion of the ceiling otherwise, the mold will come back. If you’re not sure how to do this, contact a professional.
- Since water tends to accumulate in one area as a result of a leak, it will cause the ceiling to sag. Although this may not happen immediately after the leak, the sagging will eventually become apparent because of the added weight of water on the structure. The noticeable sign of a compromised ceiling is a sudden bulge in the drywall which means you have a leak somewhere.
How to Stop the Water Leak
Find the source of the leak or stain: to put a stop to the water leak, it’s very important to find the source. Try to follow the leak’s trail and determine whether it’s dripping from immediately above the ceiling or there is a trail that leads to the source. Take a dry cloth and wipe away the water to see how soon it comes back again.
Pay attention to suspicious odors: if a pipe in your kitchen or laundry room has been leaking for some time, it will often leave a musty odor in the air. This smell is the first indication that you have a leak problem. Finding the source of the odor will help you rectify the leak.
Inspect the roof: if the cause of the water leak is from broken roof shingles, replace them immediately. And whilst you’re up there, check the flashing and any other waterproofing material. Weakened seals around the vents can also cause a leak so be sure to fix them. In case you’re unable to carry out these roof repairs, contact an expert roofer.
Check the attic: so you’ve inspected the roof, and there were no leaks coming from there. The next step is to go up into the attic and check for any signs of leak. Take a look at the insulation in the attic to see if it’s wet. Is it drenched in water? Mold can be prevented by removing and discarding the wet insulation. Just remember to replace the insulation; otherwise, your utility bills will increase.
Check the pipes above the stains: it’s not uncommon for water to run along the piping before penetrating into the ceiling. If you notice leaking pipes, replace them right away or contact a plumber.
Could it be from your bathroom? Did you notice a leak right after a shower? If yes, the cause of the water leak may come from the shower pan or the caulking around the toilet. The subfloor needs to be inspected as major leaks will soon spread into the adjoining areas and drip down to the ceiling underneath. This is also the job of an experienced plumber if you’re not comfortable with opening up the bathroom floor.
How about the radiators? Lastly, if you have a leaky radiator that’s causing the water leak, you’ll need to replace the radiator’s valve or pipe.
Fix Water Stains on Ceiling in 7 Easy Steps
Before attempting to cover the stains on the ceiling with paint, you must dry out the wet area first. The quickest way to do this is by using a fan or dehumidifier. Place the fan on top of the ladder facing upwards or position the dehumidifier underneath the wet ceiling.
Remember to empty the dehumidifier regularly. Before moving on to fix the stains, ensure the ceiling is completely dry by using a damp detector. Your flooring and furniture should also be covered with a tarp or old sheet as the priming and painting job will be quite messy. Always wear gloves and goggles prior to attempting any repair.
Now you’re ready to start. Follow these seven steps for best results:
- You may think that painting the ceiling will rectify the problem, but the stains will more than likely show through the new layer of paint (believe me, they will!). You’ll need to use a substance (like bleach, for example) that doesn’t dissolve in water. Make sure you remove any flaking paint around the stains using a scraper before applying the bleach. Now, mix 3 parts of lukewarm water with 1 part of bleach. Tip: use oxygen bleach for a colored ceiling and chlorine bleach for a white ceiling.
- Using a sponge, dip it in the mixture and wipe the stain clean.
- Take a second sponge and dip it in clean water before wiping the stain. Dry the stained area using a clean cloth.
- Now, you’re ready to sand the bleached surface for a smoother finish.
- Once the stains have been bleached and are completely dry, apply a mold-resistant, oil-based anti-staining primer. If your ceiling is smooth, use a paint roller to apply the primer before allowing it to dry for four hours. However, if you have a textured ceiling, use a thicker roller or spray the ceiling with the help of a compressor and spray gun. The primed area of the ceiling should be a couple of shades darker than the rest of the ceiling. Otherwise, it will draw the eye to it. You can then paint over the primed surface in order to match the color with the rest of the ceiling.
- A heavily stained ceiling requires a second coat of paint. Two coats of paint should be enough to cover the stains. This will also help prevent the stain from peeking through the surface.
Conclusion:
Unsightly water stains on the ceiling can ruin the look of a room. But rather than covering them with quick paint, you should fix the source of the problem first before repairing the ceiling. Once the water leak has been dealt with and the stains are fixed, your ceiling will look as good as new.
Give my water stain fixing method a try now, and share your experience using the comments below.