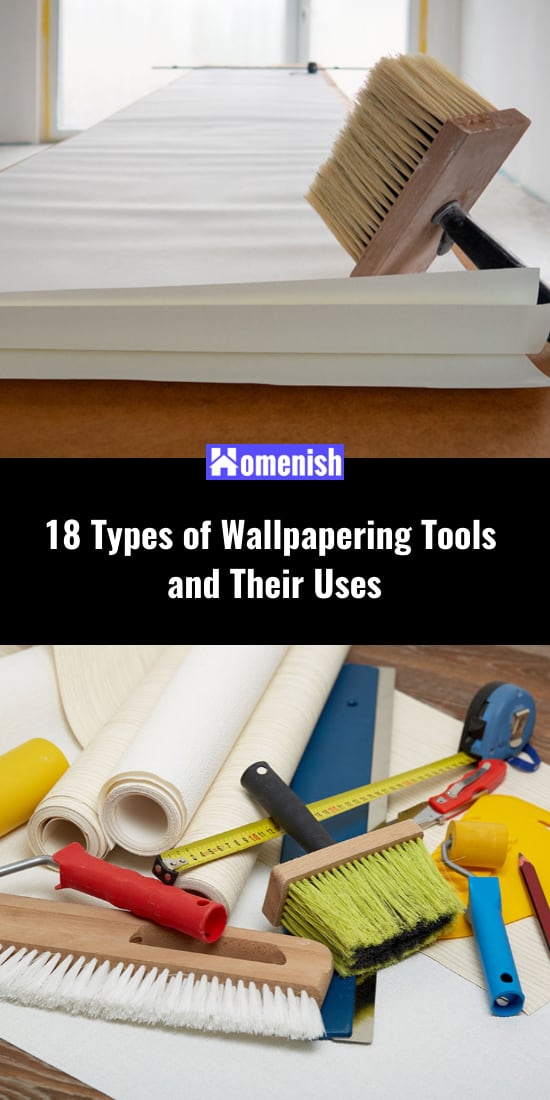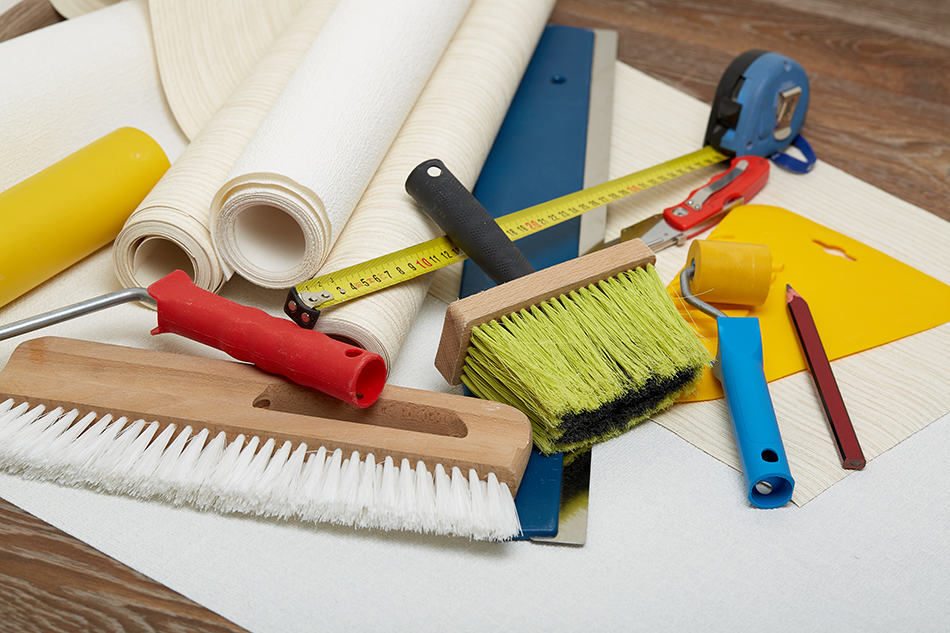
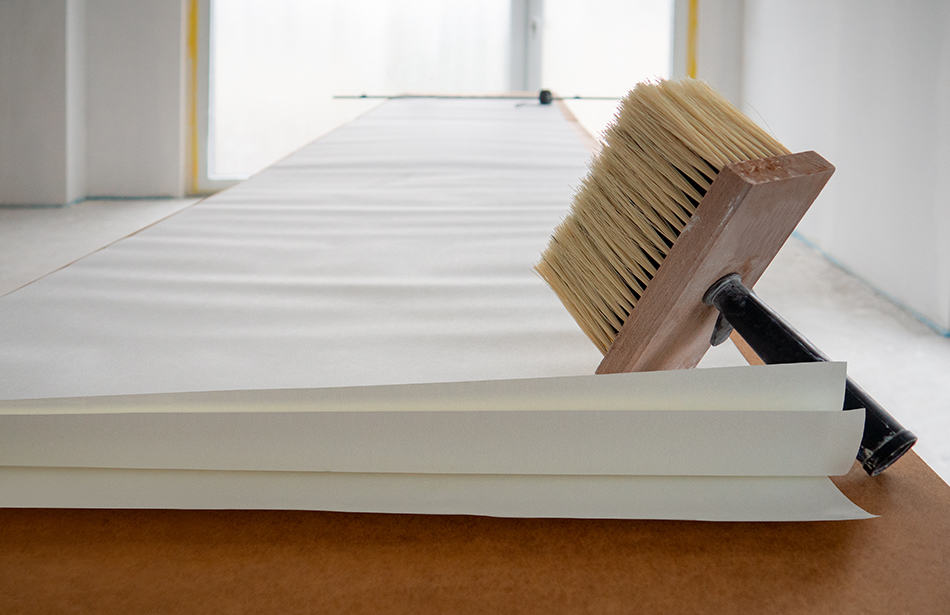
If you’re going to be removing or applying new modern wallpapers, here are the types of wallpapering tools you’ll need. The good news is that you probably already have a bunch of the basics, such as a scraper, level, ruler, and utility knife. And the others are fairly inexpensive.
You also don’t need to buy everything on this list. Read through the uses of each tool and decide what methods will work best for you.
Table of Contents
Scraper
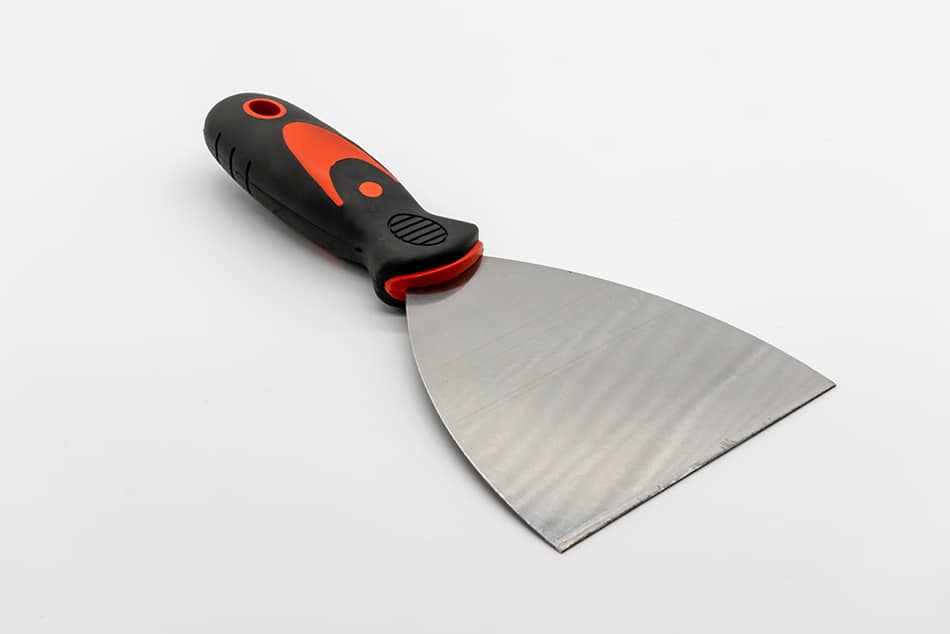
If you’ve used a wallpaper scorer to make some holes or have a piece of wallpaper peeling off on its own, you can use a scraper to get underneath it and pull up the rest.
This is the most “dangerous” part of wallpapering, though, because if you don’t keep the angle of the scraper flush with the wall, you can very easily dig into the wall. When you smooth out the new wallpaper on the wall, those indents will show through.
The good news is that if you do damage the wall with the scraper, you can easily repair it with some joint compound. The bad news is that waiting for the compound to dry and sanding it down to ensure you have a smooth surface will set your project back by a day or so.
Clean these tools off after each use to remove any wallpaper or paste that sticks to the edge, then dry it quickly. These metal tools rust easily. While they’re not very expensive to replace, you might want to buy one that allows you to replace the blade rather than the whole tool.
Also, look for one that’s skinny enough for you to use comfortably. Using too wide of a scraper just gets unwieldy, and you’ll be more likely to make mistakes with it.
Wallpaper Scorer

Wallpaper has a texture to it. That texture could show through on the surface of the new wallpaper you’re hanging, so it’s best to remove any old wallpaper before starting the new application. Of course, you’ll also want to remove any wallpaper if you’re painting the wall instead.
The problem is that wallpaper is meant to stick to the wall. That means pulling it off could be rather difficult. You’ll likely need multiple tools to accomplish the task. The first tool is a wallpaper scorer.
This is specifically designed to make small holes and tears in the wallpaper without damaging the wall behind it. Other tools you might use to get behind the paper can also damage the wall, and even when you cover the wall back up with wallpaper, you’ll see those scratches and dents mirrored in the paper.
To use a wallpaper scorer, you simply run it down the length of the paper. You can then pull on the tears it makes to remove a good portion of the paper, or you can move on to the next tool.
Wallpaper Steamer
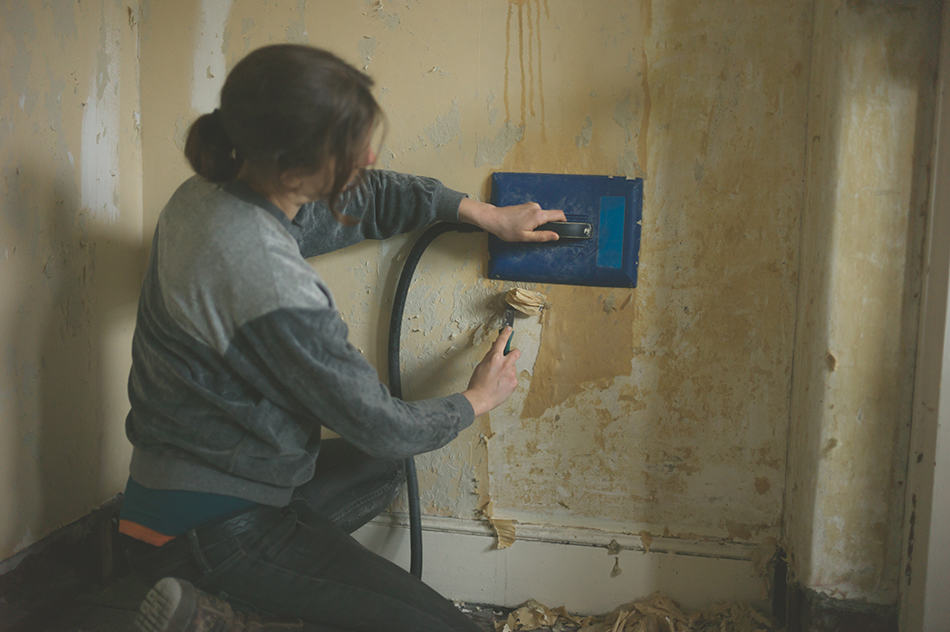
If you don’t want to risk going at it with a scraper, or if the scraper isn’t able to get under the paper, you’ll need to soften the paper and paste with a steamer. It might take a little time, but the steam will make the paper bubble up so that you can get your fingers or a tool beneath it.
In most cases, the steam won’t damage your wall but test the steamer on a small portion of the bare wall to make sure. As with any tool, use proper caution to avoid burning your skin.
You can buy corded or cordless options, and they also come in different sizes. The larger cordless models are easiest to use as you don’t have a cord getting in the way, and they can cover a wider area, but they’re also more expensive.
Spray Bottle
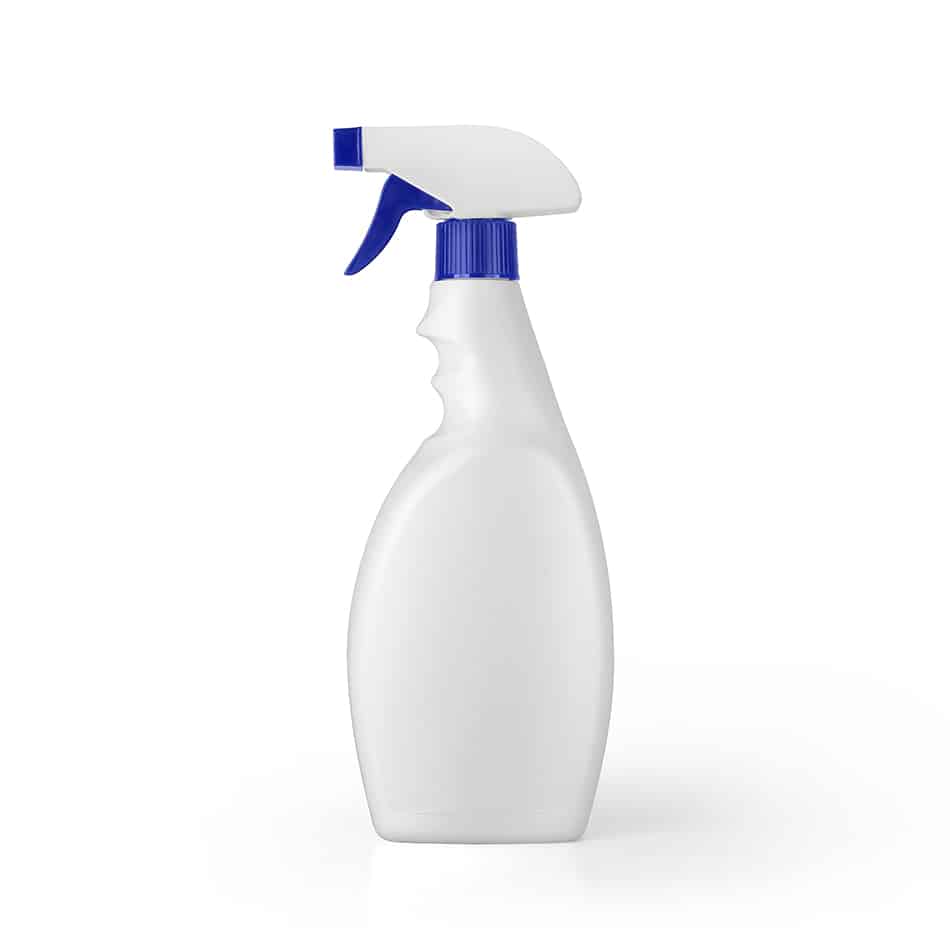
Sometimes, wetting the paper down is enough to loosen it from the paste beneath. This is particularly true if the adhesive is really old. Try spraying the edge of the paper with hot water and see if you can pull it up before getting the steamer out. You may save yourself some time.
If you have a large area to wet down, you may want to get a pump spray bottle rather than a trigger bottle. This will save your hand from working so hard and cramping up.
Sponge and Bucket
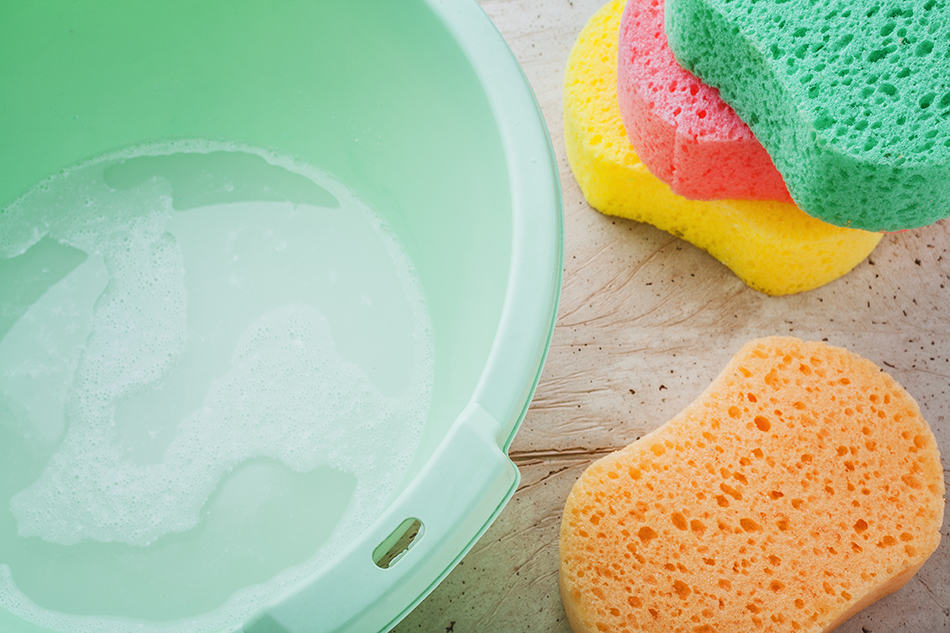
You’ll want a large sponge to soak up any water running down the wall when you spray or steam it.
This will also come in handy when you’re wetting down pre-pasted wallpaper in preparation for hanging it up. Keep a bucket nearby to empty the sponge into.
Tape Measure
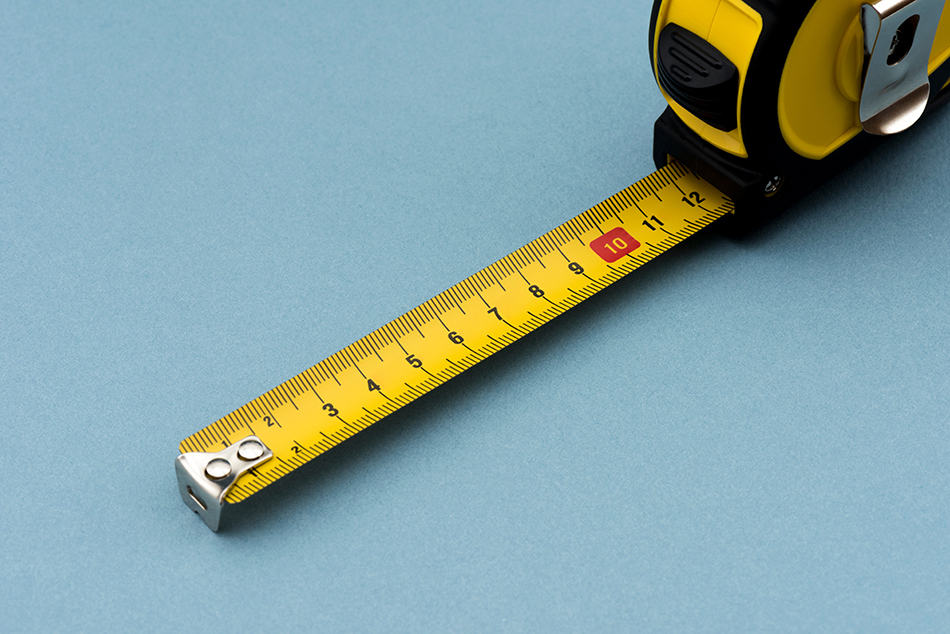
You won’t need to do much measuring when hanging wallpaper, but for the measuring you do, nothing beats a tape measure. The first thing you’ll measure is the surface area you want to cover, so you know how much wallpaper to buy.
Beyond that, you may want to measure and cut out partial sheets of wallpaper. Just be careful to leave a little extra material. You can always cut off the extra material; you can’t add it back on.
Paste Brush
Some wallpaper you can buy is self-stick, meaning it has wallpapering paste on the back of it so that it can adhere to the wall. It makes it easier to apply, but it’s also more expensive, and honestly, sometimes the adhesive companies use isn’t the best.
If the wallpaper you’re using isn’t self-stick or if the adhesive included on the paper isn’t sticky enough, you’ll need to apply your own wallpapering paste.
That’s where a paste brush comes in. You use it to spread the paste onto the back of the paper. You can use a regular paintbrush for this, but a paste brush designed for the purpose gives you a thicker, more even coat of paste. That’s because it has more bristles than a regular paintbrush. The bristles are also softer than most paintbrushes, ensuring you won’t put any lines or scratches in the wallpaper as you paste it.
Wallpaper Table
You could also call this a pasting table because that’s what you do on it. You lay the wallpaper down with the backside up and use the paste brush to paste the back of the wallpaper.
Having a table to do it on allows you to lay the paper out flat and get an even coat of paste without making a mess on any other surfaces. The paste will drip, however, so I recommend laying an old sheet or plastic tarp underneath and surrounding the table.
Again, you could use any folding craft table for this, but the advantage of using a specially designed wallpaper table is that it stands higher so that you don’t have to bend over to apply the paste. That ergonomic design goes a long way in keeping you comfortable if you’re wallpapering a whole room.
These tables are also wider than standard folding tables, so if you lay the paper longways along the length of the table, you shouldn’t have any of the material hanging over the edges. Again, that lets you apply an even coat of paste without paste on the corners or sides.
Like most modern plastic craft tables, these tables are lightweight, so you can move them around the room as you paper the wall.
Wallpaper Prep Tray
If you don’t have to paste your wallpaper, you’ll have to wet it down for the included paste to activate. Either way, you could be dealing with a mess. One way to dampen the wallpaper is with a sponge and a bucket.
The less messy way is to use a wallpaper prep tray. This holds the water and allows you to lay the paper down in it. Lift the paper up over the tray to allow any excess water to drain back off.
Chalk Line

If you know the dimensions of your wallpaper, you can plan out your placement ahead of time. Using a chalk line, you can make a visible outline of where you want your panels to lay, then follow your lines as you apply the wallpaper.
The string ensures you have a straight line, and when you snap it against the wall, it leaves a line of chalk for you to reference. If you make a mistake, the chalk is easy to wipe off and start again.
That’s why many prefer it to making pencil marks. Not only do you not need a separate yardstick to draw a straight line, but the chalk is much easier to erase than a pencil mark. You also want to be careful with pressing any marking tool into the wall, as any lines you make on the wall’s surface can show up through your wallpaper.
Level
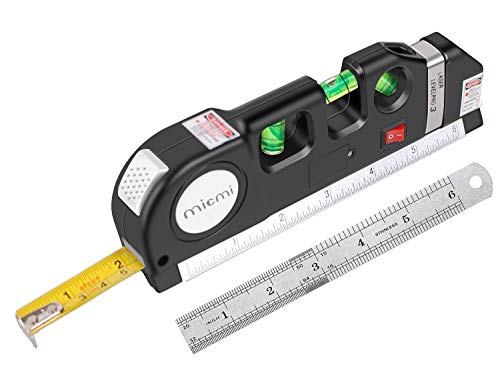
Do you know the difference between painting and wallpapering? The paint doesn’t have to look straight. Wallpaper does, especially if it has a pattern to it. It needs to be straight across the top and straight on the edge as it meets up with the next panel.
One way to ensure you’re sticking it straight is to use a level. You don’t want to judge this with your eyes alone. If you do, you’re likely to hang the wallpaper at a slight slant, which will only become more pronounced as you continue down the wall.
You may have a level already, but make sure you get one that is long enough to extend over the full width of your wallpaper. You don’t want the wallpaper to be straight in one area only but level across the whole sheet.
You may run into a problem if you notice your ceiling is bowed or the floor is angled. This happens particularly at corners. In that case, continue to use your level as best you can but follow the contours of the surface you’re hanging the paper on.
Plumb Line
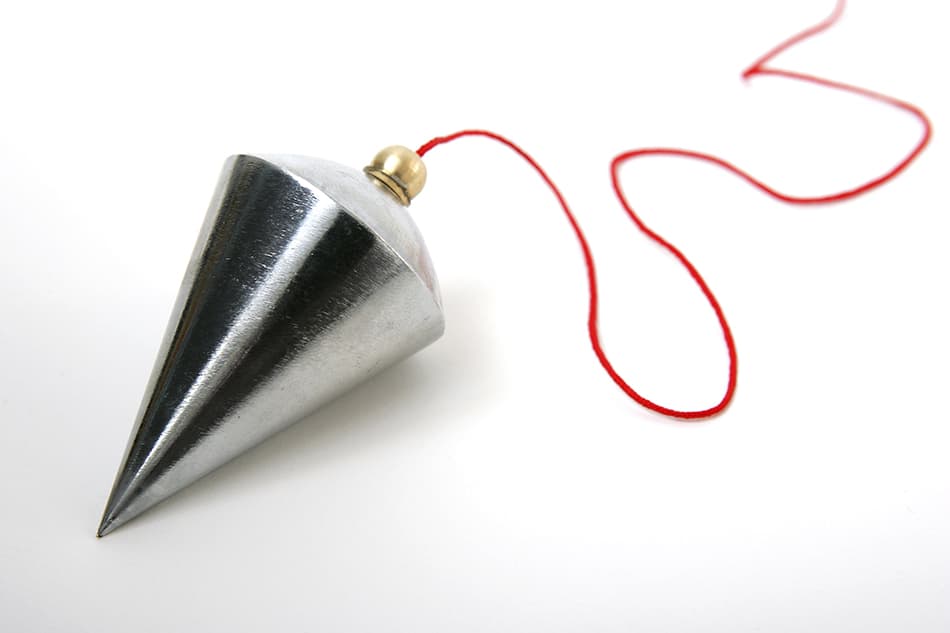
Here’s another way to make sure you’re hanging the wallpaper straight, if not level. These are better for getting the vertical lines right as you lay each sheet of wallpaper next to or overlapping the last.
The bob on the end of the line will pull on the line to make it taut and straight. All you need to do is then set the line where you want to hang the next piece of wallpaper and make sure it follows the plumb or stays “true to plumb,” as the saying goes.
Laser Line

The high-tech version of the plumb line and chalk line is the laser line. Position the laser to mark your straight line and keep it in place as you apply the new sheet of paper. The benefit is the laser won’t rub off as a chalk line can.
The disadvantage is that you have to hold it in place because it won’t make a lasting mark for reference. In this way, it’s more like a plumb line than a chalk line.
Smoothing Brush

This is the second kind of brush you’ll want for hanging wallpaper. It’s similar to the paste brush in that it has very soft bristles to avoid making lines or scratches in the wallpaper.
Once you have your wallpaper hung in place, you use this brush on the surface of the paper to smooth out any air bubbles between the paper and the wall and make sure the paste spreads evenly.
Air bubbles are very visible on the wallpaper’s surface and create a weak point in the paper, allowing anything that rubs on the paper to rip it.
The paper can also start to peel loose from the wall, starting at those points. Paste pockets, the areas where the paste pools between the wall and paper, are equally unsightly as they create hard protrusions in the surface of the paper.
Because bubbles pop the paper out from the wall, they also pull the paper in from the edges, meaning your lines won’t be straight.
To ensure you don’t have bubbles and can make the straightest lines possible, use the smoothing brush as soon as you put up the new sheet of wallpaper. Don’t give the paste time to set; rather, smooth the paper until the paste does set in place.
Smoothing Tool

A plastic smoothing tool does the same thing as a smoothing brush but is better to use on thicker wallpapers. Don’t use this on any wallpaper that is thin or seems delicate. If it has embossing on the surface, use the brush instead, as this harder tool can scratch or damage the surface.
With those cautions said, a smoothing tool can be easier to use than a brush as it covers a wider area and can push the air bubbles or paste pockets to the sides and out from beneath the paper. The pressure you use to push the tool down also helps the paste adhere to the wall beneath.
This type of smoother also has a blade on it, so you can use it to cut off extra material from the bottom of the wall. It may also have a rounded edge to ensure you don’t cut into the paper or make any accidental lines.
Some models have a triangular edge to use for pressing the paper into corners. Again, just be careful not to press so hard that you make an indentation in the paper or the wall behind it.
Like other types of scrapers and spatulas, these tools come in a variety of sizes, so you can choose the width that feels best to you.
Seam Roller
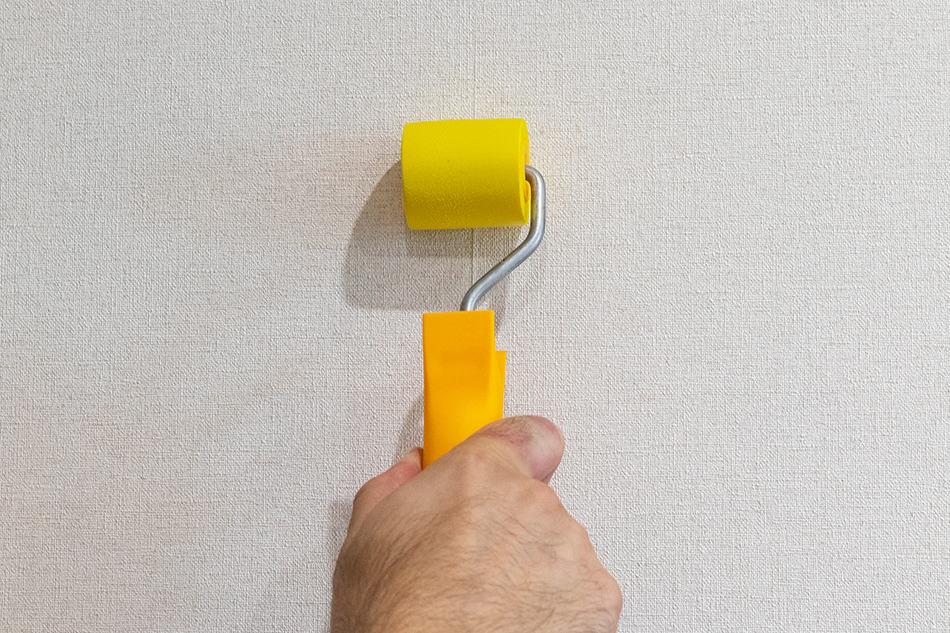
Another smoothing tool is the seam roller, but this one is best used to give the seams between the wallpaper a quick rundown, not smoothing out air bubbles across the whole sheet. Since this is used to press on the edges of the wallpaper, watch for excess paste squeezing out from under the paper and make sure to wipe it off.
Like the smoothing tool, using a seam roller on delicate paper can damage it, and if your paper is too thin, the roller can create lines in it or even press hard enough to make the edge of the paper underneath show through. In those cases, just use the brush to smooth the seams.
Otherwise, use a seam roller exactly as you would a paint roller, rolling up and down the seam. Just be careful to angle the tool so that only the roller touches the wallpaper. You don’t want the rest of the hardware to rub up against paper.
Utility Knife
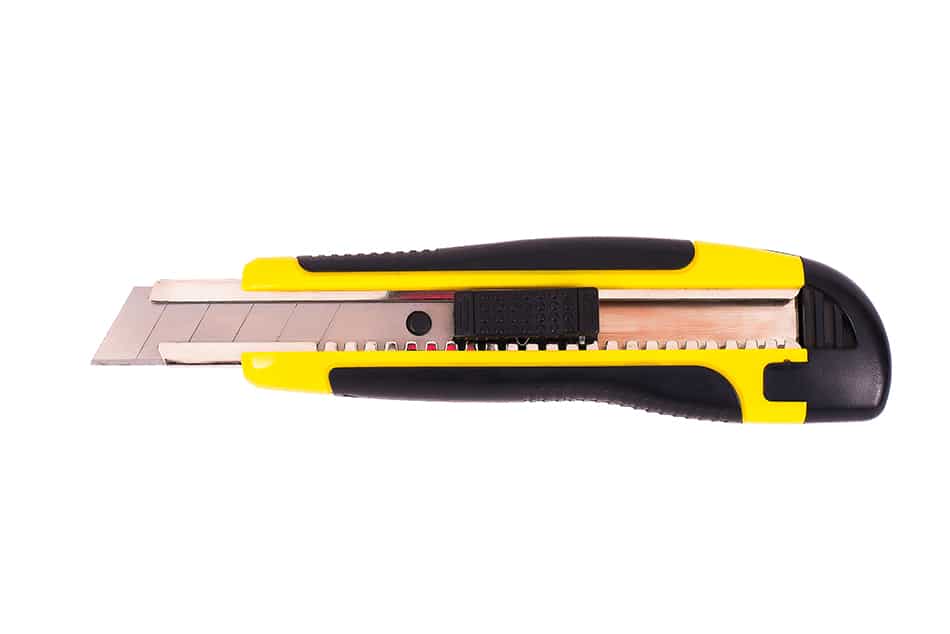
You’ll want a sharp blade for cutting the excess paper off at the bottom of the wall or along a corner. Using a box cutter is much easier than using scissors. Just make sure you have something in place to help you cut a straight line.
If your blade starts to snag on the paper or make jagged lines, trade it out for a new, sharp blade.
Ruler
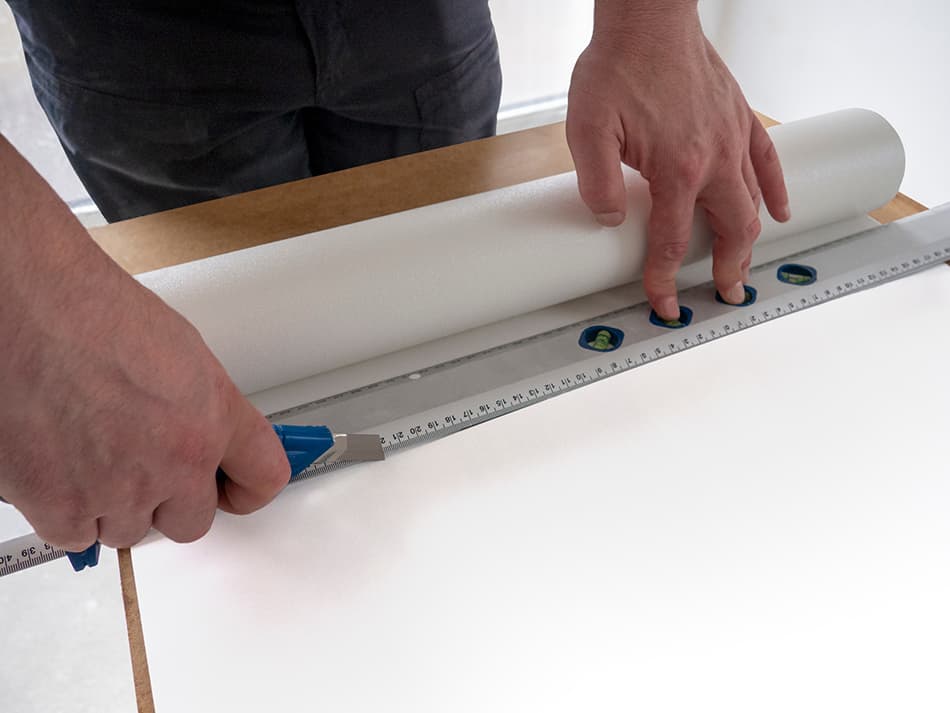
A ruler makes a great straight edge to guide your utility knife along when cutting off the excess paper. Just make sure you buy a metal ruler instead of wood or plastic to keep the utility knife from cutting into the ruler.
If you are intending to remove some old wallpapers and look for new wallpaper options, you also like these articles.
- 10 Striped Wallpaper Options to Create a Timeless Look
- 8 Wallpaper Matching Curtains that Make Great Pairs
- 14 Faux Stone Wallpaper Options to Add Character to Your Home