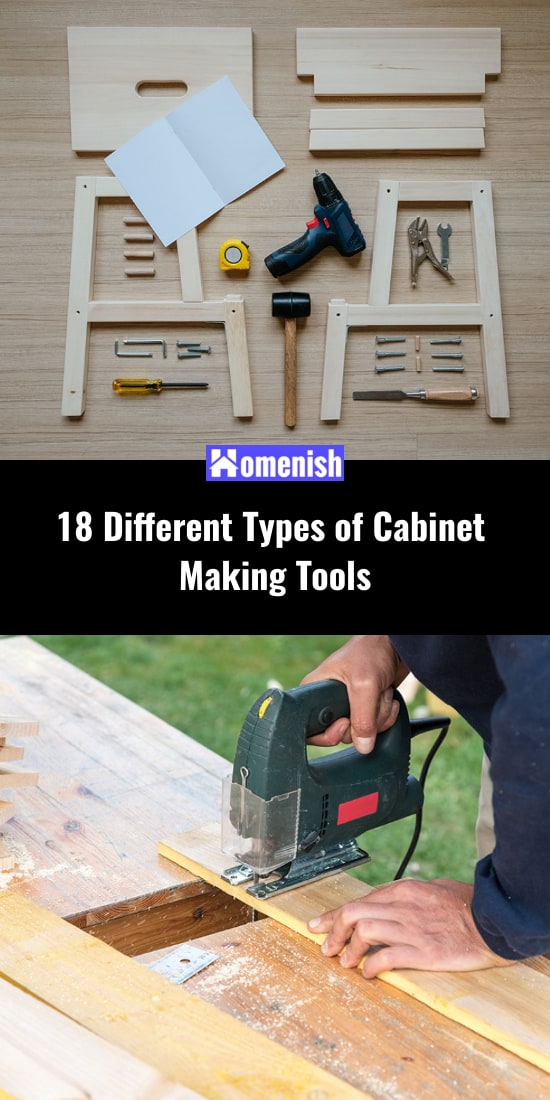
Whether you’re making cabinets for yourself or for your clients, here are the different types of cabinet-making tools you’ll need to do a high-quality job. Some of these tools are inexpensive hand tools, and some are power tools that require a larger investment.
Also, some of the power tools are meant for use in large-scale manufacturing shops vs. home workshops, so you may not want to buy everything on this list. Others do the same thing as alternate tools, so you can choose which ones will work best for you.
Table of Contents
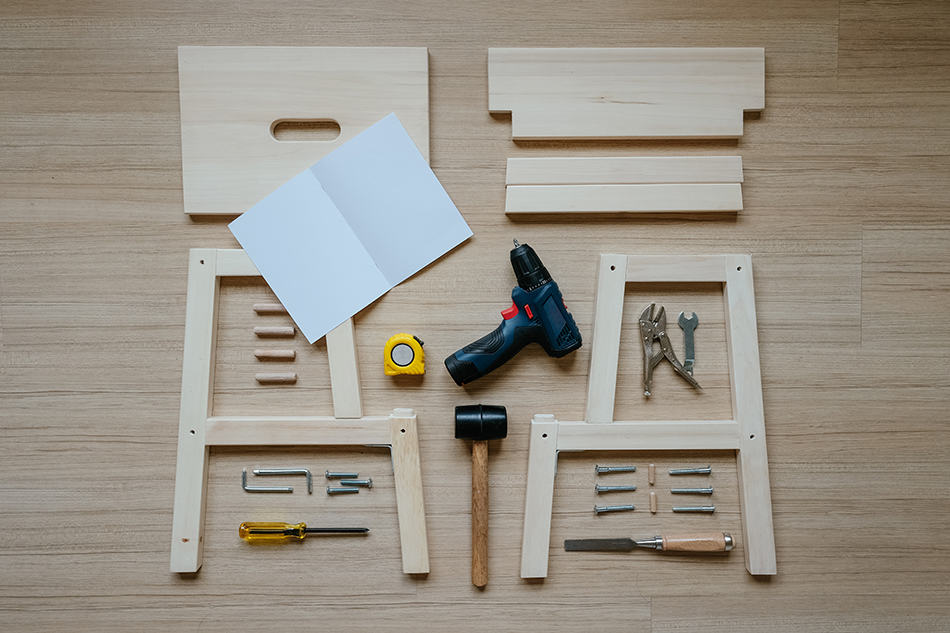
Tape Measure
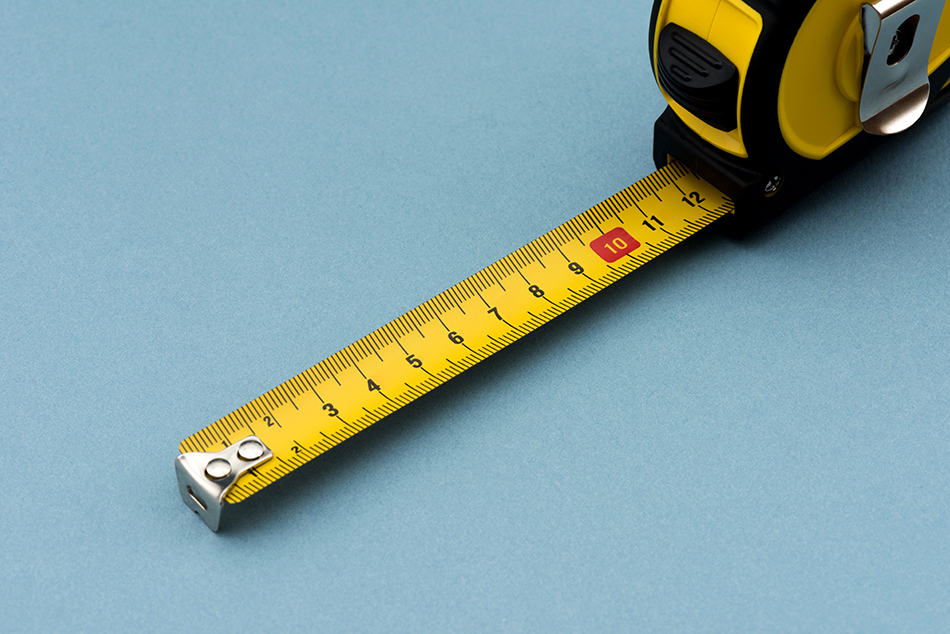
A tape measure is good for taking mostly accurate measurements. I say mostly accurate because the curve of the tape and the fact that the tape can slide while you’re measuring can throw your measurements off. Still, it’s an easy tool to use, and any inaccuracies are usually too small to notice once you install the cabinet.
Combination Square
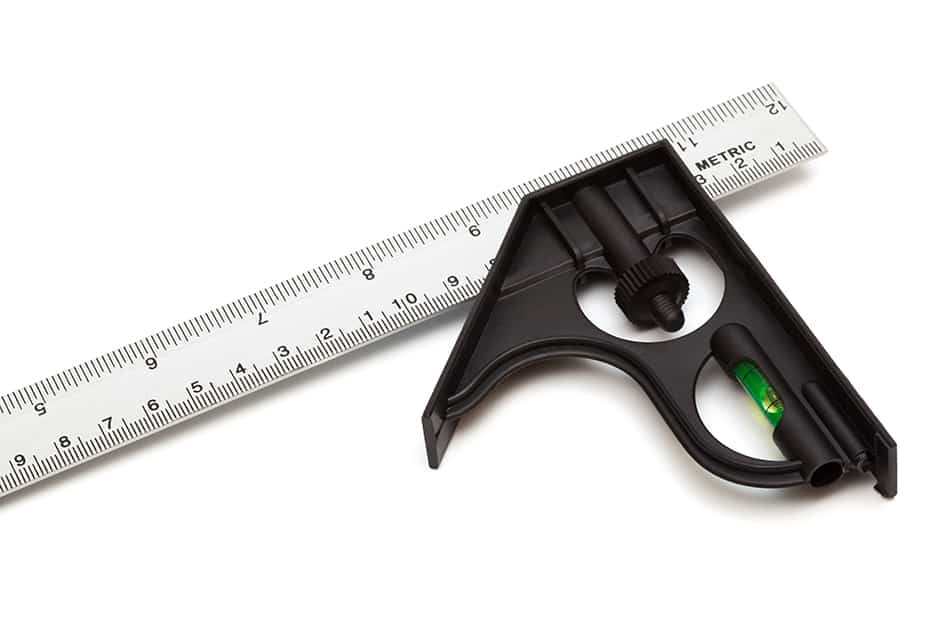
A combination square is actually more accurate as it ensures you’re measuring at a right angle and with a rigid material. It also includes a level to make sure you’re angles and assembly are straight.
Clamps
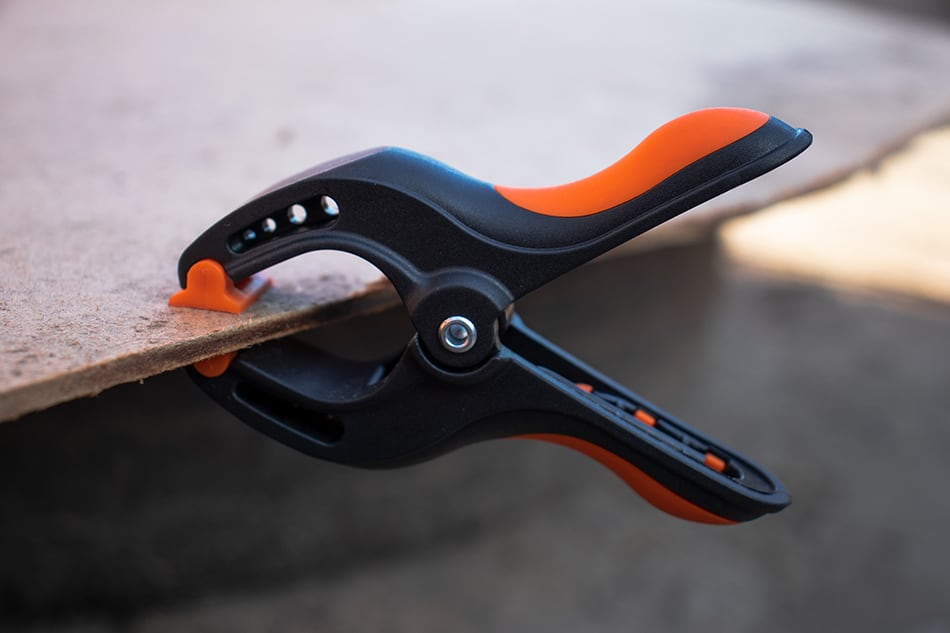
No matter how you choose to attach the panels of a cabinet, you’re going to need a clamp to hold it together so that it stays straight and you get the best angle for sinking your screws, applying your glue, etc. You can also use clamps to keep your pieces still as you cut, plane, and sand them.
Of course, there are a lot of different types of clamps to choose from, and you’ll probably want more than one type, depending on your work process.
C-Clamp – a simple design with an open jaw that tightens or loosens from one side by screwing or unscrewing a bolt. They come in different sizes, both in terms of how large the opening is and how deep the C-shape is. In general, you’d use this to hold a panel in place on the table as you saw or sand it.
Bar Clamp – these work a lot like C-clamps, except they have a straight edge on both sides of the opening to provide a flatter, deeper area to hold your materials securely in place. I actually prefer these to C-clamps if I’m working with a panel with a flat, even surface.
Pipe Clamp – smaller openings, generally used for securing pipe fittings but useful in woodworking for securing panels flat against a track as you saw them horizontally. You may also use these for placing and attaching hardware to the cabinet.
Band Clamp – you probably won’t use these unless you’re trying to hold the entire cabinet box together at one time. It has cloth straps that wrap around a material as you ratchet it tight. This would come in handy if you’ve cut all the panels for your box and want to glue it all together at once. Just make sure you’re able to keep the angles straight. If you have a template, you could place your panels around the template, apply the glue, then pull it all tight, knowing that the template will keep the angles right.
3-Way Clamp – this is a lifesaver when you’re joining perpendicular pieces, as you can hold one piece from each size and a second piece from the end. Again, depending on your design and style of construction, this may be a more or less useful style of clamp for you.
Table Saw
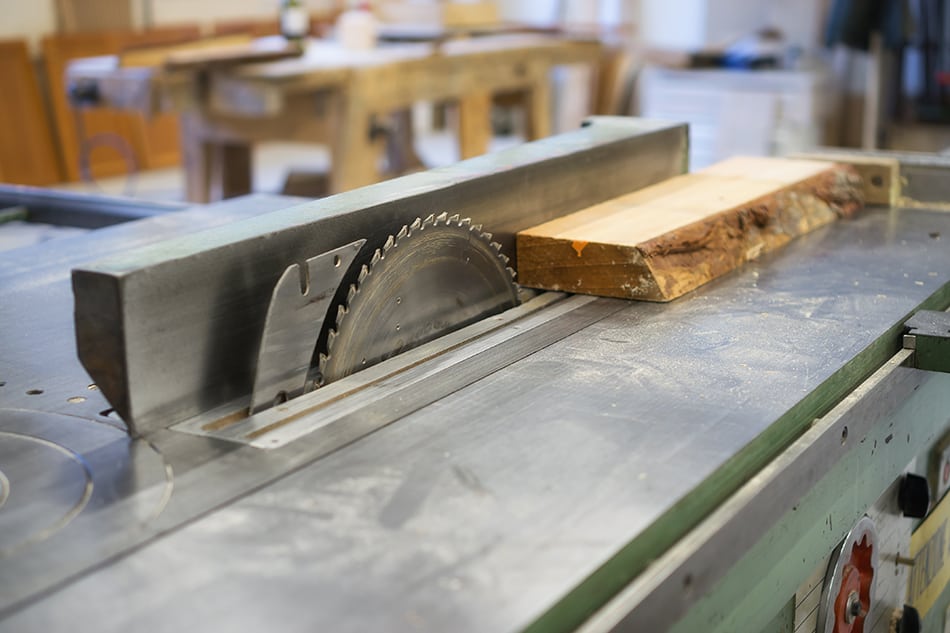
Yes, you can make the same cut with a circular saw by moving the saw across the board, but there’s always the risk of getting off-center as you move the saw manually. A table saw is a much safer option, as you move the board across the saw with the help of guides on either side to keep it straight as you feed the board. This is good for making long cuts with the grain of the wood.
You can buy table saws in larger or smaller versions to fit your workspace. They may also fit different blade sizes. If all you’re doing is cabinet making, a smaller table saw is probably suitable and will have no problem cutting the depth you need. You just need the guides to be long enough to keep the full length of your panel secure as you cut.
Panel Saw
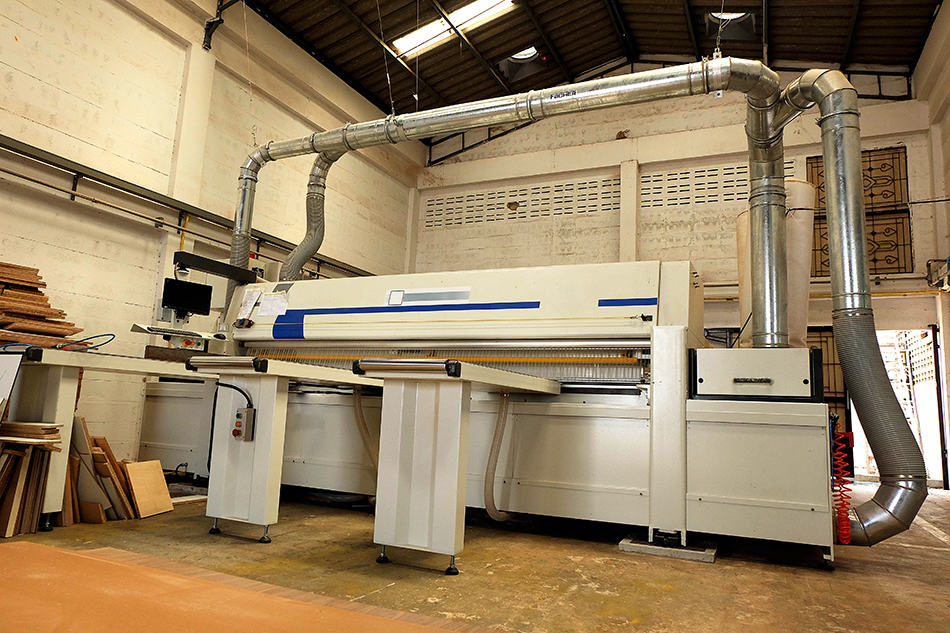
This works basically the same way as a table saw, but it’s better for cutting across the wood grain. It works especially well for cutting across the plywood. Depending on the direction of the cut and the type of wood you’re using, you may want to have both set up and switch between the two as you cut your panels.
Miter Saw
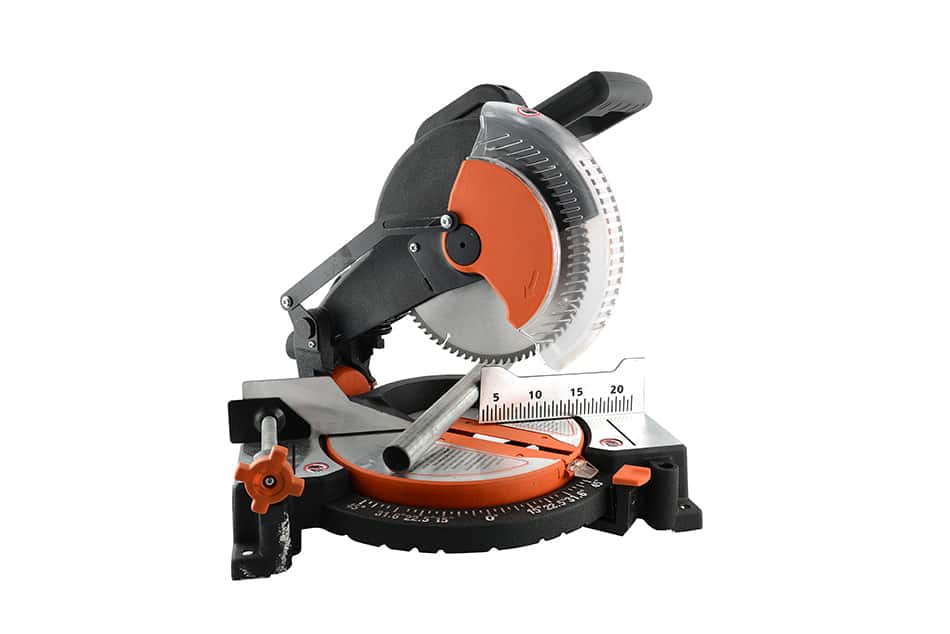
A miter saw isn’t for making long cuts like a table saw or panel saw is. A miter saw can make short straight or angled cuts. The primary use in cabinet making is cutting angles for trim work to fit together. You might trim on top of the cabinet door, around the door, or around the cabinet box to embellish it.
Like a table or panel saw, a miter saw sits in one place, and you bring the board to it. Unlike another fixed saw, you then bring the blade down onto the board instead of feeding the board into it. A miter saw usually doesn’t have guides to keep the board still, so this is where your clamps may come in handy. Just make sure that the clamp won’t be in the way of the saw blade when you lower it.
Jigsaw
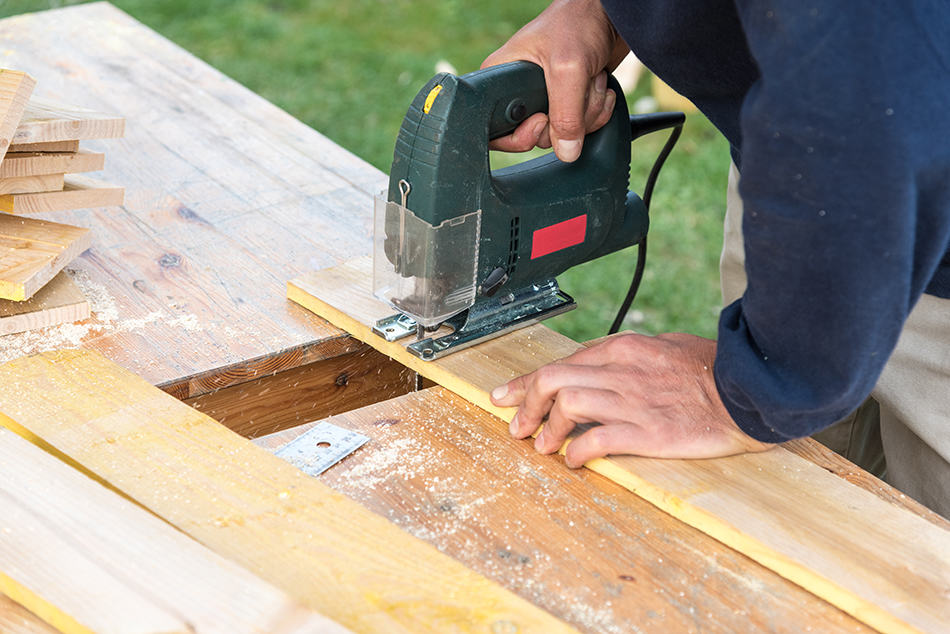
If you want to get fancy with your cabinets, you’ll need a jigsaw. They’re used for cutting rounded edges and other shapes where you need to change direction. While you’ll want to practice with a jigsaw, it’s generally very easy to use and handle. You can also adjust the speed and squeeze and release trigger to work at your pace as you carefully create your pattern.
Like other portable power tools, the most convenient to use are battery-powered. Just make sure you keep a spare battery on the charger so that you don’t run down your power source.
The Right Saw Blades for the Job
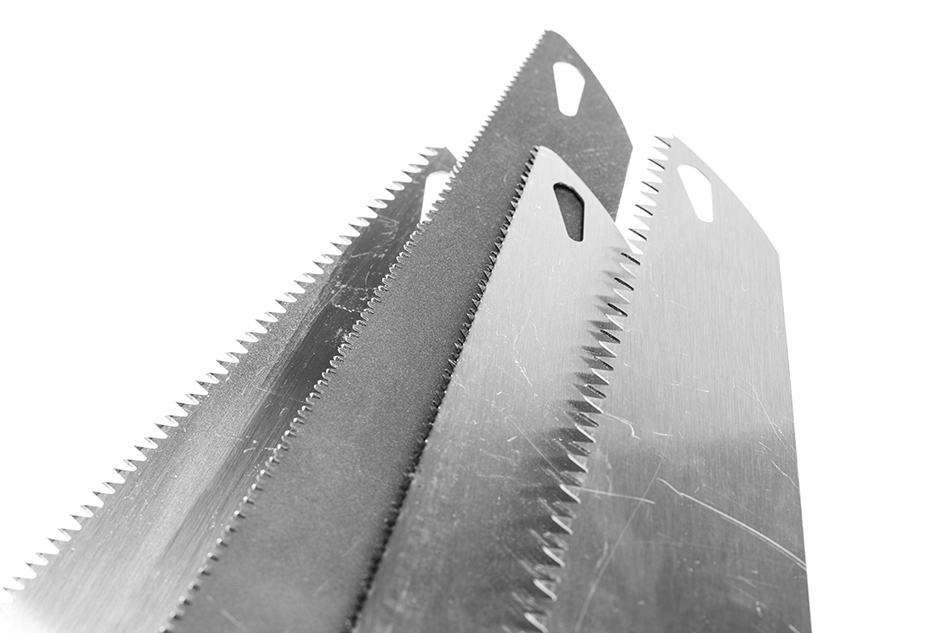
Whatever type of saw you’re using, you want to make sure you’re arming it with the best blade for your task. Some blades work better for certain types of wood. You might want a fine-toothed saw or one with wider teeth, depending on if you’re using plywood, particleboard, solid wood, or wood paneling for specific pieces.
Always make sure your blades are sharp. Using a dull blade can rip your material rather than make a clean cut. You may also be more comfortable using a thinner blade than a thicker one. In general, you can make more precise cuts with a thinner blade, but they’re not suitable for use with all wood types.
Drilling Jig
This is a type of combination tool that helps you make professional, repeatable, standard holes. They clamp the wood down and provide you with a hole to put your drill bit through. You can adjust where the hole is, then set it for each type of hole you need to make. These help me a lot because I find it difficult to get a straight angle just by looking over the top of the drill. The jig makes sure I’m lined up properly before I start drilling.
Hinge Jig
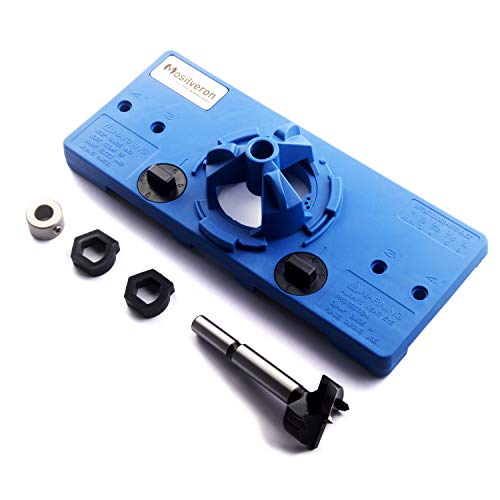
One type of specialty drilling jig you’ll want to have is a hinge jig. Line up your holes for the type of hinge hardware you want to use, and then drill both or all three of your holes accurately at the same time. Keep it set, and you’ll be able to drill your hinge holes for every door very quickly.
You may want to perform this step before you paint the door or cabinet box to ensure the clamps don’t mar the paint job.
Drawer Pull Jig

Another specialty drilling jig is the drawer pull jig. This is used to center your hole on the front of a drawer for you to place a knob or handle. Again, it saves a lot of time, as you won’t need to measure each drawer front when looking to center your hole. You’ll also know what your hole will be perfectly straight when you screw in your hardware.
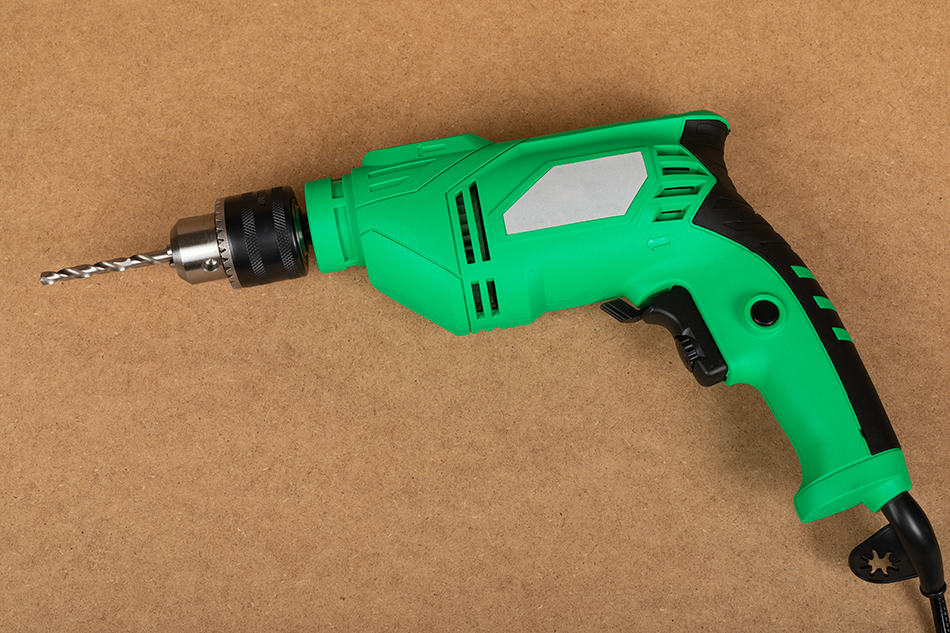
Power Drill and Bits
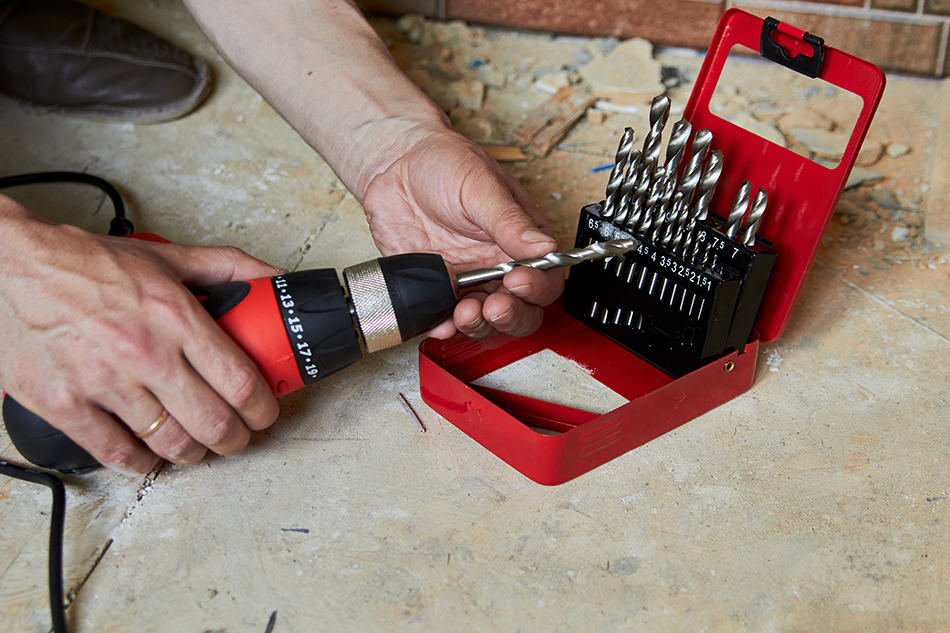
Of course, to use all of these jigs, you’ll need a good power drill and an assortment of drill bits. When choosing a drill, the most convenient to use are cordless, battery-powered drills. They’re powerful enough to make guide holes in any type of wood, and you won’t have the cord in your way as you move around your workspace. Just be sure to get a spare battery and always have one on the charger so that you don’t run out of juice.
As for drill bits, you may be able to get by with a set of twist drill bits. These are the most common you’ll see. They’re made to punch through your material or go as deep as the bit is long. Forstner drill bits, on the other hand, have a smooth end and are meant to penetrate the wood a limited amount. Depending on how you want to build your cabinet, you might want to use these for inserting dowel rods.
You can also use your drill as a power screwdriver if you buy some screwdriver bits.
Router
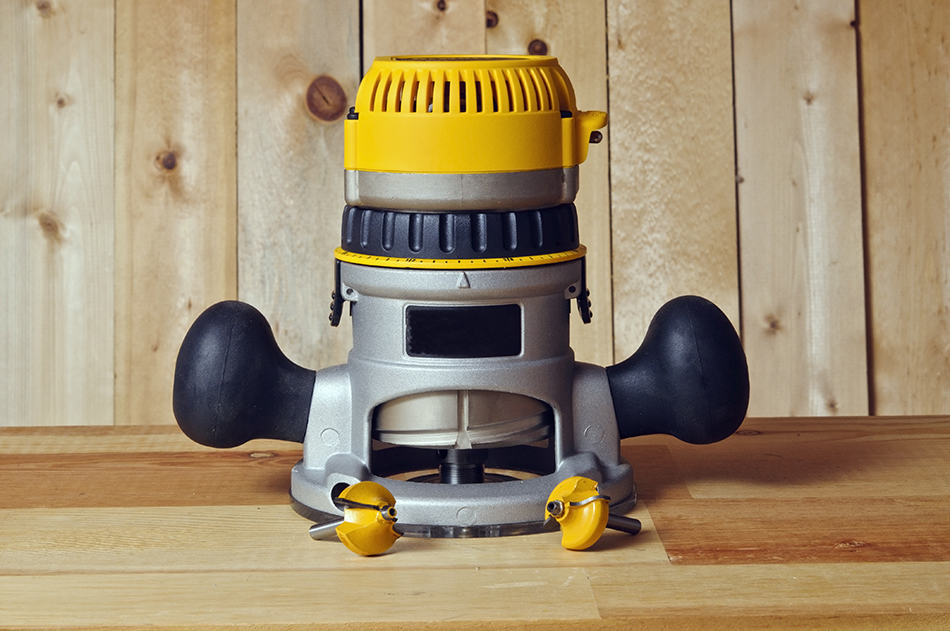
Here’s another easy-to-use power tool that will help you make your cabinet doors look more professional. Routers allow you to cut grooved, clean patterns in the wood. You can set the depth you want to cut to and adjust the width of the cut. You can also control the speed.
It’s best to clamp a guide around the door so that you don’t get off track with this tool, but once you do, you can make stylish cuts all around very quickly. Just make sure you test how deep to set it for the thickness of the wood you’re working with. You don’t make the wood too thin or puncture through it.
You can also use a router to make grooves in the side of a drawer for a drawer slide.
Random Orbital Sander
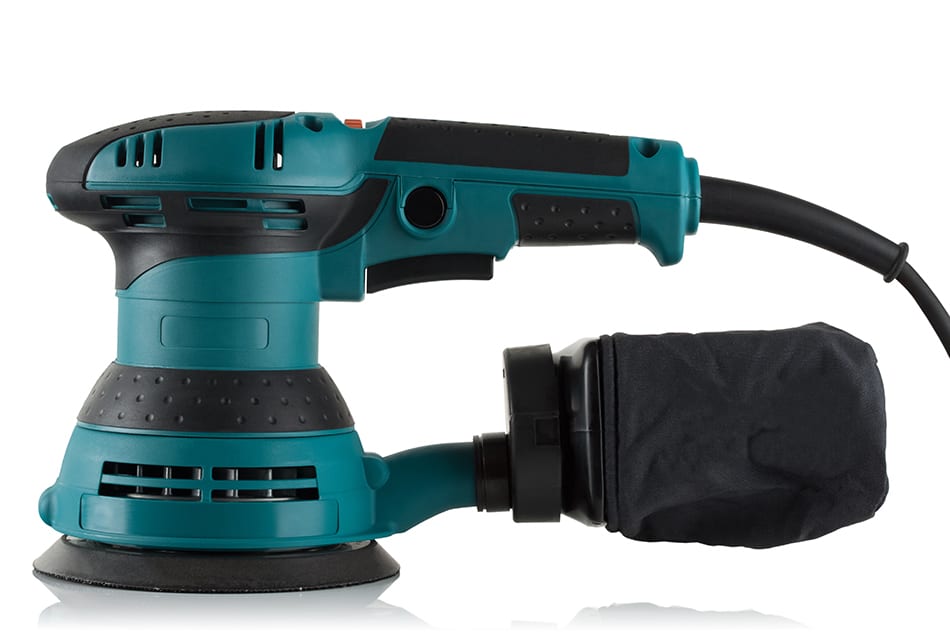
If you’ve made your cuts correctly, you won’t need to do much sanding. Still, a random orbital sander will smooth the wood to create a finer finish before painting or staining.
A random orbit sander fits in one hand and leaves no grit marks in the wood surface like other power sanders and sanding manually can. The sander moves the sandpaper in such a way that it creates a completely smooth finish. Plus, it doesn’t wear out your hand using it.
Drum Sander
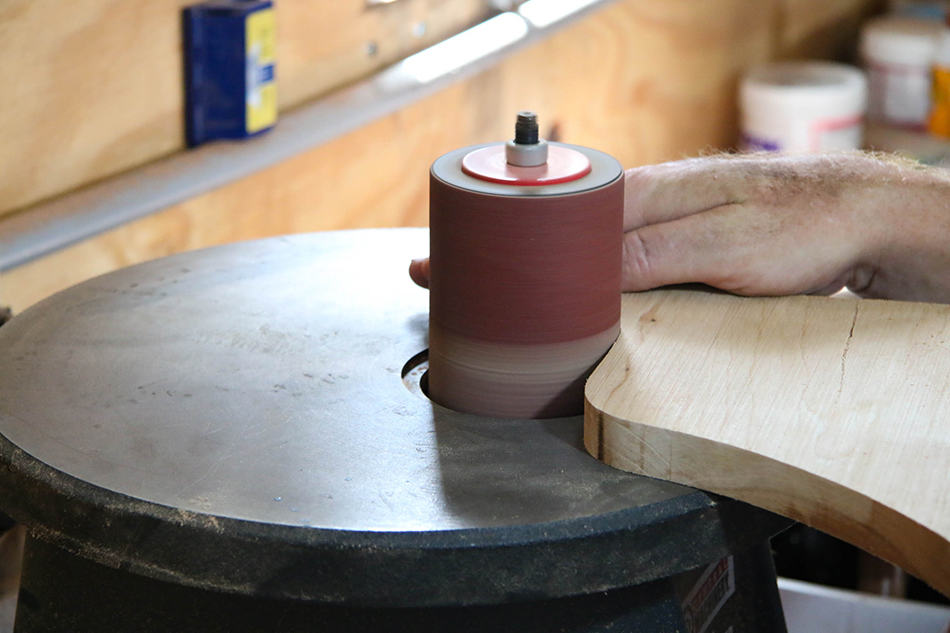
If you want to get your sanding done even faster, you can buy a drum sander. These are industrial-style sanders, so I wouldn’t recommend the investment unless you’re doing a lot of woodworking. With a drum sander, you can sand your entire surface at one time. Just make you buy one that’s wide enough for the width of what you want to sand so that you don’t have to run the board through twice. Doing will cause the overlapping region to be lower than the two sides.
Air Compressor and Guns

If you’re using nails or brads instead of screws to assemble your cabinet boxes, you’ll want an air compressor and a brad nailer or nail gun. Brads are good for attaching particle board to the back of a cabinet. When you go to buy an air compressor, just make sure it delivers enough pressure to power the tools you want to use it with.
An added bonus of having an air compressor around is you can use it to blow the wood shavings and sawdust off your panels.
Biscuit Joiner

Again, depending on how you plan to assemble your cabinets, you may want a biscuit joiner. This cuts slots out of the wood. It’s a good tool for joining boards together to make a wider surface, but for cabinets, you’ll most likely use it to join perpendicular boards to reinforce corners. Join the boards with the biscuits, then glue all the way down the seam.
Rubber Mallet and Hammer
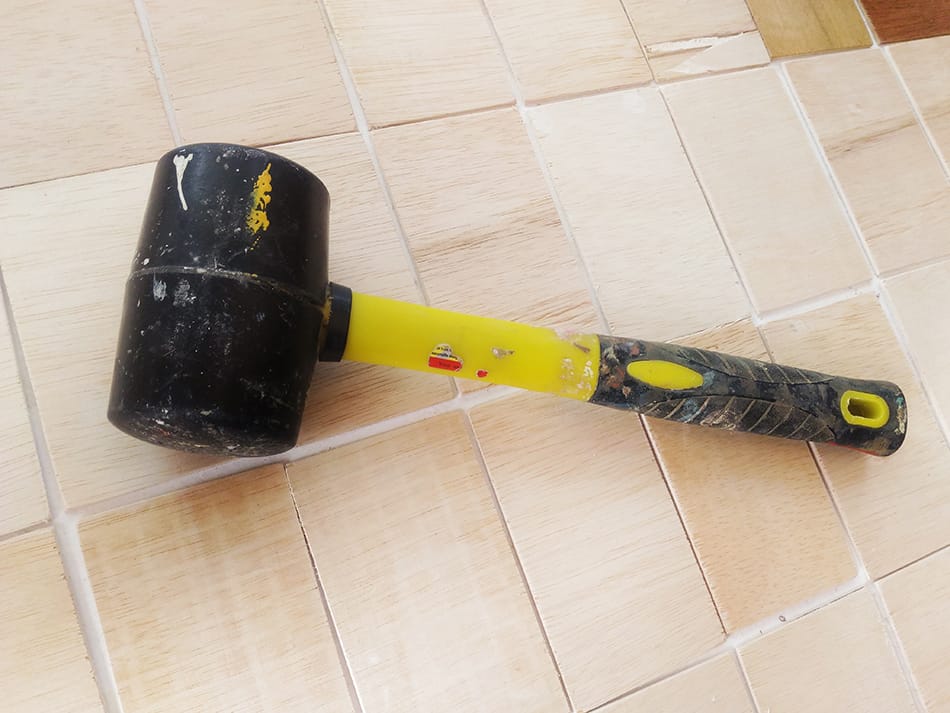
While you don’t want to use a hammer to drive nails into a cabinet, you might want to use a hammer and awl to drive in finishing nails. You could also use a rubber mallet to ensure you have a tight fit joining two boards together.