Painting – you either love it, or you hate it. Either way, you can enjoy your time painting a lot more if you have the right types of painting tools. Here, we’ll cover the basics of what you know and probably give you some new ideas of what to use in your next painting project.
Thankfully, none of these tools are very expensive, and they’ll last through multiple painting jobs. And keep in mind that you won’t need every type of tool all at once. Read through what each is used for and buy only what you need for each project. Eventually, you’ll have a complete arsenal of painting supplies.
Table of Contents
Paint Remover
That’s where a paint remover comes in. It will literally let you wash the paint off the wall. Get some rubber gloves, a sponge, and a bucket of water. If you’re working overhead, you’ll also want goggles to make sure the paint remover or paint doesn’t drip in your eyes. Also, wear old clothes or a paint coat. This can be a very messy process.
With your gloves on, dip the sponge in the paint remover and spread it over the wall or other surface you’re working on. Use your sponge to catch any thinned paint running down the wall. If you’re using this inside, I’d recommend working on a small area at a time so that you can take care of all the running paint. Use the bucket of clean water to rinse your sponge. If you want, you can use two sponges – one for dipping into the paint remover and one for soaking up the paint.
Also, be sure to have plenty of ventilation when using a paint remover, or else buy one that is odor-free. You can also wear a ventilator to avoid any ill effects from the fumes.
You won’t need to use a paint remover to prepare your surface unless you’re working on something that’s been painted many times. Apartment buildings are commonly in need of paint removal because they repaint the apartment in between each tenant to present a freshly painted appearance.
Painter’s Tool
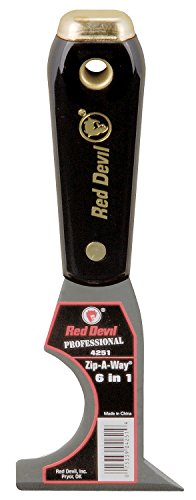
This is a thin hand tool you can slide into your back pocket. It has an edge for scraping paint, opening paint cans, cleaning and removing used rollers, and other handy functions.
You’ll find all sorts of uses for it without having to reach for another tool. Keep it clean, and you’ll be able to keep the same tool forever.
Painter’s Tape
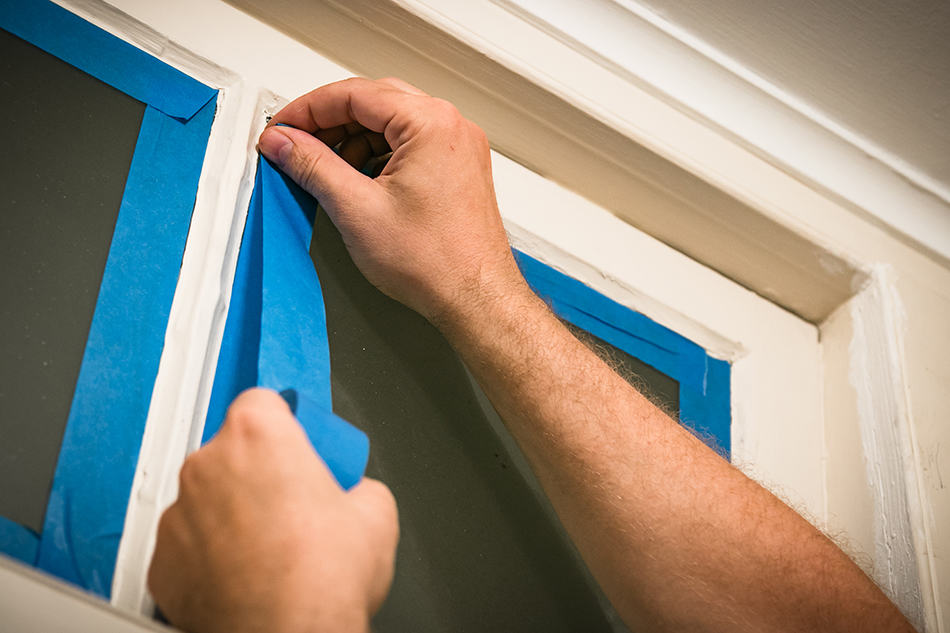
This is the most time-consuming step of painting. You have to make sure you’re not going to paint something you don’t want to paint on. This might be the trim (doorframes, baseboards, crown molding) or an adjoining wall.
To protect those areas while painting right up to them, you need to tape over them. The paint serves as a barrier to the paint that you can then pull down once you’ve applied the paint.
You can also use tape to make a design on the wall. Create a shape on the wall with the tape, then cover the opposite areas when you want to paint the covered area a different color.
Be careful with tape, though. If paint pools next to the tape (as it’s prone to do in corners and along edges), the paint will seep under the tape, so make sure your tape sticks well and is tight. But not too sticky because you don’t want the tape pulling up paint when you take it down.
Another tip when using tape is to cut along the painted edge with a utility knife before pulling the tape down. It’s likely that you’ve got some paint on the tape. That paint glues the tape to the newly painted surface, and when you pull the tape, you’re likely to pull off some of the new paint as well. Cutting the tape breaks the bond between the tape and paint surface so that your tape doesn’t end up causing more harm than good.
Drop Cloth
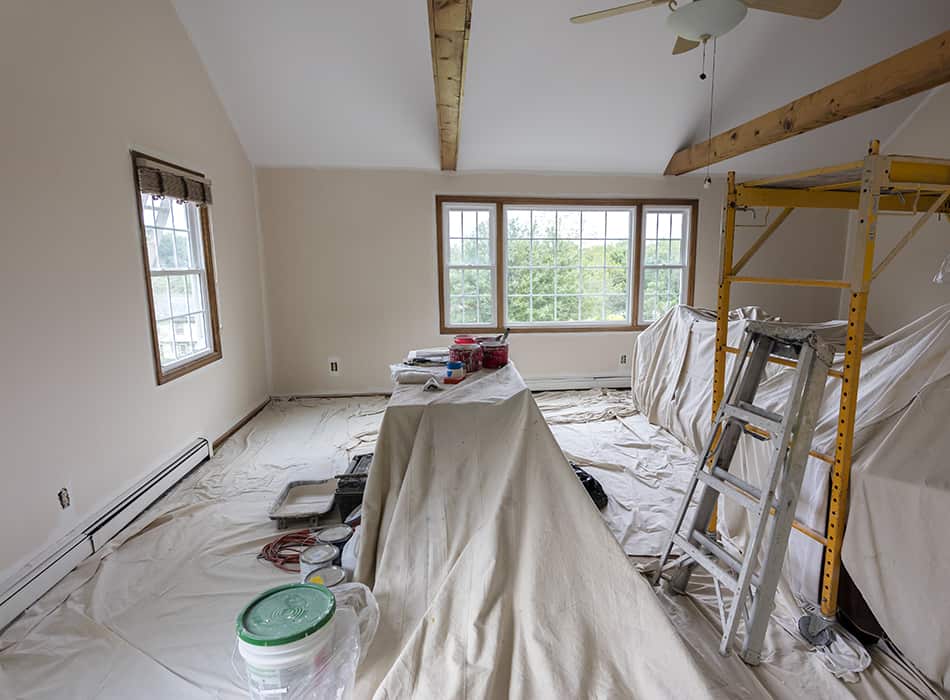
There’s nothing more frustrating than having to stop your painting task to clean up a splotch of paint that dropped to the floor. If you have wood or tile floors, you can usually wipe up the paint or scrape the dried paint off. If you have carpet, good luck getting the paint out.
As the doctor says, prevention is better than a cure. Like taping areas on the wall, a drop cloth creates a barrier to the paint so that it doesn’t get on your floor or furniture. The nice thing is that laying down a drop cloth is much less time-consuming than taping the edges of the trim.
What to consider here is whether you want to buy a cloth drop cloth or a plastic one. You could also use old towels if you’re painting a small area. I used my old full-length drapes for a few painting jobs. If you’re going to be doing a lot of painting in the coming months, I’d recommend buying or using a cloth drop cloth so that you can reuse it. There’s no need to wash it; just let the paint dry on the cloth. If you don’t plan on painting frequently, buy a plastic drop cloth that you can throw away. Your frequency of painting isn’t worth storing a cloth drop cloth.
Whichever you choose, be careful to fold the drop cloth in on itself when you pick it up to avoid smearing paint on the floor. Also, check the floor after you pick up the drop cloth to make sure no paint leaked through or somehow missed the drop cloth as it dripped down.
As you step on it, sometimes the drop cloth can slide away from the wall. To prevent this from happening, you can tape your drop cloth to the baseboards.
Corner Edges
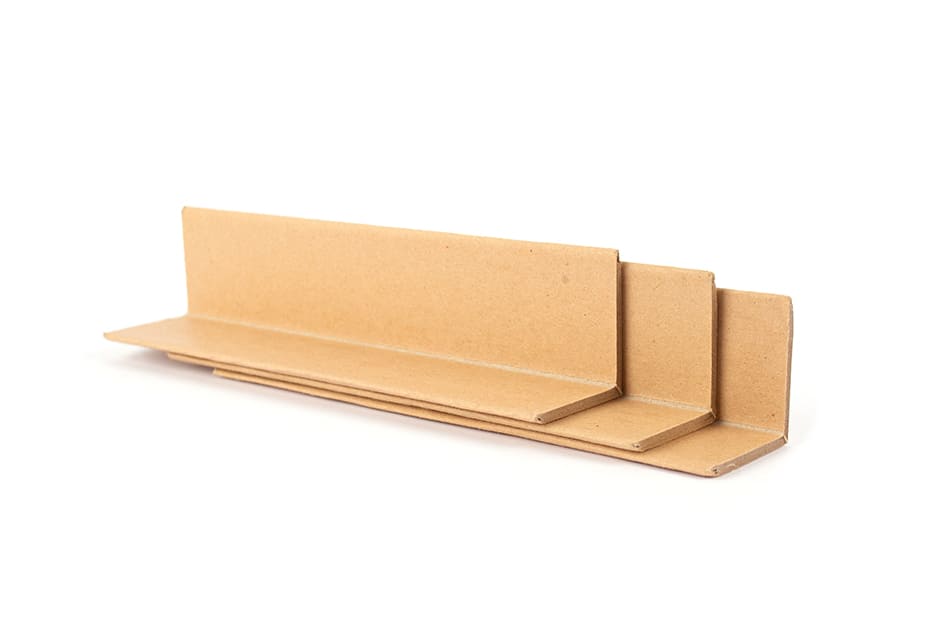
Using corner edges instead of tape can be useful if you don’t have much area to block off. They’re inexpensive plastic pieces you can attach temporarily to the corners of a doorframe to keep yourself from getting paint on the doorframe.
Be careful with these, though, because if you get too much too close to the corner piece, the paint will seep under the plastic onto the doorframe. And if you want to paint right up to the doorframe, you’ll have to remove these pieces. They’re good for protecting the doorframe while you paint the large section of the wall. Then, remove them and use a smaller brush for the detail work.
Paint Guide
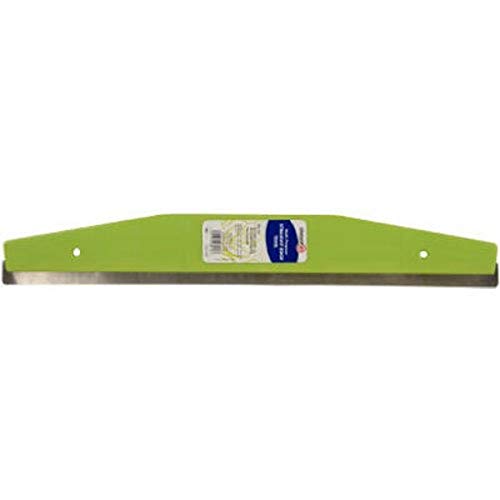
If you want to paint right up to the edge of a doorframe, baseboard, or adjoining wall, you’re going to have to remove the tape and corner edges and use a detail brush. Placing a thin paint guide between your brush and the adjoining surface ensures you get a straight line with no paint mistakes.
These come in different lengths, so you can choose which size is best for you. You want to be able to make a full stroke with your brush without having to slide the guide too often.
Paint Bucket

Even though your paint comes in a bucket, you may want to pour paint into a separate bucket. Doing so is helpful when you need only a small amount of paint to do some detailing and don’t want to carry your full bucket around. With a separate bucket, you can fill it with as much paint as you need.
Paint Can Lid
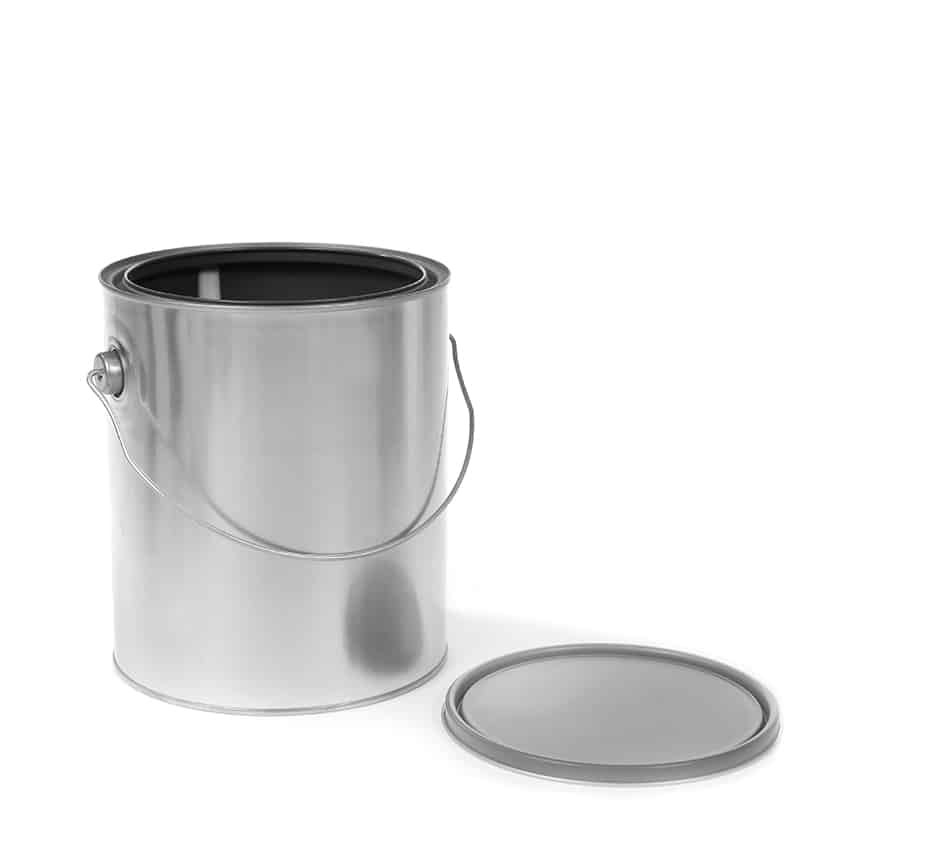
When you open your can of paint, you bend the lid a little. As you pour the paint, you get some paint on the rim of the can. Both of those realities make it harder to get a tight fit when you put the lid back on. If you buy a separate paint can lid, you don’t have to worry about putting the same lid back on. Throw the original lid away and use the reusable lid to make a tight seal over the rim of the can. These lids also have a spout at the top for easy pouring.
Paint Roller
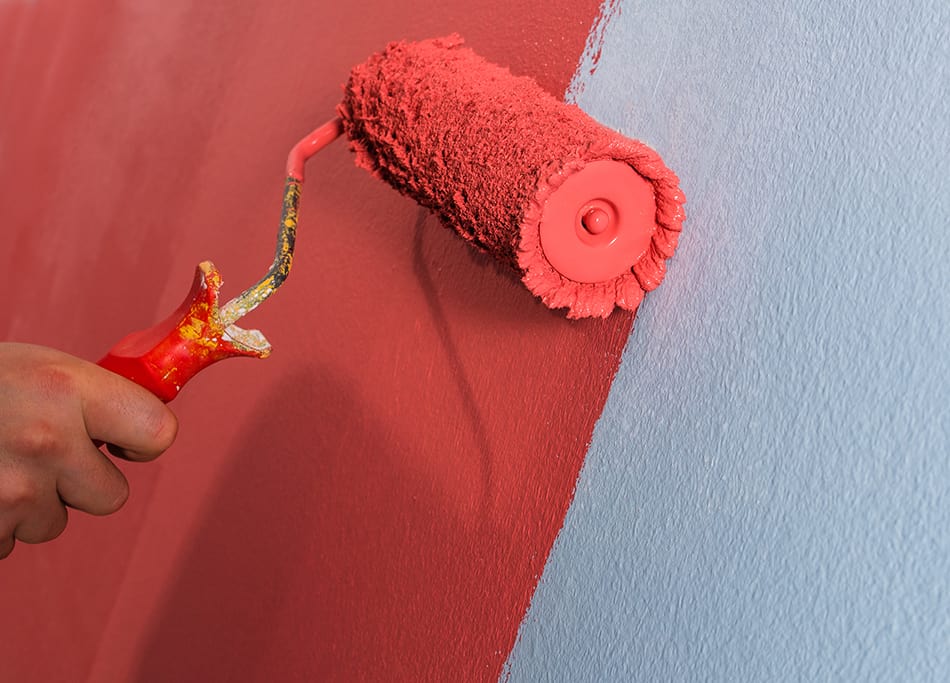
A paint roller is ideal for creating an even texture on a wall or ceiling. Most types of paintbrushes leave brush marks, and while a roller does leave a texture, it’s not as pronounced as lines from bristles in the paint. Sometimes, you want those brush marks for the style of your project, but you don’t normally want them across a whole wall.
Rollers also help you cover a large area much more quickly than even a wide brush can. Instead of applying a little paint to the brush and spreading it, the material of the roller soaks up the paint and squeezes out on the surface as you press the roller onto the wall or ceiling. You pick up and spread more paint with each dip into the paint tray, particularly with thicker rollers.
Note: the material on the roller is called “nap,” so a high or thick nap has more material and can soak up more paint, while a low or thin nap has less material and picks up less paint.
You can buy rollers with different textures and of different sizes to create just the look you want on your wall and to get into narrow spaces. Some rollers even have an embossed pattern, so you can create an interesting pattern on your wall as you roll it.
Using a frame cover on the roller can help you make less of a mess and avoid mistakes better than using a brush. The cover catches paint that can splatter off the roller if you pick up too much paint or roll it too quickly. It also provides a barrier between the roller and any adjoining surfaces, such as trim, that you don’t want to paint.
Paint Tray
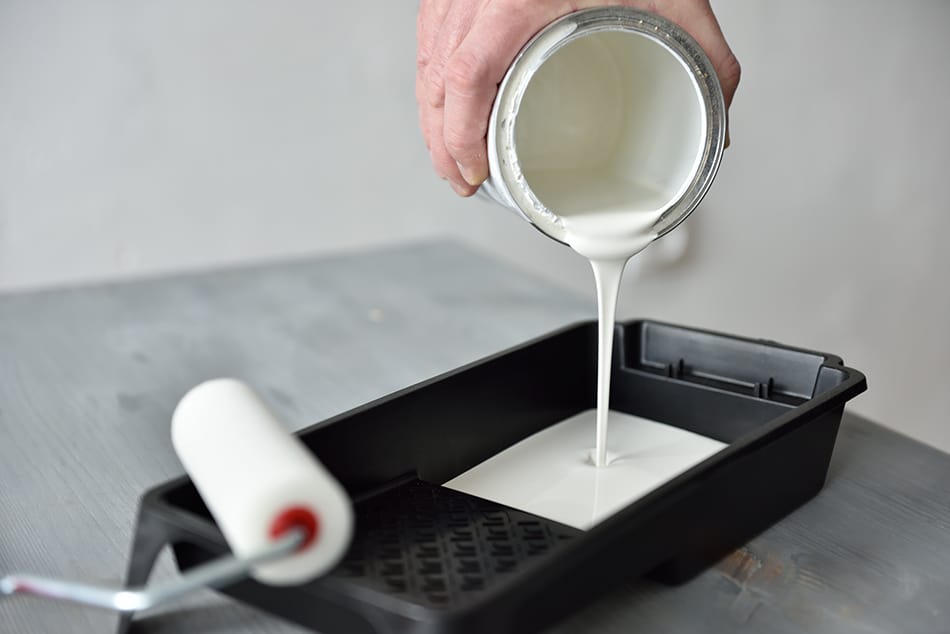
Of course, if you’re going to use a roller instead of a brush, you’ll need a paint tray. While most rollers and paint trays are standard-sized, just make sure the tray you buy is wide enough for the roller to fit without the sides scraping. This could be a particular concern if you’re using a roller with a cover. You don’t want to have to remove the cover every time you need to pick up more paint.
You’ll also want to be careful not to fill the tray too little or too much. Paint is sticky, right? So, the chances are that some of the paint will start to stick to the tray. If you fill the tray too low, the roller will pick up that half-stuck-on paint and deposit a goopy mess on your wall. It’s like scraping the bottom of the barrel. If you fill the tray too high, you won’t be able to roll the excess paint off in the tray and will drip paint as you move the roller to the wall.
These trays come in plastic and metal. I recommend the plastic, even though they’re not as sturdy, because they’re easier to clean than the metal versions.
Paint Tray Liner
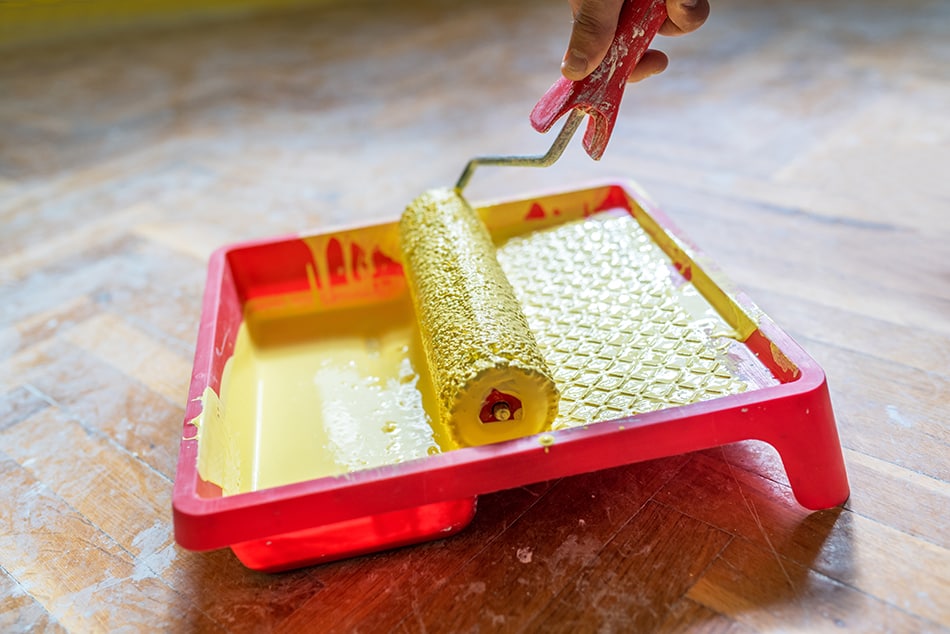
But speaking of cleaning your paint tray, here’s a handy tool you might not have used before. It’s a disposable paint tray liner. Instead of pouring the paint directly into the paint tray, you buy a liner that fits inside the paint tray and pour the paint into it. These are thin, inexpensive pieces of plastic, so once you’re finished painting, you don’t need to worry about cleaning and saving them. Just throw them away and start with a new liner the next time you need to paint something.
Tip: You don’t need to throw the liner away between coats. You can actually keep the paint in the tray, along with the roller, all in an airtight plastic bag for up to a day or two. This keeps the paint from drying out, and all your tools will be ready to use without having to clean them in between sessions. For added preservation, place the plastic bag in the refrigerator.
Paint Brush
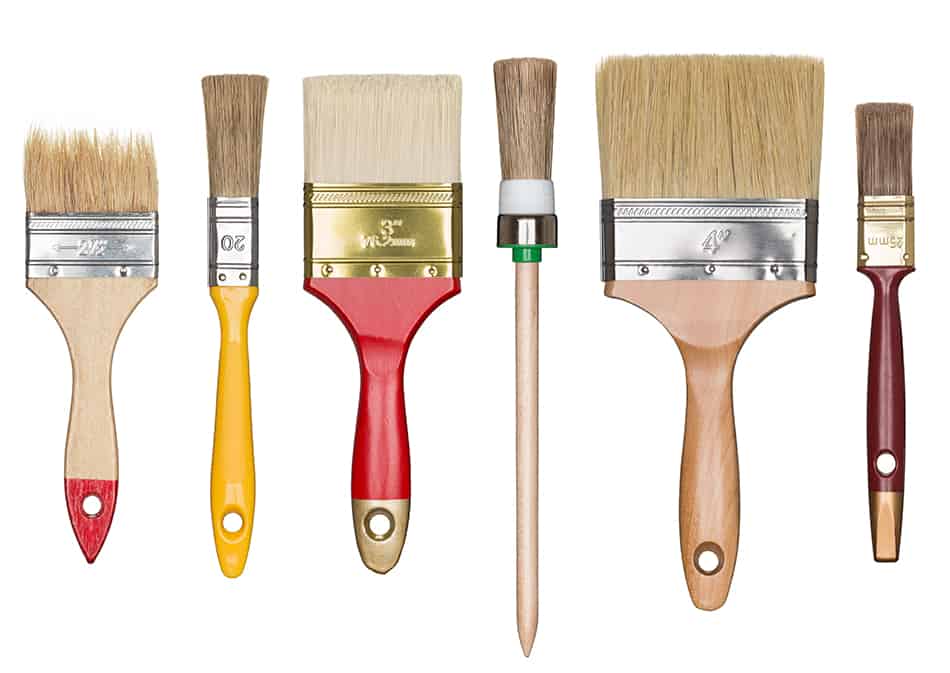
For most painting tasks, you’ll want to use a roller and a paintbrush, and if you’re using a brush, you’ll probably need more than one type of brush. We’ve discussed the types of paintbrushes in detail in another post, so we’ll give a brief version here.
The first thing to note is that lower-quality paintbrushes aren’t constructed as well and often have loose bristles. You might not notice at first, but as you paint, you’ll see bristles falling out in your paint. It can be a real pain picking the bristles back off your surface when they’re stuck in the paint.
In general, don’t buy the cheapest paintbrush. This goes for all painting supplies. It’s better to pay a little more for high-quality tools than deal with the problems that come from using cheaper alternatives.
Paintbrush Type
There are many types of paintbrushes, all designed for different purposes. Here are the most common types of brushes for household painting projects:
- Stencil Brush – used to dab paint onto a surface rather than spread it on
- Angled Sash – slanted bristles shaped to run alongside adjoining surfaces without bleeding paint or for painting angles and corners
- Flat Sash – covers a surface evenly with flat, evenly cut bristles
- Wall – large brushes with thick bristles for picking up and spreading paint over a wide area
- Trim – thin brushes for painting narrow areas
- Foam – apply a thick layer of paint with no brush marks
- Artist’s Brush – for applying a small amount of paint when detailing
Types of Bristles on a Paintbrush
You won’t need to worry about this when using a foam brush, but all other types of paintbrushes have bristles. Some are made of natural materials, and some are synthetic. Each kind gives you a different surface texture and is best for use with certain kinds of paint.
Natural materials are best for use with acrylic and latex paints, while synthetic materials are best for water-based paints.
Natural Bristles:
- Ox Hair – made from hair on ox ears, very soft bristles for smooth surfaces
- Black China – made from boar bristles, very firm bristles, not good for smooth surfaces
- White China – softer bristles made from boar bristles, good for smooth surfaces
Synthetic Bristles:
- Nylon – soft, good for smooth surfaces, not good for rough surfaces, not for use in humid conditions
- Engineered Nylon – stiffer bristles for semi-smooth surfaces, usable in any humidity level
- Polyester – stiff bristles, leaves brush marks, usable in any humidity level, difficult to clean
- Polyester/Nylon Blend – stiff yet soft, good for all surfaces and humidity levels, difficult to clean
Your choice of which paintbrush to use for each part of your project will depend on the size of the area, what type of finish you want to create, the type of paint you’re using, and the humidity level in your workspace.
Learn more about all types of paint brushes here.
Paint Sprayer
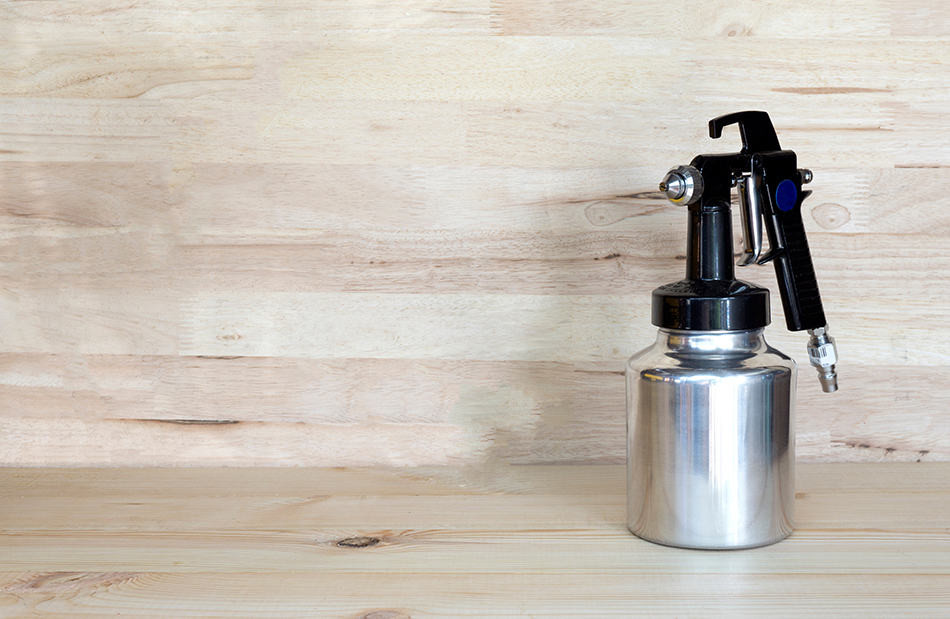
Also called a spray gun, you can use these to spray an even coat of paint over your interior wall or outdoor project. You don’t have to touch the surface at all. Just fill up the sprayer, stand back, and aim. You don’t even need an air compressor anymore, as you can buy lightweight, airless spray guns.
This is the fastest, easiest way to paint. It’s the power tool of paint application. As long as you keep moving, the spray gun will apply an even coat of paint with no running or pooling paint, as it sprays a fine mist of paint over the surface. Like other painting methods, wait for the paint to dry for a couple of hours, then re-spray as needed. Just make sure no paint dries in the gun to keep it from clogging.
There are different sizes of paint sprayers, with some holding more paint than others. Others are more heavy-duty, made of metal housing, while others are mostly plastic. Both types are durable. The thing to note here is you want to buy one that will be easy enough for you to hold and handle when full of paint.
Step Ladder
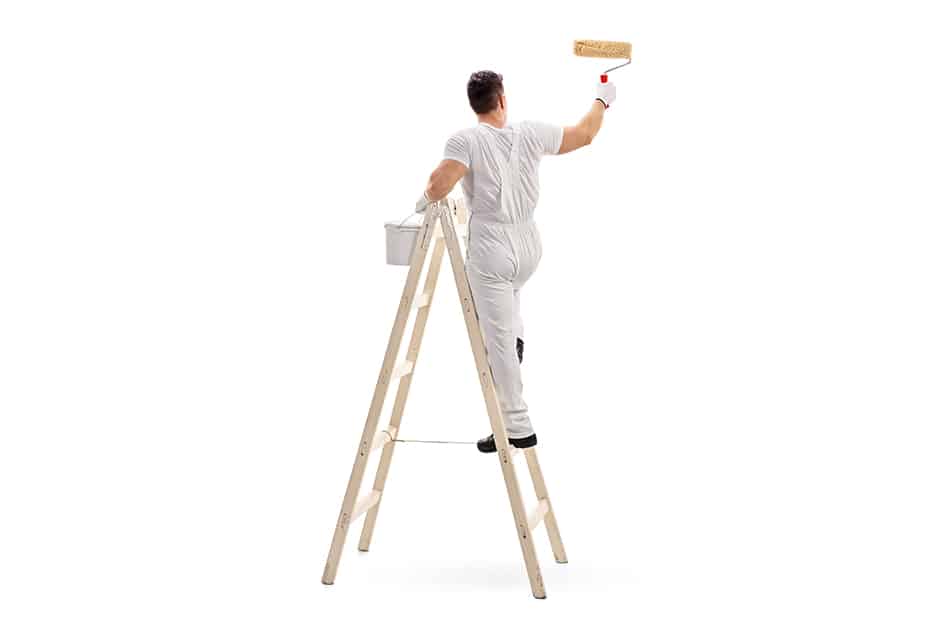
Some people can reach the top of their wall with a brush or roller. Others don’t quite have the reach. To help you get up close to the top portion of the wall, you can buy a step ladder. I like the lightweight fiberglass ladders with a plastic fold-down tray where you can place your paint bucket or roller tray.
For most people, a six-foot ladder will be sufficient. If you have vaulted ceilings, though, you might need a 10-foot ladder or higher. Just make sure you get an A-frame ladder that stands on its own. You don’t want to have to lean the ladder up against your wall.
Extension Pole
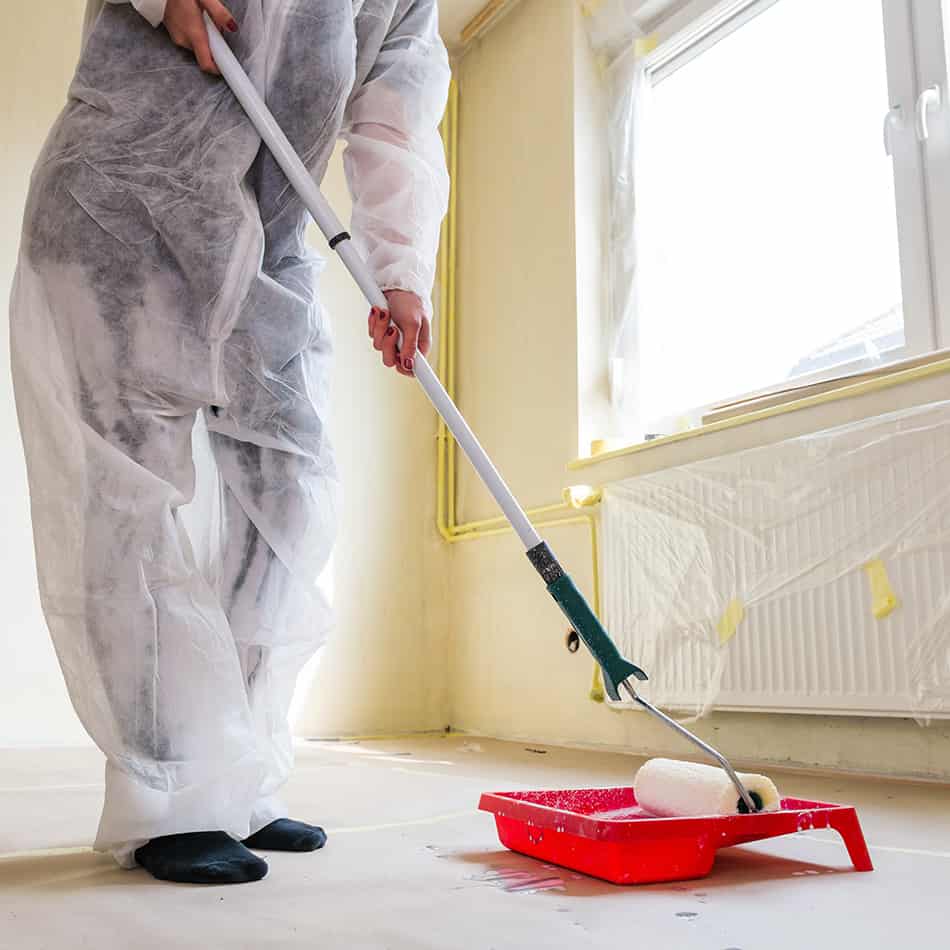
A more convenient method of reaching high places with your paint may be an extension pole. You can buy rollers that screw onto a pole. The pole also extends to be longer or shorter for easy storage.
Using a pole saves you from moving a ladder around the room as you paint. It also saves you the floor space of not having a ladder taking up room as you work. The problem is that using a pole can be messy and unwieldy. You’re likely to drip more as you lift the roller with paint on it. You also won’t have as much control as you would have holding a tool closer to your body. It’s best for covering wide areas you don’t need to be very careful on, such as ceilings. If you’re doing a lot of overhead painting, though, holding the pole up can get tiring.
Lock Jaw Tool Holder
If you’d rather use a brush on high surfaces, you can attach a lockjaw tool holder to your pole. You could also place any other tools in the holder, such as a scraper or hand sander.
The jaw will hold the tool still and securely in place at any angle you choose. Again, just be careful using any tool on an extension pole, as you won’t have as much control as you would holding the tool in your hand. You’ll also tire faster lifting the pole.