Sure, the days may still be long, and thermometers are still firmly in the “comfortable” zone – but all good things must come to an end, and summer is just one of these good things.
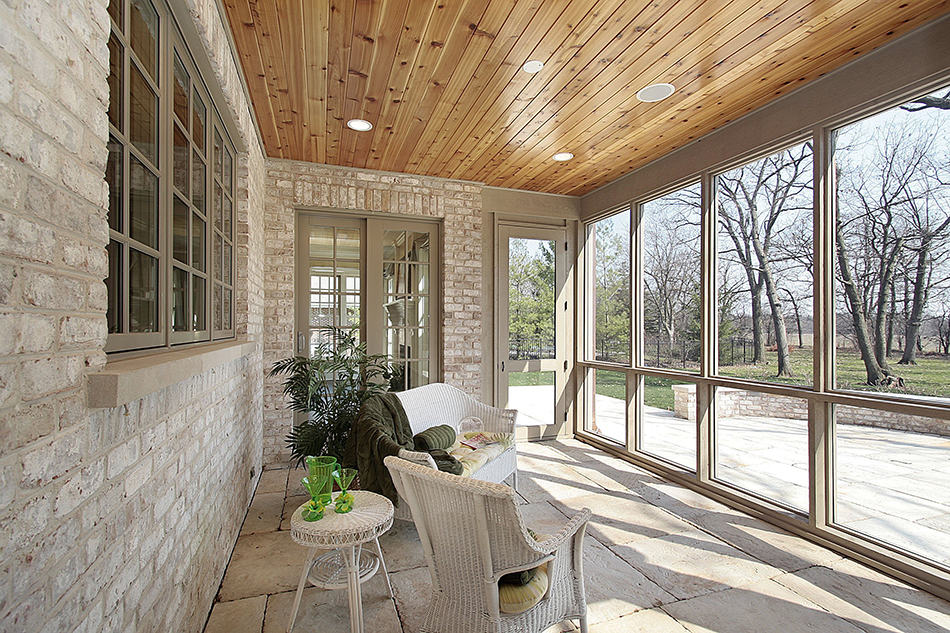
If you have a screened-in porch (the type of porch that is meant to protect you from mosquitoes and bugs), you won’t need to give up this part of the house. Spending your afternoons catching a little bit of breeze may not sound as appealing – but if you make the proper adjustments, you can still use this space as your reading nook or as a sitting room for family gatherings.
To winterize your screened-in porch, you just need a day off, some elbow grease, and basic supplies.
Table of Contents
What is Winterizing?
The process of “winterizing” really means “to get something ready for the winter.” For engines and electrical systems, this usually requires changing the oil or adding extra chemicals to ensure key parts don’t freeze. If winter equals storms and snow-ins in your area, winterizing may also involve getting structures ready to resist the extra weight of the snow or even waterproofing them.
In the case of a screened-in porch, winterizing aims to insulate you (and the rest of your house) from the cold. Some safety adjustments may also be needed, but the priority will be to keep the area warm without overexerting your heating system.
How to Get Your Screened-in Porch Ready for the Cold
Follow the instructions below to ensure your porch is ready to receive the winter without a chill.
To do these, you will need:
- A basic cleaning kit (mops, cloths, sweeper, broom)
- Measuring tape
- Sheets of insulating material
- Nails
- A razor knife
- Velcro tape
Clean the porch
Winterizing provides a great opportunity for a fresh start. It will be easier to work in a clean, clear area. However, this is not the only reason why you should clean the porch before starting the winterizing process.
To insulate your porch properly, you will need to cover the nylon screens that keep the bugs out. However, if any small traces of mildew, dust, or tiny dead bugs are left on the mesh, they will remain hidden there until the winter is over.
Out of sight, out of mind, right? Not so much. Left unattended, any rotting areas or organic debris can quietly grow. Once you add some humidity to the dark and isolation, you may find more extensive damage to your wooden window frames or even infestations. Any trapped dust may also trigger allergies or asthma.
Take measurements of all windows and screened areas
If you want to know the exact square footage of your covered porch area, you only need to take a look at the blueprints – if you have them.
However, when it comes to winterizing your porch, the total covered area is not really that important. You will be working with the screened “openings” that let the air flow in during the summer. For safety, you should measure each opening at least once.
Then, add at least an inch of length to every border. This will give you enough leeway to attach your main insulation material to the surrounding wall or window.
Choose the insulating materials
The measurements you took in the previous step will determine how many insulating panels and what size you will need to buy. In addition, it will determine how long a Velcro strip you will need or how many nails.
Before you can do that, you will need to select the material of your insulating panels. You can have three alternatives in most hardware stores.
Vinyl curtains
Vinyl curtains are often too heavy to make proper year-round curtains, but they do a great job of stopping air drafts and of keeping warm air inside.
Other pros of vinyl curtains include their durability and their relatively low price. In addition, depending on the amount of work you are willing to perform the first time, they can provide very efficient solutions that can be easily taken down and re-installed in the coming years. For example, they can be taped using Velcro strips, nailed, or even help with a four-point rod system. The latter option will require a lot of drilling to install – but will make the work very easy next year.
On the other hand, vinyl curtains can trap dust very easily. They also form wrinkles rather easily, which can make the room look untidy.
Plastic insulation sheets
Plastic insulation sheets are much more solid than vinyl panels, and because of this, they also provide a better seal around the porch’s openings. This is counteracted by the fact that they don’t retain heat as efficiently. They are also slightly more expensive than vinyl curtains.
Plastic insulation sheets are often sold as part of “winterizing kits” that include all the accessories you need. If you buy one of these, you probably won’t need to buy separate Velcro strips, staples, or nails, as many of these kits come with pre-installed ones around the edges of each panel. The downside of doing this is that these kits usually come in pre-set sizes, and they may not match the size of your windows.
Vinyl panels
Vinyl panels often look much nicer than plastic insulation sheets. They have a sleek, shiny quality that allows you to design the rest of your décor around them. Many also come in different colors, further expanding your décor options.
They also provide superior insulation and may help you save money if you install an HVAC or central heating system: they can significantly lower your total electricity bill! In addition, they are very durable and easy to clean.
That being said, vinyl panels are notoriously more expensive than curtains or plastic insulation sheets. This is not only due to the panels’ cost but also because of their installation: too heavy to be held by nails or Velcro, vinyl panels need to be attached to an existing set of storm windows. Therefore, you will also need to include that cost in your estimations.
Install the insulation
The installation process will now depend on the material you choose.
The most common technique for vinyl curtains and plastic insulation sheets includes nails or Velcro strips.
To do this, attach 1-inch thick Velcro strips around the edges of each opening or window. Then, attach or sow the other half of the strips around the edges of your panels and curtains.
Afterward, you can “attach” the panel to the corresponding Velcro frame. Press firmly to ensure it has properly adhered, and run your fingers along the edges to ensure no unattached sections or air bubbles are left around.
If you would rather use nails or staples instead, you will need someone else to help you hold the panel or curtains while you nail them. Then, nail the panels halfway between the end of the panel and the end of the opening. For example, if you left an extra inch of material to overlap the window, the nails should be half an inch away.
Vinyl curtains can also be installed using curtain lines or rods. In this case, do remember that you shouldn’t simply hang them from the top of the opening. If you do this, most of the heat will still be able to escape!
Instead, you will have to install rods on all four edges of each opening and secure the curtains from all sides. Once summer comes around, remove the panels and find a creative solution to hide the rod holders – they can double as a way to support a few hanging flowerpots!
Check for gaps
Screened windows provide the main source of fresh air for your summery porch – but if you are trying to keep the cold out, you will need to pay attention to small drafts as well. Many of these small openings or cracks may not even be around the windows at all!
Pay extra attention to any cracks around the door or in the upper corners of the porch (next to the roof). Replace any plastic or silicone sealants around the door: this is a common source of cold air and a basic maintenance task that you should do once a year anyway.
You can use caulk or silicone to seal gaps or cracks around the door or close to the ceiling. You can also use special weatherproof sealants for this.
Redecorate
Now that you have finished adapting to the weather, it is time to take care of the room’s mood. This may involve changing throw cushions for darker alternatives or adding seasonal themes to your usual plant arrangements. This is a great chance to get started with some pre-Halloween décor!
Conclusion
A screened-in porch can offer great protection from bugs during the summer. Once winter rolls around, it may be too drafty or cold to be comfortable.
However, with simple materials such as plastic panels, vinyl curtains, or vinyl panels, you winterize your porch and keep the cold where it belongs – outside!