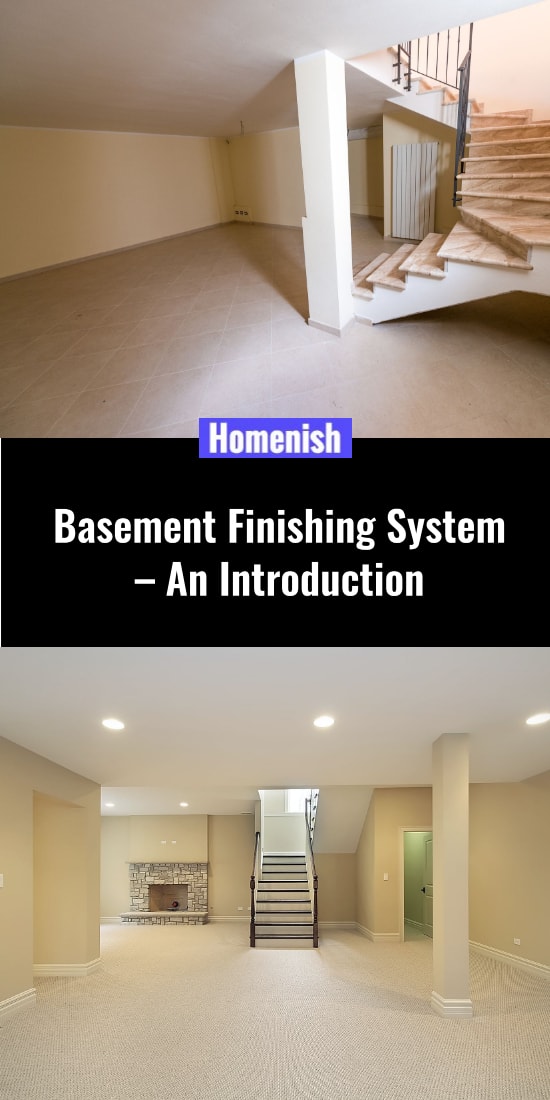
Basements are no longer a place for storing household belongings like surplus furniture. In fact, nowadays, they are rarely used for storage purposes. Most homeowners want to make better use of their basements, hence the reason they convert this space into a functional room.
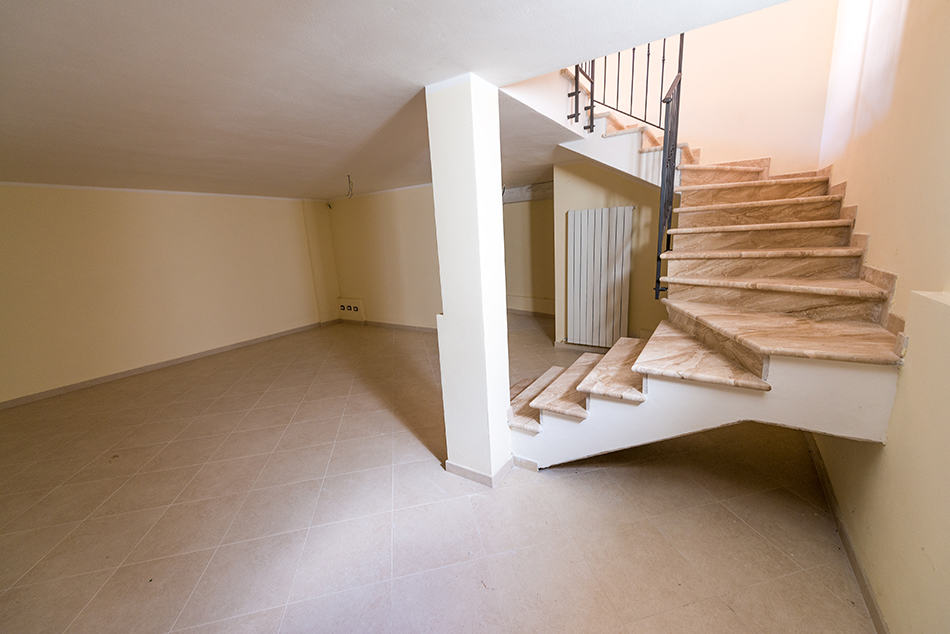
If you want to use your basement productively, you’ll have to finish it properly. Most basements are like blank canvases that require remodeling. But just as with any large home improvement project, you should consider the pros and cons of finishing your basement.
To help you get started, I will highlight the main components of a basement finishing system, factors to consider before starting your project, and how to finish your basement.
Table of Contents
What is a Basement Finishing System and its Main Components?
Different companies offer different finishing systems, but unlike drywalls that are made from vulnerable materials, the majority of basement finishing systems use inorganic materials that aren’t prone to humidity or moisture.
After all, a basement must have adequate moisture protection in order for it to function successfully. Note: if you opt for in-organic materials, you will have to pay a higher cost when compared to drywalls.
The primary building blocks of a basement system consist of insulation, dent-resistant wall panels and framing, mildew-resistant materials, baseboard, ceiling, and flooring. I will go into further detail about the features of a basement system a little later.
Advantages of Finishing Your Basement?
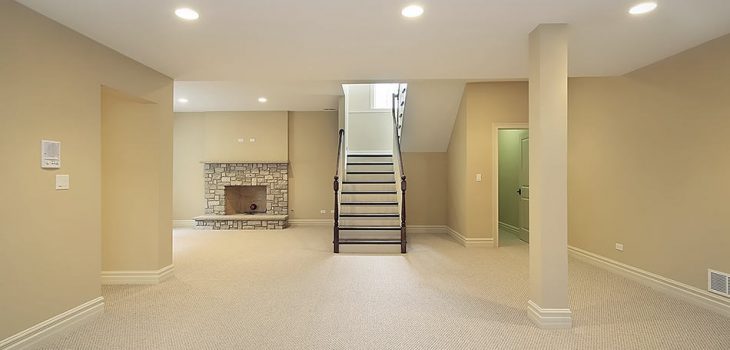
- Increase habitable space: finishing your basement provides additional living space for a fraction of the cost of building a new addition. You can transform your finished basement into an additional living room, games room, home theater room, or even a guest bedroom.
- Increase the resale value: did you know one of the biggest benefits of finishing your basement is the significant increase in your home’s resale value? Since your home will have an additional living space, you’re more likely to sell it at a higher price and in the quickest time.
- Create your own private haven: having a finished basement allows you to disconnect from the hustle and bustle of the rest of the house to unwind in your private space. You can create a relaxing and comfortable space to meditate or watch TV away from all the outside noise. Alternatively, send your kids to the basement and let them make all the noise they want while playing there!
Drawbacks to Finishing Your Basement?
- High cost: finishing your basement can be an expensive project so if you’re on a tight budget and you’re familiar with DIY, you may want to take on some of the work yourself to save money.
- Time-consuming: depending on the current condition of your unfinished basement, the process of finishing it can take several weeks or months. Patience is what you’ll need while your basement is under construction.
- Higher taxes: one of the biggest drawbacks to finishing a basement is the amount of taxes you’ll need to pay because of increased square footage. However, if you intend on working from home using your basement as your office, then the higher taxes will be worth the cost.
- Higher utility bills: since there will be more lights, heating and cooling in your livable space, your utilities will increase. For some, higher utility bills may be a deal breaker, but for others who lack space in their home, this remodeling project won’t be such a big issue.
Think About What You Want to do With Your Basement Space
- Figuring out exactly what you want to do with the basement space is the first important step. Since a games room or wine cellar will have different finishing requirements than a workshop or craft room, you’ll have to take into account the different uses of the basement for your family. Perhaps you want a dedicated theater room as well as a guest bedroom…
- Assessing your basement space is the next step. If you have a small basement, you can’t divide it into separate rooms. On the flip side, if the space is large, you may want to create two rooms. Figure out the exact square footage of the basement and take into account its function for future buyers.
- Now you must set a realistic budget. Otherwise, your basement finishing project won’t be finished, or even if you do finish it, you may put yourself in financial jeopardy. If you find the project too costly, wait until you’ve saved enough money for it before starting.
- The finishes of your basement are just as important. Think about whether you want wooden floors, recessed lighting, crown molding, and other decorative touches, as these will add to the cost.
If you’re not going to do the entire project yourself, obtain multiple quotes from reputable contractors. If the quote is too high or low, think twice. Obtain references about the company and do a background check on Better Business Bureau.
What to Do Before Finishing Your Basement
- Before you start buying all the materials for your basement remodeling, make sure it’s ready first by cleaning and clearing all the clutter, such as boxes, appliances, and bins.
- Next, carry out a moisture test to ensure your basement isn’t damp. If you omit this part, your basement finishing project can get ruined by potential leaks. How to do the test? Tape 2-foot squares of plastic sheets to the walls and floor. Then, wait for a couple of weeks. If you see signs of moisture forming underneath the sheets, then your foundation requires proper sealing. On the other hand, if you notice droplets forming on top of the sheets, then you need to put a dehumidifier in your basement.
- You also need to look out for signs of flooding since every time it rains; your basement may get flooded even after you’ve finished it. Look for black or green mold on the foundation.
- To check for signs of rotten wood or insect damage, inspect the wooden-framed windows, if any, the flooring, rims, and joists on headers. See if any of the joists are sagging or out of line by climbing a ladder and checking the underside.
- To ensure your basement doesn’t get carbon monoxide buildup, hire a professional to check your home’s ventilation system.
- And finally, remember not to rush this remodeling project! Take your time and create a detailed design and layout of the basement’s floor plan before you begin. Some people just want to get the project started and don’t have a clear idea of the timeframe or budget. If you aren’t into DIY, it’s best to hire a team of contractors who can provide you with a clear plan and the scope of the project.
Basic Guide to Finishing Your Basement
Obtain Local Building Permits and Appraisal
An appraisal will help you determine how much money you need to spend on your basement finishing system to determine whether it’s still a good investment. An appraiser will also inspect the basement throughout the remodeling process to ensure the job is being done correctly.
The inspection part is vital to help you identify any foundation repair needs, rot in the floor joists, moisture issues, and much more. You might be thinking, hang on…. didn’t we check for these earlier on? A professional appraiser is your best option in helping you identify mold and leaks between concrete and drywalls so even if you have already inspected your basement, it’s advisable to hire an expert.
You also need to apply for local building permits upon starting your basement finishing project. Make sure you find out about the local building codes on ceiling height restrictions, exits for your basement, as well as fire and safety regulations. Once you’ve determined that your basement meets all the appropriate building codes, you can apply for the necessary permits and begin the project.
Install the Plumbing, If Necessary
One of the toughest jobs of finishing a basement is the plumbing. But it’s possible to do this yourself. If you do, the first step is to assess whether you’ll require pipes and decide on the layout and location of those pipes. If the basement already has pipes but in the wrong location for your plumbing needs, you’ll have to install the rough-in plumbing just underneath the floor.
This is the hardest part of the job as you have to break up the concrete and install the pipes below the floor. Once you’re done with the rough-in plumbing pipes, test them for possible leaks. You can then install any necessary fixtures. Of course, if you’re not going to need plumbing in the basement, then your finishing project just got a whole lot easier!
Hire an HVAC Specialist and Electrician
This is another step that you may want to do yourself if you have the know-how. But since electrical wiring can be dangerous, your best option would be to hire a qualified electrician. The wiring should ideally be installed in the subpanel of your basement walls for easier access. A professional electrician can take care of this job.
But it’s not just the wiring that needs to be done: the outlets, switches, and lighting are all part of the electrical work of a finished basement. Only then will you be one step closer to enjoying your basement.
There is also the heating and cooling to think about. If your basement doesn’t have an air conditioning system for heating and cooling, you’ll need an HVAC specialist. Since the basement will be used in the summer and winter, you’ll want your family to be comfortable whenever they are using this room. An electric fireplace is also a good option for heating your basement space.
Finishing the Basement Walls
If the walls of your basement are just exposed concrete, you’ll need to start finishing them first. Finished walls will make the basement look complete, especially when you paint them at the end. Keep reading to get an idea of how to finish your walls.
Insulation
Now that we have covered the plumbing and electricals, it’s time to insulate the basement’s exterior walls by adding polystyrene foam insulation. This can be installed directly on your foundation walls. The next step is to frame the walls before installing drywall or any other wall material you choose.
Framing the Walls
Framing the walls is the first step after insulation. Start by cutting the wood to the correct length. For vertical joists, deduct the thickness of the top and bottom sections by ¼ inch. This should give enough space to fit the wall frames against the foundation.
Installing Drywall
After you’ve built the wall frames, you must hang the drywall or any other type of wall you choose. Make sure you take into account any valves or outlets and cut access holes through the drywall sheets using a drywall knife.
If you’re installing drywall around windows, cut to the appropriate shape after securing the sheet to the wall and not before. You may choose to hang the drywall horizontally or vertically. If you opt for horizontal, you’ll have an easier time finishing the panel and fewer seams to deal with.
Now that your basement walls are finished, they are ready to be painted.
Finishing the Basement Floor
After the basement walls, it’s time to move on to the floors. It’s best to use waterproof materials for the basement floor in order to prevent flood damage.
Here are some of the most popular basement flooring options:
- Carpet: this type of flooring is very easy to lift up in case you encounter water leaks. It can be dried quickly or replaced inexpensively.
- Tiles: For an easy cleaning task, consider tiles. These are waterproof and will give your basement a polished look.
- Vinyl: this type of flooring imitates wood planks, but it’s easier to install and has water-resistant qualities.
Once you’ve determined the different types of flooring you want for your basement remodeling, you’ll need to install a subfloor first.
Installing Subflooring and flooring
The subfloor can be installed directly on the concrete as long as it’s completely level and free from moisture. The best materials for a subfloor are polystyrene and plywood sheets, or at the very least, choose a subfloor that offers a 100% moisture barrier.
The next step is to install the flooring you have chosen. By now, the basement should start taking shape, and you’re more than halfway there to complete the remodeling project.
Finishing the Basement Ceiling
The ceiling is the last part of the basement finishing project. This is your chance to hide the vents, pipes, and wires in the ceiling. Just remember to provide access to them. Before buying the materials for the ceiling installation, take a look at some basement ceiling ideas below.
Choose your Ceiling Type
While the simplest and cheapest option is to simply paint the existing ceiling to blend in the wires and pipes to give your finished ceiling a more attractive look, it’s best to install a finished ceiling. Here are some ceiling options you can choose from:
- A drop ceiling: this is by far the cheapest and easiest type of ceiling to install. A drop ceiling adequately covers the exposed pipes and wires while still allowing access to them.
- A coffered ceiling: if you’re feeling a little adventurous and want to take your ceiling to the next level, consider installing coffers. As long as your basement ceiling has a minimum height of 9 feet, you can achieve this elegant look.
- A tile ceiling: all you need are tiles, a hammer, nails, wire cutters, and an installation kit. Tiles are ideal for basements that are to be used as a bathroom or laundry room. You can even install the tiles over the drop ceiling.
- A drywall ceiling: to conserve space, consider a drywall ceiling. Bear in mind that access to your ductwork and pipes will be a little trickier, plus you’ll need someone to help you with this installation. The process is roughly the same as finishing the basement walls. Just make sure you leave an access hole in the wall for ventilation.
Final Thoughts
If you have carried out all the work yourself, it’s best to hire an experienced contractor to inspect the foundation and construction of your finished basement.
This professional will be able to help you with the finishing design of your basement and advise you on any potential issues you’re likely to face in the future. You may even bring in an interior designer to design the space and even help you furnish it. If you’ve read the article this far, you should be confident enough to plan your basement finishing system without draining your wallet.
And here’s the best part: your finished basement space can be used as your home office to bring in money. Think of all the advantages of not having to commute to work and making a regular income from your own home. Even if you only want to use the basement space as an additional living room or bedroom, think of the increased resale value. This project is certainly one of the best investments you’ll make in your home.