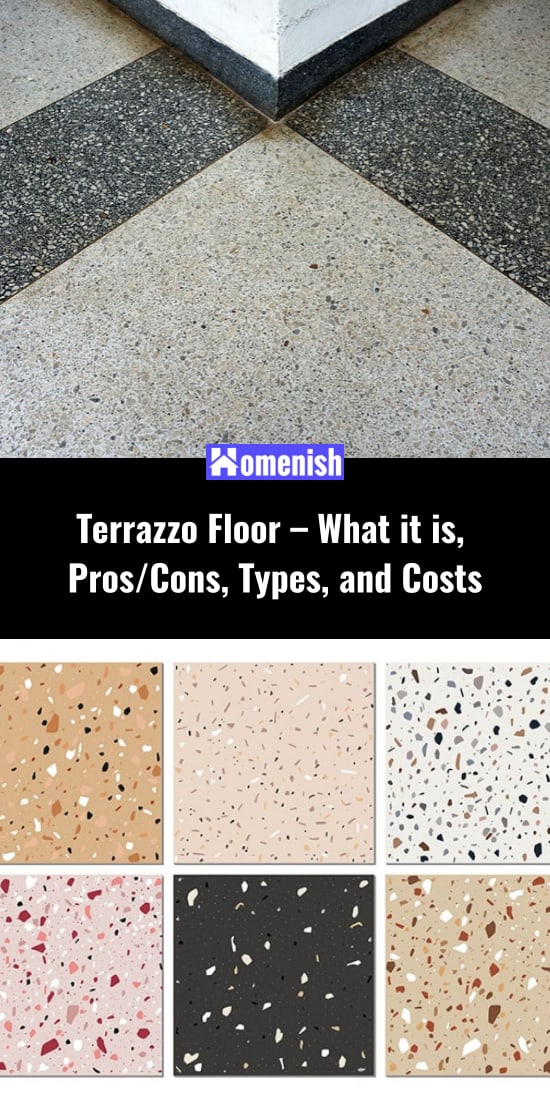
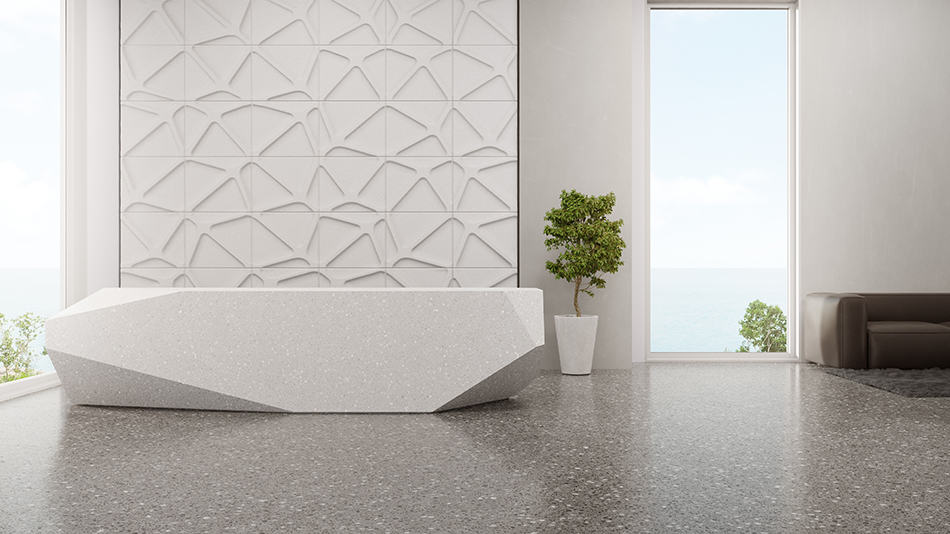
Terrazzo, a versatile and durable flooring option, has been used since ancient Egyptian times and gained popularity in 18th-century Italy. It is experiencing a resurgence in modern design. This versatile option comes in poured or tile forms, offering a range of textures and colors enhanced by various aggregates like stone, glass, or shells.
The article explores the key installation methods for the Terrazzo floors, including thin-set, sand-cushion, and monolithic terrazzo, emphasizing the need for professional installation.
It also highlights terrazzo flooring’s advantages, such as compatibility with underfloor heating and ease of maintenance, while noting potential drawbacks like cost and susceptibility to cracks. Additionally, we’ll also provide insights into Terrazzo’s longevity, cost implications, and maintenance and repair tips.
Table of Contents
What Is Terrazzo Tile?
Besides pouring terrazzo like you would cement, you can also buy terrazzo formed into tiles. So, what is terrazzo tile?
It’s a composite building product made by integrating chips of stone or marble with either epoxy resin or concrete aggregates. Depending upon the kinds of products included, you can use terrazzo for either indoor or outdoor flooring.
Keep in mind: There is a design of encaustic cement tile called Granito that is comparable to Terrazzo, and which is frequently, for that reason, described as Terrazzo tile. If you hear someone refer to in situ terrazzo, that simply means poured “in place.” But you don’t pour terrazzo anywhere else than where you want it, so it’s just as easy to say “poured” terrazzo.
Terrazzo Types
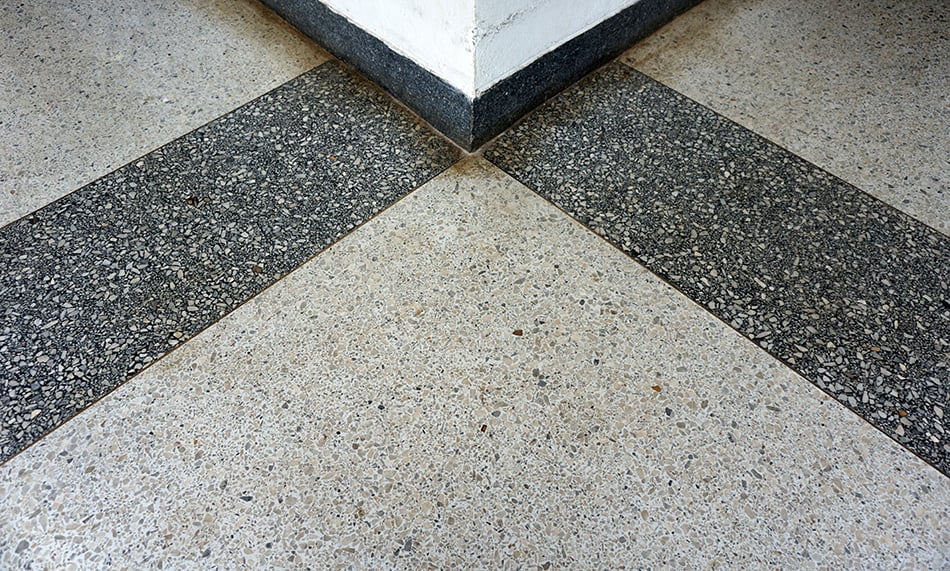
The first choice you’d need to make in choosing terrazzo for your floor is whether you want the look of poured or tile. Some people like the uniform, flat, one-piece look of a poured terrazzo floor. Again, it like having a concrete floor but a lot more decorative. Others like the structured and patterned look that tiles and grout lines provide.
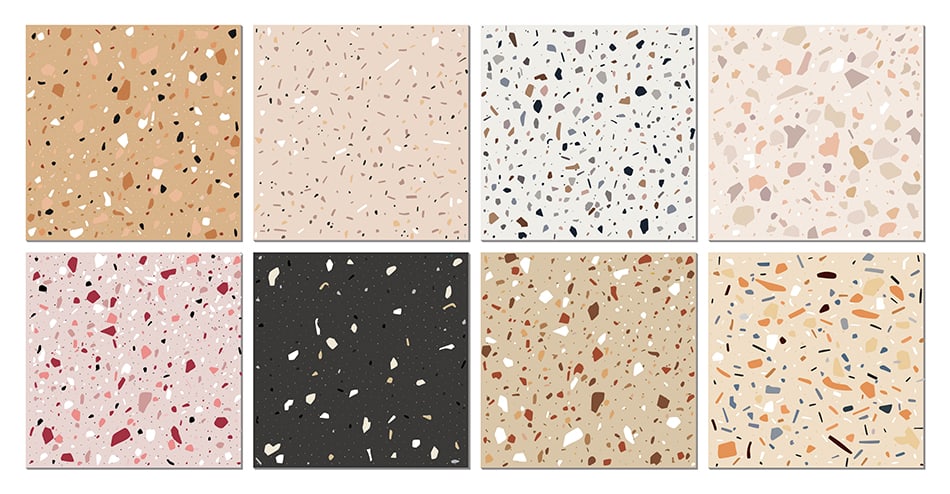
Next is the appearance of the actual terrazzo. What color do you want? Do you want mixed-in aggregates? You could choose to add metal pieces, stones, chips of glass, abalone shells, or mother of pearl, among others. Each will give you a distinct look, and depending on your texture, may or not create a flat surface.
Which leads us to our next consideration: Do you want your floor to be smooth or textured? Generally, this will depend on the area and room in which to install it. Outdoor terrazzo, or terrazzo in a basement, enclosed porch, pool area, or bathroom can be textured. You probably want to go smooth in bedroom and living areas.
Did you know terrazzo can also be molded into outside furnishings, bathtubs, or countertops? You may want to complement your floor with one of these ideas.
Installation Methods
When it is poured in situ onto wide areas of flooring, metal divider strips are utilized to define the flooring into areas to prevent splitting (the strips should be laid in the sections of the flooring that are more than likely to break, which need the crack to take place along the seal instead of in the middle of the area).
Divider strips are likewise utilized to specify the various colored areas if you desire to produce a terrazzo flooring with various colors.
Whether you select in situ placement of Terrazzo or select terrazzo flooring tiles, an expert installer will generally complete the whole flooring process by sanding it, polishing it and sealing it, hence producing a smooth flooring (even with tiles, the grout in between tiles will come out perfectly level with the tiles).
Methods for Installing Terrazzo
A Terrazzo set up in your house is certainly not something you want to DIY, especially if you are aiming to put the Terrazzo in situ. Instead, you will want to work with and seek advice from a knowledgeable installer to get the very best outcomes. Skilled installers will know the various setup approaches and have the ability to advise you on your project.
Here is a short summary of the 3 primary in situ approaches:
Thinset Terrazzo
Thinset is an adhesive cement used to secure floor and wall tiles to concrete surfaces
Thinset is a layer of epoxy-resin, about 3/8 thick, over concrete. It’s the lightest Terrazzo type and can be set up over an existing plywood or concrete subfloor. Also, it has the widest variety of color options and has the lowest chances of fracturing (due to the fact that the epoxy resin increases versatility). Thinset sticks to concrete like stone, and if you want to remove the thinset later, you can do it with the right methods.
Thinset terrazzo has become the most preferred approach for redesigning interiors because it is the very best match for interiors and various subfloors.
Sand-Cushion Terrazzo
Sand-cushioning is a more standard technique for Terrazzo where a preliminary cement base is first laid, then the layer of sand is lain prior to pouring a cement-terrazzo mix on top. The layer of sand permits some motion, reducing the capacity for fractures; nevertheless, this technique develops a thick and really heavy flooring and is just appropriate for brand-new builds as you need to integrate the concrete base throughout construction. This technique is just for interior floorings.
Monolithic Terrazzo
Cement-based terrazzo is laid straight onto the concrete subfloor. You can use this approach for both exterior and interior settings, as well as over existing subfloors—if they are level and in great condition. This approach is primarily for single-story or ground-floor areas.
Other poured approaches consist of Bonded terrazzo (resembles the sand-cushion technique), Polyacrylate terrazzo (a helpful option technique in scenarios where the epoxy-based variety will not stick, and Rustic terrazzo (utilized mostly for outside scenarios where a rugged texture is needed).
Terrazzo Tile Flooring
Utilizing terrazzo tiles is another method to set up Terrazzo in your house. Setup includes using an adhesive and grout system, similar to ceramic or porcelain tiles. Professional installers can use a sealed and sanded surface to develop a smooth appearance comparable to poured Terrazzo.
Pros of Terrazzo Flooring
Now that you know what it is and how you could install it, you need to know if it’s really the right choice for you. Here are some advantages that may sway you.
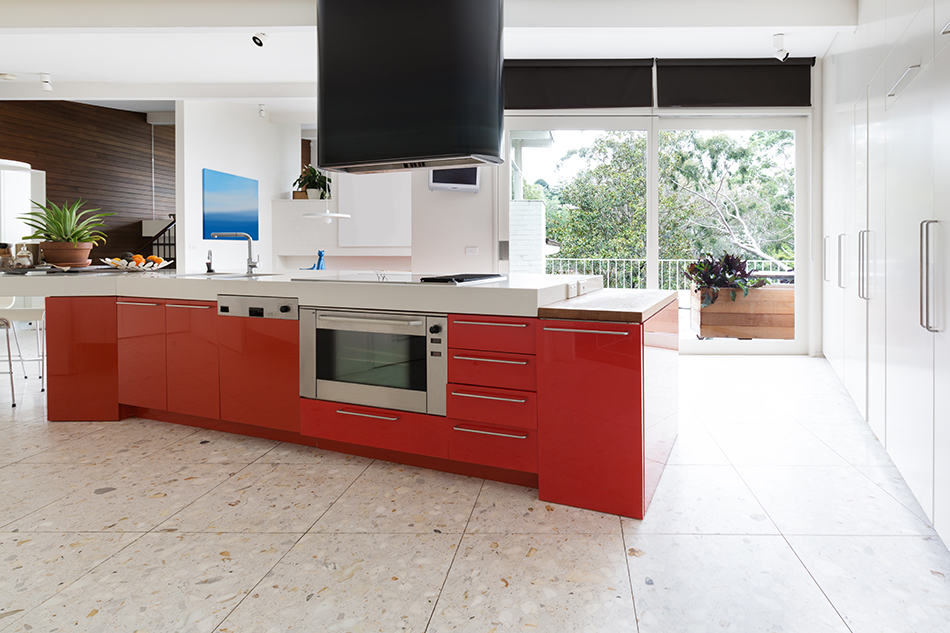
Visual Appeal
Terrazzo floor covering is a terrific alternative to a plain concrete floor covering, as you get the very same quasi-industrial, slick design, though with more interest and added texture. If you like the very minimalist or commercial appearance, and wish to soften the edges a bit, terrazzo does just that. And keep in mind, you can customize your terrazzo a lot. From the installation method to the color to the aggregates to the texture, you have numerous choices!
Conducive to Underfloor Heating
This is a big advantage if you’re not going to lay carpet or rugs in an area. Terrazzo is an excellent option for an underfloor heating unit, as the heat won’t damage the floor. This material also conducts heat well, so you won’t have to pay a high utility bill to warm it up!
Healthy
Appropriately sealed poured or tiled Terrazzo is resistant to microorganisms and mold, which makes it a really clean surface for your home. It’s also non-porous, so when you clean it, you know it’s actually getting clean with no dirt or germs hiding in the material.
Easy Upkeep
The supreme benefit of Terrazzo is you hardly have to do anything besides sweep it and mop it from time to time.
Environmentally Friendly
Lots of terrazzo producers utilize recycled products in the aggregate, especially recycled porcelain, glass, and metals.
Long-Lasting
There’s a reason why terrazzo is the choice of so many businesses– it’s a good investment! You won’t need to replace terrazzo for a long time if you install it correctly.
Cons of Terrazzo Flooring
There are, however, some disadvantages to terrazzo.
Be Cautious with Fashion Choices
Terrazzo is “having a minute” right now in trend-setter houses all over, but is this a pattern that is going to last? Not everybody will like this type of floor covering, so you should probably avoid Terrazzo if your goal is to fix up a house and resell it.
Fractures
Structurally, the primary concern is that it could split if not appropriately set up. Fractures can be handled, though not quickly and not inexpensively! Make certain you pick a professional installer and the right technique for your job.
Expense
Terrazzo floor covering is normally not a low-cost choice.
Cost of Terrazzo Flooring
The cost of your terrazzo floor will vary drastically depending upon what type of aggregate you desire– basic stone aggregates are relatively affordable, though if you wish to include something like big marble or quartz chips, it’s going to be rather expensive.
Besides materials, you will absolutely require to have an expert contractor and might need to have preparation work done on the subfloor. Anticipate paying $20-100 per square foot for poured terrazzo flooring. Terrazzo tile installation comes in at $15-30 per square foot.
Frequently Asked Questions.
What is the Thickness of Terrazzo Flooring?
It differs a little according to the maker and products utilized. The normal thickness of terrazzo flooring is anywhere between 1/2 and 3/4 inches.
A thinset terrazzo floor is normally between 1/4 and ⅜ inches, while sand cushioned, monolithic, and bonded terrazzo is 1/2 inch. Remember that these are not the only measurements to keep in mind. The mortar bed is generally around 1 1/2 inches and typically lays on a 1/4-inch cushion of sand or asphalt paper.
How Long Will Terrazzo Last?
Terrazzo floor covering can last between 75 and 100 years– in some cases, even longer with the appropriate care. The fact that this floor type can reasonably last longer than the building it is used in should make it come as no surprise that the product and setup are usually covered by a lifetime guarantee.
How Can You Keep Terrazzo Floors Looking Shiny?
A big contributing element to the resurging appeal of terrazzo floor designs is the general shininess that comes with it. When you understand what you are doing, keeping terrazzo looking glossy is really quite simple. But you can decide to call an expert floor polisher who will typically charge $3-7 per square foot if you are more of a hands-off house owner.
If you do want to do it yourself, start by mopping the flooring with a microfiber mophead and solution of pH-neutral cleaner made for use with terrazzo. Wait for the flooring to dry prior to applying a thin layer of terrazzo sealant.
Once again, permit the sealant to dry prior to polishing the floor. The polishing powder made for terrazzo floors will become a slurry, so you shouldn’t worry if it looks like your flooring is covered in mud.
Then mop it again when it looks like the bulk of the powder has settled in. If it doesn’t look as shiny as you want, just continue rubbing it with the powder till the floor is sufficiently glossy.
Can You Repair Terrazzo?
Inappropriate setup, along with occasional mishaps, such as dragging or dropping an exceptionally heavy item on the floor, can cause breaking and cracking. Thankfully, experts can fix terrazzo, and little projects can even be fixed the DIY way.
Let’s begin with the expert route. There are numerous businesses out there that concentrate on repairing and restoring terrazzo floor coverings. The typical price to fix terrazzo is $5-8 per sq. ft., depending upon the seriousness of the task.
Going DIY, you can fix fault lines with coloring, epoxy, and a toothpick. First, mix the coloring and epoxy with your toothpick and fill in the lines. Ensure that no one steps on the area for a complete 24 hours after the repair.
For larger fractures, you will need a paint stripper to get rid of any surrounding sealant prior to using an oil-based paint to complete the repair. Match some paint color to the color of the terrazzo, then seal the area back up.
For floors poured in situ, you will have to prepare the location by sanding it with fine-grit paper. Wipe the area and apply your new material as a patch. Wait for it to dry for 24 hours, and as soon as dry, take 40-grit sandpaper and sand the spot down so that it’s even with the rest of the floor. Once you have it smooth and level, seal it.