Bathrooms, showers, and bathtubs are some of the most contradictory places in the modern home. We depend on them to keep our bodies clean – yet, they are often the dirtiest place in the home. It is only natural to feel like any sort of clogging, mishap, or spillage that happens in the bathroom is inherently dirty.
This makes a clogged bathroom drain a major hurdle: many are discreet enough that you won’t notice them until the water level starts to rise while you shower. Fortunately, most clogged shower drains are also relatively easy to fix – so you won’t need to postpone your next shower until the emergency plumber arrives!
Table of Contents
Why Is the Drain Clogged in the First Place?
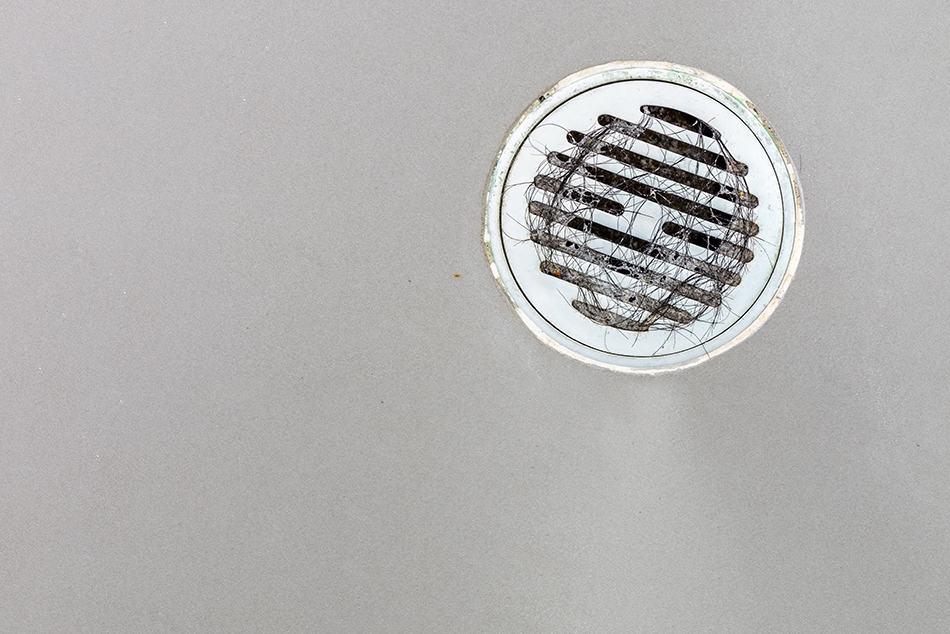
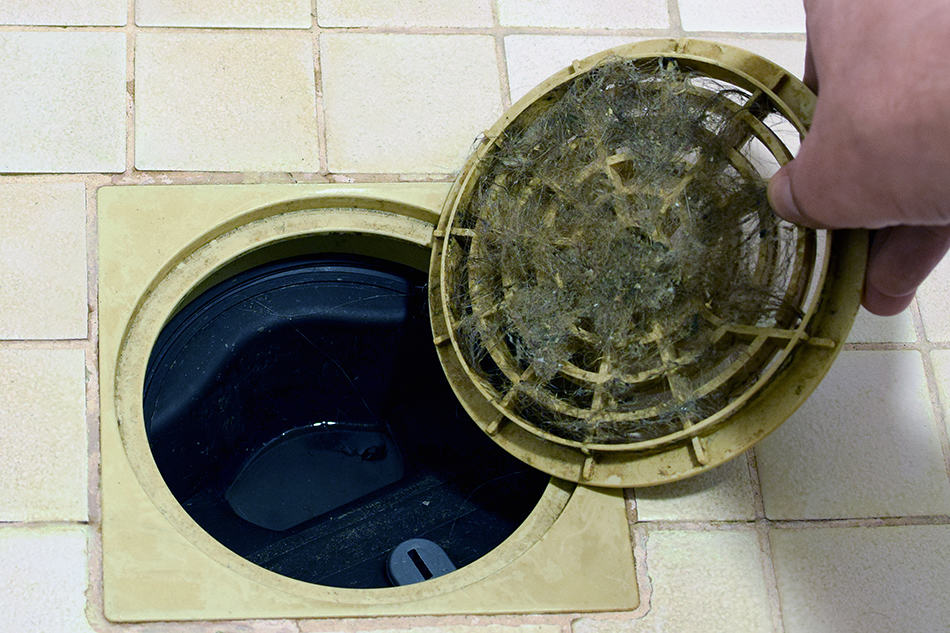
Most of the time, clogs in bathtubs and shower drains form from two main ingredients: hair and accumulated soap scum. As you shower, the dissolved soap that you use slides away with the water and becomes trapped in between clumps of hair. After a while, the soap will partially solidify again (just not as much as in the original bar). This will form a semi-solid gray clump, with hairs sticking out all over it.
Most of the time, these look a lot worse than they are! Yet, soap is oily by nature and can prevent water from passing through the drain.
Occasionally, clogs can form from more complicated stuff. This may include small objects that were spilled down the drain (such as small bath bombs or beads). Occasionally, clogs can also form if plants or moss are growing down the brain. These clogs will be significantly harder to fix. In this article, we are going to focus on the classic hair-and-soap variant.
Steps to Unclog a Bathroom Drain
This quick guide will show you the basic steps, plus a few alternatives, which will help you unclog your bathroom or shower drain.
Materials and tools:
- Before you start, you should set up your tool kit. You will need:
- A screwdriver set
- Tub drain wrench
- A set of gloves
- Plumber’s putty
- A thin knife
Plus, any combination of the following:
- A hair snake
- A coat hanger
- A spinner snake
- Black worms
- A drain cleaning chemical (plus a pair of thicker gloves and a mask)
Step 1 – Check the plug or stopper
If the clog is affecting your bathtub or jacuzzi instead of a regular shower, then you probably have a stopper or plug standing in the way between you and the solution. In this case, the first step will have to be removing this plug.
Before you try to remove anything, you will need to take a good look at it. The specs may differ a bit from model to model. Some stoppers are just a plain lid on top of a plastic stake designed to fit tightly inside the drain.
However, more complex models will have a complex pop-up mechanism that joins the stopper to the strainer (the lid of metal with holes in the middle). In that case, there will probably be a screw to the side that you will need to remove.
Just screw it out by turning the screw to the left and removing the stopper altogether. Now you will have gained a better view of the clog!
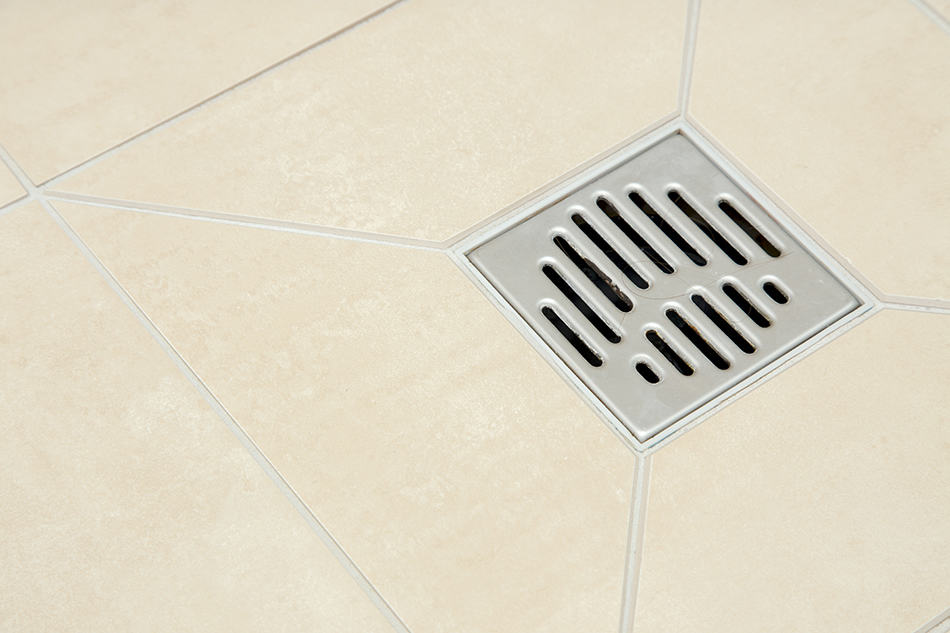
Step 2 – Remove the strainer
Immediately below the stopper, you will probably find a piece of thin metal with holes in it. This is the strainer. Most of the time, the strainer is only attached with the plumber’s putty or held tightly through pressure. Either way, you will need to lift it. Use the flat edge of a thin knife to do this.
Step 3 – Get rid of the clog
Sounds easy enough, right?
After completing step 2, you will finally have free access to the insides of your clogged drain. From here, the succession of steps may vary, depending on how serious the clog is. We have organized the possible alternatives from the weakest (for relatively easy clogs) to the most potent. You don’t need to choose just one – it may not be enough.
Instead, we recommend that you start with one of the weakest ones and then move up the list only if the previous attempt didn’t work. Of course, if you are missing some tools or materials for any of them, feel free to skip that method. However, don’t give up after just one attempt, but don’t head straight to the chemical solution either.
Option 1: Add boiling water and plunge it out
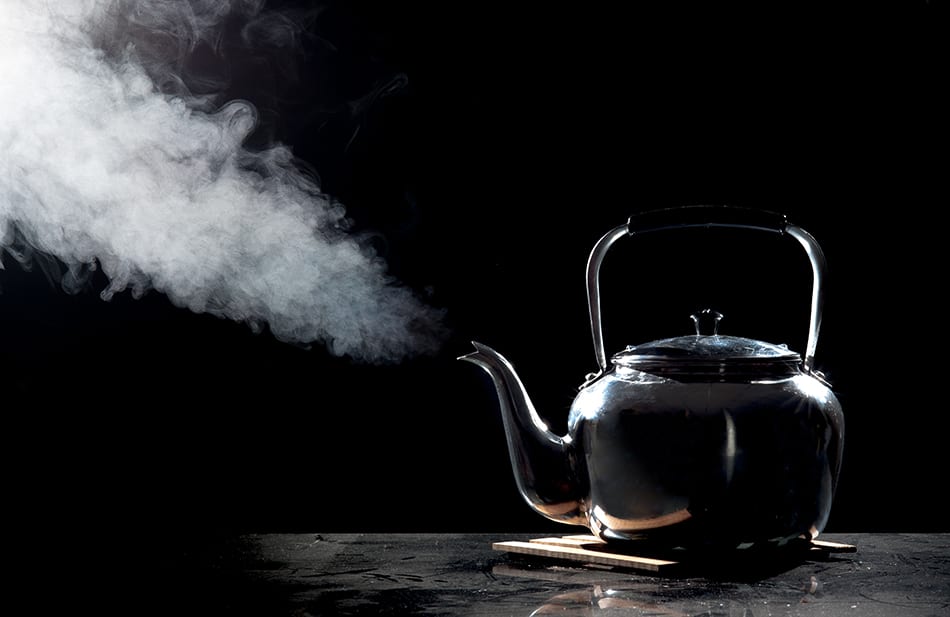
Boiling water will help melt the soap scum that is holding the clump together.
Just pour half a liter (about 16 ounces) of very hot, boiling water on top of the drain. Sometimes, this simple step may be enough to unclog the pipe, and you will immediately see the trapped water draining out.
Still, if you leave the culprit there, it will eventually cool off and become clogged again. This is where the plunger comes in: just deal with it as if it were a toilet clog. Place the plunger on top of the opening of the drain and start pushing. The void should propel the clog out.
When this happens, you’ll hear it.
Option 2: Insert a zip tie or hair snake
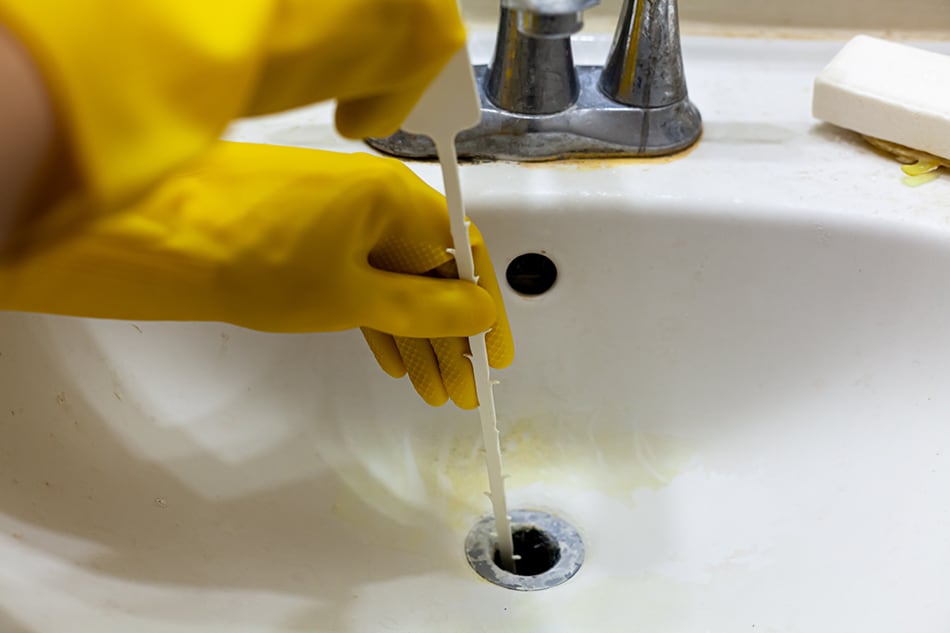
A “hair snake” is a very thin, flexible plastic rod with a series of perpendicular jagged teeth alongside it. At first glance, it may look like a very long zip tie. These are often sold in hardware stores for $5 or less.
After loosening the clump with boiling water, you may be able to insert the hair snake down the drain to remove it. Just slide it in until you feel the pipe beneath it and start digging around.
If you don’t have a hair snake with you, you can also use a coat hanger. Just extend the hook to make it longer and poke inside the drain.
Option 3: Add baking soda and vinegar
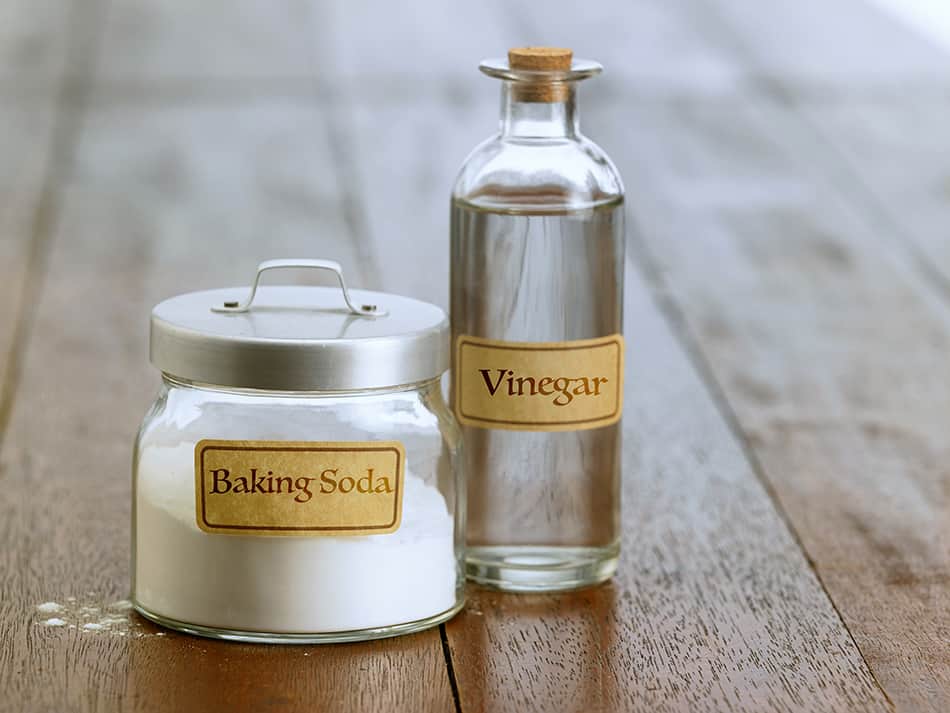
Baking soda mixed with vinegar creates a caustic, bubbly reaction that will immediately dissolve any soap scum. In addition, it can also help thin out any hair inside the clump, but it will not dissolve it completely. If there is any other organic material there, baking soda and vinegar should immediately take care of it.
The bubbles created by baking soda and vinegar can easily irritate your skin. Unlike most drain cleaning chemicals, they won’t create any poisonous gas. So keep your gloves around for this method, but don’t reach for the mask just yet.
The safest way to apply this is to pour the baking soda into the drain first (1/4 cup should be enough) and then just wash it out with the vinegar.
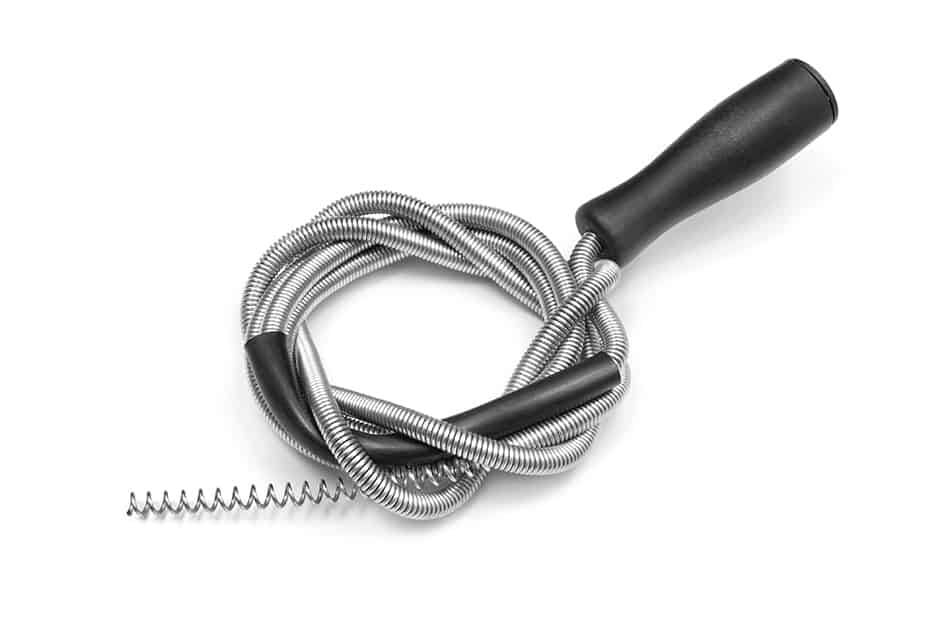
Option 4: Use a spinner snake
Bigger clogs, especially if they come from debris, sand, or litter that fell into your drain, may not be dissolved by any of the methods mentioned above.
A spinner snake is a specialized plumbing tool that most people don’t usually have at hand. However, they are relatively inexpensive and sold at most hardware stores.
A spinner snake usually has a spinning lever next to the handle on one side and a flexible rod on the other one. Insert the spinner snake from the rod side inside the drain and start spinning the lever on the handle side. This will move around anything that may be inside the drain and allow it to pass through the pipe.
Option 5: Drain cleaning products

Chemical drain cleaning products should only be used for very big, resilient clogs. Usually, if a clog doesn’t go away immediately after using it, you should simply call a professional.
Drain cleaning products are usually made of muriatic acid or some other highly corrosive fluids. Because of this, you will need to wear thick rubber gloves and a mask to protect yourself. You should also try standing outside the bathtub or shower while pouring the drain cleaning products.
To use these products, just follow the instructions on the package. Different brands will suggest slightly different safety measures, and the time they take to act may also vary. You must follow all these instructions to the letter. If the package instructions list a maximum time limit, don’t push it: leaving the drain cleaner inside the pipe for too long may damage the pipe or your home’s plumbing.
Step 4 – Let it all dry
After you get rid of the clog, let the shower floor dry out. This is a good opportunity to take a break before you put the strainer and stopper back into place.
Step 5 – Apply plumber’s putty around the stopper
If your bathtub or shower had a stopper, then you still have one more step to go before putting it back. You may need to replace the clay layer that protects the mouth of the drain. This is particularly important if you have a porcelain tub or porcelain tiles on your shower floor: they can get damaged if directly exposed to moisture.
Roll up a layer of plumber’s putty underneath the strainer. Make sure this layer is evenly placed around the strainer’s ring. Then, push back the strainer into place and press it for about a minute.
Step 6 – Replace stopper
Screw the stopper back where it belongs. Now it will look like nothing happened!
Conclusion
A clogged bathroom drain can quickly derail your day – or at least your next shower. Follow the steps listed here to unclog it. There are several methods to unclog a drain. Choose according to the seriousness of the situation and the materials you have at hand.