If you just discover that your tap water doesn’t work and there is no water coming out of the faucet, there can be a few reasons. We’ll pinpoint each of them and what to do when running into this dilemma.
Table of Contents
Check for Frozen Pipes
If it’s cold out, the water in your pipes might have frozen. If you have frozen pipes, call a plumber immediately so they can thaw them out and restore water service safely.
Check the Water Pressure
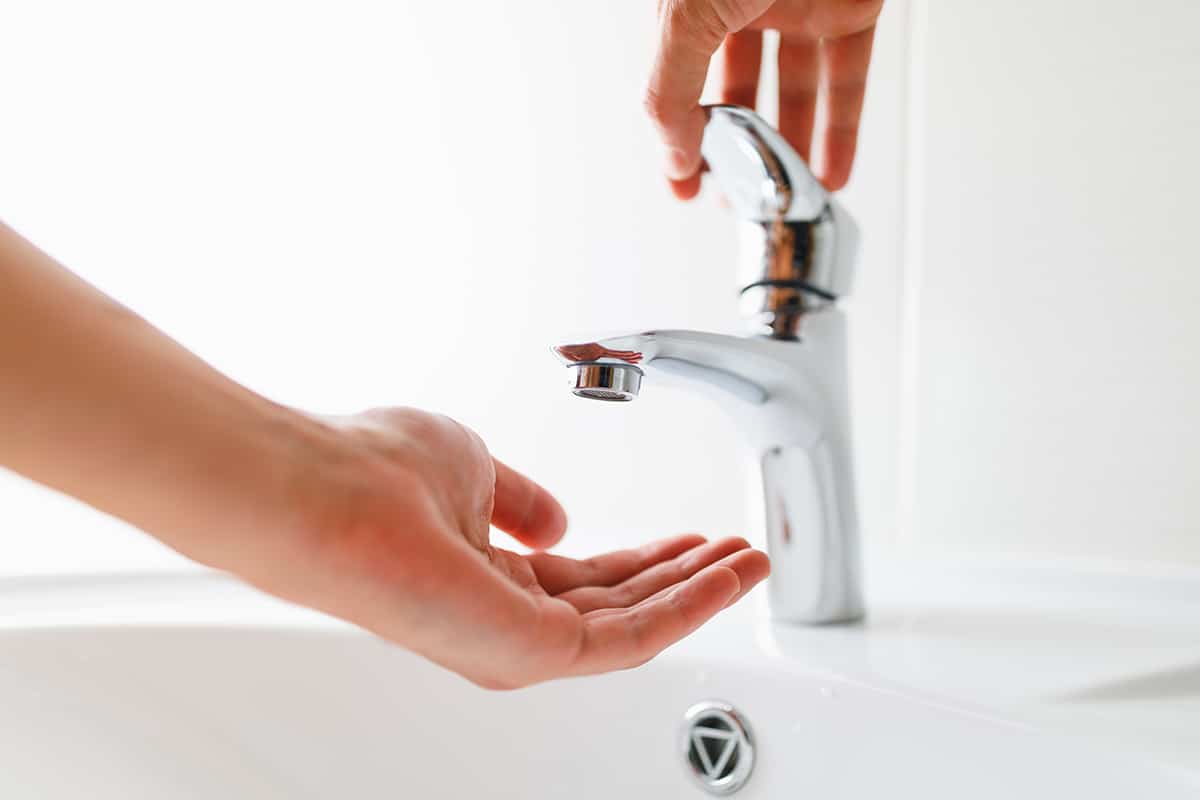
The first thing you should do to troubleshoot a faucet that’s not working is to check the pressure of the water coming out of your faucet. This is a very simple fix and can help identify where the problem lies.
If your home has more than one sink, try turning on a different faucet and see if there’s any difference in pressure.
If there is no difference in pressure between faucets, then you know that it isn’t anything wrong with your plumbing system, and you should contact an expert plumber who can help diagnose what’s wrong with your specific faucet (or if it needs replacing).
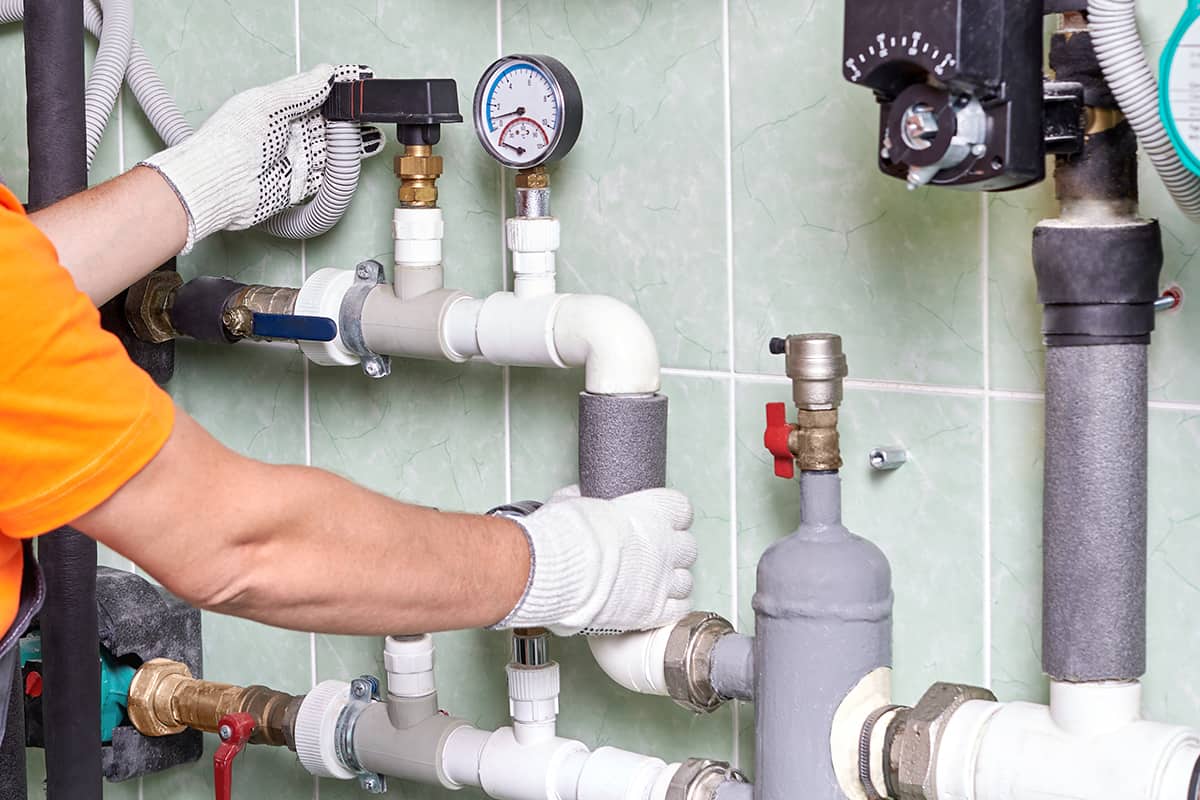
Check The Water Shut-Off Valve
If you’re having trouble with your water faucet and aren’t sure why it could be because the water shut-off valve is turned off.
The valve is usually located in the basement or outside of your house near the water meter. It will look like a small handle that can be turned to either on or off positions.
The handle should be easily accessible from where you are standing, so if there’s a problem with it sticking, then try to oil it up before trying again later on when everything has settled down after moving into your new home or apartment space!
Check In with Your Neighbors
If your neighbors have water, the problem is likely on your side of the meter. If there is a water main break in your neighborhood, you should contact your city’s water authority to report it. They will send someone out to fix it as soon as possible.
Clean Out Your Aerator
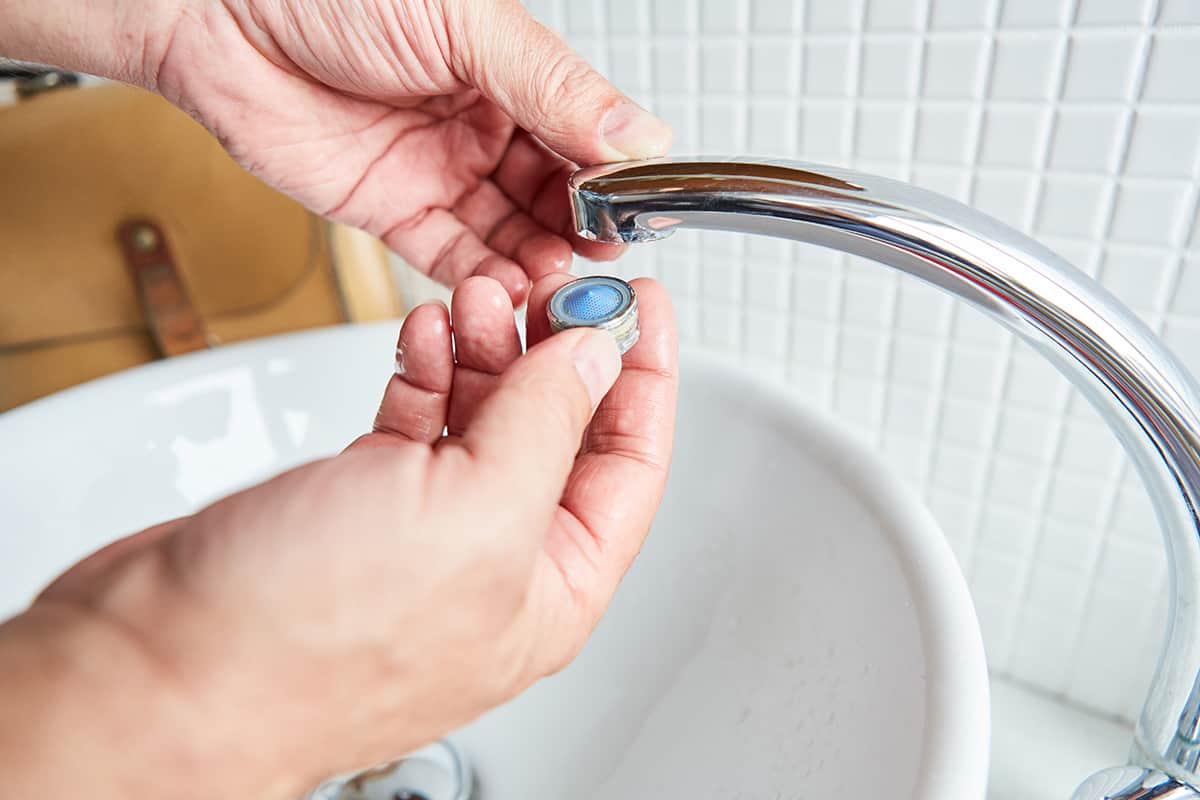
Aerators are very useful in helping you get the most out of your water and reduce the amount of sediment entering your home.
However, they also accumulate a lot of debris over time and can become clogged up with dirt, hair, and other materials that can affect water pressure. The best way to keep an aerator working properly is by cleaning it every few months, so you don’t end up having any issues with low pressure or weak flow rates.
The first step is removing the screen for cleaning. This can be done by twisting counter-clockwise until it comes loose (you’ll feel resistance). You may need pliers for extra grip if it’s particularly tight—but make sure not too much force is applied, or else you might break something!
Once removed, use a brush or toothbrush dipped into mild soap solution or vinegar to scrub off any buildup from inside before reattaching everything back together again using new O rings provided by manufacturers (if applicable). If there’s still visible grime after removing the screen, then repeat the process until shiny…
Clear Your Water Supply Line
A water supply line is a pipe that connects your house to the water main. In most cases, it runs underground from your home and connects to an outdoor faucet or appliance such as a garden hose or sprinkler system.
The purpose of this pipe is to provide you with clean, safe drinking water by bringing in water from outside sources. The most common types of pipes used in residential homes are copper or plastic PVC (polyvinyl chloride).
Turn off the water valve, then detach the supply line and try to run water through it. If it’s clogged clean it out.
Clean Out Your Water Softener (if you have one)
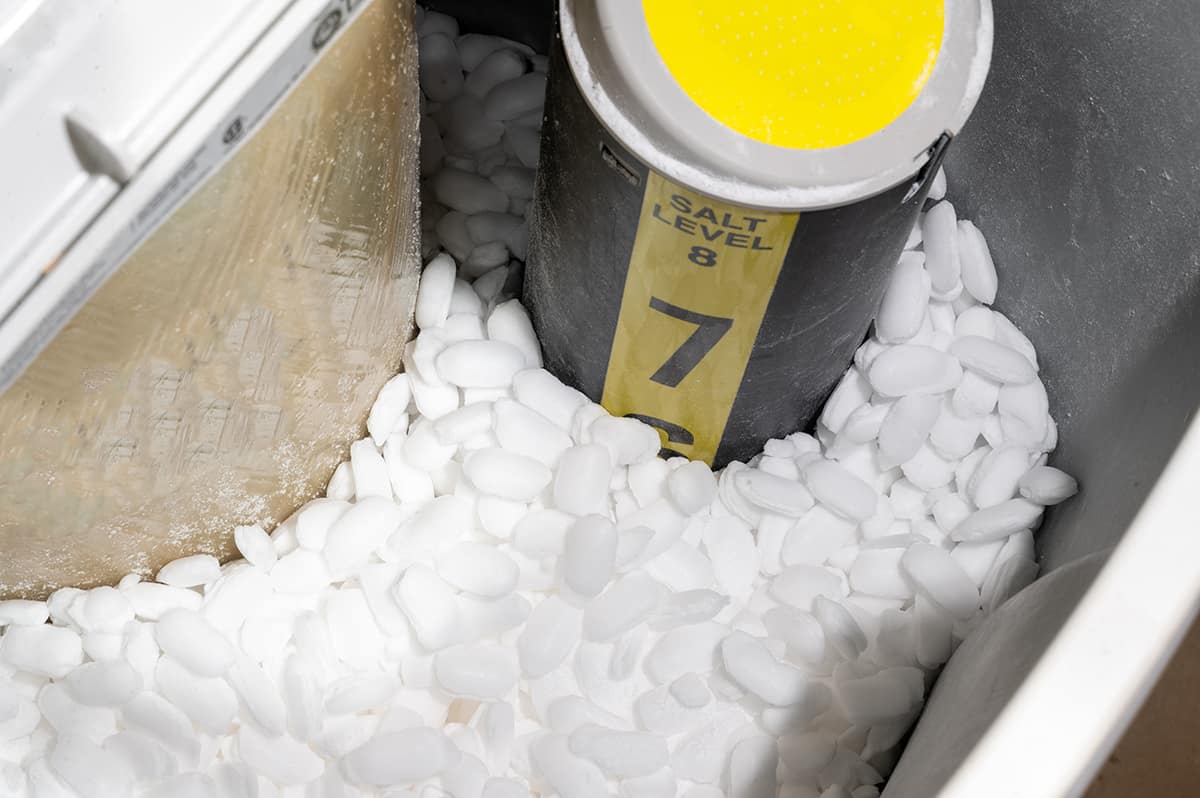
Power off the water softener. If your water softener is hard-wired, turn off the breaker. If it’s gas-powered, shut off the gas supply.
Open the brine tank. The brine tank is the large, round container that holds the salt that helps soften your water.
Pour in some water softener cleaner and fill it with water. This will help loosen up any of the mineral deposits that have built up in the system, which can cause problems if they start to clog things up.
You can find a water softener cleaner at any home improvement store; there are many different brands out there, so be sure to buy one that’s compatible with your system.
Let it soak for an hour or as specified by the cleaner’s instructions.
Drain the tank.
- Remove the drain line.
- Connect a bucket or hose to the drain port and turn on the water. Let it run until all of the softened water has drained out of your softener, taking care not to get any on your skin (it’s just saltwater).
- Disconnect the drain line using a wrench, being careful not to drop it into the tank. If you don’t have one, use pliers or some other tool that’s not sharp and won’t scratch your softener’s exterior!
Rinse the tank with clean water. To rinse the tank, run clean water through it. To do this, turn on your home’s water supply and place a bucket underneath the drain valve on your softener.
Open the valve to allow water to flow into the bucket. After 10 minutes of running clean water through the tank, take off any remaining salt that has hardened at the bottom of your unit by using a large sponge or towel to wipe out all of it from inside.
Turn on the water softener. Check that water flows out of the faucet, and then turn it off again before moving on to the next step.
Set the clock to your current time zone; you don’t want to set it for 6 a.m. because this is when you’re probably going to be putting in new parts and cleaning stuff up!
Cleaning your water softener will extend its life and lower your salt consumption.
- The cleaner will remove dirt and sediment.
- Cleaning your water softener will extend its life.
- Cleaning your water softener will save you money on salt or other treatments.
- Cleaning your water softener will save you money on your water bill.