An outdoor faucet can also go by the name of the spigot or hose-bib because it is the spot where you would fix an outdoor hose. Most people are not concerned by the parts of an outdoor faucet until they are faced with a leak, and then it is essential to understand the inner workings of the faucet in order to diagnose the source of the leak and fix the problem. Here, we detail all of the parts of an outdoor faucet and how they work.
To understand the parts of an outdoor faucet, you first need to understand how an outdoor faucet works. Just like a kitchen faucet anatomy, an outdoor faucet most commonly works by a mechanism that controls the flow of the water. This mechanism takes the shape of a valve, which can be a gate valve, ball valve, or globe valve.
When the handle on the faucet is turned, it will cause the valve to open or close, either allowing water to flow through or blocking it from flowing through. Leaking outdoor faucets, especially on older properties, are quite common and are often caused by deterioration of the valve system over time.
If your faucet is leaking from the spigot, the most likely cause is the breaking down of the valve, and though this can be replaced, it is usually less hassle and equally cost-effective to just replace the entire outdoor faucet.
Here is a custom diagram we made to illustrate the main parts of an outdoor faucet and how it works when open and closed.
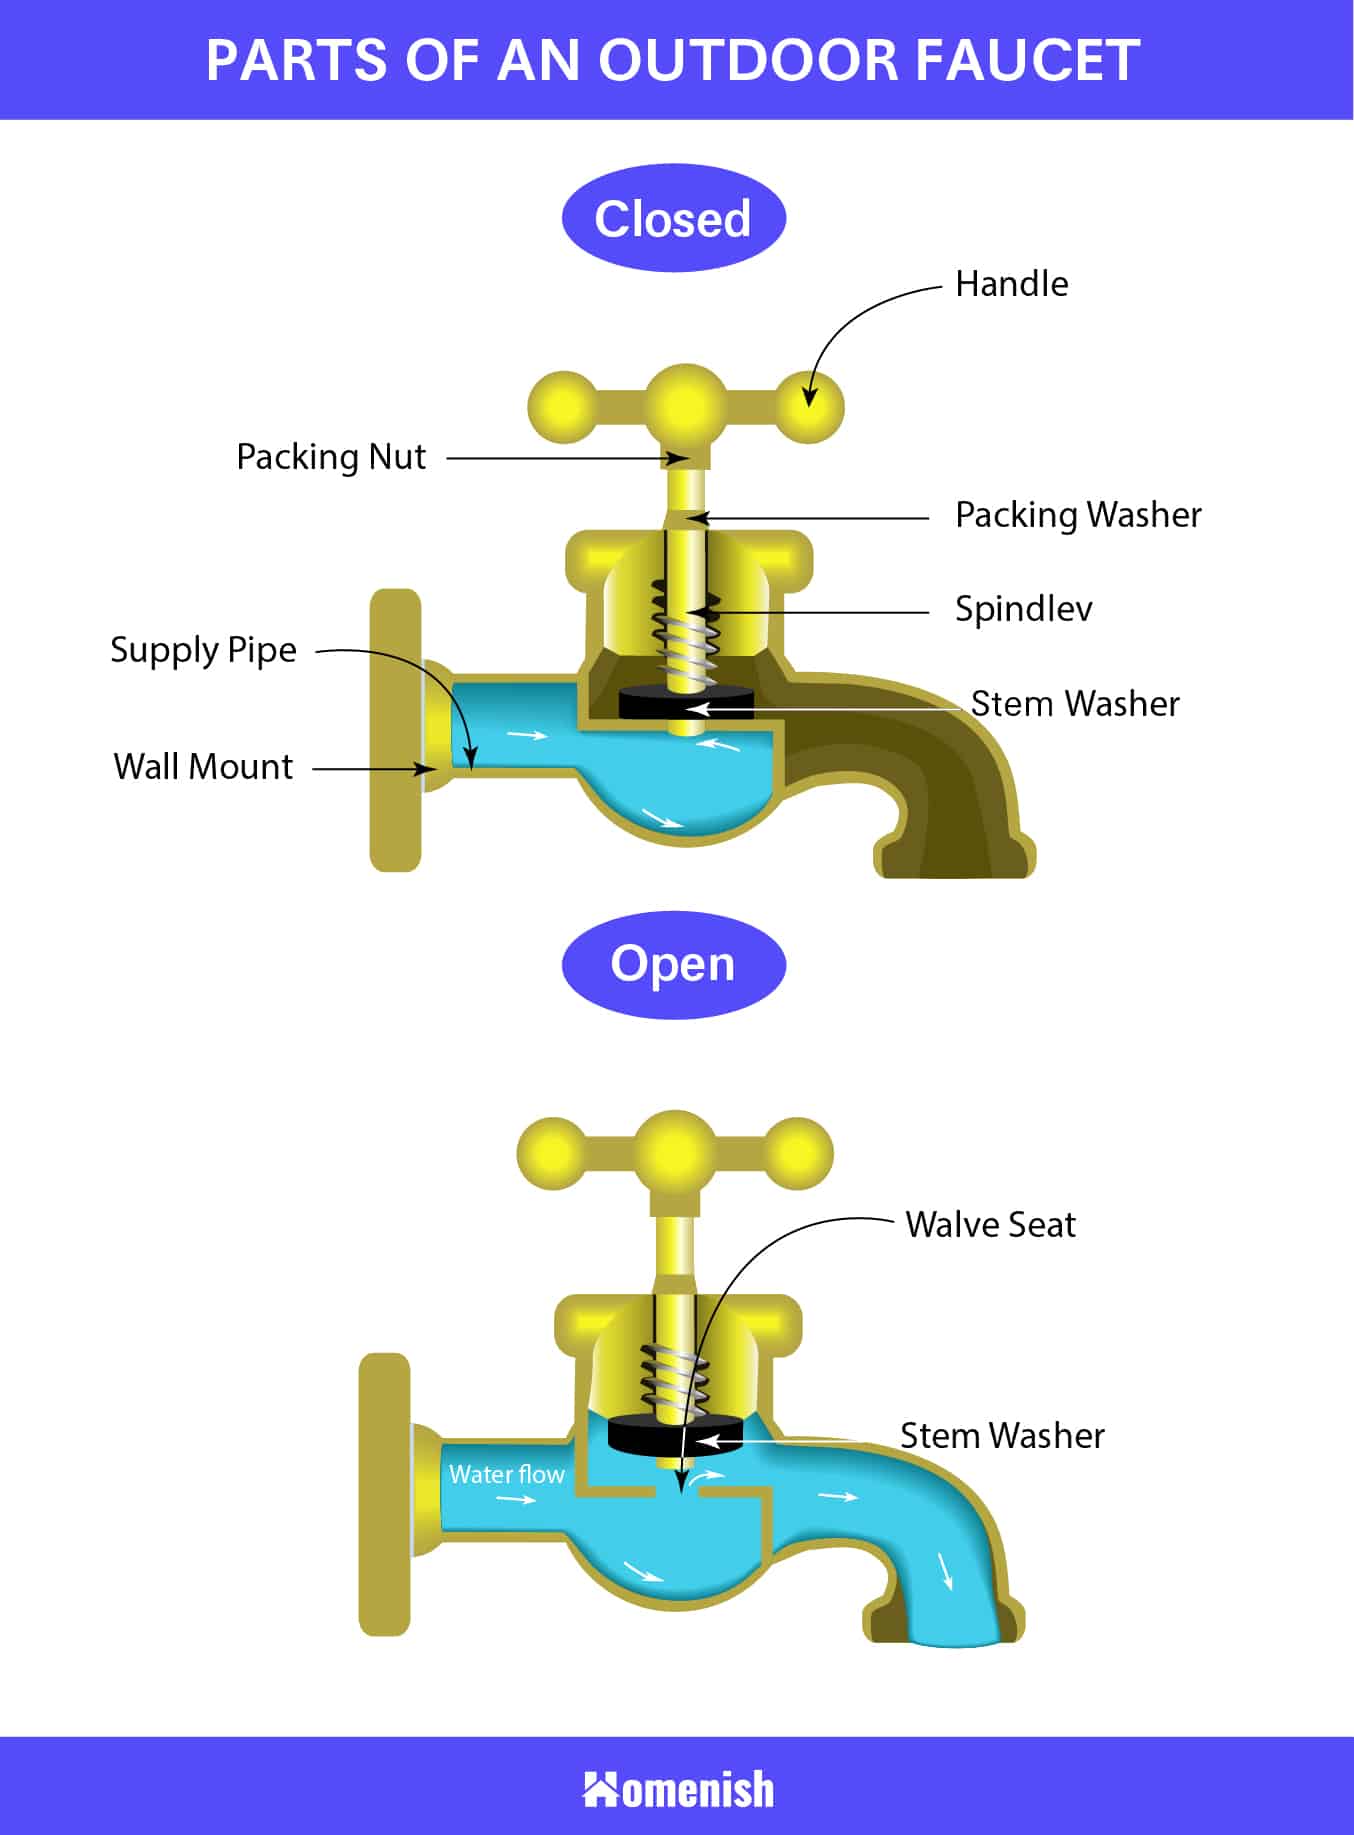
Table of Contents
Handle
The handle of an outdoor faucet is the uppermost part, and it will be made from metal but is sometimes coated in plastic or silicone to make it easier to grip. The handle is most frequently, though not always, shaped like a wagon wheel because it is operated by turning it.
Alternatively, it could be winged, with two or more wings extending out from the middle of the handle. Twisting the handle to the left will release the valve and allow water to flow through, whereas twisting the handle to the right will tighten the valve and cause the water to be blocked from flowing out of the spigot. This is one of those occasions where the old saying ‘righty tighty, lefty loosey’ comes in handy.
Packing Nut
The packing nut can also be known as the bonnet nut. This is a nut that is screwed onto the stem of the tap and is made from metal. It provides a place for the handle of the faucet to be fitted onto.
Packing Washer
The packing washer fits underneath the packing nut, and while it might seem like a small and insignificant part of an outdoor faucet, it actually has a very important function. The packing washer prevents water from spraying out of the top of the faucet when it is in the ‘on’ position. Packing washers can deteriorate over time, so if you find that you have water leaking or spraying upwards from this part of the faucet, then you probably need to replace the packing washer.
Spindle
The spindle is also known as the stem. It is long and thin and runs vertically down the length of the tap between the handle and the valves, which open or shut off the flow of water.
The spindle needs to be working properly in order for the faucet to function because it is this part of the faucet which helps to control water flow. When the handle on the faucet is turned, the spindle will be pushed in either a downwards or upwards direction, which will either open or close the valve, resulting in water flowing freely out of the spigot, or being stopped from coming out.
Supply Pipe
The supply pipe isn’t a part of the faucet itself, but it is an essential element that is linked to the faucet. The outdoor faucet will be fitted directly against the supply pipe when it is mounted onto the wall, with the pipe lined up so that it feeds directly into the back of the faucet. The supply pipe is where the water will come from which flows through the faucet.
Stem Washer
The stem washer is fitted to the bottom of the spindle or stem. When the handle is twisted to the right and the stem is pushed all the way down, it is the stem washer that is compressed against the valve seat to stop water from flowing through and consequently turning the tap off.
This is a small but vital part of the outdoor faucet, which can wear over time. If your tap is leaking from the spigot when it is turned off, it could be that your stem washer is no longer doing its job properly and needs replacing.
Valve Seat
The valve seat is positioned on the inside of the body of the faucet. It sits along the bottom interior of the faucet and helps to control water flow. This is the part of the faucet against which the stem washer is pushed to stop the flow of water. When the stem washer moves up and is not compressed against the valve seat, water can flow freely out of the spigot.
Most commonly, if your outdoor faucet is leaking from the spigot, then your first task in fixing the leak is to replace the stem washer. If a new stem washer doesn’t resolve the problem, then you should look at the valve seat, as deterioration of this component can also result in leakages.
Spigot
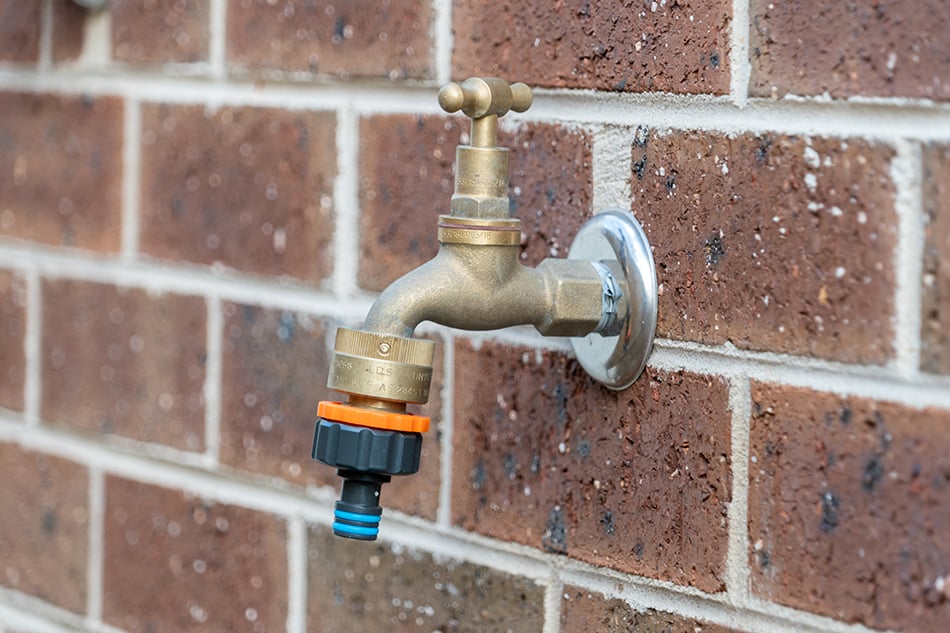
Some people refer to the entire body of a faucet as the ‘spigot’, but technically a spigot is a name for just the end part of a faucet where the water flows out from. The spigot can be connected to a hose pipe to allow easier watering of flower beds and lawns or to fix the outdoor faucet up to a sprinkler system.
Wall Mount
This is the part of the faucet which will be used to secure the whole structure to an outside wall. It will have pre-moulded holes on it so that you can screw it in place.