
In order to make sure that your drain lines are large enough to handle the flow of water, it’s helpful to know what size pipe you need.
A typical bathroom sink has a drain size of 2 inches, while a shower stall uses a 3-inch drain line and larger tubs use a 4-in. pipe or even larger.
The diameter of the pipe determines how quickly water will flow out of your pipes and into the sewer system or septic tank.
The wider the pipe is, the faster this happens; therefore, you’ll want to avoid clogs by choosing pipes with diameters that are slightly larger than necessary for normal use (unless you plan on installing something like an oversized bathtub).
What Size Pipe Do You Need?
The PVC drainpipe size needs to be large enough to accommodate the expected volume of drainage from the bathroom sink. In other words, it should be able to handle the flow of wastewater from your bathroom fixtures with ease and without overflowing.
Usually, you’ll find a bathroom sink with a 2-inch drain pipe, a shower stall with a 3-inch drain pipe, and large tubs with 4-inch or larger pipes.
Your sink drains and shower drains should have matching diameter pipes so that they can work in harmony and not create any problems with flooding or clogging. If one is too small or too big for its companion, this can lead to plumbing problems like backflow or blockages, which are dangerous!
To account for the possibility that two water fixtures might be simultaneously in use, the size of the drain line should be measured by adding the drain sizes of both fixtures.
For example, if you have a sink with a 1-1/2″ drain and you plan to add a shower with a 2″ drain, your total is 3″. You will need to select a 3″ PVC pipe for your new installation.
How to Install a Bathroom Sink Drain Pipe
There are many different ways you can install your bathroom sink drain pipes. You can have a p-trap that is connected to the wall or the floor, or you can have it connected to a cabinet under the sink.
You will have to decide if you want your p-trap to be connected to the wall or floor. There are benefits and drawbacks to each installation method.
- A p-trap that is connected to the wall can be easily removed for cleaning, but it also means that it may not fit as well into tight spaces as one that is attached below a cabinet or vanity sink.
- A p-trap that’s attached below a cabinet or vanity sink can make it easier for small children or pets who might crawl underneath, but this type of connection requires more work when you need to remove and clean out your drain pipes.
The trap will usually come with a white plastic insert with two tabs facing out. Remove that. Wrap plumber’s tape around each end of the fittings and thread them in their respective spots – one on the tailpiece and one on the p-trap itself.
With the drain pipe in place, you’ll want to test your installation before tightening everything down. First, fill your sink up to its normal operating level (if it’s not already there).
Then, hold your ear to the opening of the drainpipe while someone turns on the water at both hot and cold faucets (the shower or tub can be filled with water as well). If you hear any gurgling noises coming from inside of this newly installed drain pipe assembly, stop what you’re doing immediately!
Next, you want to attach this whole assembly to the drain hole in the bottom of your vessel sink with washers, nuts, and plumbers’ putty from below. Note that some vessel sink drains come with overflow holes, which will require the use of a special gooseneck-style drain fitting that comes up and over the overflow. Be sure to follow specific instructions that come with your drain assembly or vessel sink if they are available.
Now that you have the drain assembly attached to the hole in your vessel sink, it’s time to connect it to the P-trap. To do this, you’ll need washers, nuts, and plumbers’ putty for a tight seal. Some vessel sinks come with overflow holes that require special gooseneck-style drain fittings. Be sure to check any installation instructions that came with your sink before connecting anything!
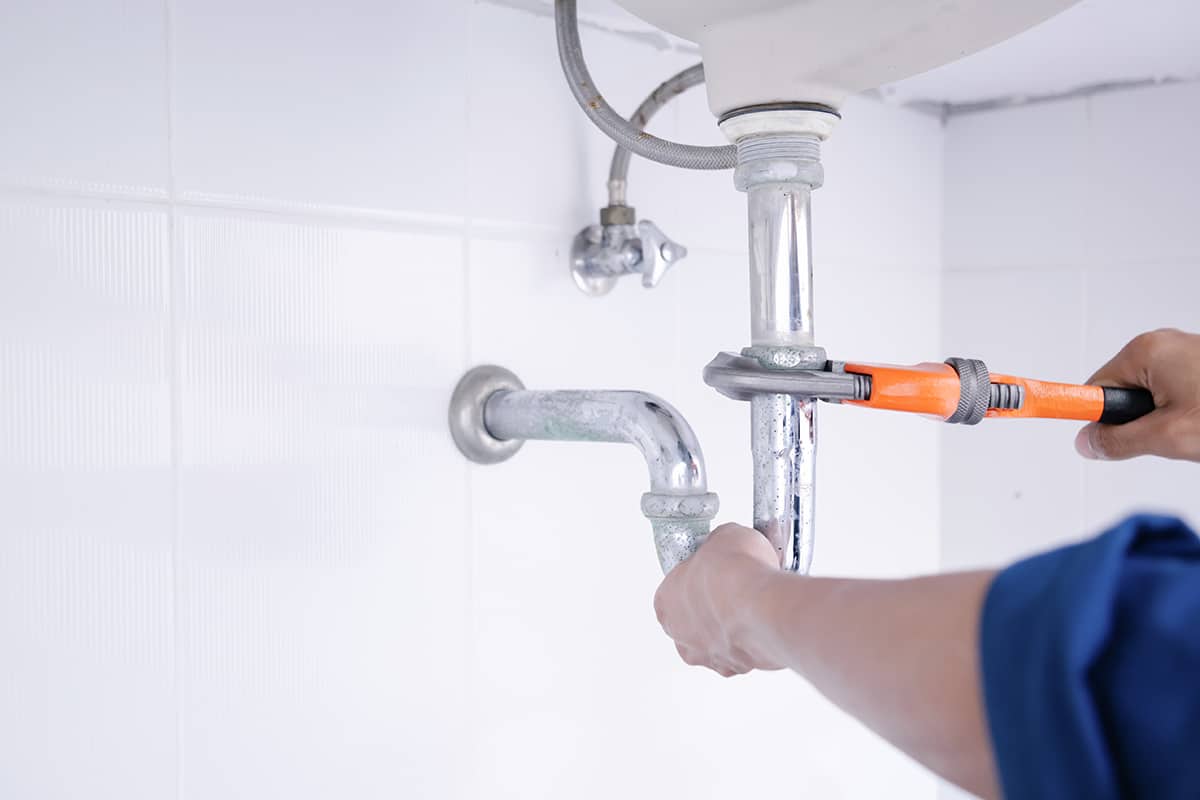
Once everything is assembled into place, tighten all of the nuts with an adjustable wrench or crescent wrench until they are snug but not overly tight (don’t strip out any threads). You should be able to easily move them without difficulty when finished tightening them down.
Once the drain is secure, take your p-trap and begin tightening it down into place between your tailpiece and fill valve assembly.
Once you’ve got the drain assembly into place, tighten up all of the nuts on it. You want to test your new sink by running some water through it and making sure that there are no leaks. When you’re finished with that, apply a thin bead of caulk around any edges of your sink drain (or else you’ll have an unsightly ring around where your faucets are located).
The result should be an unbroken flow from one assembly to the next – from faucet to tailpiece to p-trap to pipe in the wall or floor. When you are sure that your drain is working properly, remove the flexible tubing, turn on the water and test your system again. If there are no leaks, you can now install the trap.
Don’t forget to insulate your pipes!
You’re probably familiar with crawl spaces, the space between your floor and the first floor of your home. They are generally used for storage or to house pipes and ductwork.
If you have a crawl space under your bathroom sink, you may notice that it is too lacking in insulation to be very effective at keeping water warm during the winter months. This can result in frozen pipes, which can cause leaks and other problems for homeowners.
Bathrooms are common places for mold to grow as moisture collects on surfaces such as walls and floors that remain damp from washing hands or bathing.
If your bathroom has a leaky faucet or showerhead, then water will continue to drip onto these surfaces, causing them to remain wet longer than normal, which leads us back to our discussion about insulation being important when dealing with cold weather conditions like those found in Northern climates during wintertime months (or any time there’s snow).