Garage doors are one of the first things people see when looking at a home, so if you want to maintain good curb appeal, then you need to paint your garage door every few years to keep it in the best condition.
Painting your garage door will not only ensure it stays looking fresh, but it will also help to protect the door from the elements to increase its lifespan.
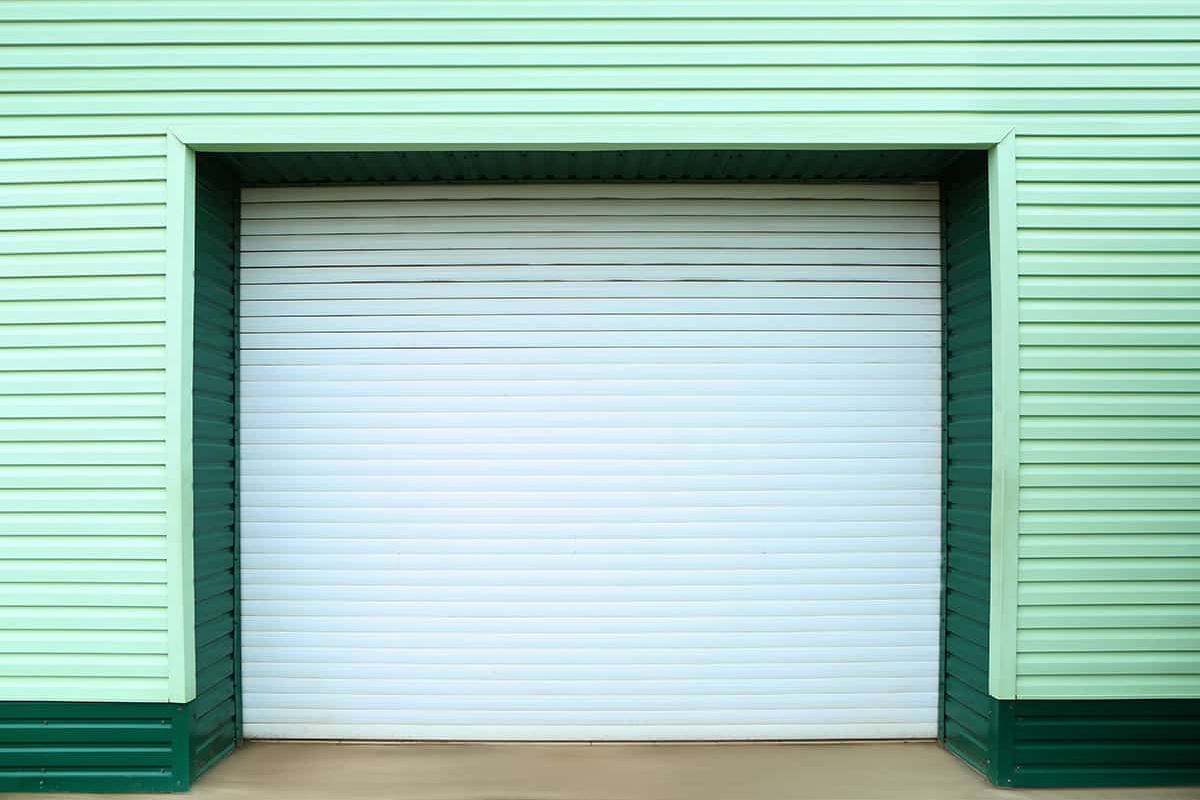
If you have a roll-up garage door, you might be wondering if this needs to be approached in a different way than painting a regular garage door. Here we look at the process you will need to follow to properly painting a roll-up garage door.
Table of Contents
Preparation and Painting

Planning
The best way to get your project off to a successful start is in the planning. First of all, you are going to need to identify the best time to start preparing your garage door ready for painting.
The preparation stage can take several days, and after painting, your garage door will also need a few days to fully dry, so you need to find around a week where the weather forecast is reliably dry for the whole week.
Once you have settled on a date to start preparing your garage door, you’ll need to gather all of the materials and tools you are going to need. This will include a pressure washer or a bucket with a sponge and some all-purpose cleaning liquid, a ladder, a wire brush, some filler, a putty knife, sandpaper, decorators tape, tarpaulins or plastic sheets, primer, and paint.
Clean
Before you can get involved with any of the fun stuff, you need to give your roll-up garage door a thorough clean. Garage doors can suffer from a buildup of dirt, debris, mold, mildew, and fungal growth, and it is important that all of these things are removed from the door in order to get a good, smooth finish with your paint, and also to help the paint adhere better to the surface of the door.
For a more efficient clean, a pressure washer is going to be your best option. Close your garage door and then work your way across the door with your pressure washer, starting at the top and moving horizontally across before moving down to the area beneath.
If you don’t have a pressure washer, you can clean the garage door effectively the old-fashioned way, using a bucket of soapy water and a sponge. Load up a large bucket with some all-purpose liquid cleaner, diluted with warm water, and set up your ladder in front of the garage door.
Start at the top of the garage door, scrubbing the dirt on the surface of the door loose with your sponge. For tough dirt, loosen it first with a wet wire brush. Starting at the top of the door will mean that dirty water will drip down onto the areas of the door that are already dirty so that you won’t be making more work for yourself.
Once the entire garage door has been scrubbed clean, use a garden hose to spray the door down to remove any last remnants of dirty or soapy water. If your roll-up garage door is made from metal or fiberglass, you can rub it dry with an old towel or cloth so that you can swiftly move onto the next job on the list.
If the garage door is wooden, then you will need to let it dry naturally in the sunlight for 48 hours before you can continue with the preparation of the door.
Repair
Most garage doors that need painting will be a few years old, and during this time, they may have sustained a few scratches, dents, or rust spots. These should be repaired before you endeavor to paint the garage door in order to achieve a professional finish and prevent any issues from getting worse.
Scratch away flaking or peeling paint with a wire brush, and fill any dents, holes, or scratches with filler that is appropriate for the material the door is made from. For example, a wooden garage door will need external wood filler, and a metal garage door will require a metal filler.
Smooth the filler into the necessary areas using a putty knife, and then wait for the filler to dry according to the time recommended by the manufacturer. This might be a matter of hours or a matter of days, depending on the product you have purchased, which is why it is imperative that you only work on the garage door during a period of reliably dry weather.
Once the filler has dried, you can sand it down with sandpaper to get a smooth and flat finish.
Protect
Next, you will need to protect the areas around the garage door so that when you are priming and painting, you don’t get splatters or spillages of paint on your driveway or garage floor.
Open your garage door and then lay a tarpaulin or plastic sheet across the whole width of the door so that it predominantly covers the section of your driveway closest to the garage door, with some of the sheet also laying across the boundary line of your garage. Close the garage door to secure the protective sheet in place.
Tape
You should use decorators’ tape to line the frame of your garage door so that you get clean edges and no paint accidentally splatters onto the framing. If you have a weatherproof strip on the bottom edge of your garage door, you should also cover this with decorator’s tape as well.
If you are able to remove the handle or hardware from your garage door, then you should do so, but if this is not possible, you should wrap it in decorators’ tape to avoid getting any paint on it.
Disconnect
When the garage door is in a closed position, disconnect the opening and closing mechanism for your electric roll-up garage door so that no accidents occur when you are painting it. The last thing you want is for another family member to forget you are painting the garage door and press their button to roll up the door, as this will result in quite a mess.
Prime
The garage door is now ready to be primed. Primer is intended to make the paint adhere better to the garage door so that it will last longer. If your garage door is made from wood, this will be especially important because the primer seals the wood so that the paint doesn’t absorb into it.
Primer also creates a smooth surface so that your final results will look flawless and professional. Many people consider skipping this step in order to save time and money, but this is a decision you will regret later if you don’t do it now.
Use a primer designed to be used on the material your door is made from and for exterior use. Fill up a paint tray with the primer and begin applying it around the outer perimeter of the door using a paintbrush, starting at the top.
You will likely need to use a ladder to reach the top level, being careful to secure it in place as you go. After the edges are primed, use a roller or a large paintbrush to fill in all of the middle of the door with the primer.
Aim to apply a thin layer to avoid drips, and once the primer has dried, apply a second layer. The manufacturer’s instructions will indicate how long needs to be left between coats.
Paint
When the primer has dried, you can repeat the process using the paint color and finish of your choice. The paint should be one that is designed to be used on exterior surfaces and from the same material your door is made from. For example, a metal garage door should have an exterior metal paint.
Most paints intended for use on garage doors will have antifungal properties to prevent growth on the surface of the doors, as well as being resistant to damage caused by moisture, adverse weather, and UV light.
Apply your paint in the same way that you applied the primer, using thin coats for the best finish. Allow the coat of paint to dry before applying a second coat; then, once this has dried, you can assess whether a third and final coat is required. Allow the paint to cure for several days before you use the garage door again.
Clear Away
When the paint is dry to the touch, you can remove the decorators’ tape. After a few days, when the paint has completely hardened, you can reconnect your door opening mechanism to open the door and clear away the drop sheets or tarpaulins. Congratulations, your roll-up garage door paint job is now complete- stand back and admire your handiwork!