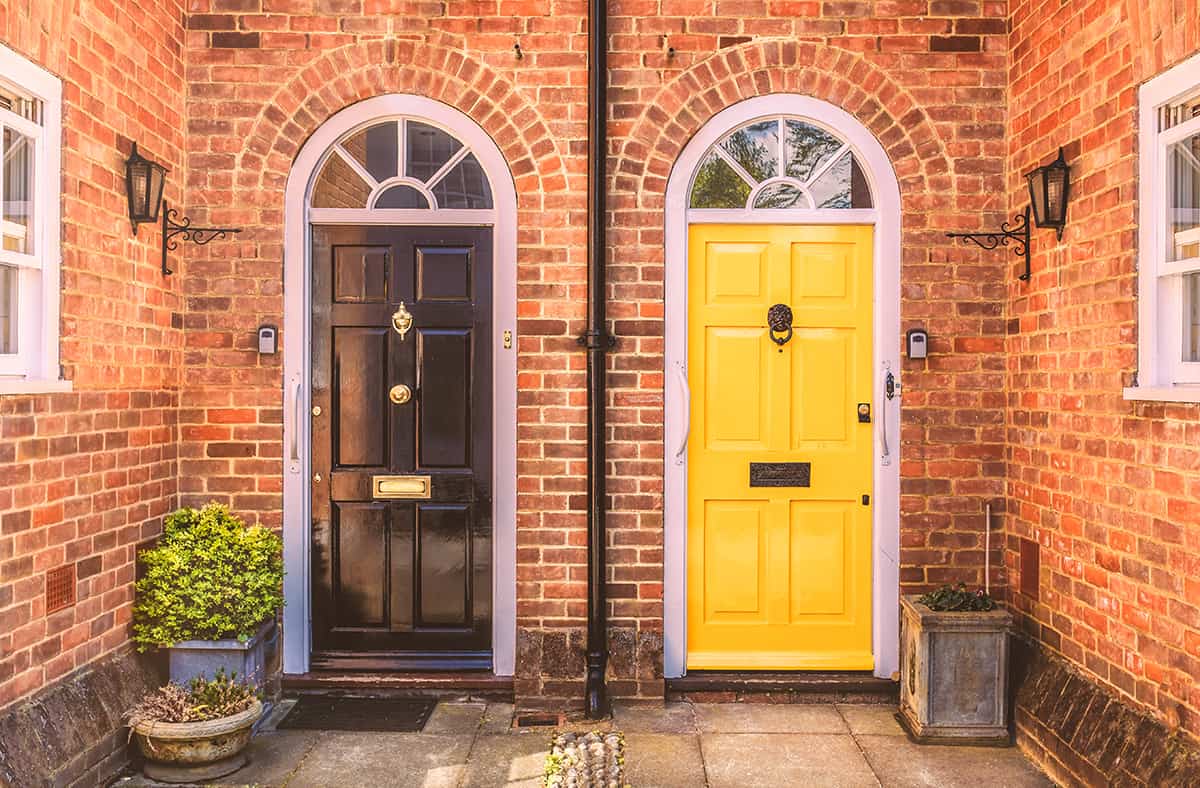
Gloss paint looks great on doors, but if you make a mistake, the glossy surface can highlight your error. Below, we’ll cover how to get the best finish using gloss paint step-by-step.
Table of Contents
- Gather Your Materials
- Clean the Door
- Prepare the Surface
- Protect Door Edges and Hardware
- Fill Gaps and Holes
- Sand Down Lightly to Create a Smooth Surface
- Remove Any Dust with A Clean, Dry Cloth
- Add Primer Coat and Let Dry Fully
- Apply Gloss Paint in An Even Coat
- Remove Any Drips or Runs with A Scraper Before They Dry Completely
- Let Paint Dry for Two to Three Hours, Then Apply a Second Coat
- Best Gloss Paint to Use on a Door
Gather Your Materials
- Paint, primer, and brush
- Scraper
- Masking tape
- Drop cloth (optional)
- Tarp (optional)
Clean the Door
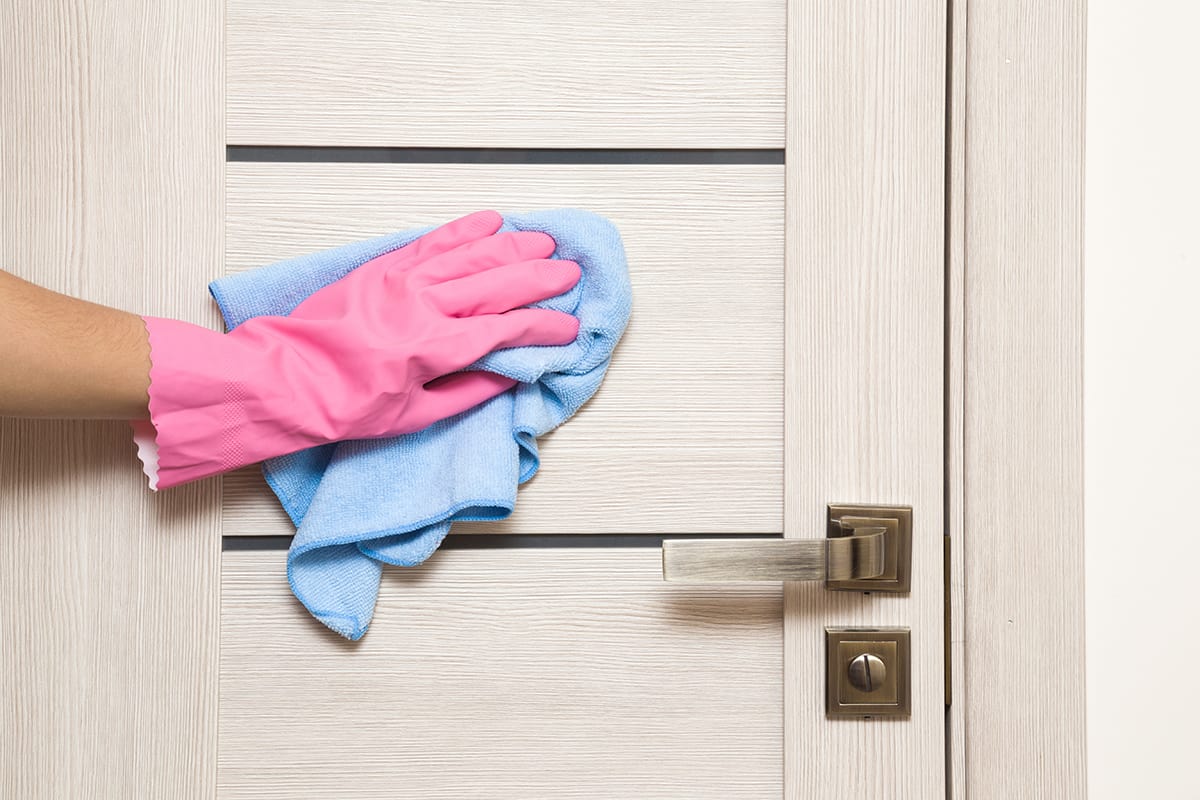
To get your door ready for the paint, start by using a damp cloth to remove any dirt or dust from the surface of the door. Then, use a dry cloth to remove any moisture from the surface as well. You may want to use a toothbrush to remove any stubborn dirt that remains on the surface of your door.
If you’re working with wood and want to make sure there’s no lingering residue of sanding dust anywhere on your painted door, try wiping it down with mineral spirits first before applying your first coat of paint.
This will ensure that there are no areas where water can seep in and cause damage later on down the road—and it’ll also help prevent bubbles from forming when you go over those areas again later when applying more coats!
Prepare the Surface
After you have cleaned the door, it’s time to prepare the surface.
- Protect any edges and hardware with masking tape.
- Fill gaps or holes with wood filler, and let dry completely before sanding down lightly to create a smooth surface.
- Remove any dust with a clean, dry cloth to ensure your paint will stick well when applied later on in this project.
Protect Door Edges and Hardware
Use painter’s tape or masking tape to protect the edges of the door. Apply it from the top down so that you don’t get any paint on your baseboards or another surface you do not want to be painted. Also, protect any hardware like hinges or handles with cardboard or paper towels that can be taped off if needed.
Paint one side at a time, then let it dry completely before painting the opposite side. If you want to speed up this process, place your doors facing out into the sun (or under a heat lamp), so they will dry faster overnight.
Fill Gaps and Holes
This step is pretty straightforward. You can use any brand of putty or spackle to fill holes, cracks, and gaps in the door. Just be sure to work in manageable sections so that your putty doesn’t dry out before you’re able to smooth it over with a putty knife.
If there are gaps between the door and its frame, use a small piece of wood or cardboard as a wedge to hold everything together while you’re working on it (don’t forget to remove this little helper when you’ve got things looking good).
Sand Down Lightly to Create a Smooth Surface
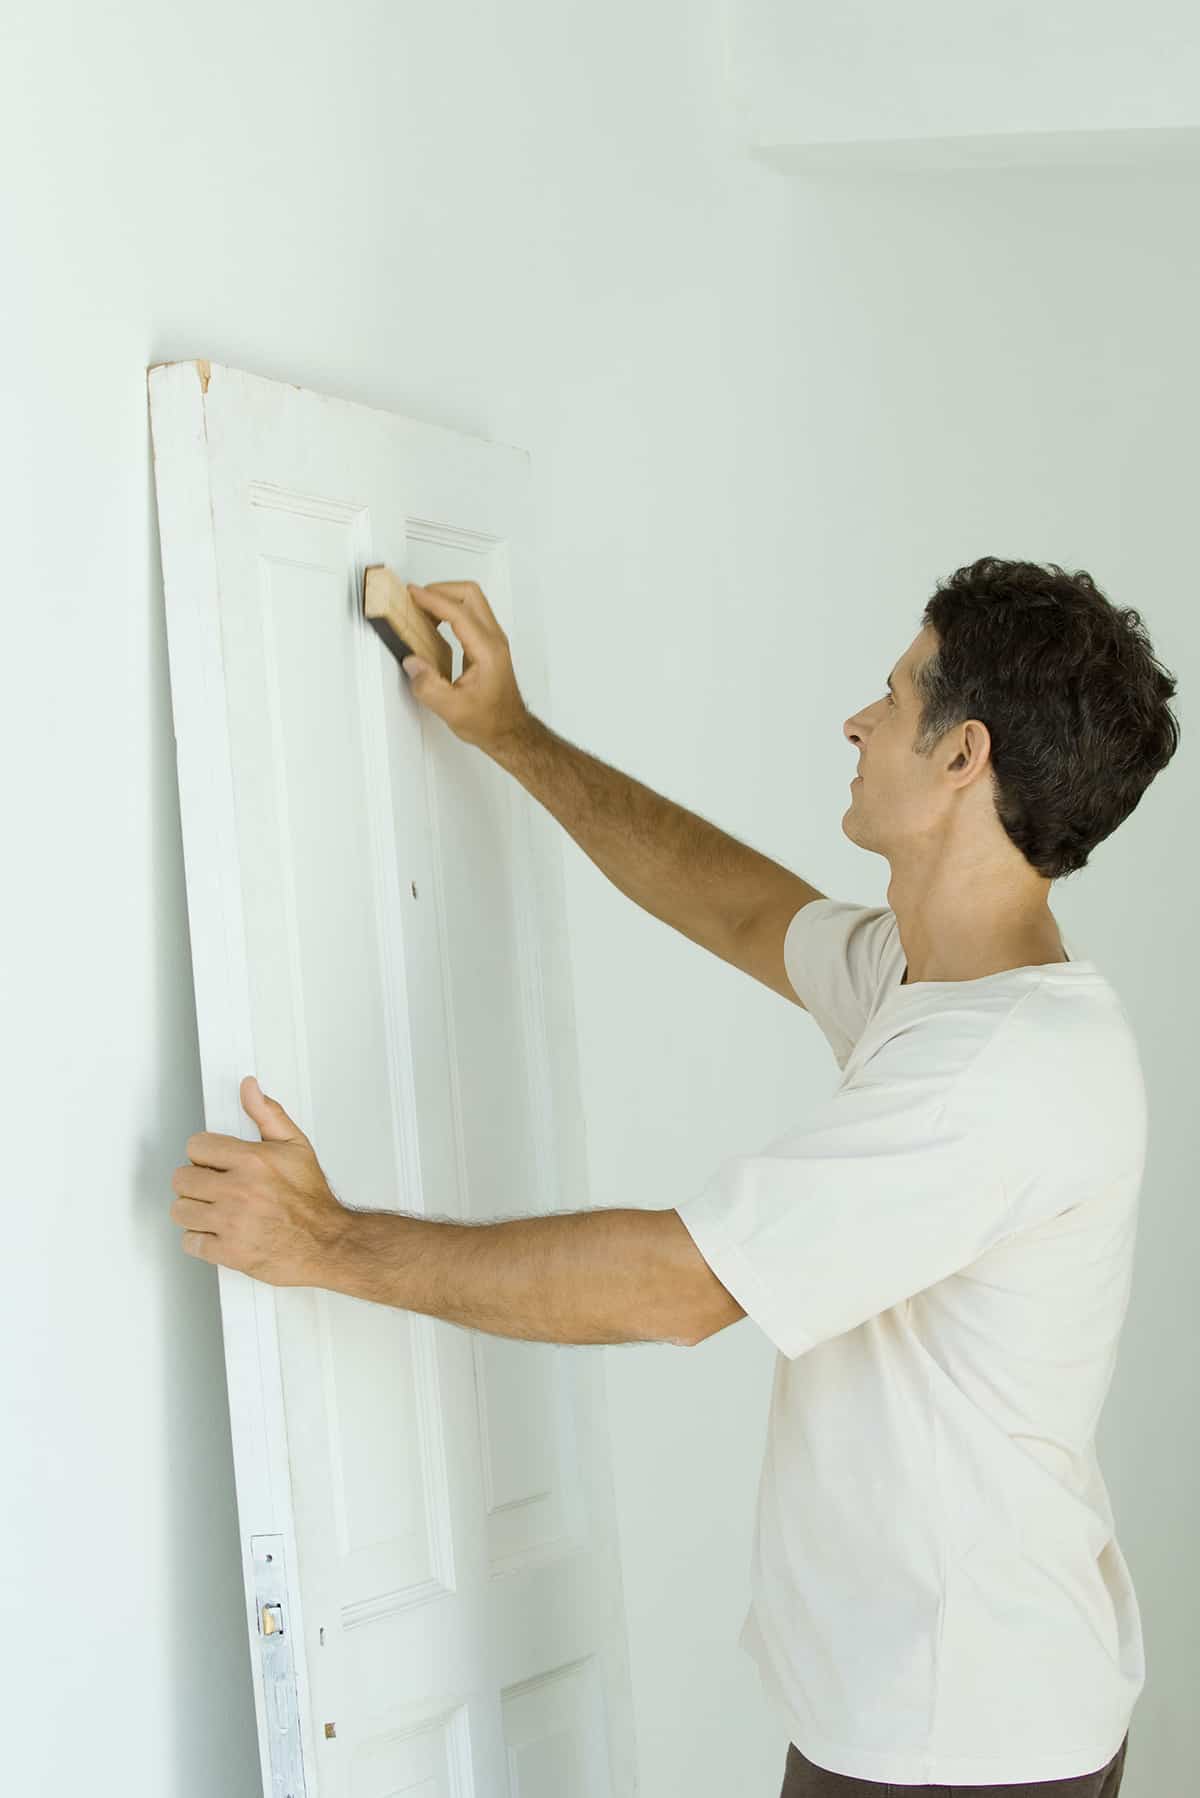
Sanding is an important step, especially if you’re using a high-gloss paint and want to create a smooth surface. You can use a sanding sponge or sanding block, or even better: a fine-grit sandpaper.
When you get to this point, you may want to consider hiring someone with the right equipment, like an electric sander or polisher. This will make sure that your door gets as smooth of an appearance as possible without putting too much work on yourself!
Remove Any Dust with A Clean, Dry Cloth
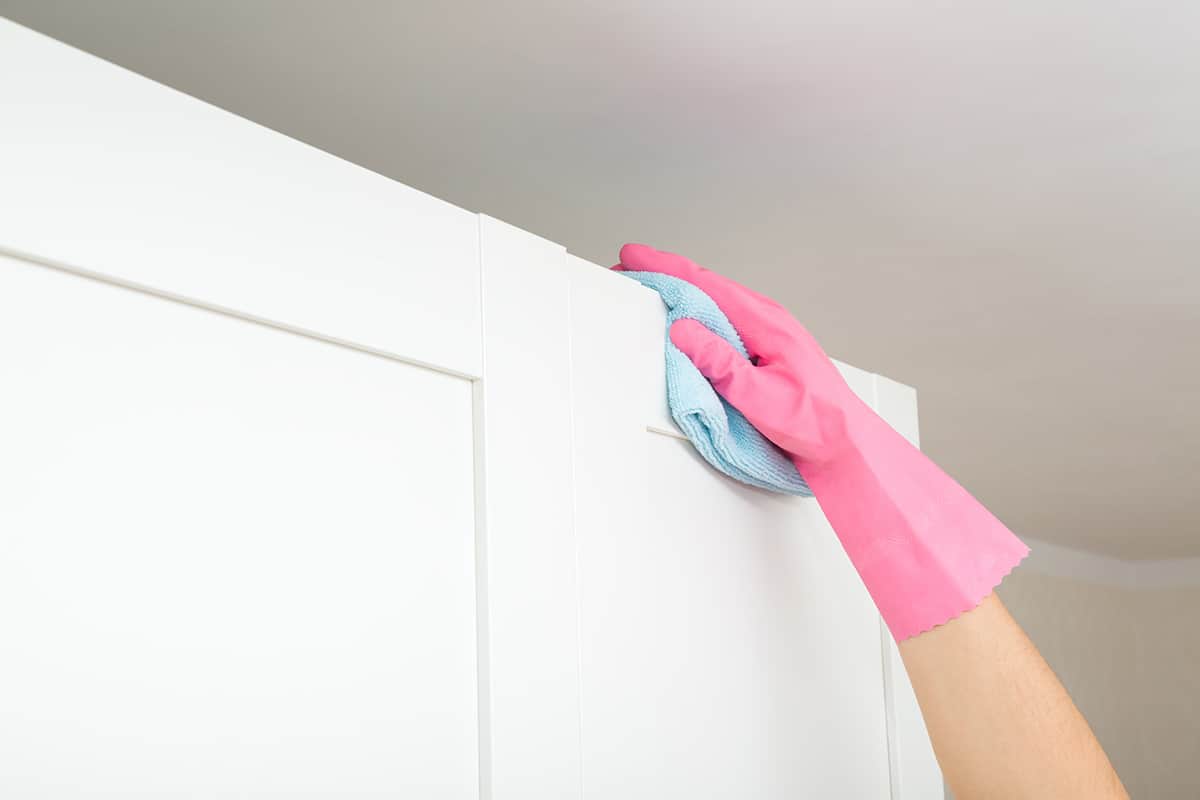
Dust is your enemy. It can add a layer of unevenness to the paint job and make it look old, dirty, and worn. To make sure you have a smooth, clean surface to paint on, wipe down the door with a lint-free cloth that’s been dampened with water.
Don’t use any kind of abrasive cleaner or cloth—these will scratch the surface of your door and cause it to look dull. If you’re using an old rag that’s been used for cleaning, don’t use it! Otherwise, your glossy new finish may end up looking like an old one.
Add Primer Coat and Let Dry Fully
- Let paint dry for at least 2 hours. If your door is in a warm, dry area that’s not exposed to direct sunlight, it can take longer for the paint to dry.
- You’ll know your door is ready when the color of the primer shows through clearly.
- When you see this step, you’re on your way to painting! The hardest part of this project is already done!
- If you want to speed up drying time, place a fan nearby and turn it on low. Keep an eye on your door as it dries—if any areas start bubbling up before they’re dry enough (which shouldn’t happen), just touch them lightly with some water and let them sit until they’re ready again.
Apply Gloss Paint in An Even Coat
Apply gloss paint in an even coat, covering the whole door, including around the handles and other hardware.
If you’re painting a large surface, like your front door, use a foam roller instead of a paintbrush. It will save you time by applying a more even coat of paint quickly—and it’s more economical than using up lots of brushes!
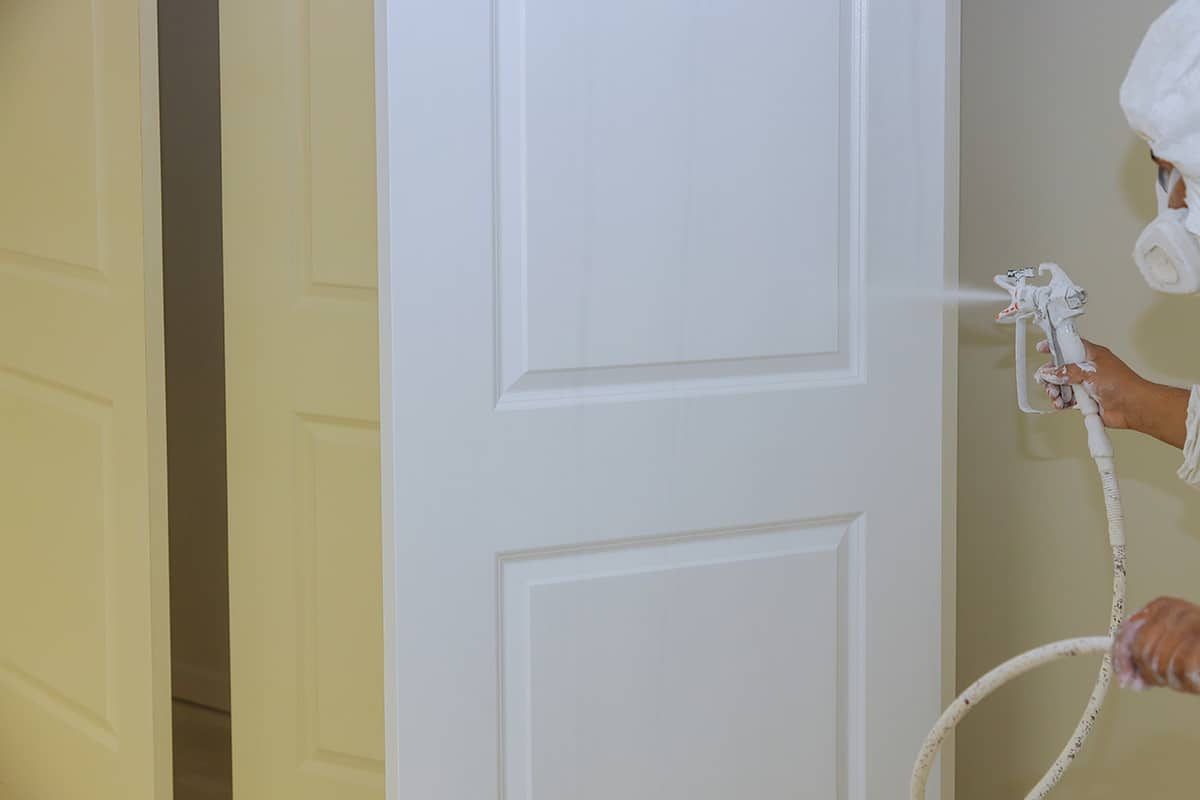
If you want to get a smooth finish that is perfect for doors, consider investing in an airless sprayer. A professional-grade gun can be rented from most hardware stores at reasonable rates.
You may find yourself having to do some touch-ups once all the glossing has dried. You can do this using small amounts of leftover gloss paint or if you still have some leftover from your original purchase, then simply follow these same steps again without rinsing away any excess product first (you may need two coats)
Remove Any Drips or Runs with A Scraper Before They Dry Completely
When you’re painting, it’s important to be careful with the paint so that you don’t get drips and runs. The easiest way to avoid these is by removing any drips or runs before they dry completely.
You can remove a drip with a scraper (or a putty knife), but if there are only a few dabs of paint rather than long streaks, use some water on your finger to gently rub them away. You may also use a wet cloth if you prefer that method instead of using liquids directly on your door’s surface.
If there are more than just dabs and smudges of paint on your door, use a brush made specifically for this task (like this one). For larger areas like doors or cabinets, consider using an old roller cover for extra safety; just make sure not to get any water onto the roller head!
Let Paint Dry for Two to Three Hours, Then Apply a Second Coat
Now that you’ve applied your first coat of paint let it dry for two to three hours. After this time has passed, apply a second coat of paint and allow it to dry for another 2-3 hours before applying any additional coats.
This will ensure that you have an even finish on all doors in your home. If you want a perfect finish, however, be sure to leave each coat of gloss paint overnight or longer before adding another coat.
Best Gloss Paint to Use on a Door
Choosing the right gloss paint to use on a door is an important decision. When shopping for the best paint for your doors, look for:
- A suitable finish. You want a type of paint that’s appropriate for use on a door, whether you’re considering a matte or glossy finish. Consider the climate where you live and what kind of weathering your doors will go through before deciding which type of finishing is best suited for them.
- Durability and ease of application. Your chosen type of gloss should be durable enough to stand up against wear and tear in your home’s environment without chipping or peeling over time—and it should be easy enough to apply that even someone who has never painted before can do it successfully!
Oil-based gloss paints
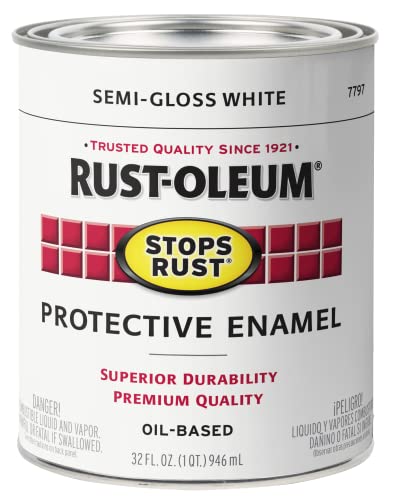
Oil-based gloss paints are the most durable of all the paints, which is why they’re great for exterior doors. However, they do have a few drawbacks. First off, they’re more expensive than water-based paints and are harder to clean up. They also have a longer drying time (about 4 hours) than latex paints (30 minutes).
Water-based gloss paints

Water-based gloss paints are better for the environment and easier to clean up, but they have a higher price point and are less durable.
Water-based gloss paints get their moisture from water instead of oil, which makes them safer (and cheaper) to use. They’re also much easier on your lungs—you don’t need to wear a respirator mask or anything like that when you’re working with these paints, so if you want to repaint your home but are worried about any potential health risks associated with traditional paint fumes, water-based gloss is the way to go!