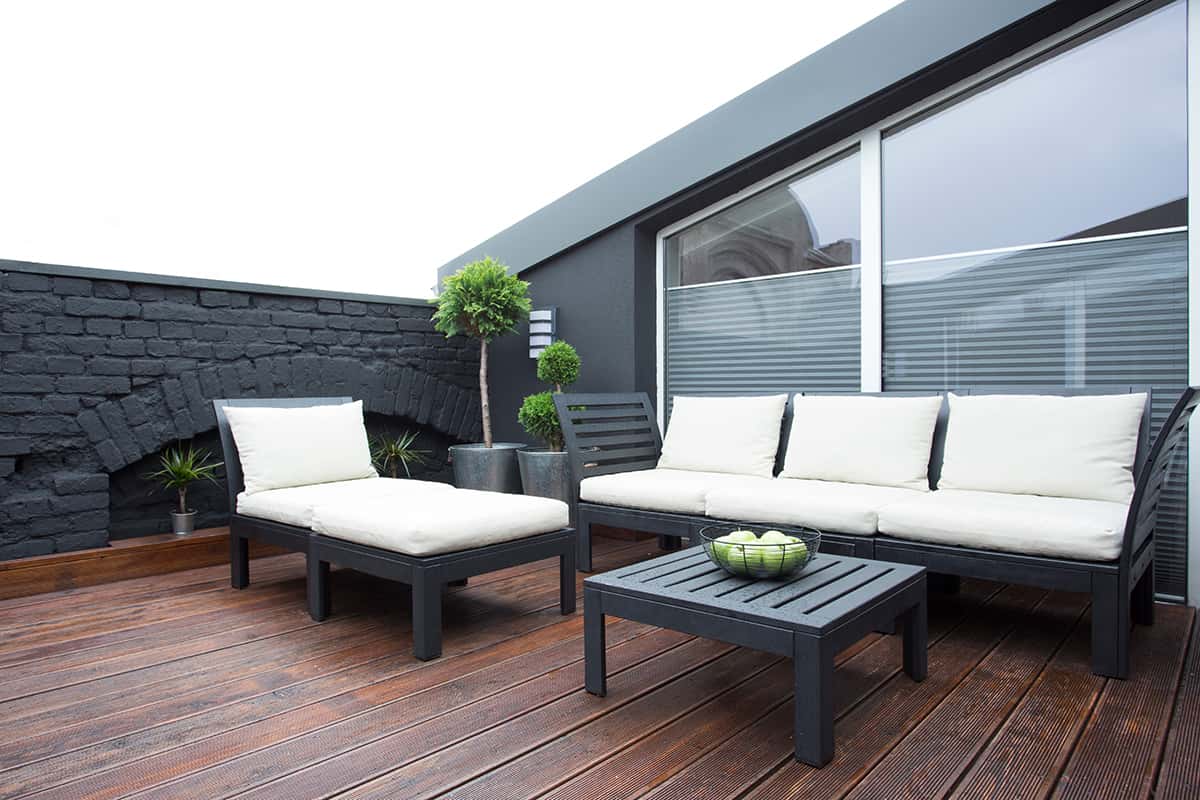
People are turning to DIY more than ever, and painting is a great way to update your home for less. However, you should know exactly what kind of paint you’re using – and how to use it – before starting.
Table of Contents
Use a Paint That’s Specially Formulated for Outdoor Use
For best results, use a paint that has been formulated for outdoor use. If your furniture is going to be exposed to the elements, it’s important to choose a paint that will stand up to the weather.
Outdoor paints are designed specifically with this in mind, and they’ll fare better than regular interior paints when they come into contact with UV rays, moisture, insects, and other factors that can damage finishings over time.
For example, if you’re painting a piece of outdoor furniture that requires some extra protection from the sun (for example, if it’s made from rattan), then you should look for an outdoor “UV-resistant” or “outdoor/marine” formula.
These formulas contain special additives that help waterproof outdoor furniture and prevent it from fading caused by exposure to direct sunlight for lengthy periods of time (usually 6+ hours per day).
What Kind of Paint to Use on Outdoor Furniture?
Painting your furniture is a great way to update it and make it look new. With the right paint, you can make an old chair look brand new again, but there are some things that you should know first.
First, you need to choose the right paint for your project. There are many different types of latex paints that you can use, including acrylics and oil-based enamels.
Acrylic exterior house paints work well on most outdoor furniture because they dry quickly and don’t chip as easily as other types of outdoor paints do when exposed directly to sunlight all day long during hot summer months (that’s why we recommend them).
If you want a higher quality finish with fewer streaks or brush marks left behind after applying multiple coats, then consider using water-based latex enamel instead; this will give your piece an overall smooth finish which may be preferable if aesthetics matter more than functionality when deciding which type works best for your needs!
Tips for Painting Outdoor Furniture
You’ll need to know the type and condition of the surface you’re painting before you start. It’s best to find out as much information as possible about the furniture, including:
- What kind of wood it’s made from. Different woods require different paints; some can’t be painted at all!
- How long ago it was constructed. Older furniture might have been treated with chemicals during manufacturing or previous ownerships that would make certain kinds of paint inappropriate (this is especially important for wooden furniture that has metal parts).
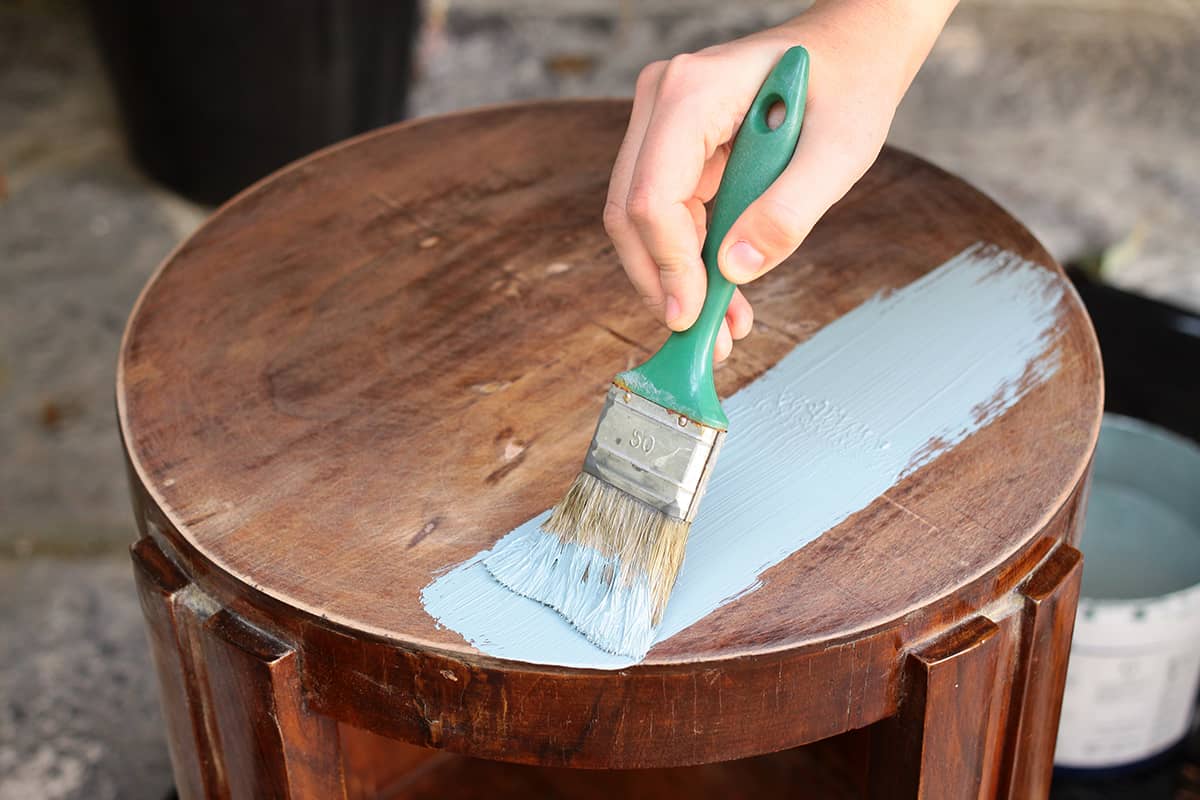
If your outdoor piece is in good condition, then cleaning it thoroughly and coating it with a painting primer may be enough. This step cleans dirt from deep within the grain and provides an adhesive surface for topcoats; however, if there are cracks or other flaws in its surface, those will still be visible after priming because primers aren’t perfect (they’re more like foundation coats than final ones).
If your furniture’s previous finish is in good condition, you may be able to just clean it thoroughly and paint over it.
To do this:
- Clean the surface of your furniture thoroughly with a household sponge and mild detergent or water. Then wipe with a dry cloth to remove excess moisture.
- Select a good-quality exterior paint that is designed specifically for exterior use, such as high-quality marine-grade epoxy or acrylic latex paints. Be sure to read all instructions on the label before applying paint.
- Apply two thin coats of paint if necessary (don’t apply thick coats). Allow each coat to dry completely before applying more coats—about 24 hours between coats should suffice unless otherwise specified by the manufacturer on their package instructions for individual products).
If the previous finish is damaged or peeling, use a stripper or sandpaper to remove any flaking paint before applying new paint. If your furniture has been left outside during the winter months and needs an overhaul, you may need to use a paint remover to get rid of all the old layers that have been applied over time.
You can also use sandpaper on wood surfaces if they’re not too smooth for it; this will help remove some of the old layers of paint that’s still hanging onto your surface and give you a better grasp on what kind of surface you’re working with before applying new coats.
Make sure your furniture is dry before applying new paint
You can use any paint on outdoor furniture, but you have to be sure it’s dry before applying new paint. If you don’t wait long enough for your furniture to dry, the result will be a bad finish. Paint runs and flakes are also common when painting while still damp or wet.
When preparing a surface with primer, read the label carefully before applying
Before you begin, make sure to read the label carefully. The label will tell you exactly what type of surface you are painting and what kind of primer is compatible with that surface.
In addition to knowing whether or not your chosen paint and primer are compatible, it’s also important to make sure that the primer is adequate for all desired areas of your project. If a label states that it’s only for indoor use, don’t try using it outdoors—it won’t work!
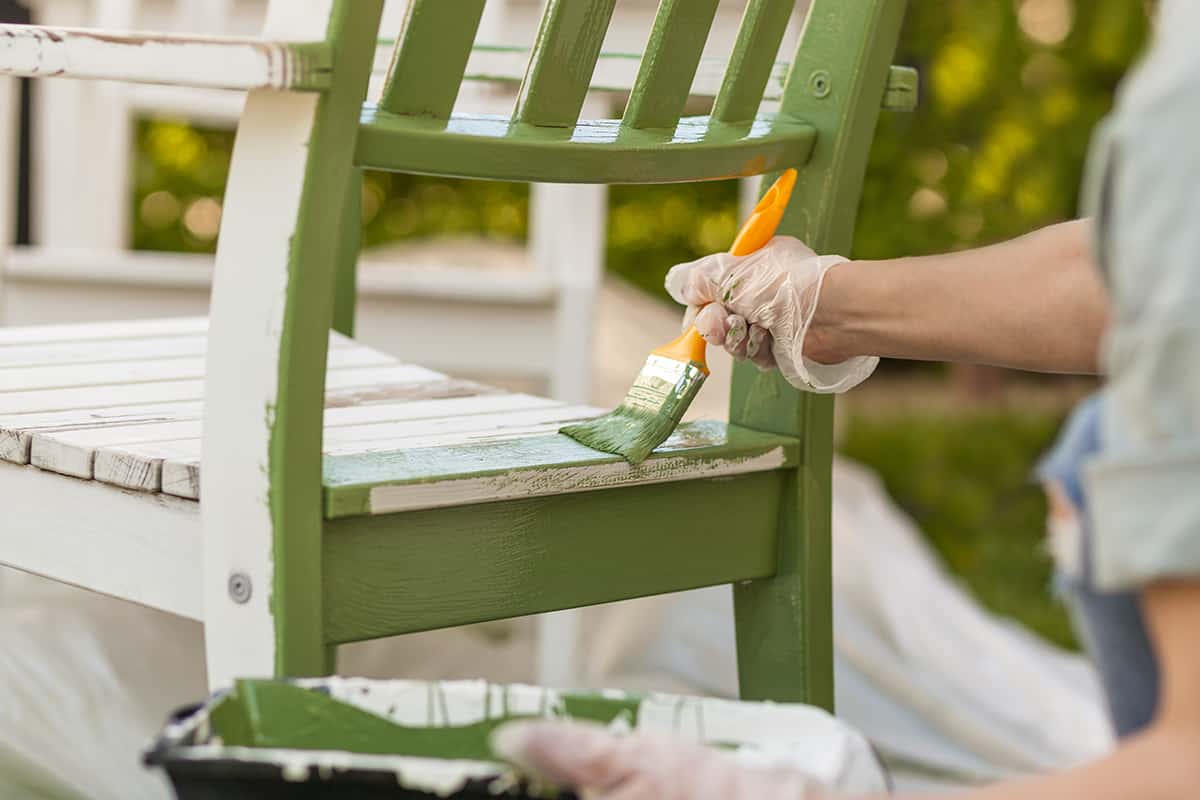
Painting wood
If you want to paint wood with a natural finish, you’ll need a primer and acrylic latex exterior house paint. You might also want to consider adding an oil-based primer for better adhesion.
The first step is to prime your furniture before painting it. Primer helps create a smooth surface, which in turn ensures that your paint will stick more easily and stay longer.
If you’re painting indoors, avoid using any kind of oil-based wood stain or stain remover on the surfaces of your furniture until after they’ve dried completely—otherwise, it could potentially cause smearing or streaking during application!
Painting metal
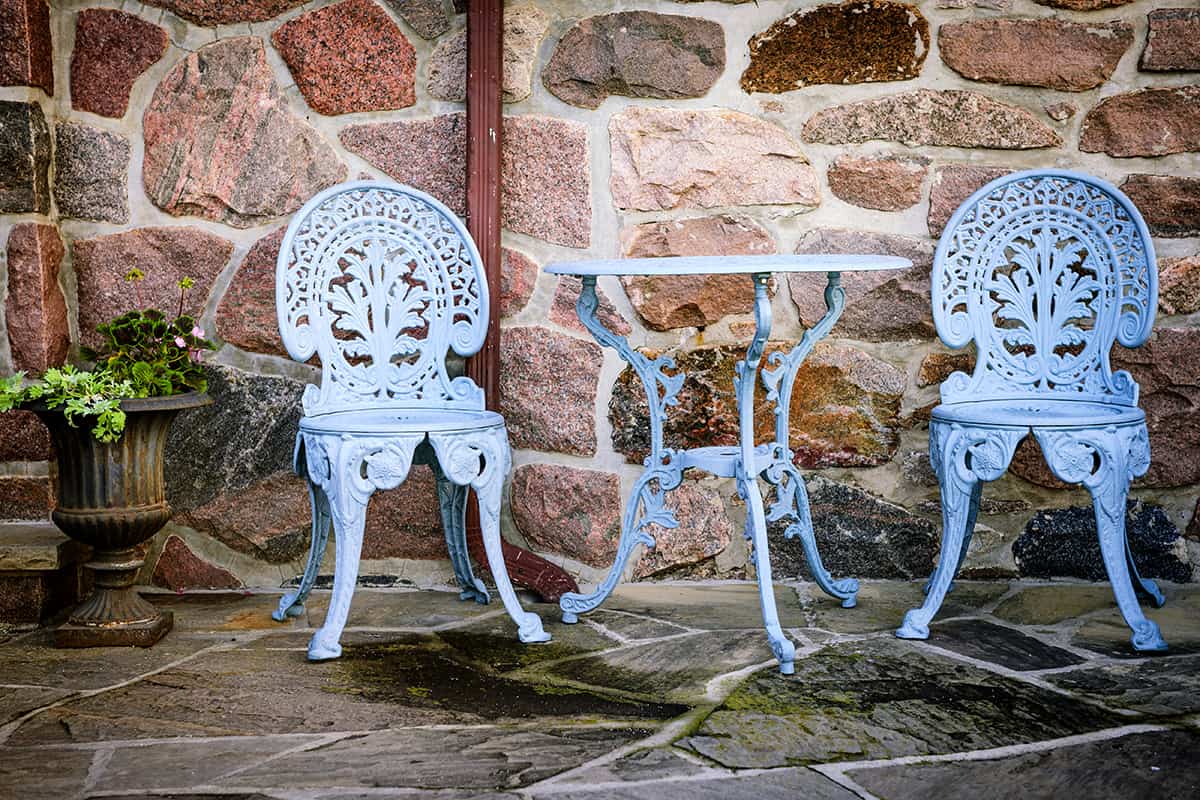
When working with metal furniture, remove loose rust from all areas, then prime using an oil-based primer. Start by removing any loose rust with a wire brush. Apply the primer in thin layers and wait four hours between each coat. This will ensure that you get rid of the previous layer and provide even coverage for your new paint job!
For a smooth finish, apply coats of water-based latex enamel for a smooth finish, adding one coat at a time and waiting about four hours between coats for drying time.
For example, if your furniture has areas that are very worn or damaged, you can prime those spots with an oil-based primer first (follow the label instructions). Wait for that to dry before applying the first coat of latex paint; repeat this process until you reach the desired coverage level.
Painting Plastic
If your outdoor furniture is made of plastic, look for a spray paint that says it’s suitable for plastics on the label.
To apply the paint, follow these steps:
- Pour some of the paint into a plastic container.
- Stir it with a stick.
- Apply a light coat over all surfaces of the furniture—don’t forget about the inside corners and around the legs! Let it dry for at least four hours before applying another coat of paint if needed.
If you’ve made a mistake or want to cover up an area again, use masking tape or painter’s tape to protect areas where you don’t want any more paint on your furniture (for example, if you accidentally got some on an armrest).
You can also use this time to clean up any messes that may have occurred as you painted your piece(s) of outdoor furniture. After four hours have passed and all pieces are fully dry, store them in a safe location until they are ready for use again!
You should wait at least one week after applying your last coat of spray paint before using your piece(s) on an outside setting again; otherwise, they could end up looking streaky or blotchy due to moisture exposure during this period (which means less than ideal results).
Keep in mind that there is no need for any additional prep work once they’re dry enough, not only because they won’t get ruined by rain but also because most types won’t even need priming beforehand! This makes it easy because then all we really need here is to clean up after ourselves when done painting, so nothing else gets damaged.