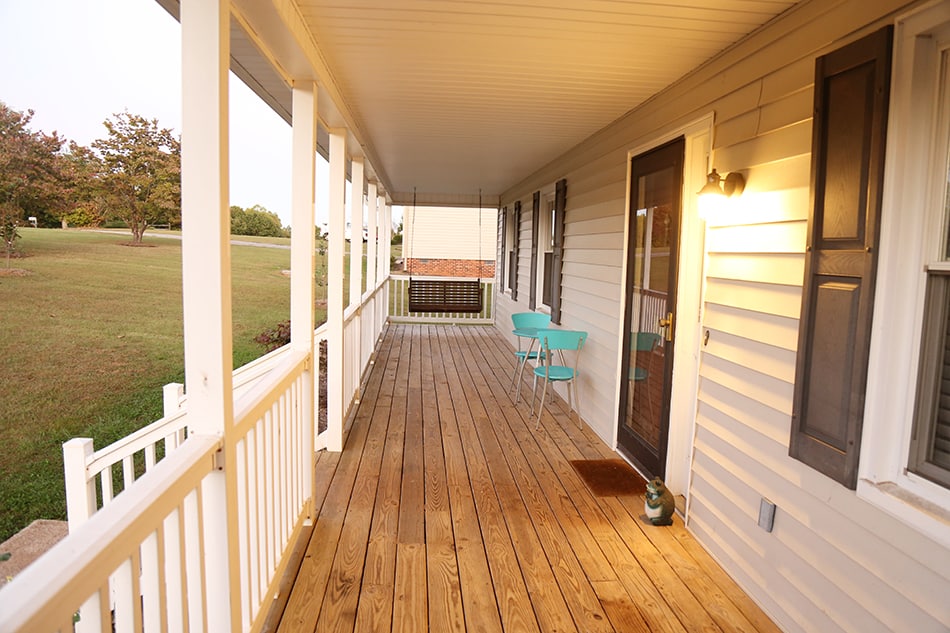
Plank flooring has certainly evolved over the years. Gone are the days of rough-hewn boards nailed to floor joists on uneven surfaces. Today, the innovative techniques used in wooden flooring installation have resulted in smooth, level boards. Deck or porch flooring is something that’s instantly noticeable as soon as you approach your front door. It must, therefore, look unique and visually appealing.
Tongue and groove is one method of installing porch flooring to create a uniform walking surface that’s attractive and durable. If you’re considering a new floor for your porch, be sure to read this post on the best tongue and groove porch flooring options. We will also provide you with some excellent installation tips if you choose to take on this project yourself.
Table of Contents
What Is Tongue and Groove Flooring?
Tongue and groove flooring was first developed in the late 17th century when mass production of interlocking hardwood planks took off. This flooring technique eliminated the need for nailing wooden planks. As it became mainstream, the tongue and groove technology expanded across all types of hardwood flooring for both indoor and outdoor projects.
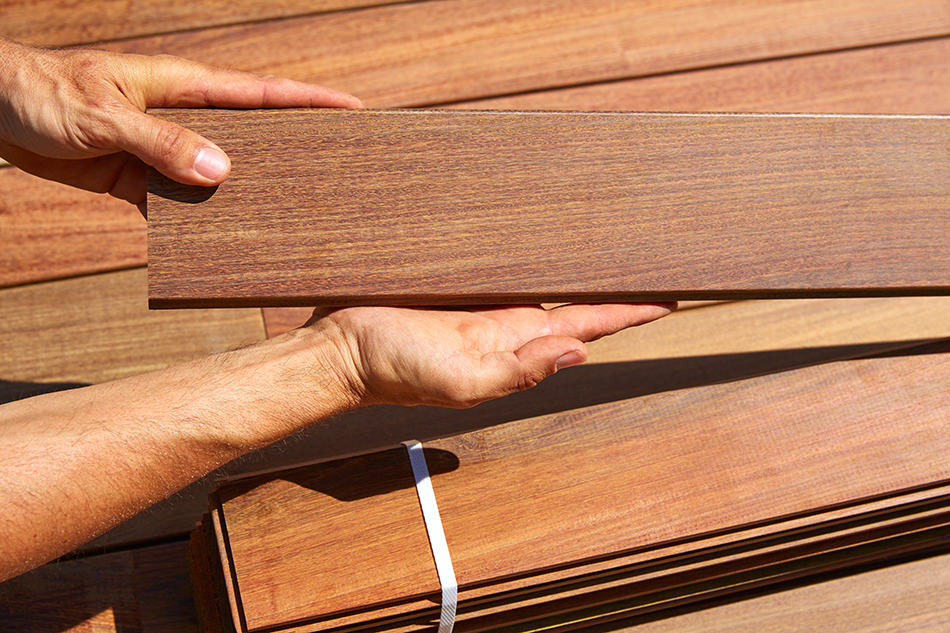
Installing tongue and groove flooring is actually quite easy as the floorboards are fitted together like jigsaw puzzle pieces. The boards are fitted with protruding, which is referred to as the tongue, and concave, which is the groove. All four sides of the boards have tongues and grooves for easy fitting.
Most wooden floorboards, wainscots, sheet paneling materials, and many others are often used in conjunction with tongue and groove, where a solid, tight seam is required between each board.
Since the tongue firmly fits into the adjoining floor board’s groove, the vertical movement between the two boards is minimized. However, the horizontal movement still occurs to a small degree, especially if the boards are of solid wood, in which case they expand and contract from time to time.
Tongue and Groove Planks Vs. Non-Groove Boards
Almost all wooden flooring today uses tongue and groove technology to prevent warping, shrinking, or coming loose, which is caused by the nails in the floor joists. Since the hardwood boards interlock, they’re less likely to show flooring gaps between each plank should the flooring shrink or swell.
After all, hardwood boards have the tendency to expand and contract as humidity levels change. This makes tongue and groove plank a better option than non-grooved ones.
While tongue and groove is a widespread flooring option, you will still find non-grooved planks that mimic rustic flooring. These planks are rarely seen in modern residential homes – unless the house is an old restoration project.
Their biggest advantage is the space between the planks for adequate drainage, which makes non-grooved planks a good option for decking. However, they’re not the most practical option when walking on spaced planks with high-heeled shoes!
4 Durable Tongue and Groove Porch Flooring Materials
Douglas Fir

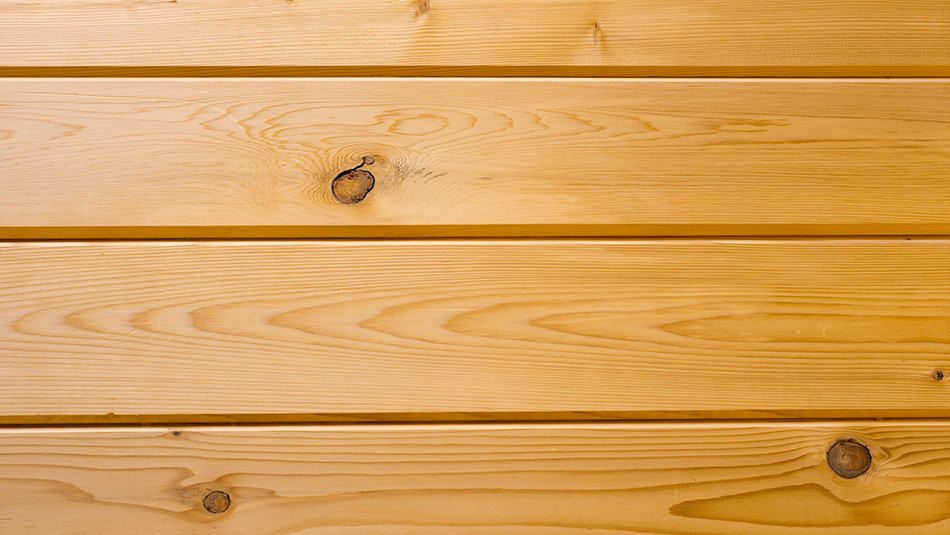
Douglas fir is a tree that’s considered to be the most essential timber resource in the world. Known for its symbolic shape and towering height, this tree’s timber is used for everything from poles to porch decking.
Fir is the widest used wood for flooring as it’s the strongest softwood. But aside from its incredible durability, fir is soft enough to work with. It can easily take screws or nails without damaging the wood’s integrity.
Douglas fir can withstand most weather conditions and lasts for decades if properly maintained. Thanks to its versatile nature, this type of softwood is ideal for tongue and groove porch flooring.
If you want truly beautiful flooring for your porch, Douglas fir features stunning golden tones and grain, wavy patterns that make it top of the class. Even oak or maple can’t match the beauty of this softwood!
Pros
- Very attractive for porch flooring
- Incredibly strong
- Very durable and moisture resistant
- Easy to maintain
Cons
- Very soft and prone to denting
- Needs regular treating
Redwood
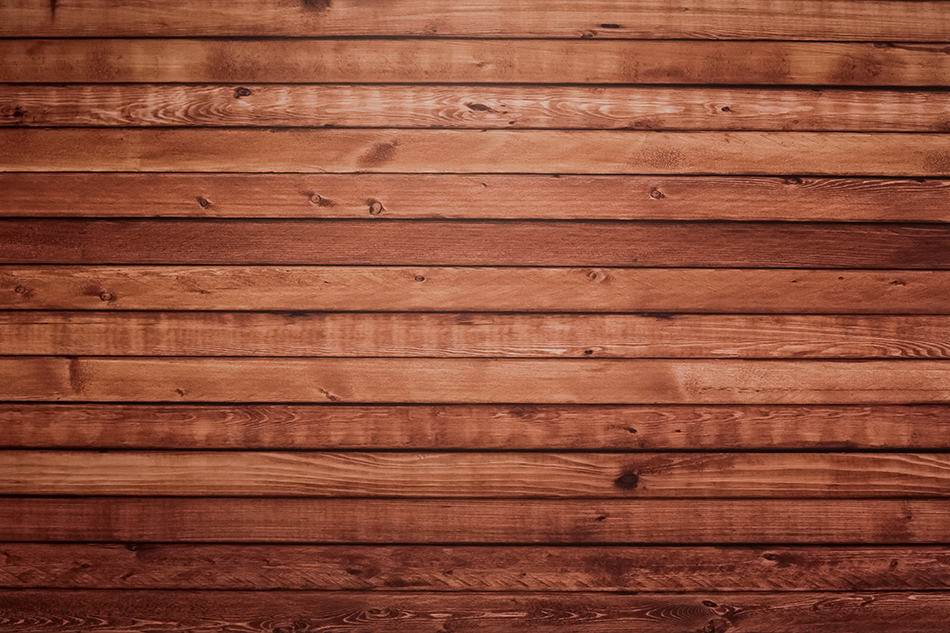
Redwood timber is beautiful and has a better resistance against warping, cracking, or shrinking in addition to insect and decay damage.
This decking material option stays flat and straight, which makes it perfect for porch flooring. Redwood retains its original condition well, but it must be left to weather naturally. You only need to recoat it every 3 to 5 years, so it doesn’t require as much maintenance as fir or pine. The most popular colors for porch flooring are cinnamon or rich red.
Pros
- Highly durable
- Low maintenance
- Can withstand high traffic
- Lightweight yet strong
Cons
- Not as easily available as fir
- More expensive than other wood flooring options
Engineered Wood Composite
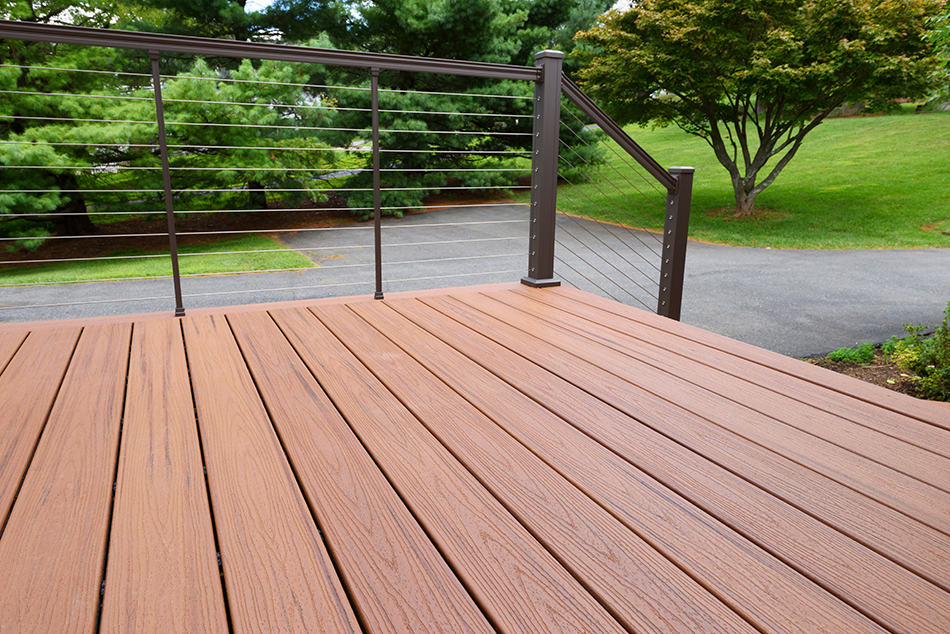
With a wide board profile and interlocking T&G connection, wood composite offers a timeless appearance that ensures your porch makes a great first impression. This type of engineered wood is a mixture of the synthetic and wood material to create a more durable product.
As a less expensive option than natural wood, composite looks just like hardwood but without any maintenance. It resists fading, stains, and scratches, which makes the material an ideal porch flooring option. Wood composite can withstand harsh weather conditions, plus you will never have to worry about mold or mildew forming on the planks. This is because of the impenetrable polymer material within the layers of the composite.
Pros
- Stylish
- Adds resale value
- Fade and scratch resistant
- Withstands moisture and mildew
- Maintenance free
- More affordable than hardwood
Cons
- Can’t be refinished or repainted
- Can dent over time
Ipe
Pronounced ee-pey, Ipe is another natural wood flooring option for a porch. This rare tropical tree is mainly found in Brazil and can grow up to 150 feet. The timber of ipe is incredibly strong and dense.
It is resistant to cracking and naturally resists insects and mold. Perhaps the best feature of this wood is its resistance to fire, which makes it perfect for exterior flooring. The biggest disadvantage of ipe is its rarity in countries other than Latin America.
Pros
- Durable, high-density hardwood
- Resistant to mold and insects
- Minimal warping
Cons
- Not widely available
- Expensive
Advantages of Tongue and Groove Flooring
- Tongue and groove flooring features tight, solid seams that require minimal gluing to keep the planks together.
- When properly stained, the tongue and groove can be water-tight, which makes it ideal for porch flooring.
- T&G is the only type of flooring that can be fitted over joists.
- T&G is less expensive than click-fit flooring.
- Tongue and groove porch flooring is easy to maintain, with minimal cleaning.
- It can be used as either underlay flooring or fixed into position as the main flooring.
Disadvantages of Tongue and Groove Flooring
- The tongues can be a little difficult to fit into the grooves, especially if the boards are of solid wood. The planks can swell over time due to humidity or temperature fluctuations.
- The tongues can break off unless they are thick and of high-quality wood.
- Disassembling the tongue and grooved floorboards can be a challenge, especially if the planks have become swollen due to temperature changes.
- If the floorboards are damaged, repairing them can be tricky since the panels are normally glued together for stability. You will often need to break apart multiple plank pieces for replacement.
How to DIY Install Tongue and Groove Flooring for Porch
DIY installing tongue and groove floorboards for your porch will save you money and time. Since this type of flooring consists of planks with each one featuring a tongue and a groove, you’ll easily be able to fit them together using just a few tools and techniques.
With T&G planks, the tongues are cut into short and long sides while the grooves have two remaining sides. For installation, you have three method options: gluing to the subfloor, nailing the planks, or the floating option. Whichever method you choose, you can be sure of achieving a perfect final result. Follow these steps for a smooth and durable finish:
What you’ll need
- A nail gun, face-nail, or pneumatic nailer
- A circular saw
- A tape measure
- T&G floorboards of course!
Step 1: Start by measuring each board’s width from wall to wall using a chalk line. Make sure the planks are locked into place before using face-nail or glue for the first rows.
Step 2: A face nail is a tool used to hold the floorboards firmly in place while you’re installing each one. If you find a pneumatic nailer difficult to operate, then a face nail will do the job. Once you’ve used the face nail to hold down several rows of boards, you can then nail into each board’s tongue. Make sure there is no spacing between each board and the nails are uniform.
Step 3: Now comes the time to install the last board. Using your circular saw, shape the board to fit it snugly. Make sure the tongue and groove are as tightly installed as possible before face-nailing the final board. You may place a trim around the flooring at an angle over the last board. Your porch may or may not require a trim installation but it’s always nice to use it for a final finish.