Screen doors need to be routinely painted every few years because, as an external and regularly used part of the home, they can sustain a lot of wear and tear.
Painting the screen door, along with repairing any minor imperfections at the same time, will help to keep your screen door looking its best as well as extend its lifespan.
Here we explain the steps you can take to prepare and paint your screen door.
Table of Contents
Step-by-Step Guide to Paint a Screen Door
Plan
As with most painting jobs, proper preparation is absolutely vital to your screen door painting project. If you fail to prepare the door properly, you will likely encounter issues along the way, and your results will not look nearly as professional as if you prepared adequately.
If you are able to, remove the screen door and lay it down in a covered area, such as a workshop or garage, so that you aren’t relying on good weather for the completion of the project.
Alternatively, if you plan to paint the screen door while it is still in situ, you will need to identify a number of several dry days in a row so that you have time to repair, prime, and paint the door, allowing sufficient time in between coats for drying.
You should also gather the tools and materials you are going to need to complete the job, including a cleaning bucket with a textured sponge, cleaning fluid, a wire brush, filler, a putty knife, sandpaper, decorators’ tape, drop sheets, primer, a paint tray, a paintbrush, and paint.
Clean
Screen doors can get quite grubby over time from dirty rainwater, street pollution, and various hands repeatedly touching the door to open and close it. Before you can begin working on the door, you will first need to thoroughly clean it.
If the door has been removed from the building, you could stand the door up against a fence in the backyard and spray it with a pressure washer.
This will be the most efficient solution for cleaning the door; however, it will not be possible if the door is still attached to the home. Instead, dilute a cleaning fluid with warm water in a bucket, and use this along with a cleaning sponge to scrub the screen door.
Once complete, you can let the door dry in the sun or wipe it down with an old rag to dry it quickly if you want to move onto the next step.
Screen doors are primarily made from metal, so these will dry quickly; however, if you have a wooden screen door, the soapy water will have absorbed into the wood; in that case, you will need to let it dry thoroughly for a few days before you can continue working on the door.
Protect
If you are preparing and painting your screen door while it is attached to the home, you should lay drop cloths beneath the door to protect the floor.
Ensure the drop cloths extend inside your home to cover some of the hallway flooring, as well as outside to cover your porch or front path flooring. These will protect your home not only from paint splatters but also from any dust created from sanding the door in the repairing stage.
If you have removed the screen door from the house, lay a drop cloth beneath the door on a flat surface such as the floor or a workbench in your garage.
Repair
Unless your screen door is quite new or has been very well cared for, it will likely need to undergo a few repairs. Rust spots are common on metal screen doors, or you might have flaking paint or chips in a wooden door.
Whatever the issues are that need resolving, they will be much easier to complete now than after the door is painted, and they will contribute to a pristine-looking screen door and a professional style paint job.
If your screen door needs to be repaired with filler in holes or scratches, use a filler purposefully designed to be used on the exterior of properties and a type that is compatible with the material of your screen door.
Wooden screen doors will require wood filler products, while metal screen doors can be used with exterior metal fillers.
Use a putty knife to smooth the filler into place, then allow it to dry before sanding it down for a flawless finish. If you have flaking paint on the door, then a scraper or a wire brush will be ideal for removing this.
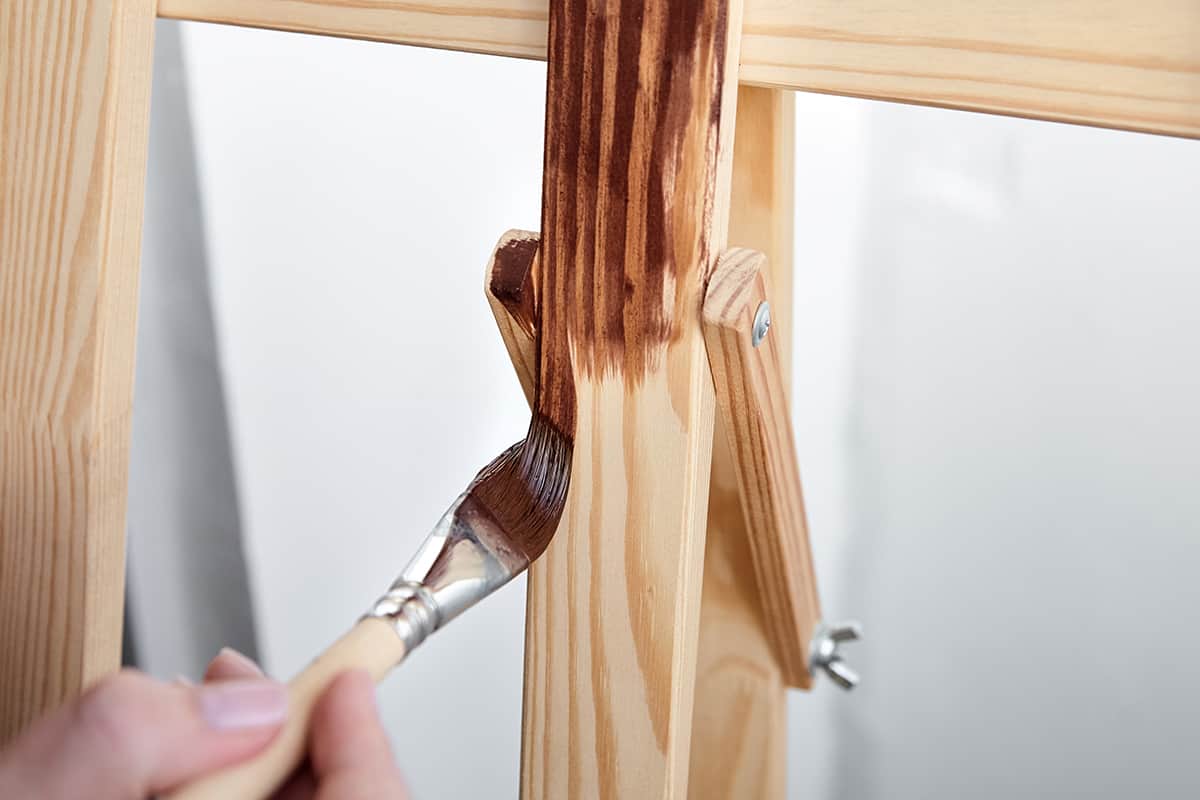
If you have a wooden screen door that has been previously treated with a stain, varnish, or paint, then the best thing you can do to ensure a professional finish is to completely sand down the wood.
This can be done with a power sander or by hand, but if you have many layers of paint to remove, then a power sander will be much quicker and more effective.
If your screen door is metal, then you should not sand it. Once sanding the door is completed, wipe down the door with a dry cloth to remove any dust.
Tape
The final part of preparing your door before you can prime and paint it is to tape it. Use decorators’ tape to tape the frame of the door if it is still attached to the house, or if you are also painting the frame, then you should tape around the frame to prevent any paint from getting on your trim or siding.
Many screen doors will have screens that can be removed; if this is possible on your screen door, then you should remove it.
Otherwise, tape up the edge of the screen with decorators’ tape and use newspaper across the main part of the screen to protect it from getting paint splatters on it.
You should also use decorators’ tape around any hardware, such as handles or hinges that have not been removed from the door.
Prime
Your screen door is now ready to prime. Primer will create a foundation on the door that helps to give it a smooth and flawless finish, and it also creates a base that the paint is better able to adhere to.
This means that your paint job is going to stand up better against weather and the effects of time, ensuring it lasts for much longer than if you had not used primer.
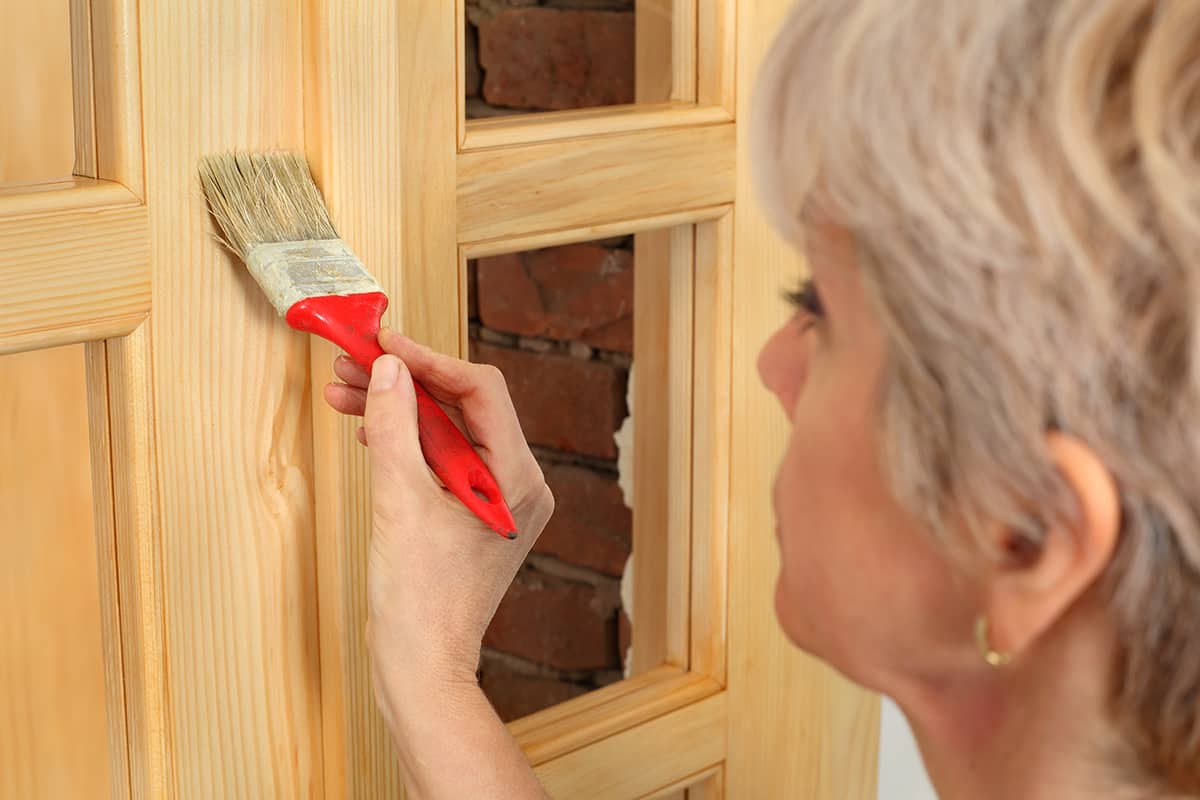
Primer that has been formulated for use outdoors on wood or metal should be used for your screen door. Pour it into a paint tray and use a small paintbrush to apply it to the outer edges of the door, then use a larger paintbrush to apply the primer to the remainder of the door.
The primer should be painted on to the door in thin coats, as this will prevent drips and give a better overall finish. When it comes to primer and paint, several thin coats are far superior to one thick coat. Follow the manufacturer’s guidelines to allow enough time between each coat of primer, completing a total of two or three coats.
If you are also painting the back of the screen door, you should repeat this process on the other side.
Paint
After the primer has sufficiently dried, choose the paint color you want for the screen door, open it, and pour it into a clean paint tray. This paint should be intended for exterior use so that it is able to stand up against the wear and tear associated with external building components.
It should also be suitable to be used with the type of material your screen door is made from. For example, a metal door will need exterior metal paint. Use a clean paintbrush to apply the paint in the same way that you applied the primer, using thin coats and allowing drying time between each coat.
Two coats may be sufficient for full coverage, but if you still have paint leftover, then adding a third coat for good measure will help to ensure the longevity of the paint job. Repeat the process on the back of the door.
Finish
When the paint is dry to the touch, or after around an hour from painting, you can peel back the decorators’ tape and dispose of it. Wait until the paint has completely hardened before you allow the door to be used again; this could be anywhere from a few hours to a few days.
If it gets closed before the paint has cured, then the paintwork could sustain damage or be smudged, so be sure to keep it propped open.
Once hardened, the screen door can be used again as normal. If the screen door was removed from the home to paint, it can now be reinstalled on the hinges and attached back in place.
If the screens were removed for painting, these can also be slotted back into place. You can tidy away the drop sheets and admire your newly painted screen door.