When you spend your time enjoying the sunshine in your backyard, wouldn’t you like to have fun playing an exciting game with your family? One such game is horseshoe pitching, which is a very popular game in the US and Canada.
But rather than going out and finding a suitable pitch to play in, why not build your own horseshoe pit in your lawn? This project doesn’t have to be expensive or time-consuming, as we are about to show you.
In this article, we’ll provide you with essential information on horseshoe pit dimensions and how to measure them accurately, allowing you to start building the ultimate horseshoe pit in no time. Let’s dive in and discover more about this exciting backyard game.
Table of Contents
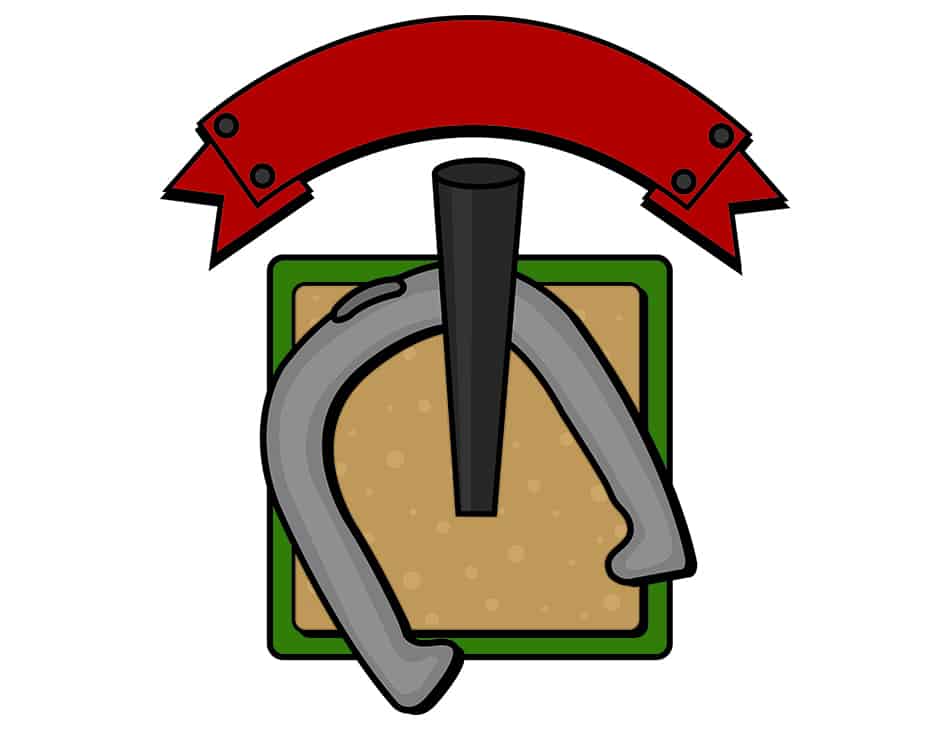
What is a Horseshoe Pit?
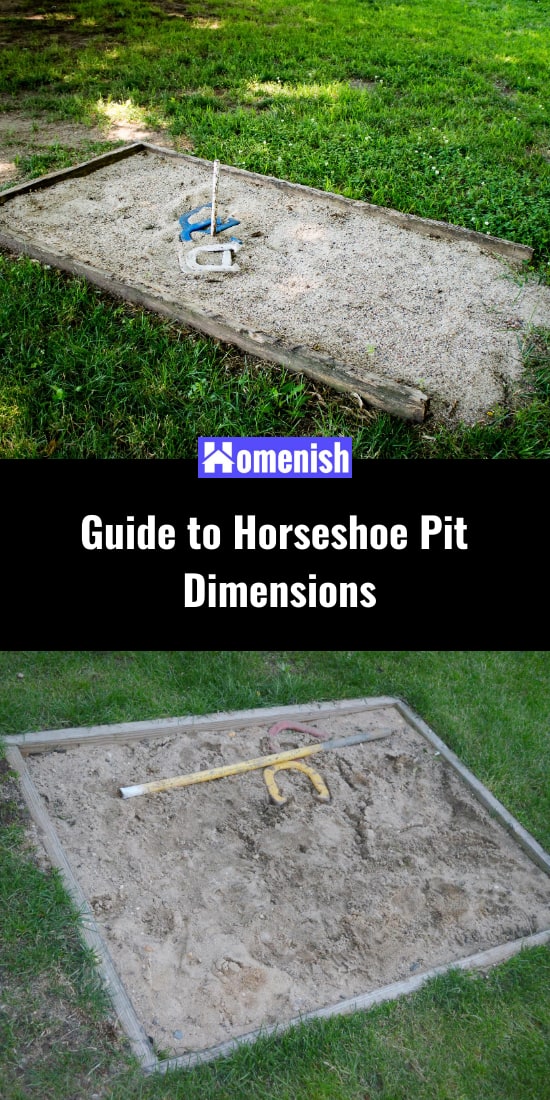
Horseshoe pitching is a classic game that dates back to Roman times when the Roman soldiers used discarded horseshoes for playing the game on the pitch. This lawn game involves 4 horseshoes and 2 stakes, which can be played by two players per team. Each stake is 40 feet apart. The metal or plastic horseshoes are alternately tossed by players as they are aimed for the wooden pole or horseshoe stake.
If the dimensions of the pit are incorrect or inexact, it can totally break the game. Here we will take a look at the exact horseshoe pit dimensions along with how they are measured:
Common Horseshoe Pit Dimensions
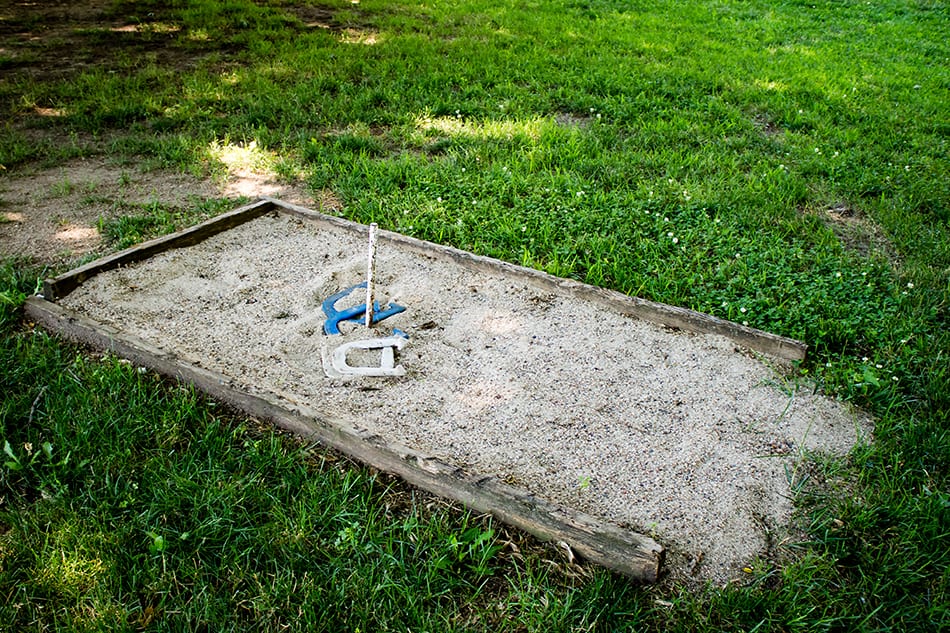
When building a horseshoe pit, it’s essential to adhere to the National Horseshoe Pitchers Association (NHPA) regulations. Below are the main dimensions to consider:
- Pit Size: The pit should be no less than 31×43 inches and not greater than 36×72 inches.
- Overall Area: The regulation horseshoe pit must have an area of 48 feet long and 6 feet wide.
- Stakes Distance: The most crucial measurement is the distance between the two stakes, which should be precisely 40 feet.
Keep in mind that these dimensions may be adapted to fit your available space, so feel free to plan for a smaller pit if necessary. Compared to average cornhole board dimensions, regulation horseshoe pits are similar in length but much shorter in width.
| Parameter       | Dimensions
|-----------------|---------------
| Pit Size        | 31x43 to 36x72 inches
| Overall Area    | 48 feet x 6 feet
| Stakes Distance | 40 feet
Remember to also consider the orientation of your horseshoe pit, ensuring a comfortable and enjoyable playing environment for everyone involved.
How is a Horseshoe Pit Measured?
Your horseshoe pit’s total rectangular area should be 48×6 feet, measured lengthwise from the pitcher’s back box and widthwise across the box. When measuring the pit dimensions, keep in mind the following:
- Pitcher’s box should have exact dimensions of 6×6 feet, comprising the pitching platform, pole, and pit.
- Maintain a distance of 46 feet from the back of one box to the other.
- The pit must have a minimum length of 43 inches (inside) and not exceed 72 inches.
- Measure the pit width from the inside, which should range between 31 inches and 36 inches.
- Poles should be 1 inch in diameter and have a height between 14 to 15 inches above the ground.
Additional details to consider while measuring a horseshoe pit:
- Poles can extend from 18 to 20 inches in width, but extended poles are usually used for young players only. Keep the pole extension within 10 feet in length.
- The pole must be placed exactly in the middle of the pitcher’s box and have a minimum distance of 21 inches from the back and front sides of the pit. Tilt the pole slightly forward, around 3 inches.
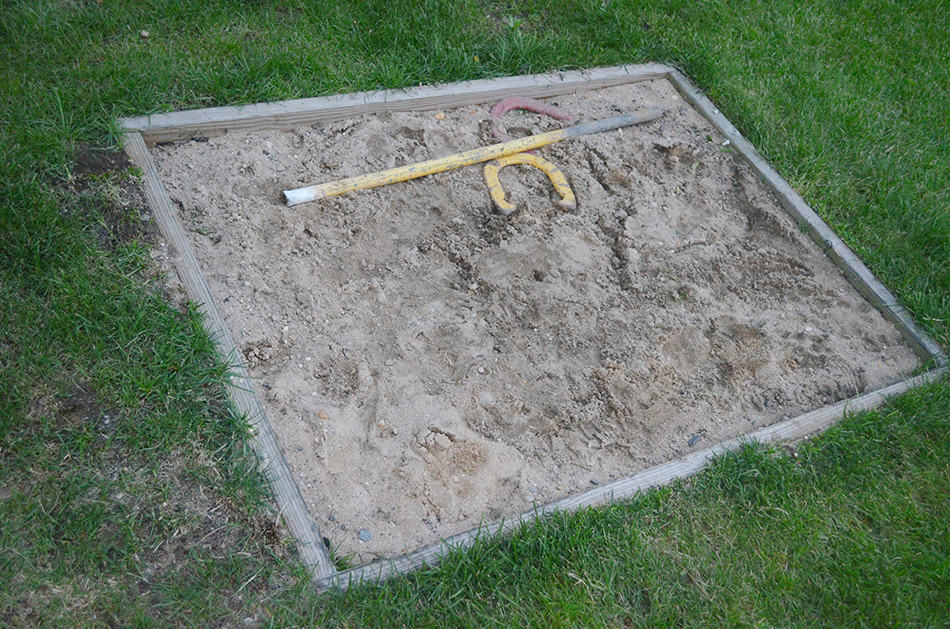
Lastly, your pit must be filled with material such as sand, clay, dirt, or any synthetic substance, with a minimum depth of 4 inches. For ground-level pits, the standard depth should be 8 inches, according to NHPA regulations.
How to Build the Ultimate Horseshoe Pit
Before starting the construction, check if you need a permit to install the pit. Choose a relatively flat ground, not directly under trees, with a north-south orientation, and away from your home or garage.
Gather the following tools and materials for the project:
- Stained lumber x 8
- Poles
- Sledgehammer
- A shovel
- Fasteners
- Circular saw
- Sand
- Felt or membrane for weed prevention
Step 1. Take measurements of your space
The poles must be exactly 40 feet apart. The poles should sit within a box (at least 31×43 inches) and not exceed 36×72 inches. You’ll need a 48×6 foot rectangular pit for the game.
Step 2. Building the boxes
With the dimensions in mind, cut eight lumber pieces: four at 36 inches and four at 48 inches. Assemble the wood pieces into two rectangular boxes of equal height using fasteners.
Step 3. Installing your boxes in the ground
Dig trenches to secure each box into the ground. Lay membrane or felt at the bottom of each pit for weed prevention. Dig the trenches 5 inches deep, then make an even deeper trench across the pit’s width, about 4 inches deeper than the others. Repeat the same steps for the other pit.
Step 4. Install your poles
Set the poles in the trenches, 21 inches from the front of the box. Ensure they are sticking up 14-15 inches from the ground and lean slightly at an angle (3 inches) toward the other pit.
Step 5. Fill the pits with sand
Use sandbox sand to fill each pit. You’ll need around 5-6 bags of sand per pit.
Enjoy your DIY horseshoe pit and impress your neighbors with your lawn game skills!
Frequently Asked Questions
How far apart should the stakes be in a horseshoe pit?
The stakes in a horseshoe pit should be exactly 40 feet apart. This distance is crucial for accurate gameplay.
What is the proper height for the stakes in a horseshoe pit?
The stakes in a horseshoe pit should be 14-15 inches above the playing surface. This height helps ensure a fair and consistent game for all players.
Are there any specific materials required for building a horseshoe pit?
There are no specific materials required for building a horseshoe pit. However, using proper materials ensures a long-lasting and enjoyable game experience. Commonly used materials include:
- Stakes: metal rods or rebar
- Pit: clay, sand, or a mixture of both
- Pitching platform: concrete, wood, or rubber mats
What are the dimensions of the pitching box in a horseshoe pit?
The dimensions of the pitching box in a horseshoe pit are 6×6 feet. It has four main elements: the pit, pitching platform, and stake.
Do I need a backboard for my horseshoe pit?
While a backboard is not strictly required, it’s a good addition to protect the surrounding area and keep the game contained. You can use materials like wood or heavy-duty plastic for a backboard, and it should be placed a few inches behind the stake.