Are you building a new set of stairs? Installing carpet or a chair lift? There are lots of reasons you might need a way to measure your stairs’ rise and run.
You can go to an online calculator to help give you the final result, but you’ll still need to know what measurements to feed into it. And you might need to change your technique depending on the style of stairs. Also, keep in mind to account for not only the base material of the stair but any coverings, such as carpet or treads.
To get you started, we’re listing the 10 best types of stair measuring tools you can buy. Thankfully, they’re all fairly low-cost and easy to use. Let’s run down each one of them to give you an idea of when and how you would use each kind.
Table of Contents
Measuring Tape

You probably already have a tape measure, and while it’s not the easiest to use for measuring stairs, you can certainly determine everything you need to with this simple tool. Jot down your measurements as you determine the angle, length, width, and depth of the stairs. Be sure to account for any irregular stairs, such as small landings or closer or further steps at the top or bottom.
To ensure you’re getting accurate measurements, get a 25-ft. tape measure and take measurements all the way up the stairs. This is the equivalent of making marks all along the board you’re going to cut so that you verify your measurements.
The nice thing about using a tape measure is you don’t need to buy any special tools that you probably won’t use again.
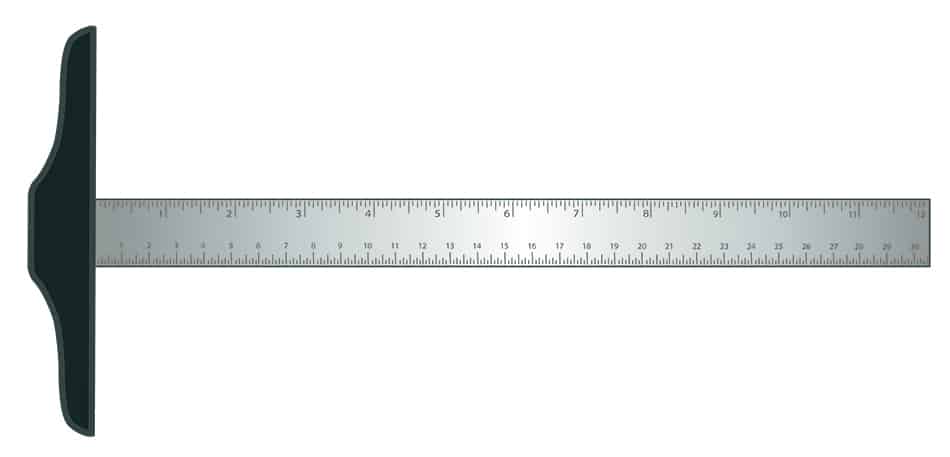
Building Ruler
Here’s another low-cost option that you can use for multiple purposes. You can use it for measuring stairs, though its primary benefit will be in marking your cuts for new material.
Multi-Angle Ruler
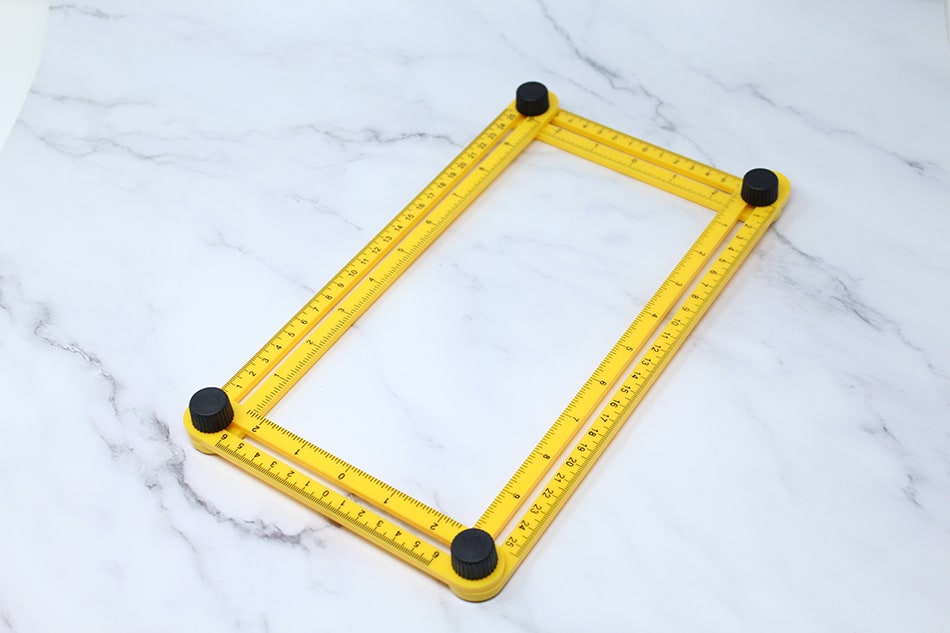
A multi-angle ruler is useful because you can take all the measurements you need at one time, simply by adjusting the angles to mirror your stairs. This also helps in visualizing the shape of the stair, acting as a template to trace around. They’re quite cheap to buy and fold up compactly, so buying and storing one won’t be difficult. This is another of those tools that you’ll use time and again, so it’s well worth the small investment.
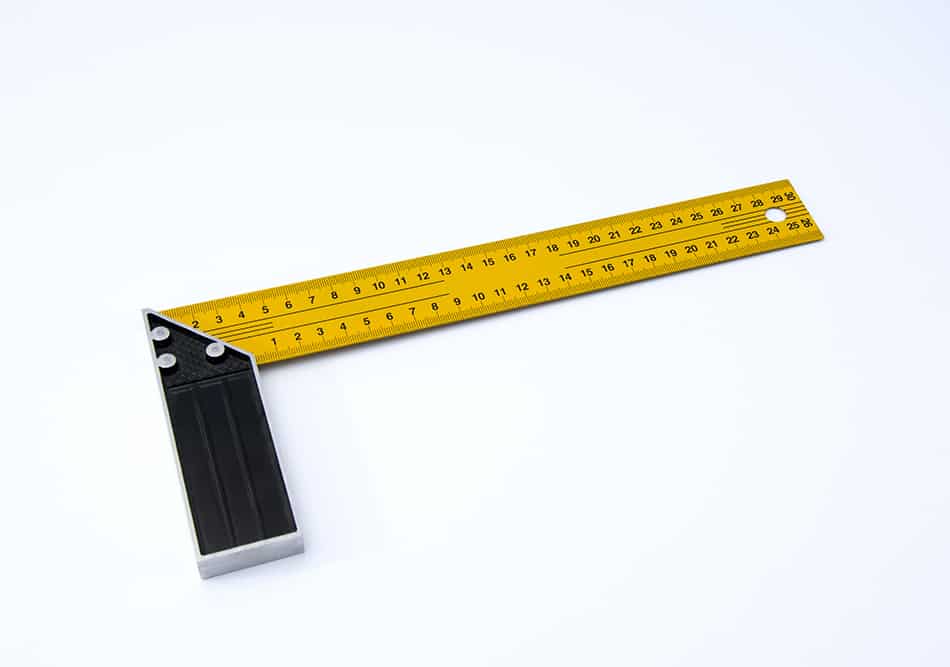
Square
Using a square is almost as convenient as using a stair tread gauge and is a lot easier than using a tape measure or even a ruler. You’ll want a fairly large square, though, for measuring the entire stair. Keep in mind that besides the height and depth of the stair, you’ll also need to figure the angle for the back of each step.
Like many other basic tools, this is one that will serve you well in future woodworking projects.
L-Square
Serving the same function as a square, an L-square may be more convenient for you to use based on the size and shape. Again, remember to take all of the measurements into account, not the rise and run only.
Stair Tread Gauge

This is a specialized tool that will make your task of measuring stairs a lot easier. It’s also called a stair step scribe, so you can search both terms. You can use it for other functions unrelated to stair-building, meaning it won’t be a lost cause once you finish this one-time project.
These are easy to read and intuitive to use, though they are more expensive than most other tools on this list. They’re also larger and so could be more difficult to store once you’re finished. If you’re looking for a cheaper alternative than a store-bought stair tread gauge, you can make one yourself by following various tutorials. The question would be whether your time is worth the money you would save.
Calipers
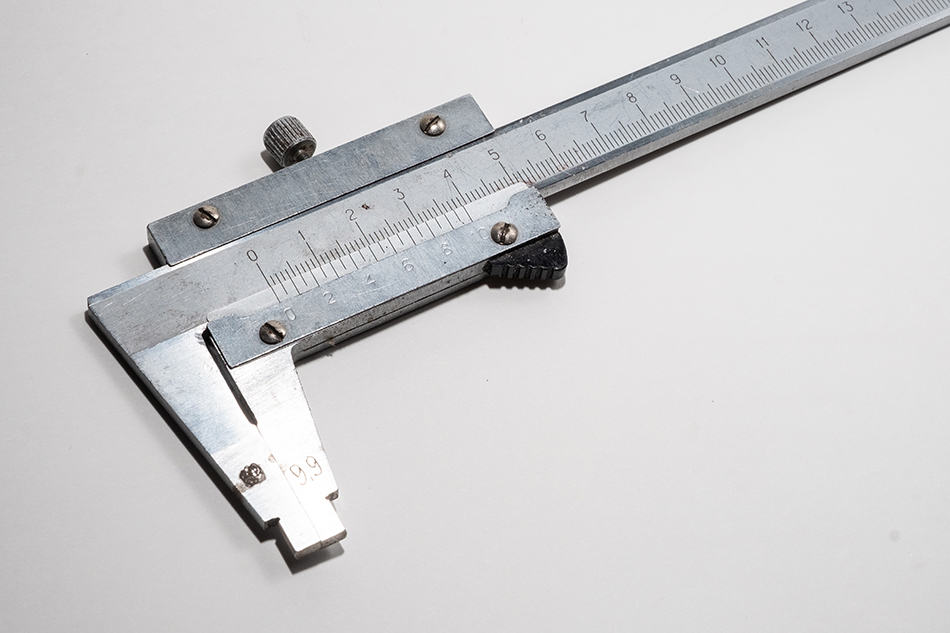
A pair of digital calipers will take all the uncertainty out of certain aspects of your measuring task. This, of course, only applies if you’re basing your figures on an existing staircase. If you have a set of calipers that can open very wide, it will help you determine the height and depth of the stair in general. Otherwise, use it for the width of each stair, an important consideration for all stair measuring tools and one that many amateur carpenters may forget.
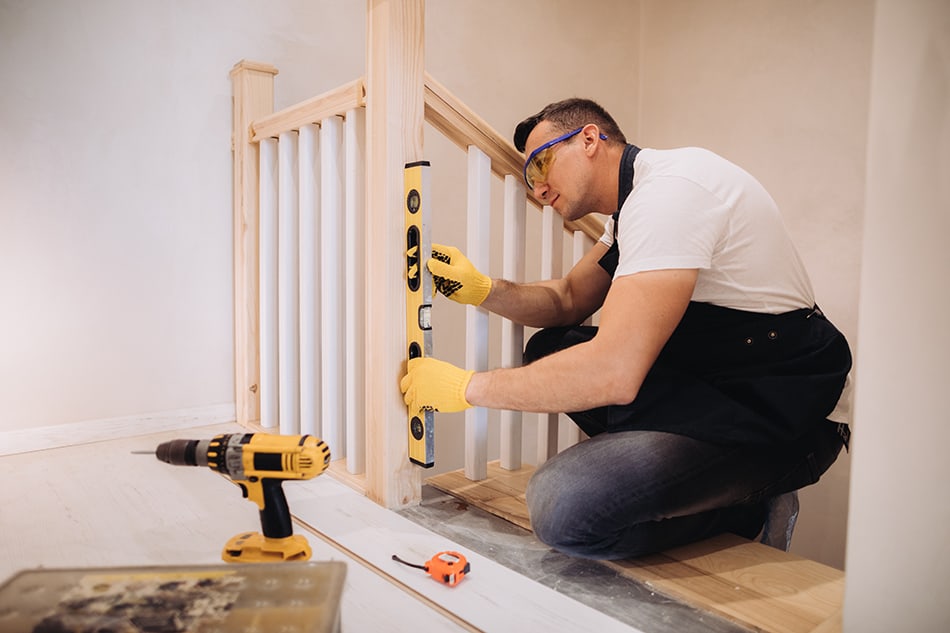
Level
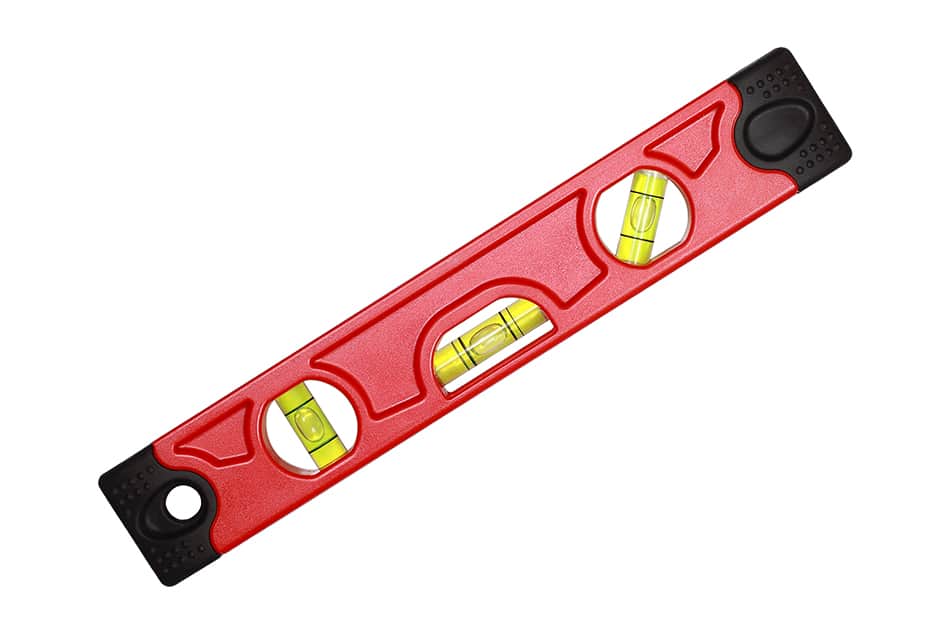
Have you ever walked up a set of stairs are leaning to one side? It’s even worse when they pitch forward. Not only is this a safety issue, but it looks terrible. Using a level is a simple way to fix that, and it’s another one of those basic tools everyone should have.
When you’re measuring your stairs, first check to see if they’re level. If not, look at the construction of your stairs and see what you can do to raise or lower one side. It usually doesn’t take much of an adjustment in material to get the stairs level. A little adjustment goes a long way in leveling. You may, however, need to cut a new board for one of the sides to get a completely level result.
When constructing new stairs, stop at every step and make sure each piece is still level in relation to the rest. Small corrections as you go are easier to make than taking everything apart and trying to find the problem after you’ve already finished the project once.
Level, Pitch, and Slope Tool
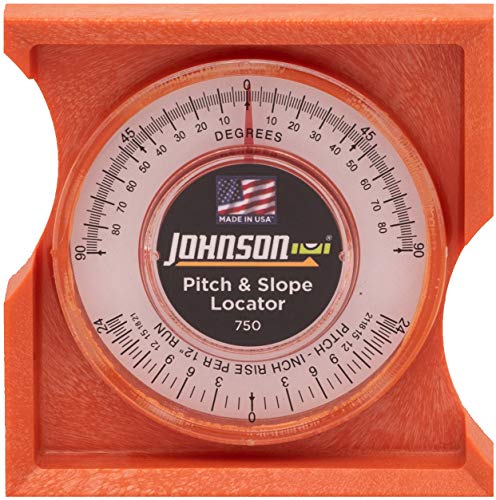
This is another specialized but low-cost tool for determining the pitch and slope of a staircase and whether it’s level or not. This will be helpful in two scenarios; if the stairs you’re using as a template are as you want them to be, you can take the pitch and slope measurements as what you’ll use for the new stairs. If it’s off in some way, you’ll see what you need to do to correct it.
Laser Distance Measure Tool

Going more high-tech, you can use a laser tool to figure the distance from one point to the next surface it hits. It’s very easy to use, and it will give you a precise measurement as long as you keep the tool pointed straight. The most useful function for this tool in building stairs would be measuring the depth of each stair. If the stairs have an overhang, you could also use it to determine the height of each stair.
If you’re unsure of your measurements using other tools, use a laser to verify your findings. They’re less expensive than you might think, and the smarter models can store your measurements, so you don’t need to write your figures down right away.
Types of Steps
Of course, having stair measuring tools isn’t worth much if you don’t know what types of steps you want to install. No, the very first thing you’ll want to consider is the real shape of the staircase. Check out these 8 popular types of stairs, varying from the most basic to the most stately to get ideas for your staircase.
Straight Stairs
With no bends or turns, a straight staircase is exactly what it sounds like. It can be short or long, wide or narrow, provided it doesn’t change direction. Most staircases will fall into this category. Luckily, they’re the easiest to build, and once you have your measurements for one step, you should be able to repeat the pattern all the way up.
You can also make straight stairs out of any material. An outdoor set of stairs might be concrete, while an indoor staircase is made of wood. If you’re going for a more natural look outdoors, try logs or stone. The stairs don’t necessarily have to be even in a natural landscape. Just try to make sure that all the stairs match the style. You don’t want some stairs to be perfectly level and finished, while others are uneven and rough. Mixing styles pose even more of a danger than if all the stairs were uneven because you might get confused about how to step on each stair.
L-Shaped Stairs
This is simply two or sets of straight stairs in a series. Some sort of landing breaks up the smaller steps and allows for a change of direction. These are common in commercial buildings and older homes as a way to conserve space while still employing a simple design.
Changing direction with a landing could potentially allow you to “stack” flights of stairs on top of each other so that instead of using a straight staircase to climb to a very high floor, you compact or “fold” the stairs into a narrower area.
Because you are generally using the L-shape design to climb higher and possibly more steeply than straight stairs, you should ensure that the steps are completely even and finished. Natural materials are still safe to use but not in their raw state. In other words, use wood instead of logs and concrete instead of stone.
U-Shaped Stairs
This variation on the L-shaped design has a wider landing between each flight of steps. In the L-shaped design, one flight of stairs faces a perpendicular direction in relation to the one above or below it. The stairs make a 90-degree turn, or L-shape. With a U-shape staircase, each flight is parallel to the next or last flight but facing the opposite direction. An escalator is a compact form of U-shaped stairs. You have to turn 180 degrees between each flight of steps.
Winding
This is another variation on the L-shape design. Stairs that are wider on one side than the other form the landing. While not difficult to build, you do need to make the change in width into consideration and cut your pieces accordingly.
Curved
This is what most people actually think of as a winding staircase. In this design, there are no landings at all. Each step is the same width as every other, but the gradual angle allows you to change directions. While this looks complicated to construct, the angle is constant, so once you get started, the rest follows. You may, however, need more structural support for this type of staircase, depending on your materials and the surface you’re building into.
Spiral
Another “winding” staircase is the spiral staircase. This design looks like a curved staircase, except each step is narrower at the inside edge. This makes it more like a series of U-shaped landings, though the change in direction is more gradual. It’s also supported by a single pole in the center, which all the steps appear to revolve around.
Bifurcated Stairs
A bifurcated staircase is a straight set of stairs either at the top or bottom that meets a wide landing, and there branches into two or more flights of stairs. These secondary stairs are usually L-shaped, but they can be any design. Upscale hotels or businesses use this architectural style to make a grand impression and help large groups of people move from one floor to another. It’s the highway of stair design.
Ladder
The easiest type of steps to construct is the straight or angled ladder. This can be a space-saving option to get up into your loft sleeping area or attic storage. You’ll often see these used in small apartments or tiny homes.
If you do include a ladder in your home, make sure the rungs are wide enough to prevent slipping as you climb up or down. Likewise, you’ll want some sort of textured tread on them.
Which Type of Stairs to Build?
You may want to replace or cover the same style of stairs you have. But armed with the knowledge of the various stair measuring tools and what types of stairs you can build, you can certainly experiment with different designs. Converting a straight staircase into an L-shape or U-shape is not difficult and may save you a lot of space. Going with curved or bifurcated can transform the appeal of your home. It all depends on how much space you have to work with.