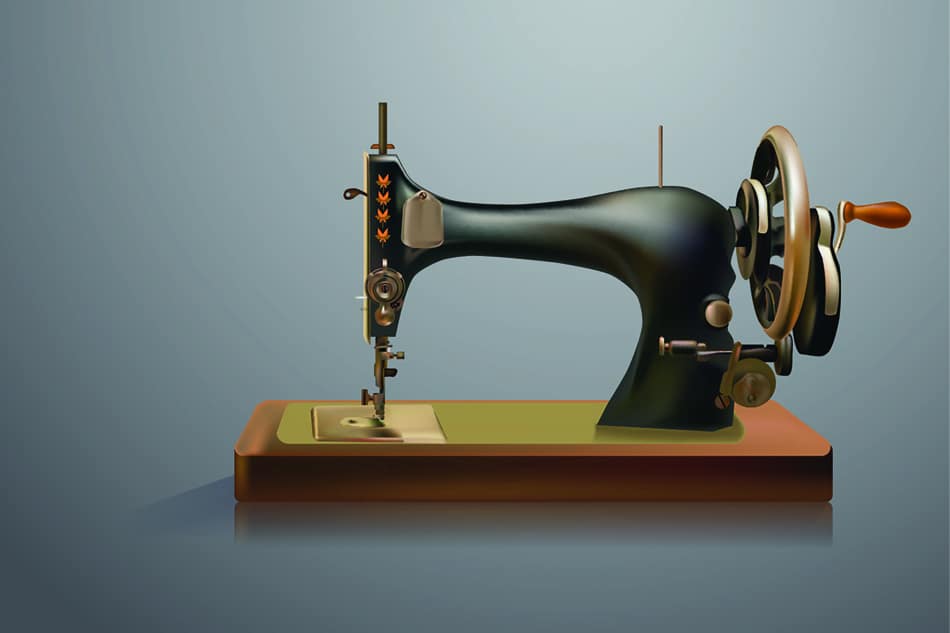
If you’re interested in learning how to use a sewing machine, you should familiarize yourself with the parts so that you aren’t overwhelmed when facing this convenient electrical machine.
This machine was invented in the Industrial Revolution to reduce manual sewing work and is nowadays an essential part of the sewing industry to produce clothes, gloves, sofa fabrics, curtains, etc.
Understanding which part is which and what its function is will make you a much more proficient seamstress. This useful guide covers all of the most important parts of a sewing machine.
Please find below our diagram for the sewing machine anatomy.
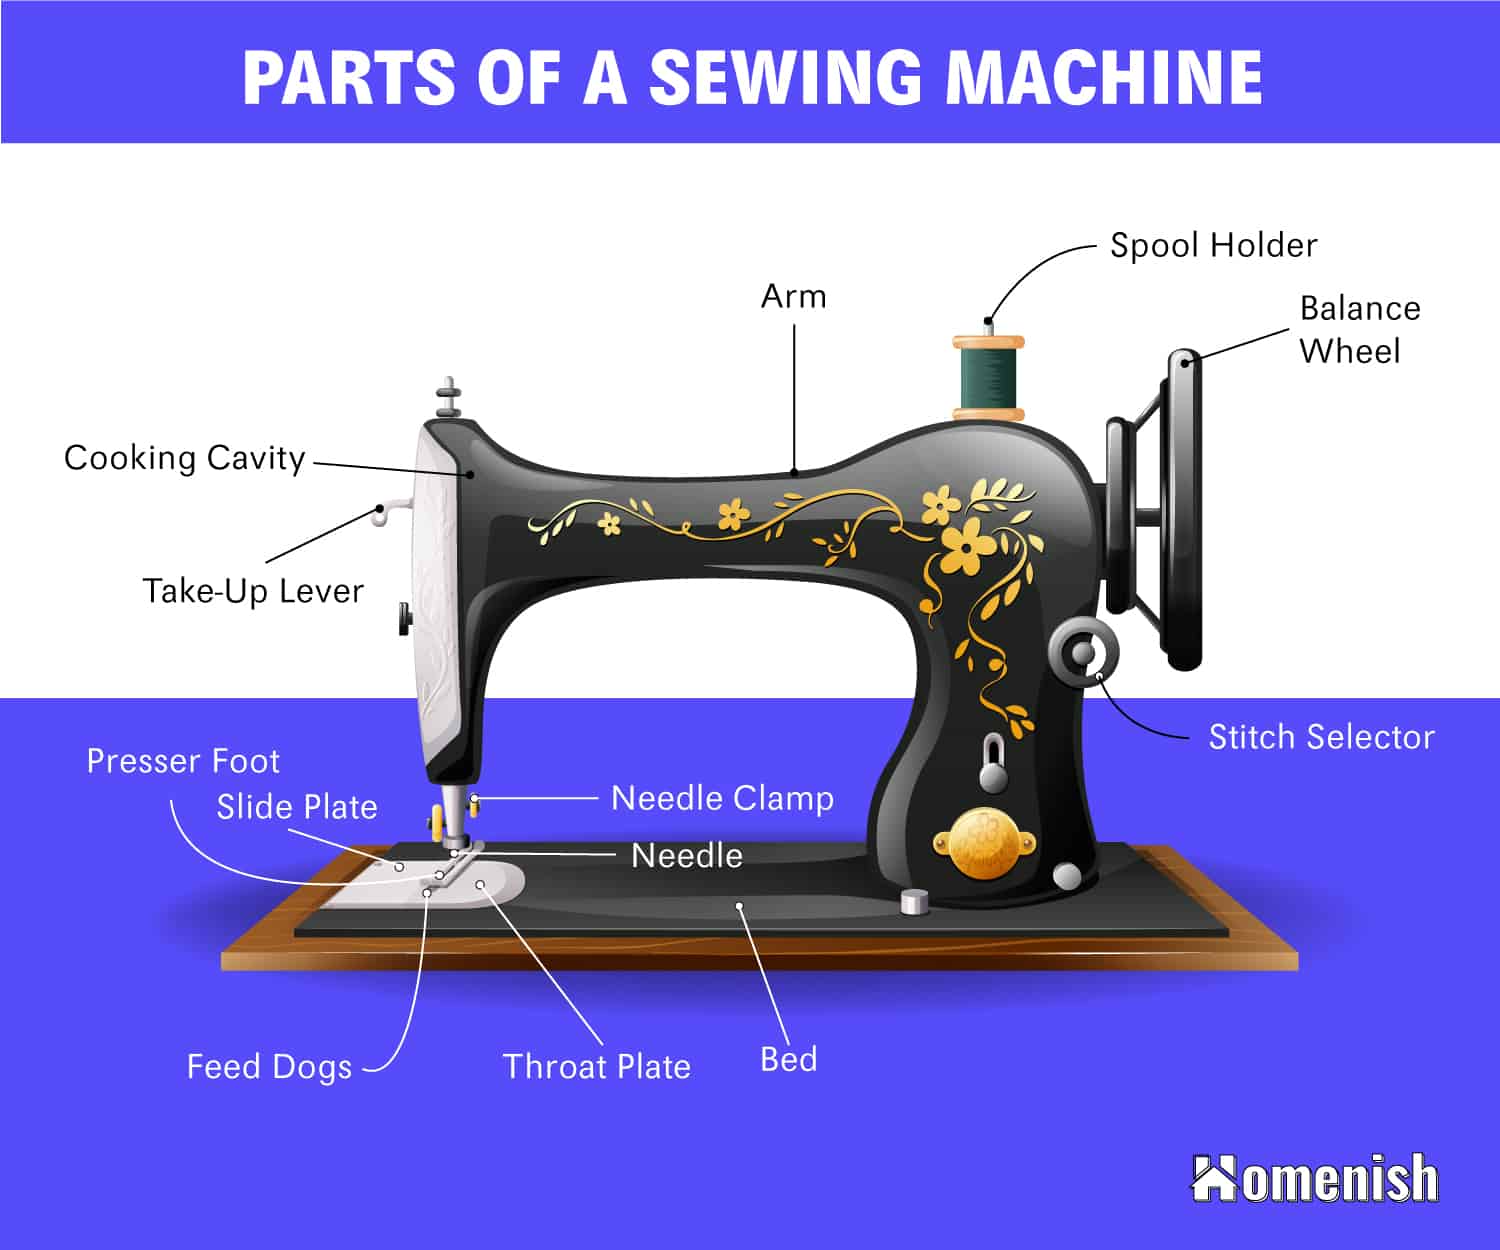
Table of Contents
Foot Controller
The foot controller is an easy part of the sewing machine to remember because it is logically named. It goes on the floor underneath the table where the sewing machine is located and is controlled by being pressed down with the user’s foot.
This controls the speed of the stitching, with the more pressure you place on the presser foot, the faster the needle will go.
Presser Foot
This metal plate presses down on the fabric you are sewing to keep it in place and help with stability. It can be controlled by a lever to lift it up and down. There are various presser foot types depending on what type of sewing you are doing.
For example, there is a special zipper foot for installing zippers or a satin foot for more delicate fabrics.
Feed Dogs
This part of the sewing machine feeds fabric to pass through underneath the needle by using small teeth made from metal or rubber. This helps to control the length of stitches depending on how fast or slow the feed dogs move the fabric.
Though you can guide the fabric with your hands, you shouldn’t try to slow it down or push it through faster; this is the job of the feed dogs, and doing so can cause the needle to snap.
Needle
The needle is a slender metal pole that comes to a sharp point, with a hole close to the point where the cotton will be threaded through. Needles for sewing machines come in various sizes and are screwed into place.
Needle Clamp
The needle clamp secures the needle and prevents it from coming loose during use.
Throat Plate
This is also known as the needle plate and is a large metal plate that sits underneath the needle and the presser foot. It prevents the fabric from being drawn down inside the machine and can be removed to access the bobbin.
Often, the throat plate will have markings on it, which serve as guides for seam allowances.
Arm
This contains the mechanism which operates the needle and is shaped like a curving arm.
Bed
The bed of the sewing machine is the entire flat surface of the machine where your fabric will be resting on. This provides the user with a good-sized working space and also anchors the machine to ensure stability.
Bobbin
A bobbin is a spool with thread wound around it, which will act as the underneath of the machine stitching. The stitch is created by the bobbin thread and needle thread looping together. Bobbins can be top-loading or side loading and will be fitted underneath the area where you rest your fabric.
Bobbin Winder
This is a small rod attached to the sewing machine, which is usually located on the upper right corner of the machine. You place an empty bobbin on this fitting, and it will wind the thread around it while ensuring correct tension, resulting in an evenly wound bobbin.
Bobbin Winder Tension Disk
This is a component of the sewing machine, which is usually on the top central part of the machine. It guides the thread between the bobbin winder and the spool.
Bobbin Case
The bobbin case is a round metal case that holds the bobbin. These are a precise shape and size to fit the sewing machine and so should not be changed between different machines. The bobbin case has the job of providing the lower thread with tension.
Spool Holder
Also known as a spool pin, this is a small rod on which the main spool is slotted on, ensuring the spool doesn’t fall off while stitching. The spool holder might be fitted at a horizontal or vertical angle, but generally, horizontal is considered preferential as they tend to give a smoother feed.
Side Plate
A slide plate covers the bobbin case and can be removed to access the bobbin case for replacing the bobbin. It is made from metal.
Balance Wheel
Also known as the flywheel or the handwheel, this gives the user manual control of the needle. It can be turned to raise or lower the needle, usually to adjust the sewing height of the needle. Most sewing machines will have this wheel on the right end of the machine, on the side.
Stitch Selector
This is the part of the machine that allows you to select which stitch you want to use, such as a zigzag stitch or straight stitch. On older machines, you can select the stitch using a dial, while newer models will have buttons for this function.
Reverse Lever
Also known as a backstitch button, this lever is used to immediately reverse the direction of the stitching. It is most commonly used at the beginning and end of stitching to secure the thread in place tightly on the fabric.
Tension Regulator
This controls the tension of the top thread on a machine and needs to be balanced with the tension of the bobbin thread to ensure neat stitches. If the tension is loose, the stitches will come undone, and if the tension is too tight, the stitches will gather tightly and pucker the fabric.
Adjust the tension by turning the dial on an older sewing machine or changing the digital setting on a newer sewing machine.
Take-Up Lever
This lever has the upper thread pass through it, and it may be hidden from view located inside the machine or positioned on the front. It moves up and down at the same time as the needle and should be adjusted each time you feed fabric under the needle to avoid the fabric being caught and snagged.