
You’ve bought a nice new carpet which you plan to install by yourself. But as you read instructions in installing a carpet at home, you’ve noticed the word ‘knee kicker.’ And you wonder: ‘what is that? Do I need that in installing the carpet?”
The good news is this: yes, it is possible to install a carpet without a knee kicker. Continue reading to know more about this tool and how you can lay carpet without it. We’ll also share with you how you can create your knee kicker.
Table of Contents
What’s a Knee Kicker?
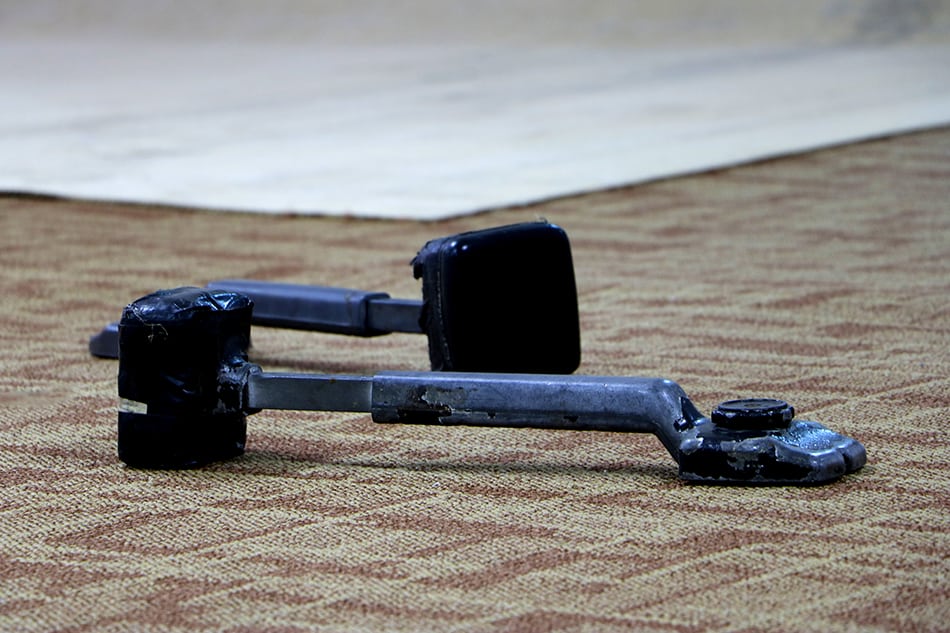
A knee kicker is a type of carpet stretcher. As you may have already guessed, it’s a tool used in stretching the carpet during installation. The other type of carpet stretcher is called a power stretcher.
In using a knee kicker, you’ll have to kick its back with your knee so that it would tension the carpet and pull it closer to the wall. It’s commonly used in smaller spaces like staircases and closets. It is also recommended for use in small rooms, or less than 10 feet square in area.
A knee kicker isn’t that expensive. You can buy one for less than $30. But what if you can’t find one in your local home improvement store? Don’t fret, as you can still install a carpet without a knee kicker.
How to Install Carpet Without Knee Kicker
There are five steps in laying carpet without a knee kicker:
- Affixing tack strips
- Cutting and laying carpet padding
- Cutting and laying carpeting
- Stretching the carpet
- Connecting the carpet to the tack strips
Sounds simple, right?
This doesn’t mean that you can expect a smooth carpet installation without a knee kicker. After all, a knee kicker prevents issues with buckling and carpet creases. If you use a knee kicker, the carpet will lay flat and crease-free. Still, you can get the job done sans a knee kicker. To do so, it’s recommended that you wear non-slip shoes with a rubber bottom.
Now, let’s look at the steps in installing carpet without knee kicker:
Installing the Tack Strips
Check your subfloor first and see that it is ready for laying the carpet. Once you’re sure, install the tack strips around the room perimeter. It is commonly recommended that the tack strips are placed around ½ inch between the wall. But since you won’t be stretching the carpet to make contact with the tack strips, you can place the latter directly against the wall.
Cutting and Installing Carpet Padding
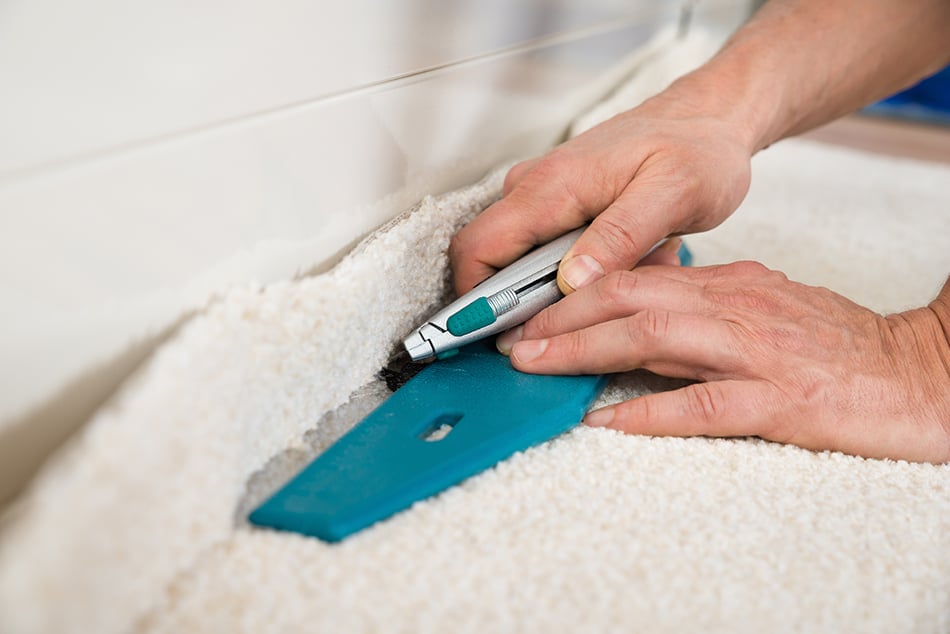
Next, measure the carpet pad so it would be the same dimensions as that of the floor perimeter. Using a utility knife, cut the carpet pad into the exact square footage of the floor minus the width of the tack strips.
Begin laying the carpet padding starting in the corner of the room and nearest to the left side of the door. Make sure that the padding is not placed over the tack strips. Instead, the padding should be up against them so as not to cover them. To ensure security, staple down or apply glue on every edge of the carpet padding.
Cutting and Laying Carpeting
Take the carpet-cutting tool and slice the carpet to the exact square footage of the floor perimeter. If you have the carpet ordered pre-cut, then you can skip this step. Then starting at the corner of the room farthest from the door, start to install the carpet. Unroll it as you work your way toward the door.
Stretching the Carpet
In stretching the carpet, you’ll have to employ the ‘jump’ method. Once you’ve laid each piece of carpet, return to the edge where the tack strip is located. While you’re in front of the wall and the tack strips, jump forward by around one foot. You’d want to use the momentum of your jump in stretching the carpet for it to meet the tack strip. If you fail to have the carpet meet the tack strip on your first jump, repeat this step until you do so.
Connecting the Carpet to the Tack Strips
Wear your gloves, then place the carpet’s edge over the tack strips. Hook its edges securely over the tack strips. Continue doing this along the room perimeter and until all edges have been placed over the strips.
Walk around the room and inspect the carpet at the edges. You’d want to make sure that the carpet is trimmed enough in such a way that it won’t rise above the strip and touch the wall. Use the carpet-cutting knife to trim it down if necessary.
That’s it—you’ve installed a carpet without a knee kicker!
How to Check that the Carpet is Installed Properly
It’s common for people who’ve installed a carpet for the first time to doubt whether they’ve installed the carpet properly.
So, how would you know that you’ve laid the carpet properly? There are some checks that you can perform to answer your question.
First, check the carpet for folds and wrinkles. Look at the carpet surface and see if there are any folds or wrinkles. The carpet usually appears distorted or rippled due to folds and wrinkles. Moreover, creases are prominent along the carpet’s edges if you didn’t pull the carpet enough to go over the tack strips.
You can press your foot on the wrinkle to make it go away. The carpet should be fine if the wrinkle vanishes. But if it won’t go away, then it means that you didn’t stretch the carpet well enough.
You should also check the carpet leveling. Lay down on the ground and check the carpet from the side. See if there’s any buckle or dip on its surface. If you’ve seen any area with a crease or buckle, then you might have to do the installation again. There’s also the possibility that the leveling of the carpet is due to the subfloor beneath it.
How to Create Your Knee Kicker
As mentioned earlier, a knee kicker isn’t expensive as a budget-friendly one could retail at around $30. But if you can’t find one or you simply don’t want to buy one, then you can make your knee kicker. You can use a few household materials for this simple project, such as:
- Tack strip cutter
- Tack strip cut
- Electric saw
- A plywood plank (4×4)
- Sandpaper
- Wood glue
- Piece of foam (5×5 inches)
- One piece of upholstery fabric (8×8)
Here’s how to do this simple project.
First, cut the 4×4 wood with a saw. You should cut it to a length of 16 inches. Using the sandpaper, sand down the wood’s surface so that it would be completely smooth. You’d want to do this part so that you won’t get splinters when utilizing the makeshift knee kicker.
Second, cut the tack strip into 4-inch strips with the use of the tack strip cutter. In case you don’t have a tack strip cutter, your saw should be able to help you in this task. Ensure that you’ll have enough strips for the front of the kicker, so make 5 to 6 pieces. Also, wear your gloves when handling the strip because the latter can cause injury to your hand and fingers.
The third step is to attach the strip to the plank. Take the wood glue and apply it to one end of the wood. It should cover around 25 square inches of the front part of the post. Then cut the patch pieces and put them, with the back first, on the front part of the post. In short, the teeth of the strips should face you. After applying the strips, allow the glue to dry.
After that, you can start attaching the kicker pieces. Apply glue first on the bottom of the 4×4 wood, which will serve as the kicker piece. Take a piece of upholstery fabric or a thick padding material and put it on top of the glue. Next, put a piece of the upholstery fabric above the foam. Ensure that the edges are completely secured around the foam. The last thing you want to happen is for this to fall off while in use. Let the glue dry.
Lastly, you can test out the kicker. You’d want to make sure that the pieces are secure in place so that you won’t get injured or harmed when using them. You can perform several knee kicks on the end to check if the padding is sufficient and that the upholstery fabric stays in place.
Conclusion
In short, you can install a carpet without a knee kicker. It may make installation a bit difficult, but you should still be able to pull it off, especially if you follow the instructions discussed above.