Painting the fan blades may not be the most common do-it-yourself (DIY) task around, but there are several reasons why you should consider doing it.
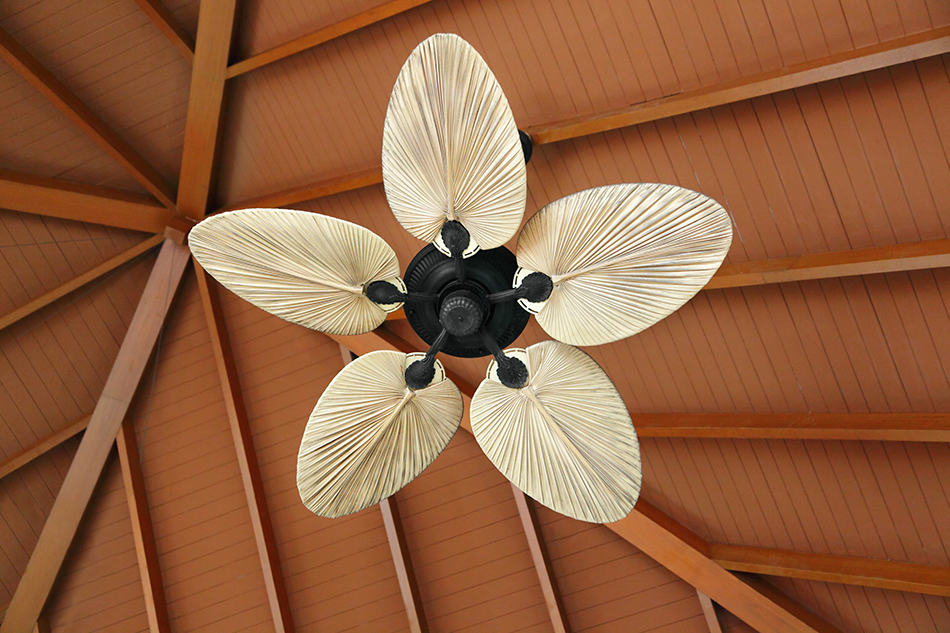
For one, painting the blades of a ceiling fan can help enhance the look and feel of your living room. Your ceiling fan may be boring now, but a simple DIY paint job can change that. You can make it a functional piece of art at home. You can also paint the blades of your desk or stand fan so that they would match flawlessly with your home decor.
In this article, you will learn how to paint the blades of a ceiling fan and a table or stand fan.
How to Paint Ceiling Fan Blades
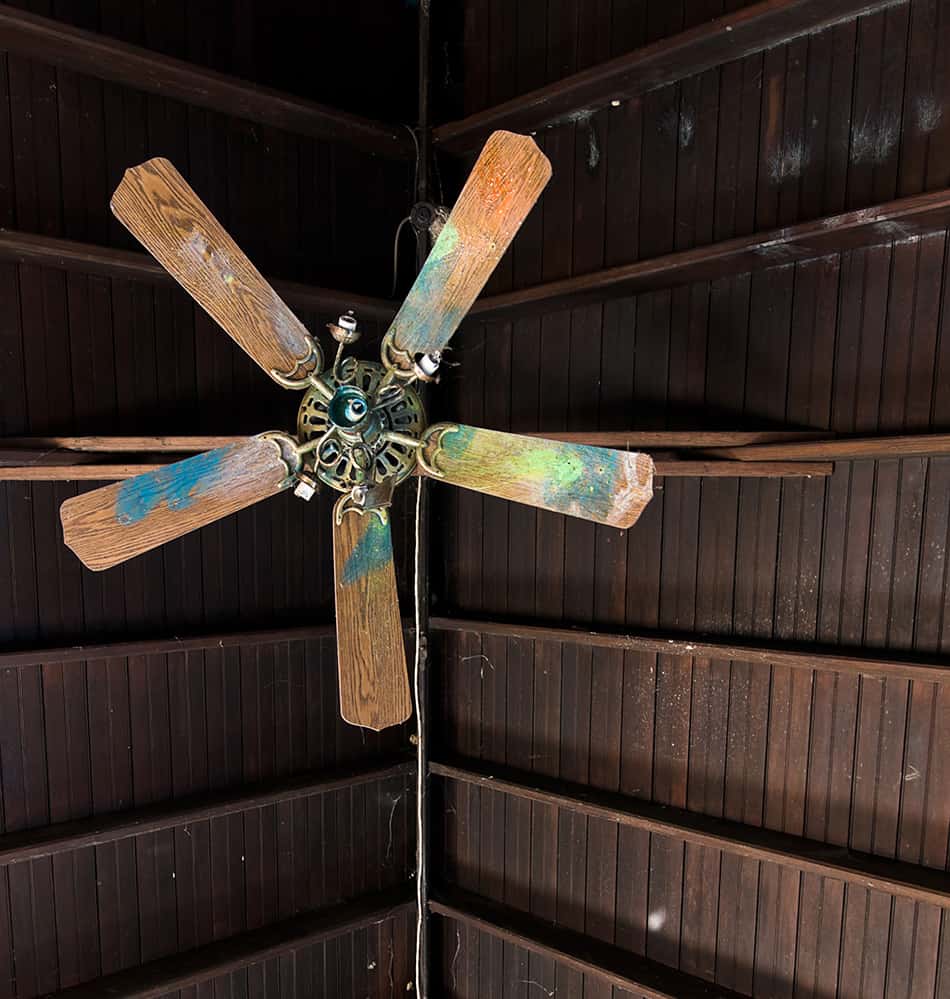
Painting ceiling fan blades may look daunting, but as you’ll realize after reading this part, the job’s not complicated at all.
Before getting into the painting process, consider choosing a color for the fan blades that would match the other parts of the room, such as the door and cabinet. Even the color of the furniture in the room can be considered in choosing the new color of the fan blades.
If you’re unsure as to which color to paint the ceiling fan blades, choose from neutral colors like ivory, gray, and taupe. These colors can complement many home decors and furniture.
Now, let’s start the painting process by first gathering the following materials.
- Enamel spray paint
- Primer
- Sandpaper
- Pillowcase
- Cleaning cloth
- Old sheet
- Screwdriver
- Old newspaper
- Multipurpose cleaning spray
- Gloves
It should be noted that you can choose between spray paint and a paintbrush as the method of applying paint. Yet the former is the more practical choice because it’s easier to apply, and secondly, it often results in a smoother finish. Also, spray paint dries faster.
Enamel is also the recommended paint type for painting fan blades. It is ideal because it leaves a durable and easy-to-clean finish on blades.
Step 1:
Start the paint preparation by turning off the ceiling fan. If you are to remove the blades from the fan, you can simply flip the switch off. But if you plan on dismounting the entire ceiling fan, then you’ll have to turn it off at the breaker.
Step 2:
After that, you’ll need to clean the ceiling fan first before painting. And for this step, you’ll find the pillowcase handy. It’s particularly effective in removing the outer layer of dirt and dust that has accumulated in the ceiling fan blades. Why pillowcase, you might wonder. This common household item can prevent dust from falling on the ground.
Still, it would be wise on your part to spread an old sheet on the floor beneath the ceiling fan. This would serve as another means to catch the falling dust.
Step 3:
After that, climb the ladder to reach the ceiling fan. Clean it first before removing its blades. Then take the pillowcase and open it. Place the pillowcase on the fan blade, making sure that the latter is entirely covered.
Move the pillowcase in a backward direction so that you can rub the front and back as well as the edges and brackets of the blade. Rub the fan blade two to three times so that the dust can be removed properly. If you see stains on the blade, don’t worry, as you can address that in the next few steps.
Step 4:
The next step is to remove the ceiling fan blades. You’ll need a Phillips head screwdriver for this step. Using a ladder, reach the blades and unscrew them with the help of the screwdriver. Normally, the screws of ceiling fan blades are located on the back. Place the screwdriver and untwist the screw. Make sure you’re holding the fan blade while doing so to prevent the blade from falling on the ground. Work your way towards removing all the blades of the fan.
Set 5:
Once you’ve removed all the blades, it’s time to clean it. Those blades are likely filled with thick and tough stains. To remove those stubborn stains, get a clean cloth and cleaning solution. Spray the cleaning solution directly on the surface of the blade. Afterward, rub the surface with a clean cloth. Repeat this process until the stains have been completely removed.
Wipe the blades dry with a clean cloth or paper towel. Allow it to dry for a few minutes. You want the blades to be completely dry because moisture could affect the results of the painting.
Step 6:
After cleaning the blades, you’re now ready to sand them. This is to prepare the blade surface for the paint. Using sandpaper (120 grit), sand the blades. This should remove leftover dust as well as old flaky paint. In turn, it smoothens the surface and enhances the adhesion of the paint. You should also pay attention to uneven surfaces and edges while you sand the blade. Then wipe the blades with a clean cloth.
Step 7:
Take the gloves and wear them. This should protect your hands from the primer and paint. Prepare the area by covering the floor or table with an old newspaper. Shake the primer bottle well, then check its nozzle by spraying directly on the newspaper. The primer increases the adhesion and durability of the paint.
Place the blades on the newspaper. Spray them with paint paper. You’d want the entire area to be covered with white-colored primer. Allow the blades to dry.
Once the primer has dried up, you can start painting the ceiling blades. Shake the spray paint bottle well before utilizing it. Like what you did with the primer, test the nozzle of the spray paint bottle by spraying it directly on the newspaper.
When spraying paint on the fan blade, you must keep the spray bottle at a distance of at least six inches. Also, make it a point to move the spray bottle sideways to smoothen the coat of the paint. Allow the blades to dry, then apply a second coat of paint.
Give the blades enough time for drying. Half an hour should be enough. After that, take a close look at each blade. Determine if there are parts of the blade requiring a third coat. Paint those parts if needed.
While you’re at it, paint the holding brackets and screws. At least two coats of color should be enough in protecting the surface of these parts. Let them dry.
Step 8:
Take the screwdriver, screws, and bracket. Put the bracket on the fan blade and then tighten the screws so that the fan blade and bracket can be fastened together. Then you can install the newly-painted fan blades to your ceiling fan. Switch on the power and see how your ceiling fan with newly painted blades would look like.
How to Paint Stand Fan Blades
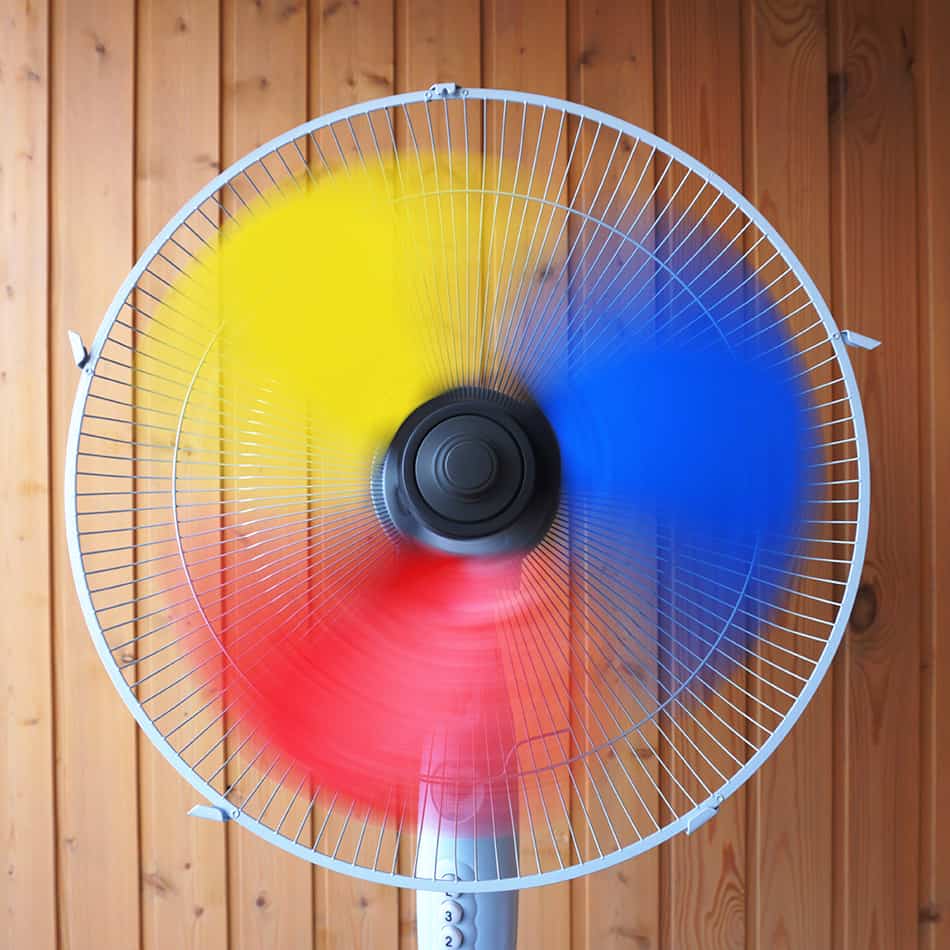
Painting the blades of a stand fan is the same as painting the blades of a ceiling fan. But for this fan, you’ll need fewer items as listed below:
- Paint
- Three large Ziploc bag
- Rubber bands
- Roll of painter’s tape
Begin by unplugging the fan. Remove the grill and blades so that these parts would be completely separated from the fan. Inspect the blades and check if there’s dust or debris. Clean as needed.
Get the roll of painter’s tape and wrap it around the centerpiece of the fan blade. Make sure that it is thoroughly covered. This part is being covered so that it would retain its color and contrast with the new paint colors.
Now take the fan blades and wrap them in separate Ziploc bags. Secure each blade with the use of a rubber band. Make sure that the backs of the blades are also fully covered.
Now spray paint the exposed part of the blade. Ensure that it gets an even coat. As mentioned earlier, you’d want to paint from side to side to achieve a smooth coat of paint. Give the blade enough time to dry fully. It’s up to you to determine if the blades need another layer or coat of paint.
Remove a Ziploc bag from one of the unpainted fan blades and then use it to cover the newly painted fan blade. Secure it with a rubber band. Spray the exposed fan blade and let it dry before removing the bag from the last blade. Continue this process until you’ve painted all three blades.
Once all three blades have completely dried up, you can reassemble your fan. Plug it in and be amazed at your creation!