The popularity of sliding doors has waned over recent years, and many homeowners are now looking at ways to convert sliding doors to French doors, which have a more elegant look and also offer better functionality in most situations. Here we look at two different ways that you can convert existing sliding doors into French doors.
If you have sliding doors on your closet, then you might be getting frustrated with the fact that you can only ever see half of the contents of your closet at once.
The nature of sliding doors is that one door slides on top of the other door, creating an opening on one side. The benefit of this is that since the doors don’t open outwards, they don’t intrude into the space in the bedroom.
This can be very useful if you have a small bedroom and limited floor space, but if space isn’t too much of a concern, then French doors will be more appealing to most people. Both French doors can be opened at once so that you can view and access all of the contents of the closet at one time.
If you have lived with sliding doors before, then you’ll also probably have experienced the irritation that happens when a sliding door inevitably comes off its track.
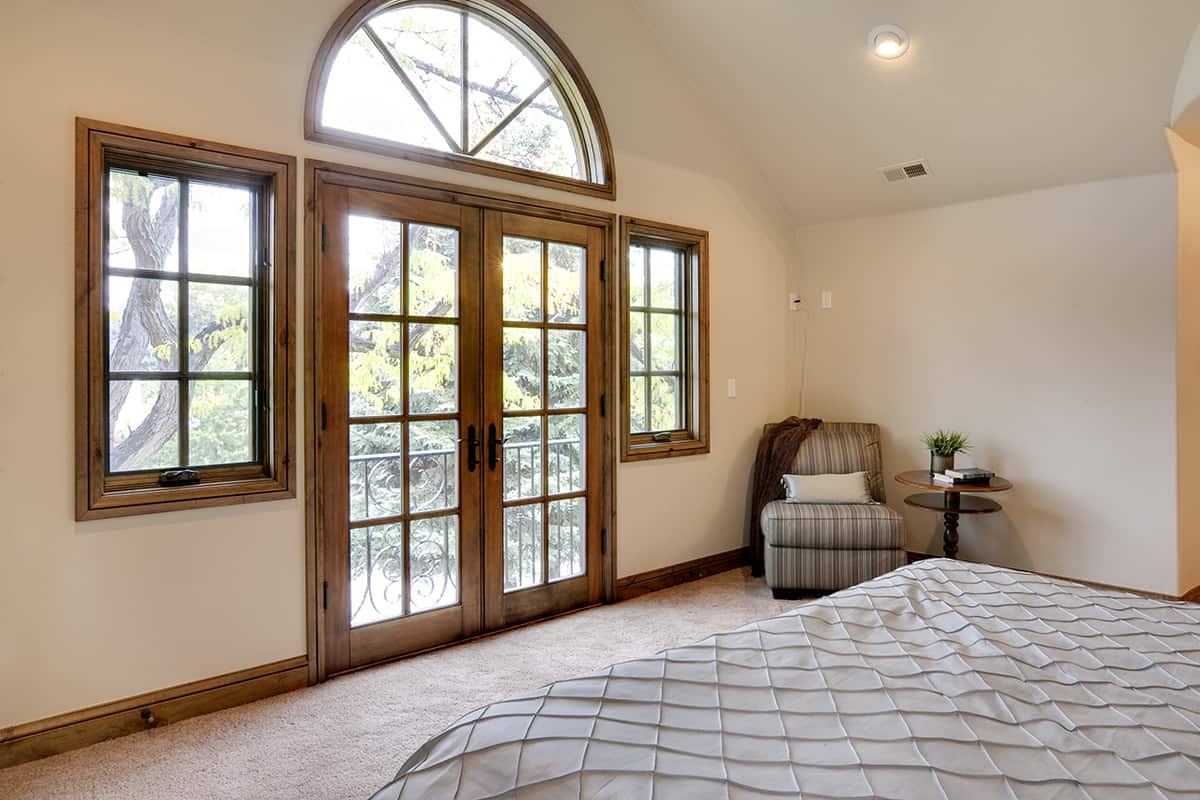
Sliding doors have a bad reputation for coming off their tracks, and they can be dangerous and frustrating. By contrast, French doors don’t have any common issues they suffer from. French doors also look more contemporary and stylish than sliding doors, which tend to be more associated with a 90s home decor vibe. Learn how to convert sliding doors to French doors in this article.
Converting Interior Sliding Doors to French Doors
The most common place for sliding doors within a home is in a closet, and these can be changed over to French doors in one of two different ways.
The types of sliding doors you currently have is going to affect that option you choose here, as well as your budget and DIY ability.
Budget Option

If you don’t mind getting involved in a more complex DIY project in an attempt to save some money, then this is a good option for you. However, this way of converting sliding doors to French doors can only work if your sliding doors and their frame are in good condition and if the doors are made from thick, solid wood.
Sliding doors made from mirrors of plastic won’t work for this conversion because it requires reusing the door panels and most likely cutting them down.
To start with, you’re going to need to remove the sliding doors from their rails, which should be fairly easy to do with a bit of wiggling and maneuvering of the doors. They will usually be attached to a track at the top, so pay most attention to this part of the doors when removing them.
Next, having put the doors aside in a safe place, remove the tracks from the top and bottom of the closet door by loosening all of the screws. These can all be disposed of once removed. Now you will need a length of 2×2 and cut it down to measure the exact same length as the inside width of the door frame.
This can then be fixed along the upper part of the door frame with some 2 and a half-inch screws, covering where the top track used to be. This step is essential because later on, it will be used to house the ball catch fittings that enable the doors to stay in a closed position.
If you want the 2×2 to match the rest of the door frame for a more seamless look, paint it now before installing the doors. Next, take the width measurement of the 2×2, and deduct half an inch from it.
For example, if your width measurement was 87 inches, the measurement you need now is 86 inches. Divide this number in half, and this will give you the width that you need each of your doors to be. For the sake of our example, this figure would be half of 86, which is 43 inches.
You will need to get your old sliding doors and cut them down so that they each have a width measurement the same size as your calculation. This will ensure they are the right size to fit inside the closet frame.
You will also need to measure the height of the inside frame from the floor up to the length of 2×2 you have just installed and deduct half an inch from your total figure.
This will tell you the length that each door needs to be, which may require you to trim a little off the height of each door to get a good fit. The best way to do this is mark out the measurement on the door itself using a pencil and a straight edge, then follow along the line with a circular saw.
Next, you will need some new sets of hinges, ideally three for each door. Mark out on the long edge of the door where the hinges will go with a pencil. One should be central, while the other two should be just under 10 inches from the top end and bottom end of the door.
Draw around the hinges onto the wooden door and then use a chisel to create a shallow lip where the hinge plates can be installed. Fix the hinges in place using the screws they came with, ensuring the hinge faces into the room so that the door will open outwards into the space.
Next up, install your ball catches. These will need to be on the top widths of the door on the opposite side to the hinges. Mark out where they will go with a pencil, half an inch from the side edge of the door. Use a chisel again to create a shallow bed and a one-inch drill bit to drill a hole for the cylinder to fit into. Now you can set the ball catch into the door using the screws it came with.
Next up, set the doors in place inside the frame, using old books or wood shims to get them in exactly the right position. They should be slightly lifted from the floor and have another small gap at the top between the door edge and the 2×2 you installed earlier. This will ensure they open and close easily without catching on to anything.
Once in place, mark out on the door frame where the hinges are aligned, and screw these into place, ideally after drilling pilot holes first.
Once the doors have been hung, put them in the closed position and mark out on the 2×2 where the ball catch needs to be positioned. Center the ball catch plate to align with the ball fitting on your door, and screw it into place. The doors should now be able to close, catching on the ball catch that will hold the doors in a closed position and prevent them from swinging open.
Lastly, choose some dummy door handles or knobs, and screw them onto the front of the doors. Your low-budget, DIY conversion from sliding doors to French doors is now complete!
Easy Option
If your sliding doors are old and in poor condition, or they aren’t solid wood and therefore not suitable for conversion, or if you would simply prefer to pay more money and have an easier DIY project, then this option is for you.
First up, remove the sliding doors from their tracks, and then remove the tracks from your door frame by loosening the screws. Remove the trim from the doorway and put this to one side as you can reuse it later.
Pull out the existing door frame using a pry bar, loosening screws as you come across them. The frame may be secured with glue, so take care to loosen this before exerting too much force in order to not cause damage to the materials underneath the frame.
Measure the space that is left, and purchase French doors that have been pre-hung inside a frame to match your measurements. Follow the manufacturer’s instructions to insulate and install the new doors. Typically, this will be to position the new French doors and their frame in the gap and level it using shims.
Use a square ruler to ensure the door frame and the doors are square and level, then screw the frame into place. Trim down any of the shims that are sticking out, and replace your old trim to cover the rough edges where the frame has been installed, or screw new trim in place if you prefer.
Apply decorators caulk around the trim to give a clean, finished look and also to prevent insects and moisture from getting into the frame.
Congratulations, your conversion from sliding doors to French doors on your closet is now complete!