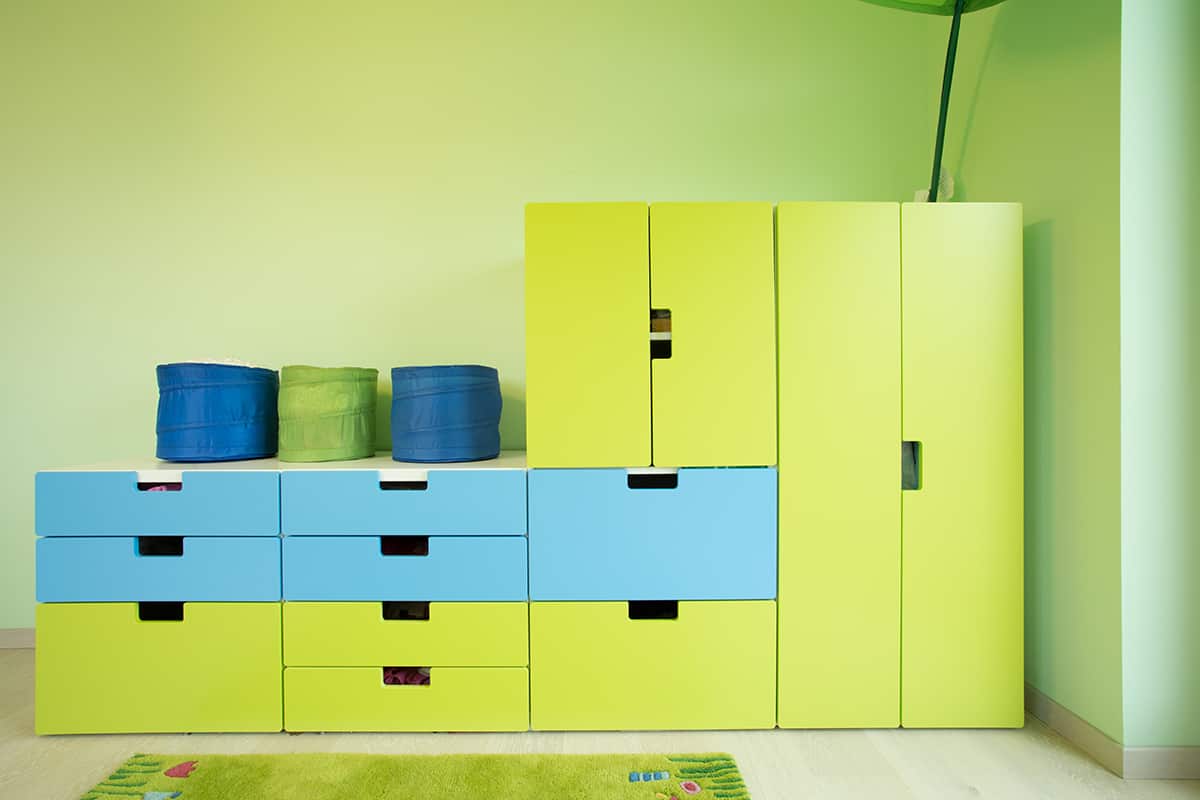
Changing the color of your existing furniture is a good way to create a new look or freshen up the style of a room. Painting is a popular way to upcycle old furniture and give it a completely new color, but it can be messy and take a lot of time.
If you want to change the color of your furniture without the mess associated with paint, you could consider a number of alternatives including using wallpaper, decorative tape, or peel-and-stick vinyl.
Table of Contents
Wallpaper
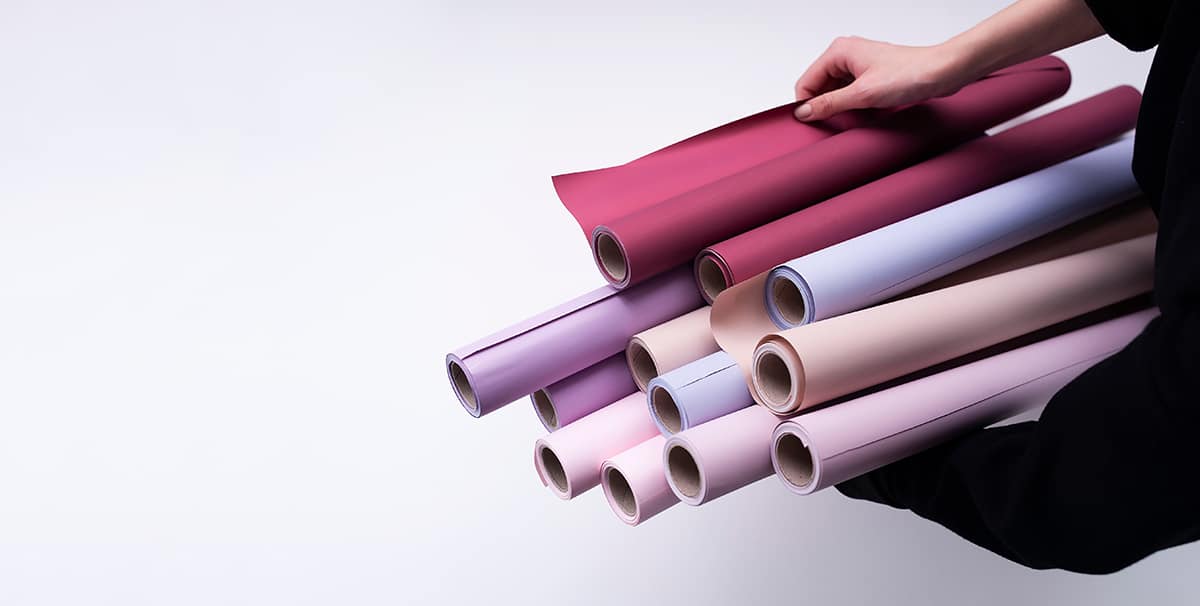
If you have some leftover strips of wallpaper you can put them to use by decoupaging them onto your furniture. This can update the look of furniture while also making it coordinate with the room if you have the same wallpaper on the wall.
Alternatively, if you don’t have any wallpaper readily available, you could buy a new roll in a design that compliments your interior decor style, or if you only need a small amount you could ask for some free samples for a furniture renovation project that saves you some money.
One of the most popular ways to use wallpaper to update furniture is with shelving units. Simply remove all of the shelves from a shelving unit and then apply wallpaper to the back wall of the furniture.
This will then provide a stylish background to your display items when you put the shelves back on. Another way to change the color of furniture with wallpaper is to entirely cover the furniture in wallpaper. This can work on freestanding wardrobes, bedside tables, vanity tables, and chests of drawers.
How to Apply Wallpaper to Furniture
- Select a wallpaper design that you like and lay it over your furniture. You’ll need to cut the wallpaper into sections that are the same size as different areas of the furniture, for example on a chest of drawers, you’ll need wallpaper pieces cut to the size of the drawer fronts, the drawer sides, the tabletop, and the sides of the unit.
- Thoroughly clean your piece of furniture to make sure the wallpaper adheres well, and that there will be no lumps on your finished item.
- Use a decoupage adhesive such as a mod podge or PVA glue to stick the wallpaper to your furniture. Apply the glue directly to the furniture, then lay the wallpaper on top. Smooth out the wallpaper with a firm brush.
- Once the glue has dried, apply a layer of it on top of the wallpaper. A foam brush is best for applying the glue because it spreads it evenly and won’t leave any visible brush strokes. You can buy foam brushes inexpensively at craft stores. The glue will act as a sealer and also helps to strengthen the bond holding the wallpaper in place. Repeat this step up to four times to get a really good seal on the wallpaper and make it waterproof.
Peel and Stick Vinyl

Peel and stick vinyl was popular in the 1970s, and as a result, many people associate it with old-fashioned decor. However, peel-and-stick vinyl has undergone an amazing transformation, and it is now available in more modern finishes, and in a huge range of patterns, colors, and sizes.
Using peel-and-stick vinyl is an easy way to transform furniture in a matter of minutes. Unlike painting furniture or sticking wallpaper on furniture, you won’t need to wait for layers of paint or glue to dry until the furniture is finished and can be used.
By comparison, peel-and-stick vinyl requires very minimal preparation and presents an almost instant transformation. Peel and stick vinyl is generally low-cost, and can be sourced easily from craft stores, DIY stores, hardware stores, or online stores.
How to Apply Peel and Stick Vinyl to Furniture
- Lay your vinyl over the furniture and cut it to size. Peel and stick vinyl wraps around corners and bends well, so you can use one entire piece to wrap over edges rather than cutting up lots of small segments. Peel and stick vinyl will usually have grid guidelines on the back to help you cut in straight lines.
- Thoroughly clean and dry your furniture. This will help the vinyl to adhere better to the surface, and also prevent lumps in your finished piece.
- Remove the backing sheet from the vinyl at the end where you are going to start, and stick this down firmly to the furniture. Don’t pull the whole backing sheet off at once, instead peel it away gradually as you press more of the vinyl into place, smoothing it out as you go.
- Use a hairdryer to add a blast of heat to the vinyl when you wrap it around any edges or corners. The heat will help to ensure a smooth and flawless finish, making it more pliable and easier to work with.
- Use a cutting knife to trim off any excess around the edges, and use a rubber window squeegee or a credit card to press across the vinyl to smooth out any bumps.
Decorative Tape
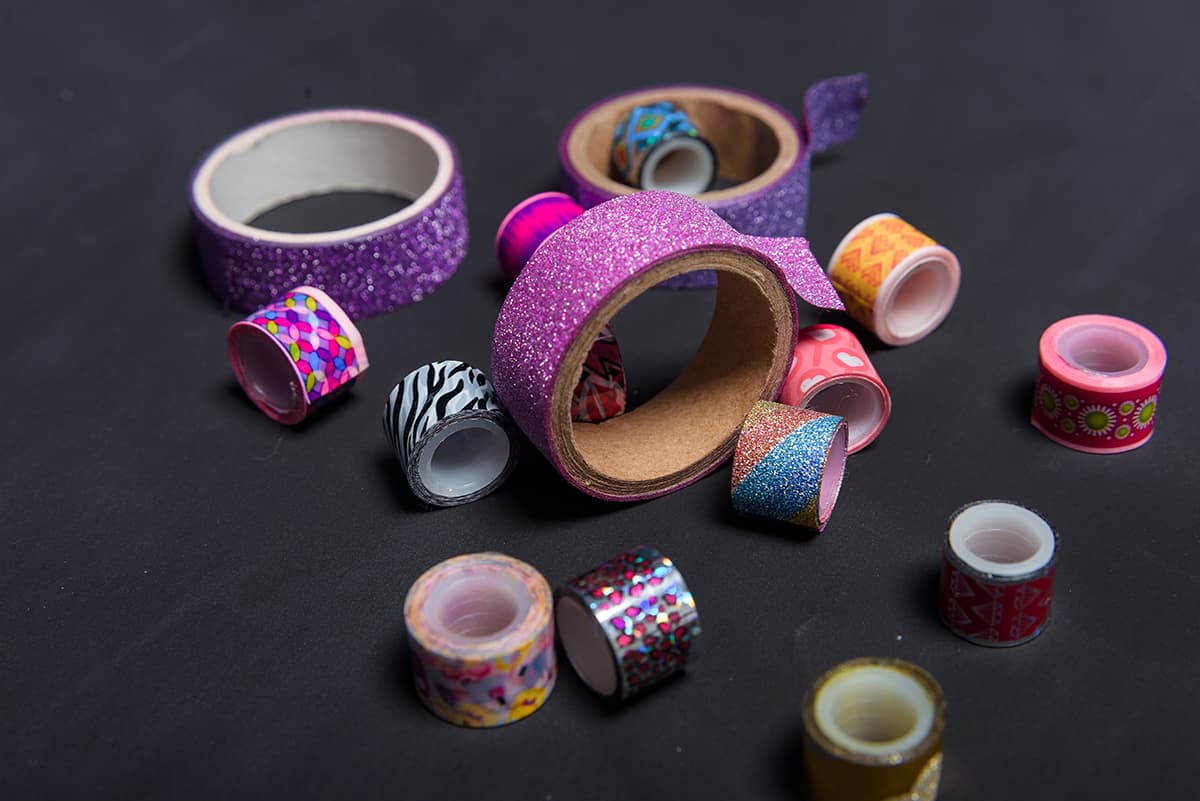
Decorative tape for furniture is a lot like peel-and-stick vinyl, except it comes in rolls of tape rather than large rolls of sheets. Decorative tape won’t transform the look of a piece of furniture as dramatically as some other options, but it can really update the style of furniture and add a new color to your interior color scheme.
For example, if you have painted your bedroom in dusky pink, and your old white furniture now looks a little bland, you could tie it into your new color scheme by adding stripes of dusky pink decorative tape across the drawer fronts. You could get creative and use a number of different decorative tapes for a funky look, or cut the tape into small sections and make zigzag patterns.
How to Apply Decorative Tape to Furniture
- Cut your decorative tape into lengths that correspond to the size of your furniture. For example, if you want stripes running across the drawer fronts, then measure tape in lengths the same measurement as your drawers.
- Clean and dry the furniture where the decorative tape will be stuck to.
- Use a pencil to mark out where you are going to put the tape. This can help you get an idea of how the finished article will look before you commit to sticking down the tape, and it will also ensure your tape goes down in the right places. If you are sticking the tape down in lines, use a spirit level and a pencil to mark out straight, level lines.
- Apply the tape over your pencil lines, pressing it down firmly to ensure good adhesion.
- Trim any excess tape with scissors or a sharp cutting knife.
Fabric
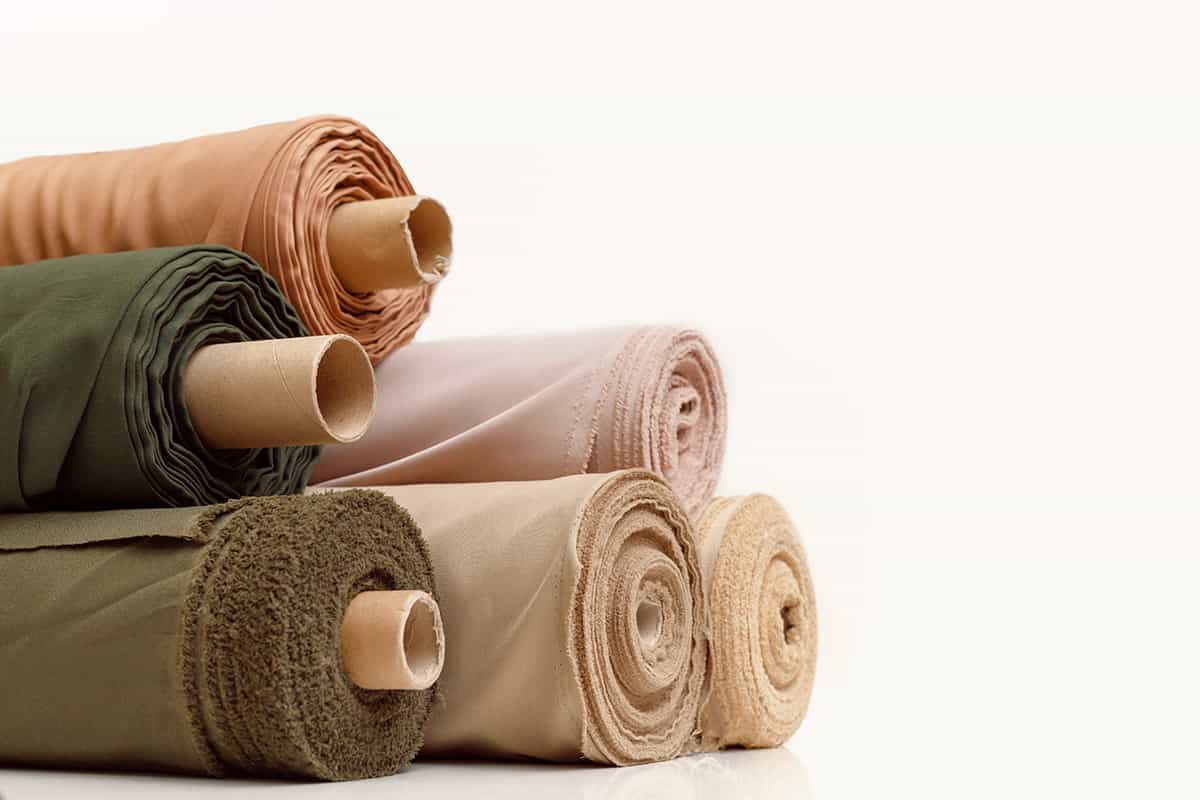
Fabric can be used to transform the look of furniture in the same way as wallpaper, though it is slightly more difficult to work with because it isn’t stiff like wallpaper.
The idea of furniture covered in fabric might sound unusual, but once you have used several layers of decoupage glue to coat the fabric on the furniture, it will become hard and waterproof, just like the decoupaged wallpaper.
You can use fabric that matches other soft furnishings in your room to coordinate the furniture, for example, buy fabric the same as your curtains. You could also upcycle old clothing to transform the color of your furniture. Dresses and long skirts work particularly well.
How to Apply Fabric to Furniture
- Cut your fabric to size to correspond with your furniture, for example, you’ll want sections of fabric that correspond to the dimensions of your drawer fronts. When cutting wallpaper or peel-and-stick vinyl, you’ll want to cut them exactly to size, however with fabric, you should cut it a little bit bigger than required. This is because you won’t get the clean edges you need by cutting the fabric, and this is better achieved later on.
- Use a decoupage glue such as PVA glue or mod podge to stick the fabric down to the surface of the furniture, after it has been cleaned and dried. The fabric may crease or ruffle, and if this happens use your hands to pull the fabric out towards the edges to get a flat, smooth appearance.
- When the glue is dry, add another layer of glue on top of the fabric, using your glue brush to press down the edges. It may look white when it initially goes on, but it will dry clear so that the color and pattern of your fabric will be clearly visible. This step will need to be repeated several times, allowing the glue to dry in between each coat.
- When the fabric has become hard and waterproof, you can use a cutting knife to trim down any raw fabric edges. You can get a clean cut now that the fabric is brittle because of the glue. Any edges which are not perfect can be worn down with sandpaper for a smooth finish.