Wiring an outlet for an electric stove is very different from wiring an outlet for most other types of electrical items like televisions, toasters, kettles, hairdryers, and washing machines. This is because while most appliances use 120-volt circuits, an electric stove uses both 120-volt and 240-volt circuits.
An electric stove will use the 120-volt circuit to run the timers or fans, while the heating coils and stovetop heating elements will run off a 240-volt circuit. For this reason, wiring an electric stove might be different from other wiring projects you have completed.
This is a job that can be carried out by anyone with a moderate understanding of electrical systems, and it should be expected to take around two hours of time.
Table of Contents
Drop-In Vs. Freestanding Stove
The type of wiring needed for a drop-in and freestanding stove are different. While a freestanding stove will have a power cord that gets plugged into an outlet, a drop-in stove will typically be hardwired into place and therefore doesn’t have a power cord that can be moved.
If you have a drop-in electric stove oven or cooktop, then you will likely need a professional electrician to carry out the hardwiring, as it is typically too complex and too dangerous for an amateur DIYer to take on themselves.
However, wiring an outlet for a freestanding electric stove is less complicated and, therefore, can be tackled by a homeowner with a little electrical knowledge or experience.
If you have any doubts about your understanding or abilities, use a professional instead, as mistakes in wiring can be dangerous and very costly.
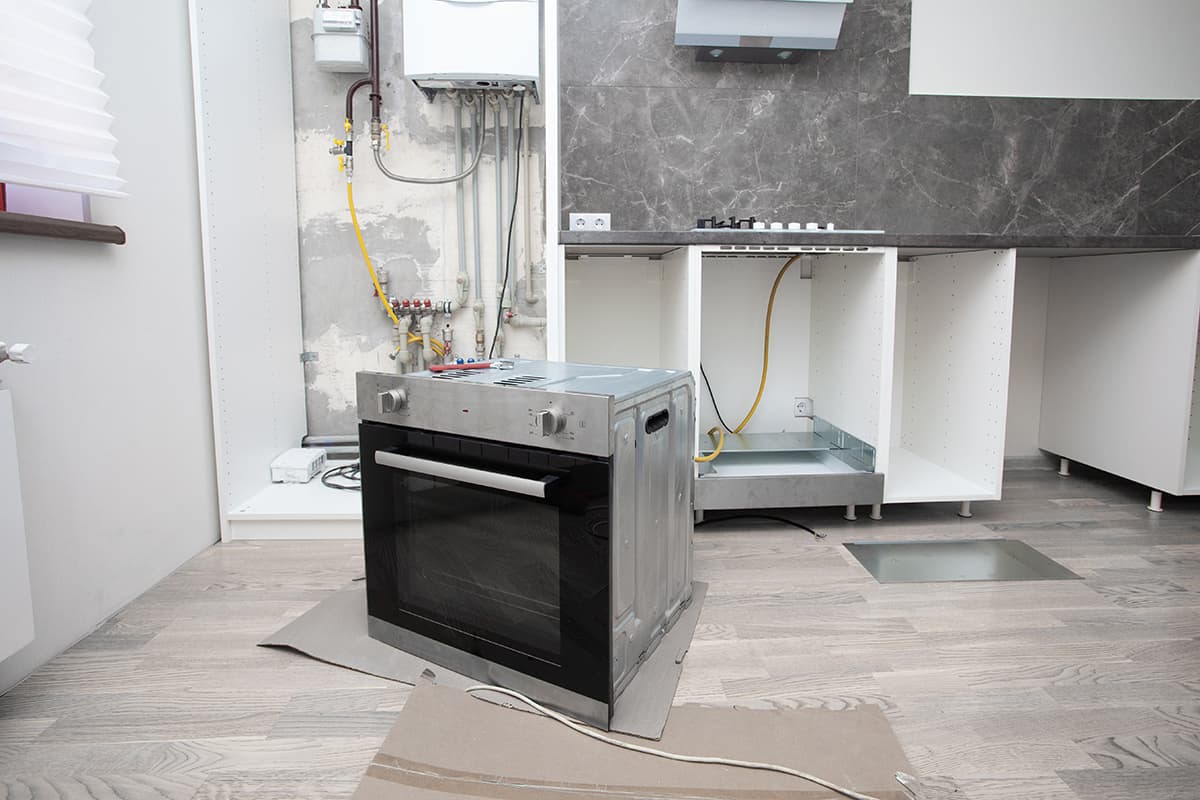
Wiring for Freestanding Electric Stove
Before wiring the outlet where you will plug in your electric stove, you will need to run a 240-volt circuit with the correct amperage rating from your main circuit breaker panel to the outlet where you want your stove to be plugged in. This will require installation of a new 240-volt circuit breaker as well as cables being routed through the walls up to the location of the outlet.
If you don’t have experience carrying out these sorts of electrical tasks, then be sure to seek help from a professional electrician to avoid causing harm to yourself or your home.
To understand the correct amperage of the electrical circuit for your electric stove, you will need to be aware of its power demands. The rating of the appliance will affect this, and you can usually find this information on the label at the back of the stove. The rating for the appliance should be the same as the rating for the circuit breaker, and it will also guide you as to what size of amperage will be used.
Generally, you can expect that a 50 amp 240-volt circuit will be wired using a #6-gauge wire. Smaller appliances that use a 40 amp 240-volt circuit will be wired using a #8-gauge wire. For electric stoves with an amperage of 30 or less and a 240-volt circuit will be wired using a #10-gauge wire.
For an amperage rating of less than 20, use a wire with a gauge size of #12. Irrelevant of the wire size, a 3 wire cable should always be used, which includes black, red, and white wires, as well as a copper ground wire. In typical 120-volt circuits, smaller wires of #12 and #14 are most common, but as electric stoves have a greater current usage, they typically need a minimum wire size of #10.
Wire Sizes
The size of a wire is determined according to the American Wire-gauge (AWG). This measures the diameter of an electrical wire and assigns a gauge number. The number decreases as the diameter measurement increases, so a 6-gauge wire is going to be bigger than an 8-gauge wire.
How to Wire an Electric Stove
Install a new 240-volt circuit breaker and ensure the power cord for the stove has been attached. Shut off the circuit wiring at the breaker box, ready for the receptacle to be installed. Most professionals will leave the circuit wiring disconnected until the receptacle is in place and then connect this at the end.
Decide on the position for your receptacle, if possible, going off the recommendations of the stoves manufacturer. Most often, the receptacle is best placed a few inches from floor level, behind where the stove will be positioned.
You should then be able to access the receptacle by emptying the bottom stove drawer and reaching through to a hole at the back of the stove. In some cases, you may prefer to floor-mount the receptacle.
Install a 2-gang device box on the wall, which can either be set into the wall or surface mounted, depending on your space requirements. When set into the wall, your box will be flush-mounted; for this, you will need a box specifically designed for retrofitting.
If space is not an issue, then use a surface-mounted box since this won’t be seen once the stove is in place. A surface-mounted box will usually be made from metal and have slightly rounded corners.
Use wire strippers to remove the cable’s outer sheathing and insert it into the box via a knock-out opening. Secure the cable in place using a clamp.
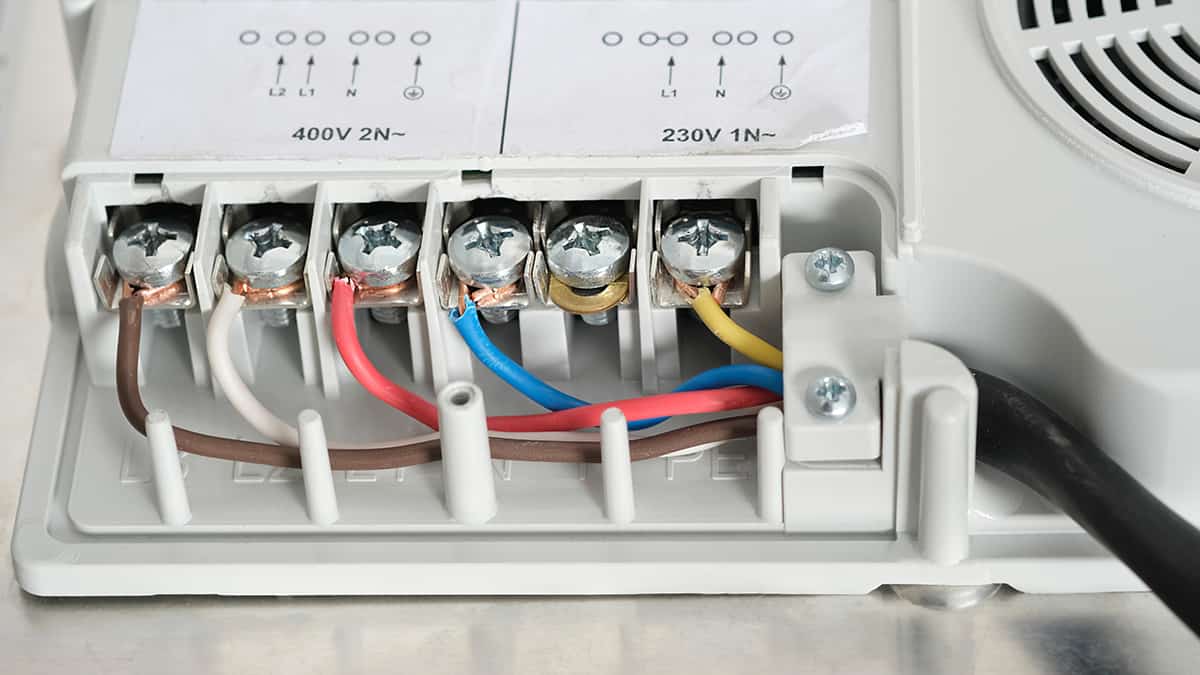
Connect the wires to the appropriate screw terminals in the receptacle. The copper wire goes to the grounding screw terminal and should be secured in place. The white neutral wire goes into the neutral screw terminal, and the remaining live or hot wires (black and red) should be placed into the remaining terminals and screwed tightly into position.
The receptacle can be mounted onto the wall once the wires have been tucked into the box, and the faceplate can then be installed on top to finish off the look and ensure safety. Once secure, complete the connection of the circuit breaker, plug in the stove plug, and turn on the power. Test to see if the stove is working before packing away your tools.