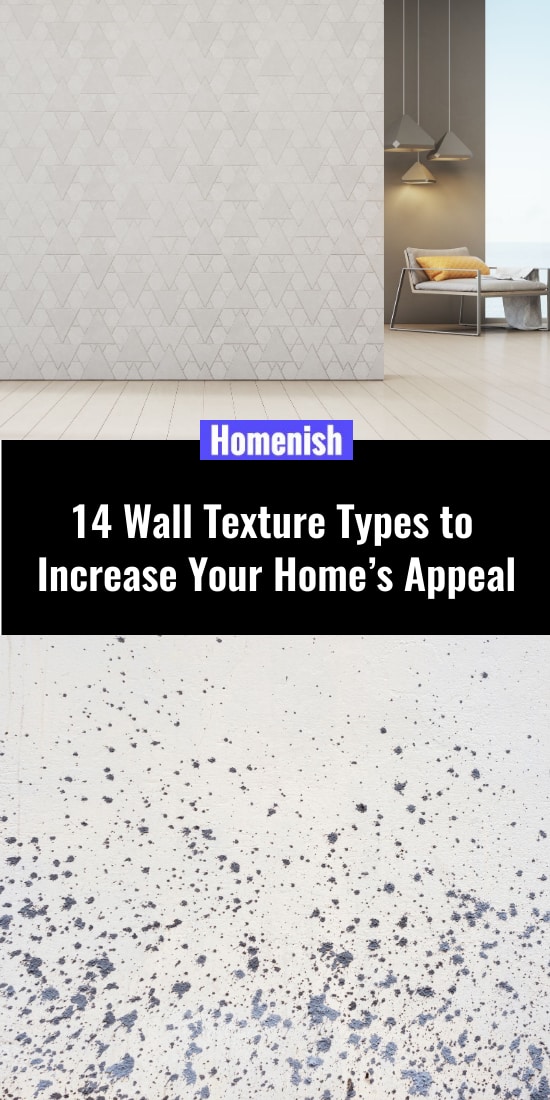
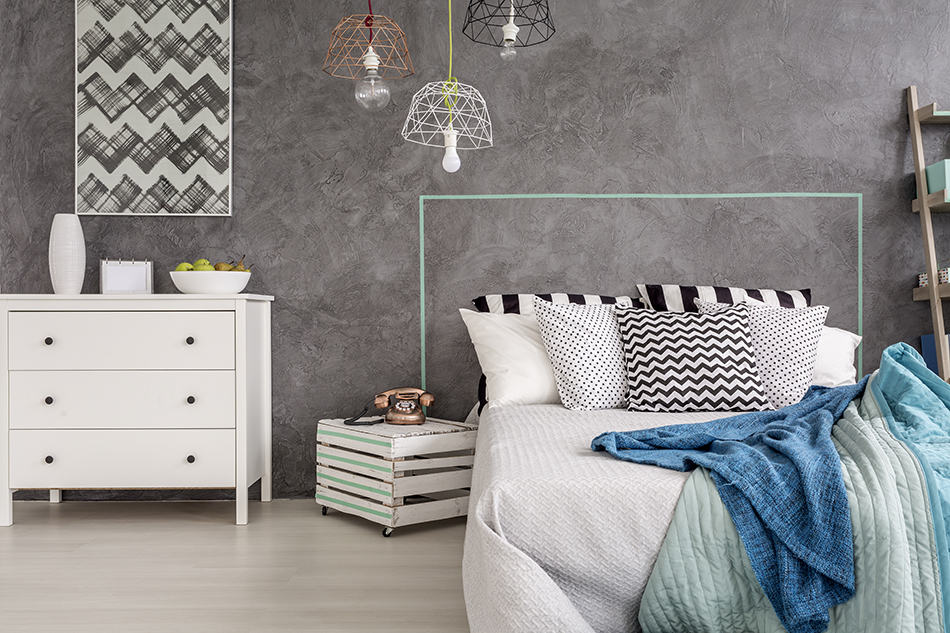
Consider creating beautiful wall textures to add charm and character to your home’s interiors if you are thinking of remodeling your home and need something unique for your walls.
But if you’re not a DIYer and you think texturing is far too difficult for you, think again! With some practice, you’ll easily master the techniques.
Here we’ll get to know the various types of wall textures, the advantages of wall texturing, and how to best apply them in your home.
Table of Contents
Why Should You Texture Your Walls?
- Texturing is an ideal way to conceal your existing walls’ blemishes and flaws: after all the years of wear and tear, the walls of the house need a makeover. But those flawed walls need patching up to hide the imperfections, and what better way to do this than texture coating?
- Love to create a stucco look for your home? Wall texturing is the only option you have to create a stunning stucco look. It makes your living space cozier and adds drama to your interiors.
- Texturing is a great soundproofing solution: to help drown the noise between the bedrooms, you can use wall texturing to soften the sounds.
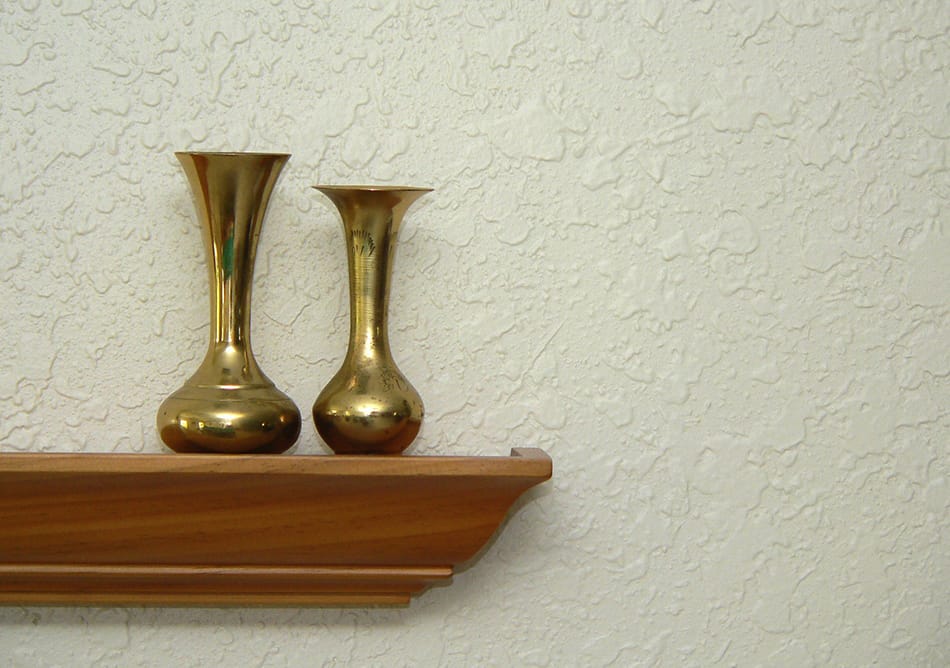
- Wall texturing adds depth: although smooth walls are highly common and seen in almost every home, why not give your interiors a wow factor by texturing your walls? Even the most basic paint colors on textured walls can improve the look and turn heads.
- Texturing is a work of art: just like molding, wall texturing makes a home look luxurious and elegant. Knowing the textures we will share below; you’ll have lots of wall texture ideas for your next wall & ceiling projects. And if you do the texturing yourself, you can be proud of your artwork for years to come and show it off to your guests.
- Texture coating gives your walls long-lasting protection: once you’ve textured your walls, there’ll be no need to paint them every few years. Texture coating has a long lifespan, thus saving you the hassle of painting the walls again and again.
Now that I’ve convinced you with my list of wall texturing benefits, here are 14 types of wall textures you can choose for your home:
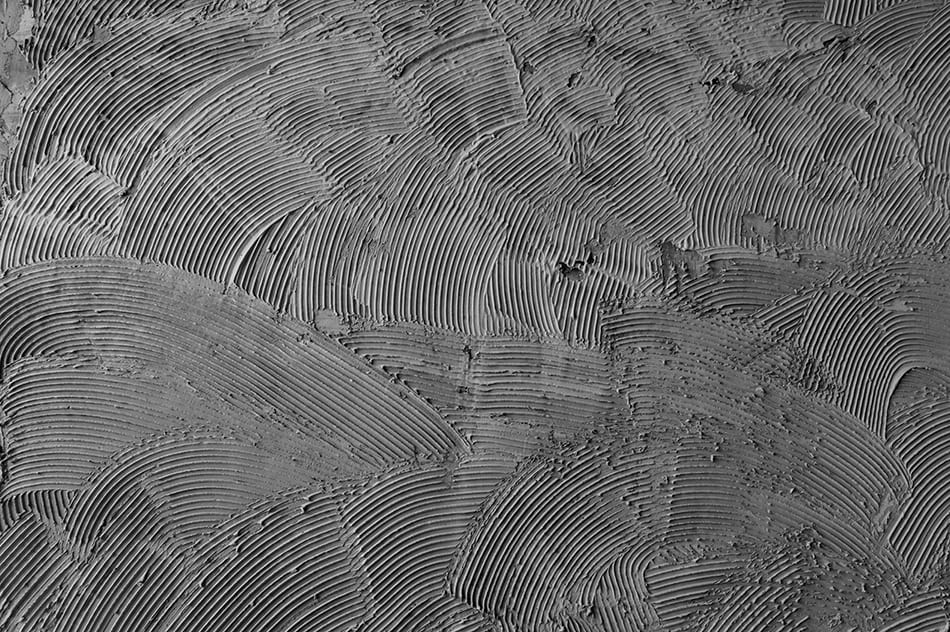
1. Skip Trowel
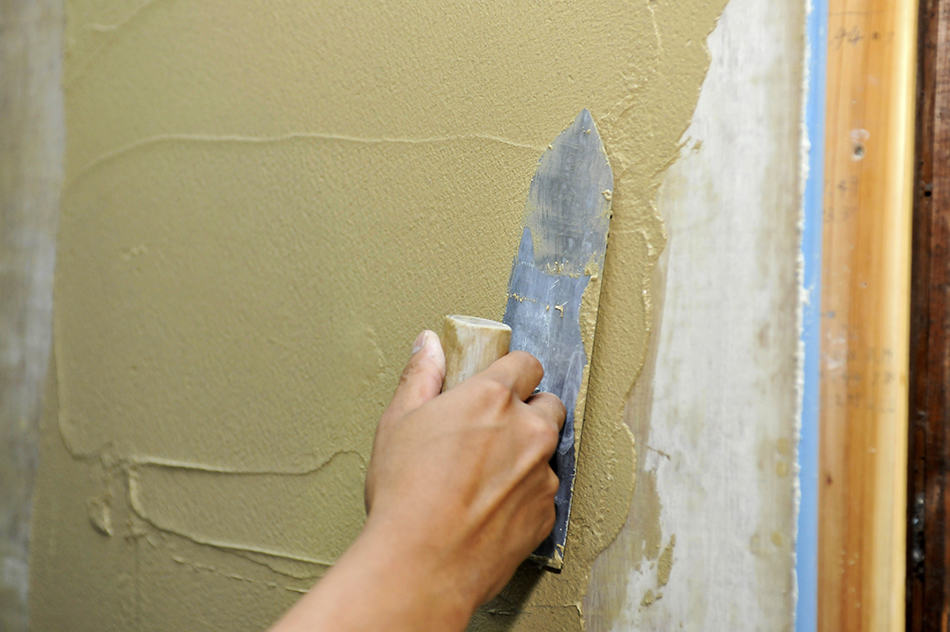
Skip trowel is a type of hand-applied wall texture made from mud or plaster and applied with a skip trowel.
How to apply: use a curved knife of about 18 inches to apply thin layers of the texture. It’s important to hold the knife at a perfect angle as it skips over the wall surface.
The design must consist of overlapping layers in a pool of circles. Pay attention to your mud consistency as it should be too thin. Otherwise, it will fall off. On a similar note, if the mud consistency is too thick, you won’t be able to apply it at all.
Best for: living room, kitchen, and dining room.
2. Slap Brush
The slap brush texture gives the effect of floral patterns. The texturing consists of different patterns you can create with brushes. Depending on the type of paint brush you use, you can come up with varying slapping techniques.
How to apply: the slap brush technique requires a brush with stiff bristles and mud. The application process isn’t easy but with enough practice, you’ll master it in no time. Start by covering the wall using a roller before the slapping technique.
Best for: any room of the house that requires an artistic touch.
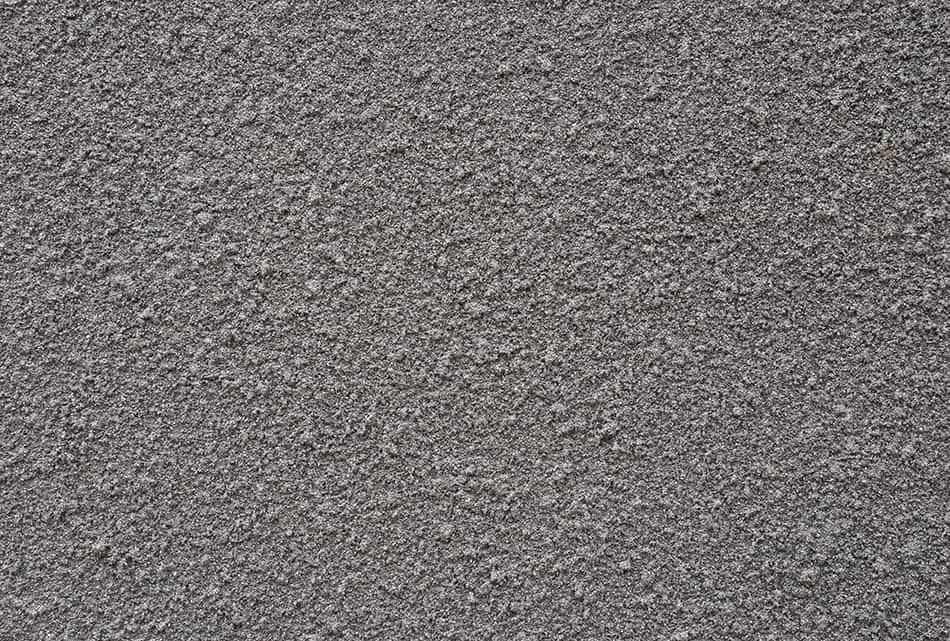
3. Popcorn
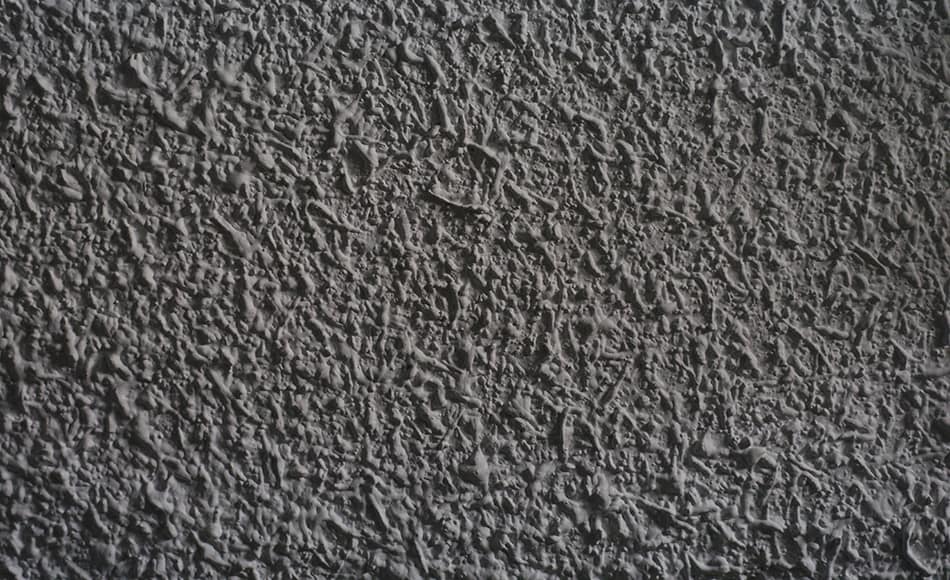
Popcorn, or cottage cheese, is popular drywall material that’s been used for wall and ceiling texture since the 60s. This popcorn drywall compound consists of styrofoam and mud, but it is quite difficult to apply and remove.
How to apply: mix the popcorn texture with water and polystyrene, and styrofoam to create a puffy appearance. The popcorn texture is applied using a compressor and spray gun. It has the benefit of drowning sounds because of its thick application.
Note: one of the drawbacks of this wall texture type is its extreme difficulty in removing. If you eventually grow tired of the texture and want to apply a different one to your walls, read this useful post about how to remove popcorn texture.
Best for: living room and dining room.
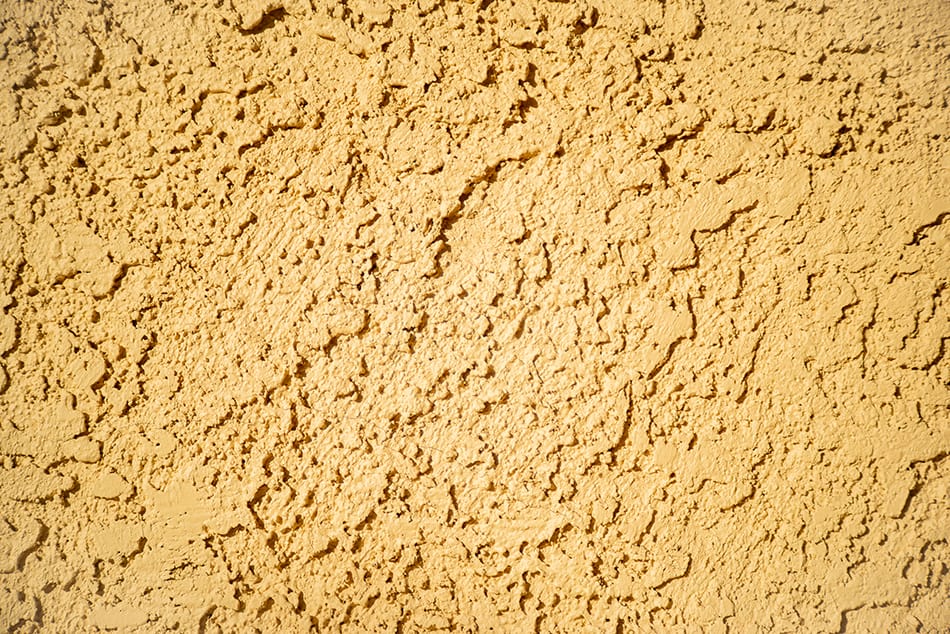
4. Orange Peel

Orange peel texture is one of the most common types of wall texturing, which resembles the rind of an orange, hence the name. This type of drywall texture for walls is simple to apply and highly practical.
How to apply: sand, clean, and prime the walls before starting the texturing. You’ll need drywall mud compound thinned with water to create a thick liquid consistency. Use a compressor and spray gun before going over the surface with a roller. Once the first coat is dried, the second coat can be applied.
Best for: study rooms, dining rooms, and living rooms.
5. Knockdown
Perhaps one of the easiest DIY projects is the knockdown wall texturing. This type of texture coating adds warmth and dimension to the drywall. What’s more, it is ideal for those who love the stucco look.
How to apply: to create the knockdown pattern, use the same technique as the orange peel, but before you allow the walls to dry, go over the mud using a finishing drywall knife or trowel to smooth over the bumps. Although this texture type is messier than the orange peel, it does create a highly contemporary wall texture.
Best for: kitchens, living rooms, and dining rooms.
6. Stomp Knockdown
Just like the knockdown texture, a stomp knockdown can be created using a stomp brush and roller.
How to apply: stomp the brush into the mud on the surface of the wall. Gently press the brush across the wall as though you’re stamping the area. Use a trowel or knife to smooth out any bumps or peaks. Compound mud is one of the best texture materials to use because of its adhesive properties.
Best for: kitchens, living rooms, and dining rooms.
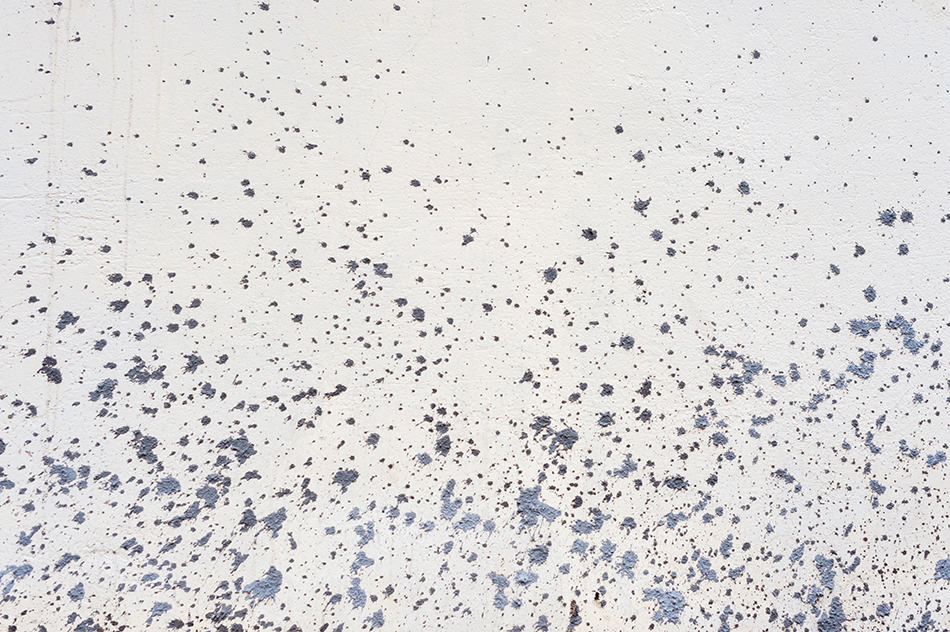
7. Spanish Lace
The lace texture is identical to the stomp knockdown in appearance, but it is a little more difficult to create. What makes Spanish lace stand out is the use of light and dark tones of the same color.
How to apply: once the plaster or mud compound has the right consistency, use a knife to create individual spatters with fine lines to resemble a lace veil. You can then coat the wall surface with one color and once it’s dry, add a different pattern.
Remember, the more irregular the pattern, the better the result will be. This gives the wall a lacy look with a denser, raised plaster design.
Best for: lace is ideal for covering badly cracked surfaces in any room of the house. It’s also a good option for hiding wall blemishes.
8. Comb
Comb is a popular wall texture for those who love stylish wall surfaces. The technique is created using lines of varying widths.
How to apply: use a trowel that has small teeth (like a comb). The result should look like a series of rainbows at random angles. To successfully create this wall effect, you’ll need the help of a second person who can create the comb-like trowel prior to the mud drying on the wall.
Best for: living rooms and dining rooms.
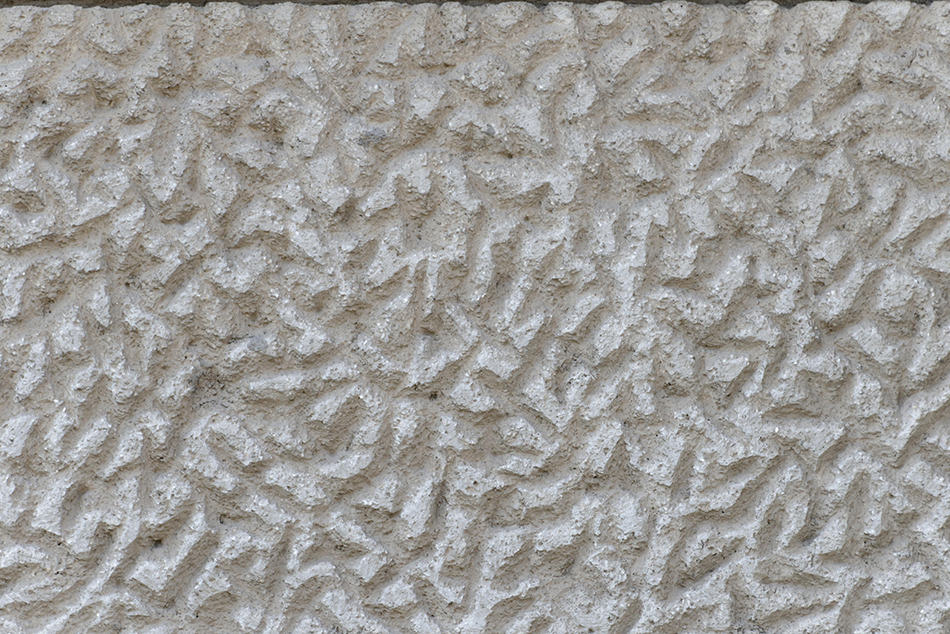
9. Venetian Plaster Finish
Venetian plaster is an ancient method of applying a textured surface coating for walls. This drywall finish is mixed with marble dust and applied in thin layers before it’s sanded and buffed to create a polished look.
Traditionally, Venetian drywall finish achieved its effect through the use of unique materials. But the good news is that newer products have made it possible for DIYers to create similar results without requiring special skills.
How to apply: the putty compound is made from fired marble dust mixed with water. Use a steel trowel by dipping it into the Venetian plaster.
Hold the trowel at an angle against the wall, working your way from the top left corner. Apply short X strokes and vary the length in order to avoid creating a consistent pattern. Each stroke should overlap one another. Allow the plaster wall to dry for 5 hours before applying a second coat.
Best for: living rooms, dining rooms, and kitchens.
10. Rosebud
The rosebud texture gets its name from a round stomp of a flower with a center bud and striking petals.
How to apply: use the same stomp brush technique as the knockdown in an even way so that each stomp is fully visible and doesn’t overlap the others. You can practice this texture on an old piece of drywall by creating a series of repeating patterns.
Best for: any room of the house that has imperfections on its walls.
11. Sand Swirl
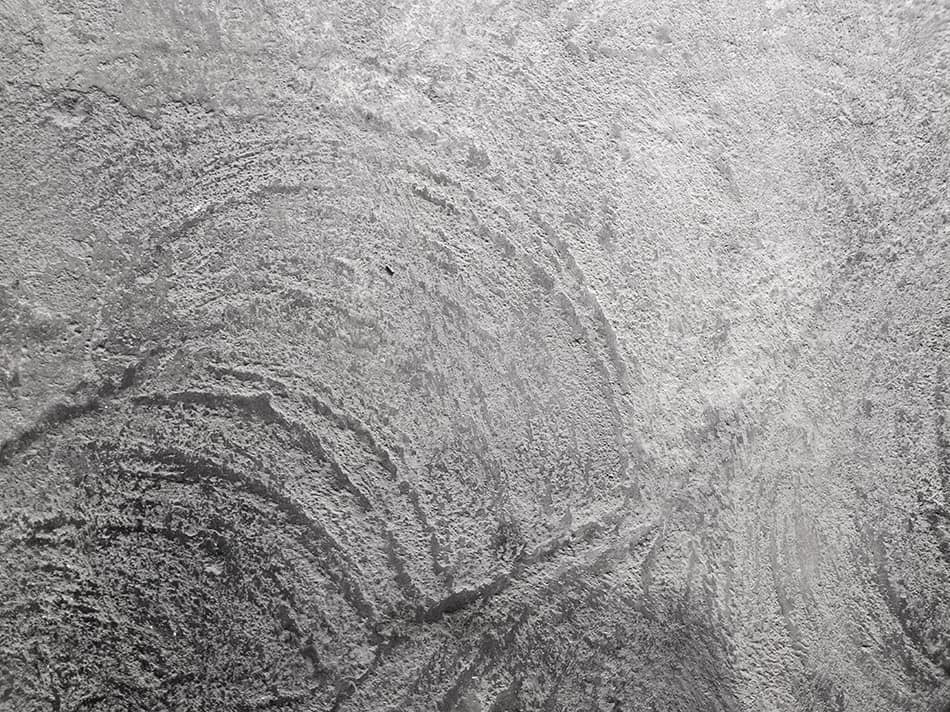
The sand swirl technique is a combination of comb and sand spray textures.
How to apply: create the swirls using a thick bristle brush. You can create the pattern in orderly rows or half rows. If you’re feeling adventurous, use more complex patterns, such as spirals. The swirls can be created in a bed of mud, or dip the brush into a bucket and apply the swirls like paint.
The reason this texture type is called sand swirl is because of the sand that needs to be mixed into the mud for a more bumpy texture. Be gentle and have plenty of patience when applying the mud to the wall as the mixture must still be wet in order to create the swirl patterns.
Best for: children’s bedroom.
12. Crow’s Feet
Crow’s feet is very similar to slap brush texture, which is also created by applying wet mud to clean walls using a stiff-bristled brush.
How to apply: use a roller or stiff-bristled brush to make the pattern on wet mud. Push the brush straight up into the wet compound on the wall by twisting the pole to the right and left. Repeat this stomping and twisting action to create an authentic pattern.
Since this texture type can be very messy to apply, it’s best to cover the furniture and floor with plastic sheets prior to applying the mud compound. You’ll also need to be quick when applying the mixture since dust can quickly settle into the texturing. On the plus side, your walls will look modern and attractive.
Best for: this texture type can provide a contemporary look to any room of the house, whether it’s on your study room or living room walls.
13. Spray Sand
The spray sand wall texture looks identical to the orange peel but with different application methods and compounds.
How to apply: mix a bag of sand with primer or water and leave overnight before applying the next day. Stir the joint compound to ensure the sand has fully settled at the bottom.
Use a brush or trowel to apply the mixture to the clean wall or spray the mixture on the wall. This type of wall texturing requires a lot of patience as the application process takes time. The end result will be a textured wall that doesn’t crack.
Best for: spray sanding is a great texture for creating stucco-like wall finishes in any room of the house.
14. Hawk and Trowel
The hawk and trowel wall texture is achieved by using a trowel and a hawk. In case you aren’t familiar with these tools, a hawk is a flat plate with an attached handle, and a trowel is a flat rectangular metal tool. The texture can be described as multiple layers of mud flowing over one another like waves of water.
How to apply: you’ll need to place a mount of plaster at the center of the hawk. The trowel is then used to apply the plaster on the wall.
Note: you need to apply the plaster using fast hand movements as you must scrape the plaster quickly from the hawk and onto the wall using the trowel. The hawk and trowel texture type takes practice to ensure it’s done perfectly. The final look will be many straight lines and overlapping layers for a simple, yet elegant finish.
Best for: living rooms and study rooms.