Are you looking for a suitable mud to complete your drywall? Using the right compound is absolutely crucial in order to avoid spending many hours sanding your wall, or ending up with an unprofessional DIY job. In this guide, I will explain how to choose the right drywall mud for your project as well as the most common types of premixed and dry compounds you can use for your project.
Table of Contents
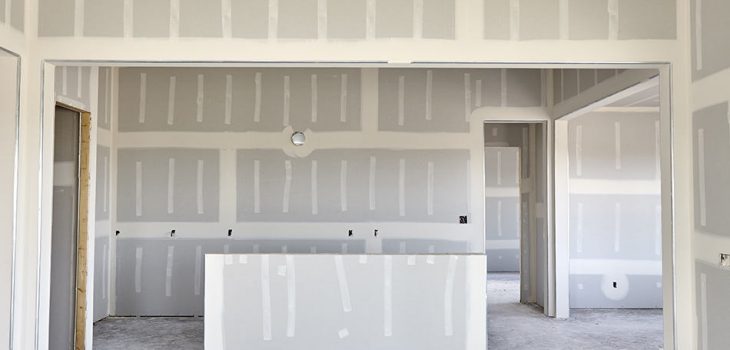
What is Drywall Mud?
Also called joint compound, drywall mud is a gypsum-based mix that’s used to complete drywall joints in new wall installations. This compound is useful for filling cracks and holes as well as to cover up screw heads on existing plaster and drywall surfaces. While this mud is mostly used by professionals, DIYers can easily apply the compound during drywall hanging.
Choosing the Right Drywall Mud
There are two primary types of drywall compound. The first is the pre-mixed compound while the other is a quick-set mud, mostly known as hot mud. Just as the name suggests, the pre-mixed type of mud is already mixed and ready to use, whereas the quick-set mud is in powder form and requires mixing with water for the desired consistency.
Pre-mixed mud comes in different forms, which I will go into more detail later. Hot mud or quick-set compound is available in 20-minute, 40-minute, and 90-minute drying-time packages, depending on your drywall project needs.
So the question is, should you buy dry or pre-mixed mud? As a homeowner, the most convenient option is the pre-mixed compound that is sold in buckets. This wet mud makes your project go smoother and faster. However, one drawback of pre-mixed mud is that you constantly have to open and close the buket’s lid, which results in air entering the compound and slowing the drying process. In worse case scenarios, dust or debris can seep into the mixture and create mold. What to do? Scoop out the mold from the top surface and as long as you’re sure the rest of the compound is mold-free, continue using it as normal.
Dipping your drywall knife into the pre-mixed bucket can also cause foreign elements entering the compound. It is best to use a long-handled narrow, plastic or metal mixing tray so you can portion out the mud in your mixing tray.
To learn more about the different variations of pre-mixed and dry mud, continue reading this article.
5 Types of Dry and Pre-mixed Mud for Drywall
1. Quick-Setting Mud
The quick-setting type of drywall compound, which is also known as hot mud, is typically used by professionals for covering small holes in the drywall. This compound bonds better and dries harder, with better crack resistance than most other compounds. However, it is more difficult to use by DIYers mainly because of how fast the compound dries. The quickest drying time is only 20 minutes, so if you’re not too confident in using this type of mud, you can always find varieties that take up to 90 minutes to dry.
When applying the second coat of quick-set mud, you won’t need to wait for the first coat to dry. This is the great advantage of the compound, but since it doesn’t come pre-mixed, you must mix the dry powder with water to achieve the right consistency.
Best for: when drying time is an issue
2. Taping Mud
Taping mud is ideal for embedding joint tape before finishing the drywall joints. This compound dries harder and is more difficult to sand when compared to other pre-mixed muds. You’ll need to use three layers of this mud when covering the drywall tape and joints. The first two layers are called taping mud, which is used to fill the joints between the wall sheets and its corners.
This taping mud can in fact be used anywhere on the drywall where there is a gap between the sheets. Once you’ve applied the taping compound, the tape is applied and the excess mud is wiped away in order to allow the compound to dry. A second coat will then need to be applied to further smooth out the tape. This type of mud doesn’t crack or shrink easily, thus making it suitable for filling gaps.
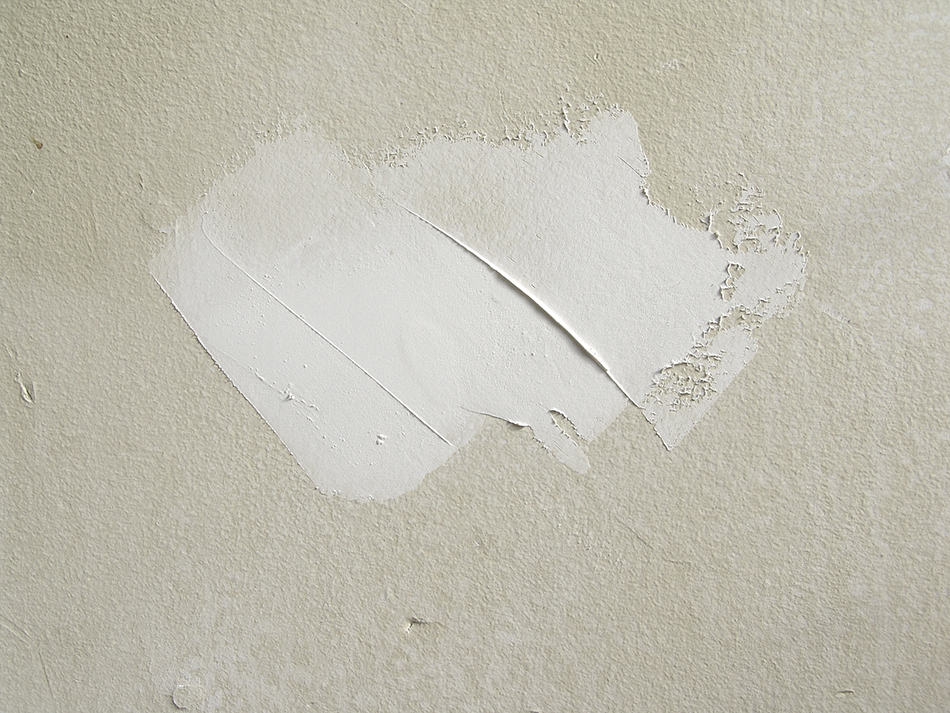
Best for: covering plaster and drywall cracks
3. Topping Mud
Topping mud is ideal for use after the two final coats of taping compound have been applied to the drywall joints. This low-shrinkage mud goes on the drywall smoothly and boasts strong bonding power. It is also easy to work with. Topping mud is typically sold in dry powder form, which you’ll need to mix with water. This can be seen as an inconvenience, but you can always save the rest of the unused powder for future use.
Keep in mind that topping mud isn’t recommended for embedding the drywall’s joint tape. It is never used as the first coat and most professional contractors advise against using it for the joints. When applied correctly, this mud will reduce sanding time.
Best for: final coats
4. All-Purpose Mud
The all-purpose mud is a pre-mixed type of compound sold in buckets. It is ideal for all phases of finishing, filling joints, finishing coats, and embedding joint tape, as well as for drywall texturing. This type of drywall mud has a slow drying time and is easy to work with, hence making it the preferred option for beginner DIYers. You can use this mud for coating the first three layers over the joints, but bear in mind that it’s not as strong as other types of joint compounds.
Best for: all phases of drywall finishing
5. Lightweight All-Purpose Mud
The light-weight version of all-purpose mud is true to its name light in weight and can be used for any application. This compound doesn’t benefit from strong adhesive agents, thus making it unsuitable for taping seams in drywalls. You should consider a more durable type of mud, such as the all-purpose mud instead. The lightweight version is generally used for the first and second coats of corners or seams only.
Best for: all types of light-weight applications as first and second coats
How to Mud a Drywall in 7 Easy Steps
You’ll need the following materials and tools:
- Safety glasses
- Face mask
- Drywall mud
- Large plastic bucket or mixing tray
- Bristle, long-handled brush
- Water
- Taping tool
- Drywall knife (10 inches long)
- Drywall sander
Step 1. Protect the floor and yourself from possible mud splatter: cover the floor using a fabric sheet and wear your safety goggles. Since mudding is a messy job, you must adequately protect your clothes and eyes.
Step 2. Decide which type of mud you want to use. If you’re using pre-mixed compound, remove the lid from the bucket and scoop out the wet mud on the mixing tray. Beat until it’s smooth prior to application. If using dry mud, mix the powder with 5 gallons of water.
Step 3. Apply the first coat. Use your 10-inch drywall knife to smooth the mud evenly into the joints and fill the entire surface. Wipe away the excess compound.
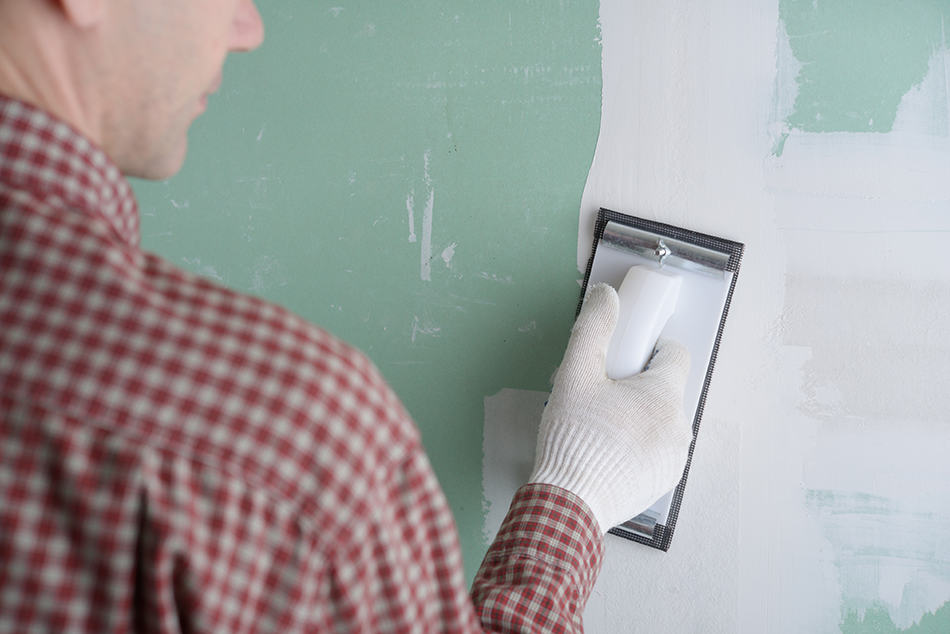
Step 4. Cover the coat of mud with tape. While the mud is still wet, place a piece of paper tape over it. Make sure the paper is completely smooth and bubble-free using a taping knife.
Step 5. Tape the inside corners. Apply a thin coat of mud to the inside corners before taping the wet mud. Follow the previous step using your taping knife to apply light stroking movements. Again, wipe the excess mud from the drywall.
Step 6. Apply the mud to outside corners. Follow the same steps to apply the mud to the outside corners of the drywall using long vertical strokes to achieve a uniform finish.
Step 7. Apply a second coat of mud. Before applying the second coat of mud, make sure the first coat is smooth and dry. The second coat should cover the screw indentations, joints, inside and outside corners using just mud not tape. The second coat can be a thin layer. To finish, wipe off the excess mud.
Here is a quick video on how to apply mud to a drywall
https://www.youtube.com/watch?v=McCZLfZipTg
Some Final Tips on Using Drywall Mud
- For covering holes in the quickest time, use the dry hot mud. This powder form allows you to cover the patches quickly and even paint the drywall on the same day.
- To finish an entire room, again opt for the powder compound as this is the best choice that provides a professional-looking finish on large drywall surfaces.
- When texturing a large drywall area, use an sll-purpose pre-mixed compound. This type of mud dries slower and much easier to apply.
- Remember to use the least amount of water at first when mixing the dry powder compound in order to achieve a workable consistency. Too much water can cause cracks in the drywall and force you to recoat the surface.