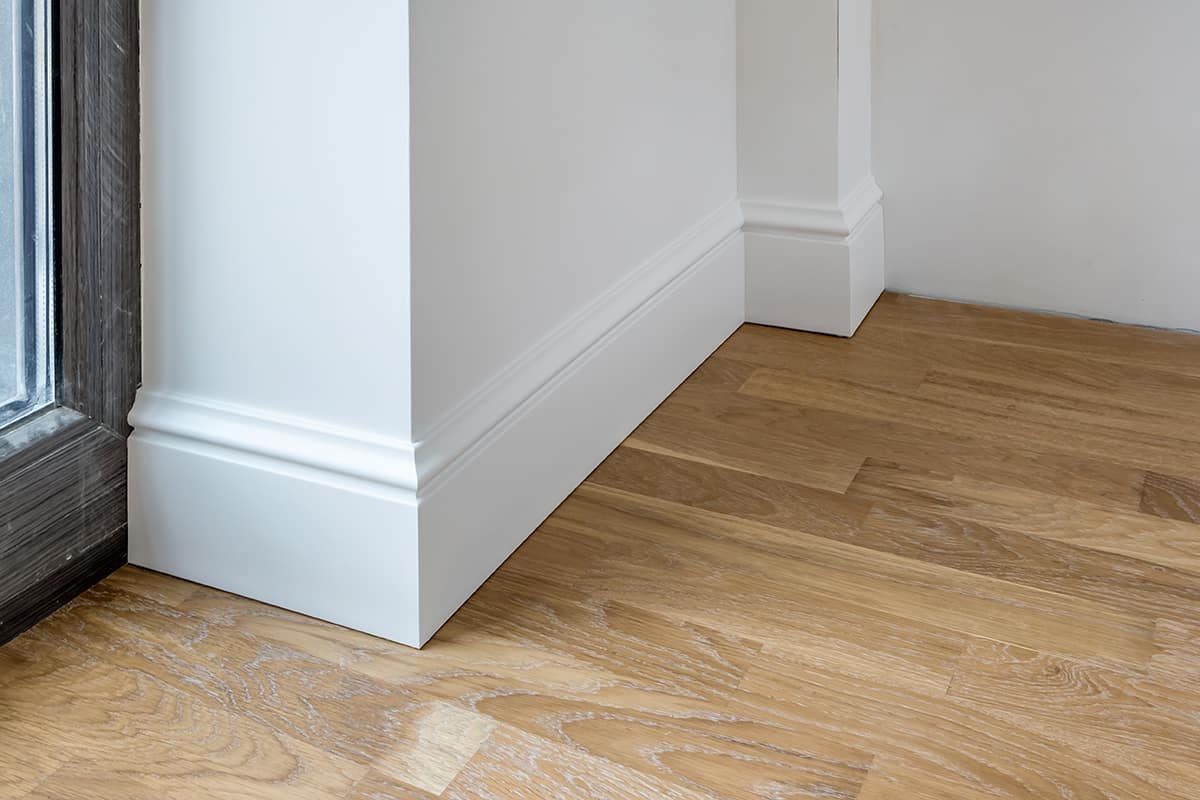
Baseboard trim comes in a variety of heights and materials. You can choose from a variety of baseboard trim materials, including wood, metal, or vinyl.
You’ll also have the option of purchasing it in pre-made packages or having it custom-made on-site by a carpenter. Baseboard trim comes in a variety of colors and heights typically ranging from 3 to 8 inches.
Standard Baseboard Heights For Different Ceiling Heights

8-Foot Ceilings
The standard baseboard height for 8-foot ceilings is 3-5 inches. The length of a baseboard varies depending on the room’s dimensions, but they are typically between 14 and 16 inches long.
9-Foot Ceilings
9 feet is the standard height for ceilings When it comes to baseboard height, you’ll find that most are around 3″ tall. However, depending on your preferences and how close the crown molding to the home’s ceilings, the average baseboard height for a 9-foot ceiling is between 3 and 6 inches.
10-Foot Ceilings
For a 10-foot ceiling, the industry standard for baseboard height is between 5 and 7 inches. The 6-inch height works well for most purposes, as it provides the right amount of contrast between the floor and walls.
12-Foot Ceilings
If your ceiling is more than 11 feet high and you need to install baseboards, there are two main considerations: whether the room has a door or not; and whether you want to use an “old” or “new” style of the baseboard.
If your wall doesn’t have a door on it, then the chances are good that you’ll want to go with an old-style baseboard. This will give your room an older feel and make it appear taller than if you were to choose something with a more modern look.
If this is the case for your project space—and especially if it’s one where people spend time—we recommend considering whether the new style would work better by adding some height at either end of the wall: probably best if they’re somewhere between 3″-5″ taller than what someone would expect from looking at pictures from around 100 years ago (or longer).
Basically, for 12-foot ceilings, the baseboard height should be between 6 and 8 inches.
Looking for versatile and reliable baseboard trims? Check out this top-notch option that’s perfect for any project!

Get this baseboard molding trim from Amazon
How to Install Baseboards
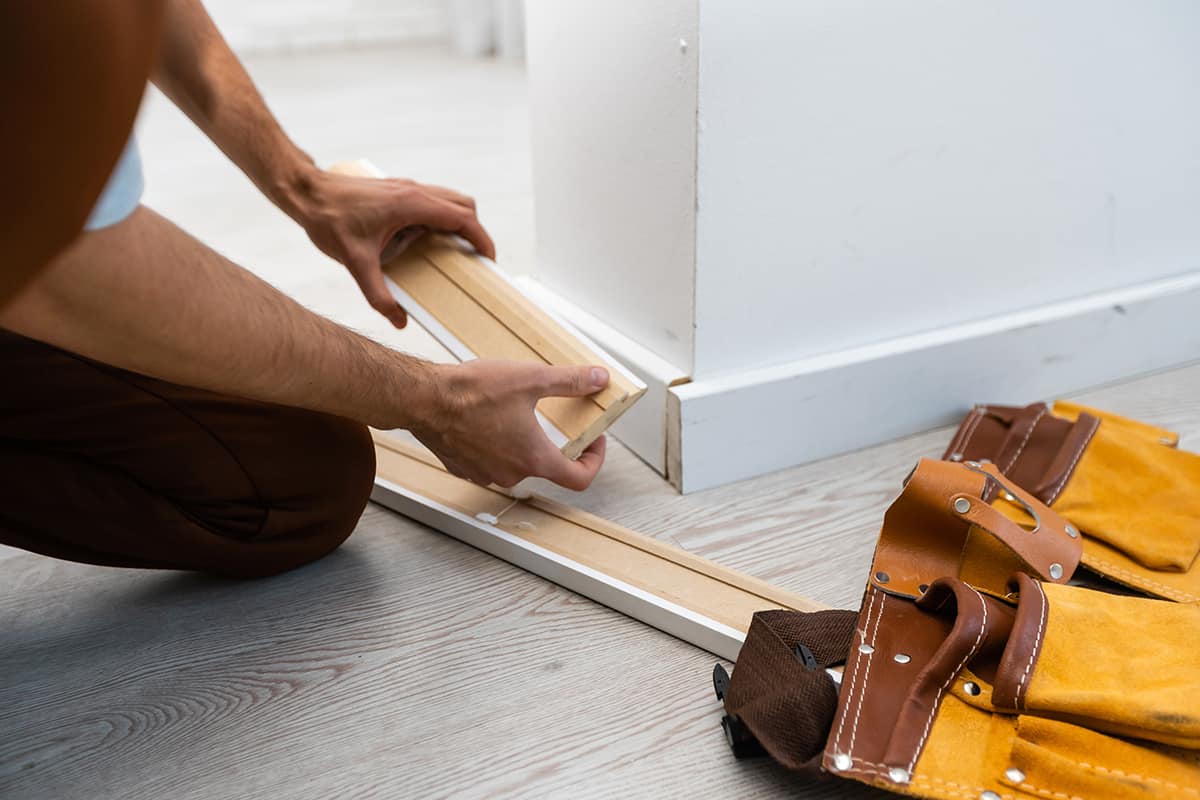
Installing baseboards is an easy way to improve the look of your home without too much effort or time commitment. Installing baseboards is one of the easiest and most satisfying home-improvement tasks you can take on. You’ll improve the look of your home in just a few hours and at a low cost.
Measure and cut
Measure and cut the baseboards to the right length. Use a tape measure to find the length of each wall, then subtract 6 inches from that number. The extra 6 inches allows for two rows of baseboard on each side of your doorway (2 inches per row).
Check the level
Before you begin installing your new baseboards, make sure that you have a level handy. You will want to use this tool to ensure that your first baseboard is level and vertical before mounting it. The best way to do this is by using a small level.
Drill holes into your baseboard and into your wall.
- Use a drill and guide to drill holes in the baseboard that match the size of your mounting screws (the length will vary depending on what kind of board you have).
- Next, use a stud finder to locate studs. If there aren’t any studs near where you want to place your baseboard, use plastic anchors instead and secure them into wall studs as needed; this will help support its weight as it rests against the wall.
- Drill through both pieces with a bit slightly smaller than your screws’ diameter (this helps prevent splitting wood).
- Screw in your screws or use tap in finishing nails through the baseboard and into the stud.
Repeat
Now that you’ve secured the first piece of baseboard to your wall, repeat steps 4 through 6 for each section of baseboard you install. If your baseboard is long and needs to be attached to more than one wall stud, mark where those studs are on the floor with masking tape.
Use a level or string line to make sure each piece is straight as it goes up. If it’s not, adjust until it is even all the way around before securing it in place at every corner by driving in nails with a hammer and finishing nails.
Reinforce joints between sections of baseboard with glue and small finishing nails, if desired
- If you want to make sure that your baseboard joints are sturdy and professional-looking, consider using glue and small finishing nails to reinforce the joint.
- First, apply wood glue to the edges of the sections where they will meet. Then pound in finishing nails through each section into its neighbor until you have a solid seam. Let this dry for at least an hour, then caulk it with more wood glue before painting over it with a coat of paint.
- You can also use decorative molding or even just paint between the boards if you don’t want to go through all that work!
Caulk
Once you’ve installed the baseboards, it’s time to caulk them into place. Use a good quality silicone caulk and apply it with a caulk gun. If your baseboard has an odd shape or any gaps between it and the wall, fill these in with more silicone caulk before applying your finish coat of paint or stain.
If you get excess caulk on anything but the floor or wall, wipe it away immediately with a damp cloth so that the caulk doesn’t dry prematurely and make cleanup difficult later on.
Once all pieces have been secured into place, fill in any gaps between them using a spackle or joint compound mixed with water until smooth and uniform. Let dry completely before painting or staining!