A kitchen sink is one of those must-haves that serves a variety of purposes: from hand washing and wastewater disposal to supplying water for washing the dishes. Kitchen sinks are manufactured in a variety of materials and come in different sizes and shapes. Their assembly is generally more complex than bathroom sinks, but if you’re into DIY, you won’t find this task very difficult.
Get a basic understanding of the most important kitchen sink parts by reading this article now. I will also provide you with tips on how to install a new sink in your kitchen.
Table of Contents
Kitchen Sink Parts
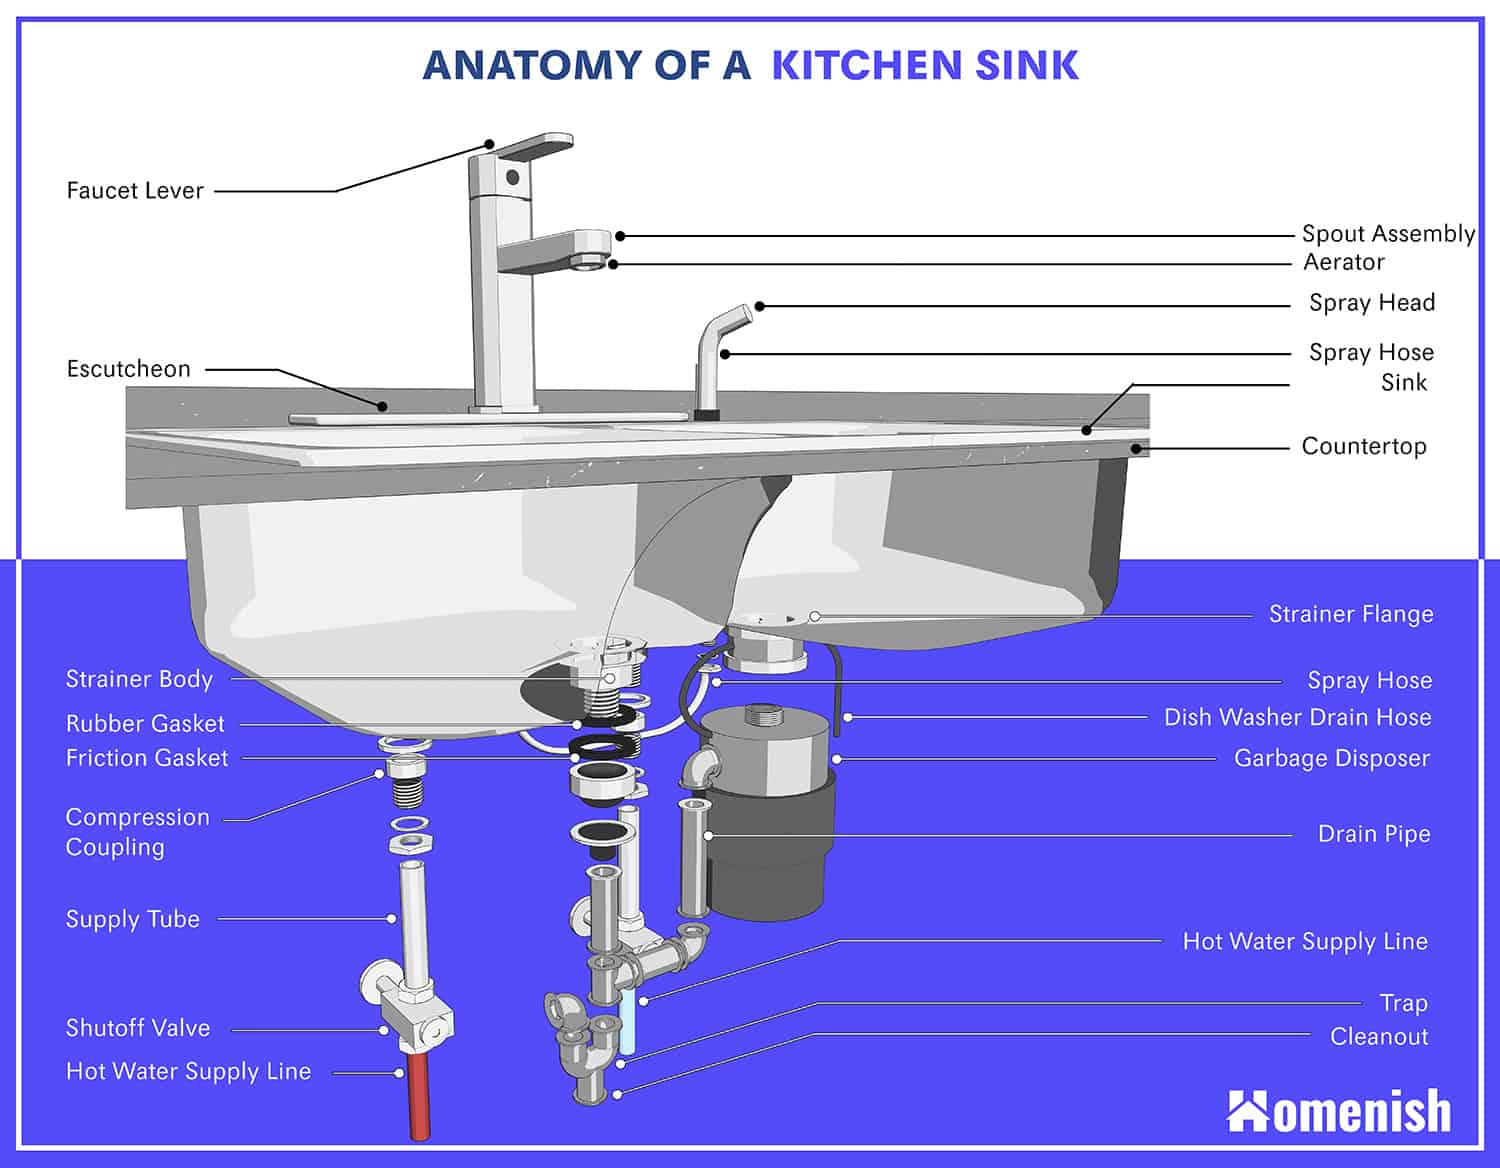
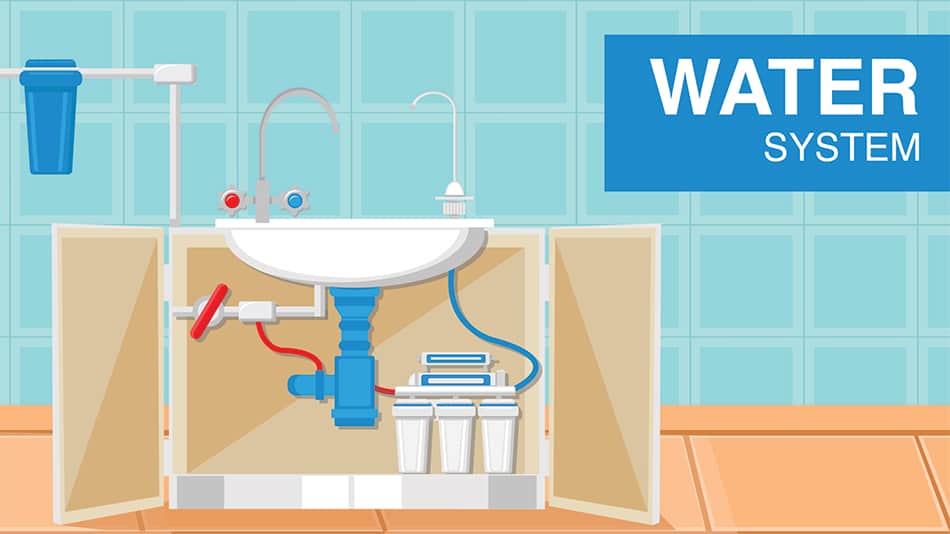
To help you better understand the kitchen sink components, this is a visual guide by us to illustrate the kitchen sink parts.
Basin
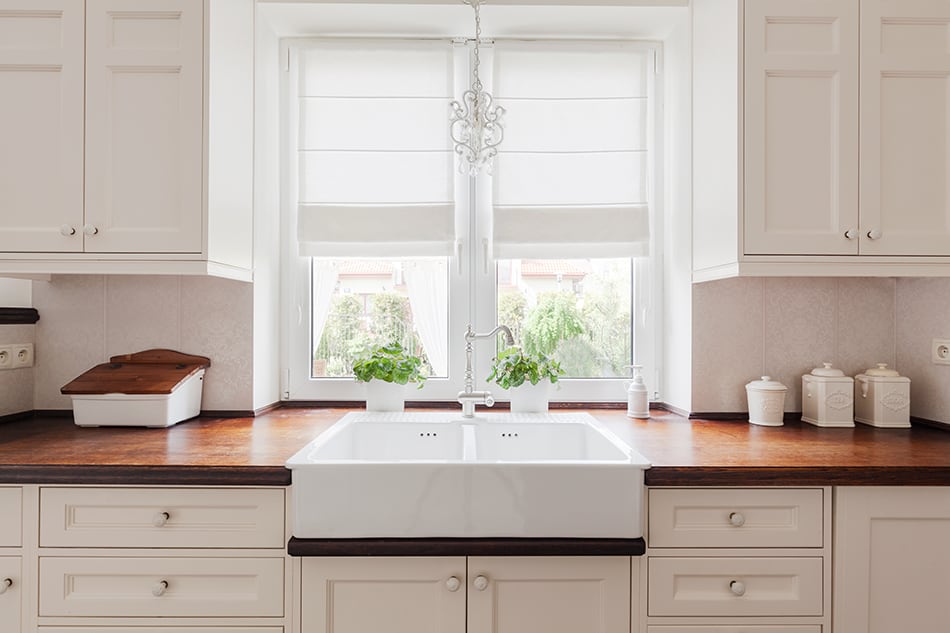
The kitchen basin is the top container that retains water from the faucet before emptying it through the drain. This is the main part of the sink and used for different purposes, such as washing hands or washing dishes. Basins can be located on a countertop, pedestal, or mounted on the wall.
Sinks come in different shapes, sizes, and materials, including iron, porcelain, and stainless steel. Each material has its own advantages and disadvantages so you need to determine which material will suit your specific needs.
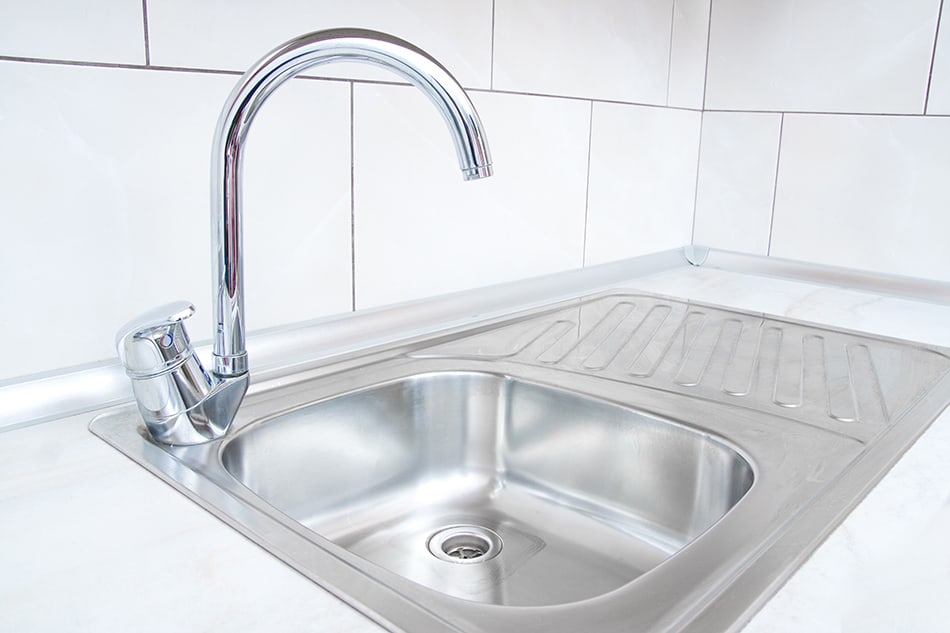
Faucet
Faucets are another essential part of the kitchen sink as they distribute water into the basin. Just like basins, faucets come in different sizes and shapes, all with the same function; to pour water into the basin.
There are two faucet styles: single-handle faucets and two-handle faucets. The first type controls both the cold and hot water with one handle. The latter have separate handles for cold and hot water.
Faucet Aerator
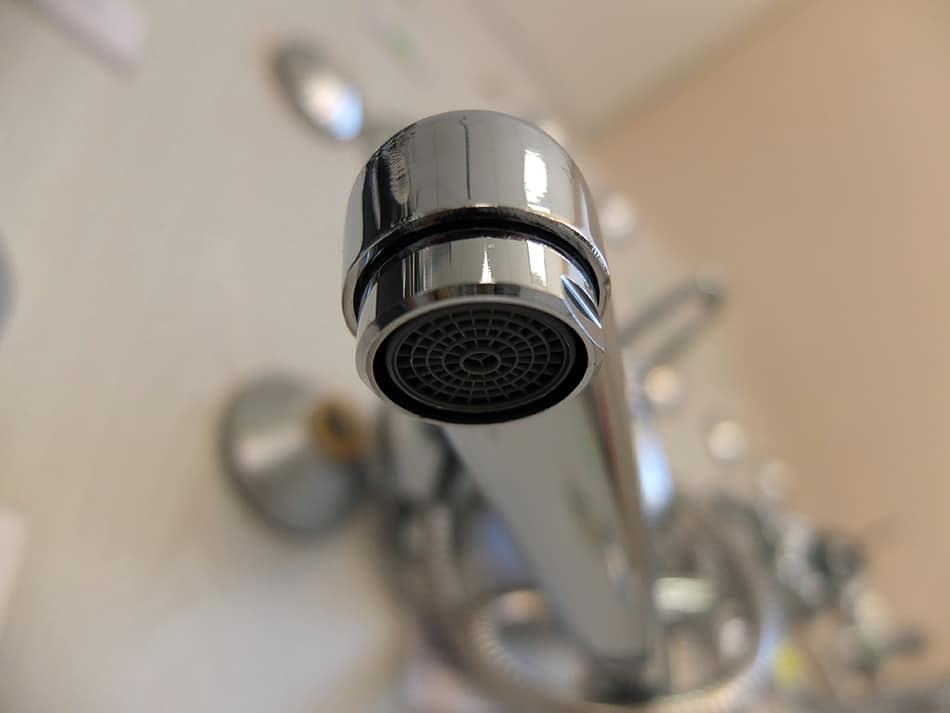
A faucet aerator is a small screen made from mesh and located at the tip of the faucet. This aerator can be screwed onto the head of the faucet and is used to regulate the amount of water that flows out of the faucet.
The way an aerator works is by splitting the water into small streams in order to reduce the water volume flowing from the faucet. This part of the kitchen sink will help you keep your water usage under control.
Compression Coupling
Also known as compression fittings, couplings are responsible for connecting two pipes together or joining a valve to a pipe. In kitchen sinks, compression couplings connect the faucet to the water pipe.
Sprayer Hose

A sprayer hose doesn’t come with all kitchen sinks, but it is a practical component for manual dishwashing and other applications that require direct water spray.
The hose is usually located between the water supply and faucet. It comes with a connector valve to control the direction of water. When using a sprayer hose, you won’t need to turn on the tap as the water will flow out of the hose instead.
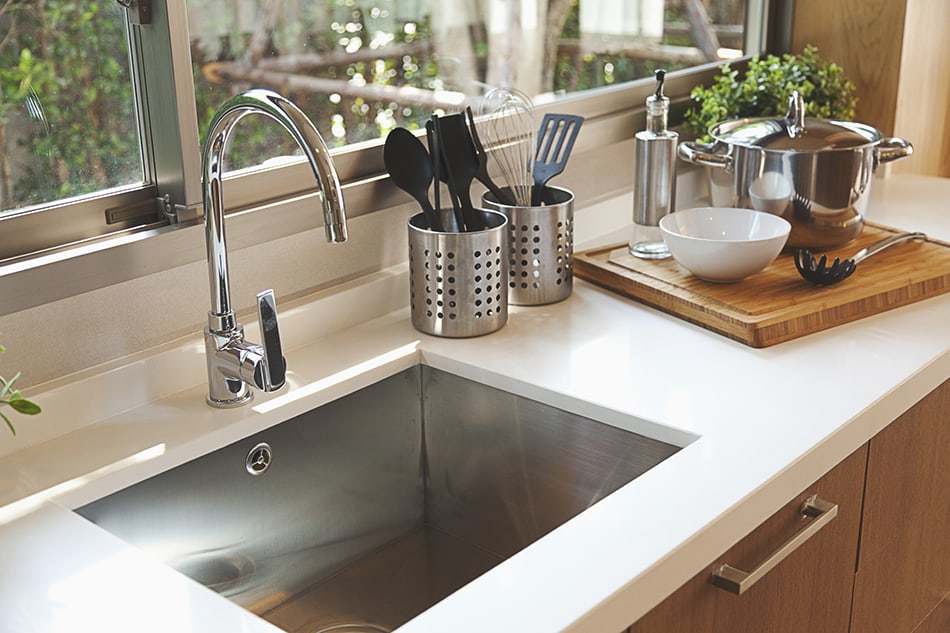
Countertop
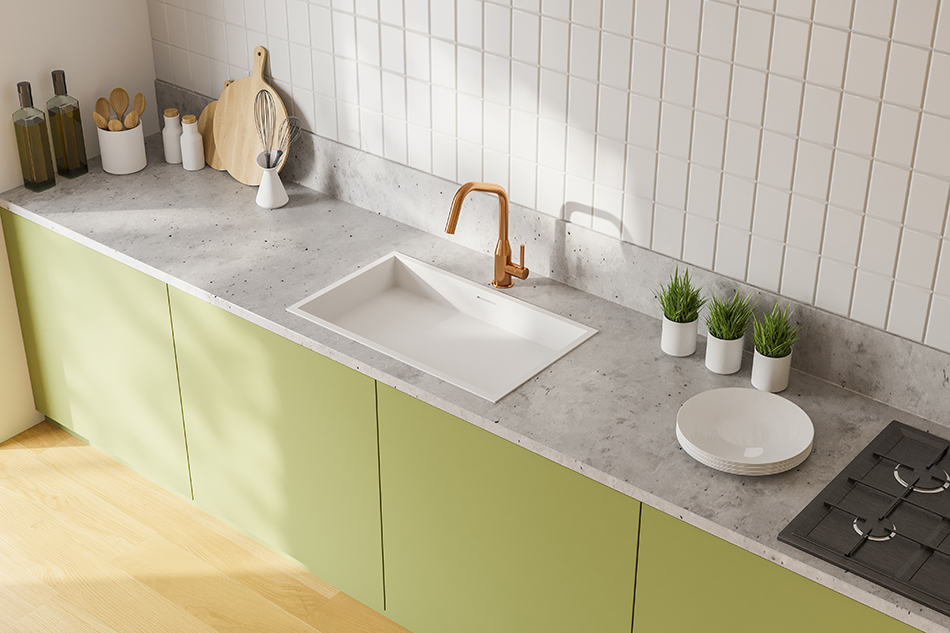
A kitchen countertop is the flat surface working area around the sink that comes in many different materials like granite or marble.
Garbage Disposer
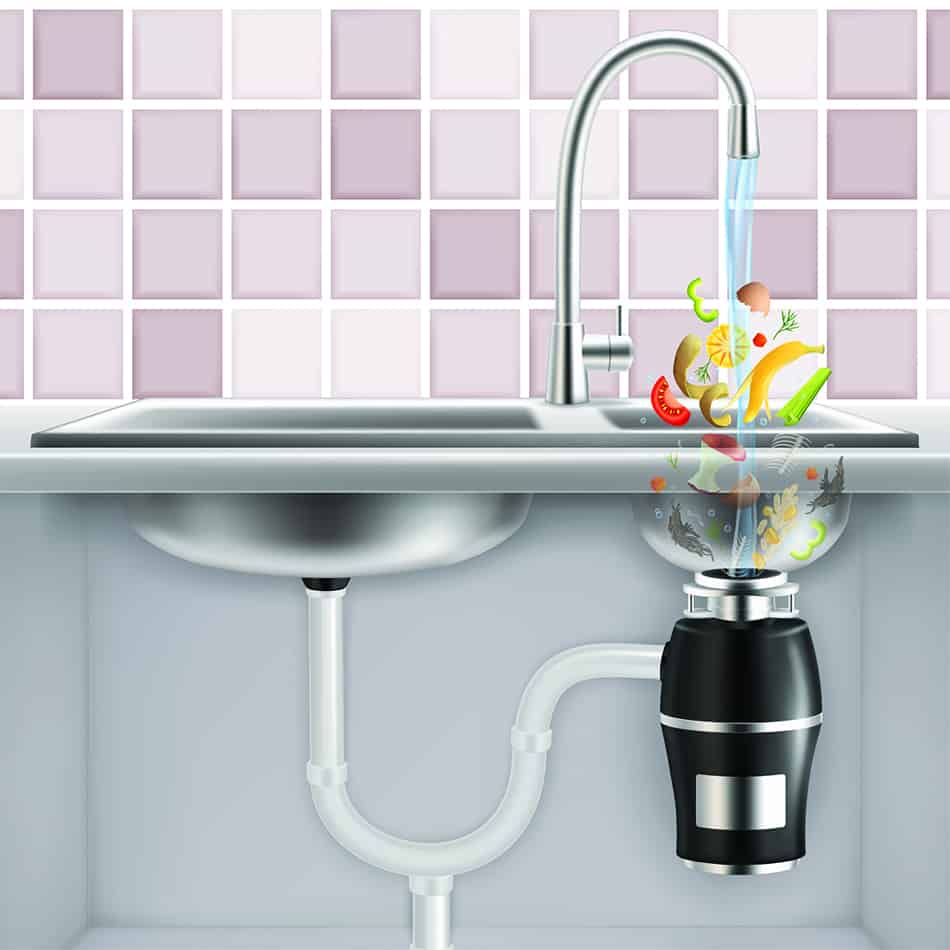
A garbage disposer is the device installed beneath the sink between the trap and the drain. It is used to grind up and wash away the food residues and other kitchen waste products.
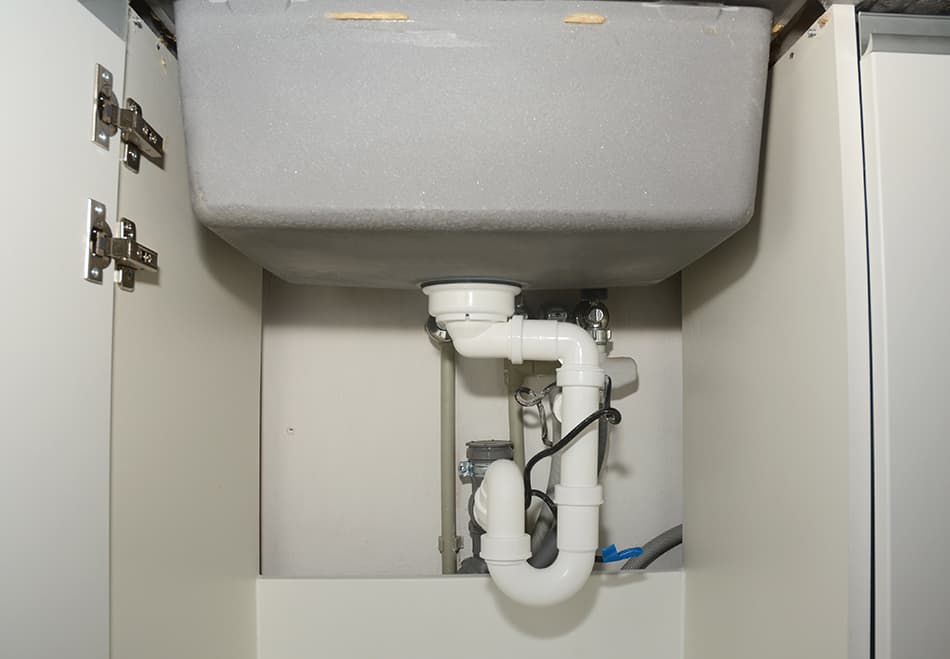
P Trap
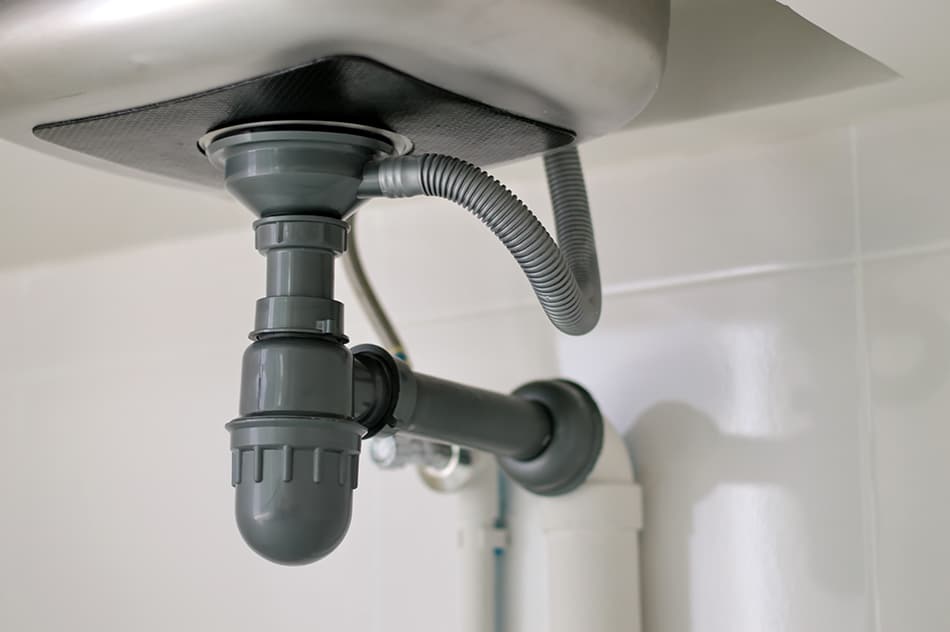
Unlike what you might expect, the P trap isn’t actually shaped as a P. This pipe looks more like a U. This essential part of the kitchen sink serves an important purpose: by preventing water from spilling out of the pipe.
But if you see water sitting in the trap, don’t worry as this will stop sewer gas from coming up from the drain and into the house. Grease or debris can clog your P trap, thus causing the water to come back up from the drain. If this happens, unclog the drain by pouring hot water through the hole or call a plumber.
Tailpiece
Tailpiece is a pipe that fits under the basket strainer. This straight pipe allows water to flow directly into the plumbing system of the sink. The tailpiece connects to the P trap.
Waste Arm
The waste arm is the part that extends from the sink’s P trap. This pipe is attached to one end of the trap using a nut and washer. The other end of the waste arm goes into the main drain. This pipe carries out the waste water that goes down the sink’s drain and into the sewer.
Cold and Hot Water Supply Pipes
The cold and hot water pipes are connected to the faucet and usually hidden under a cabinet or behind the kitchen pedestal.
These pipes can run through the floor, with the cold water pipe being on the right and the hot water pipe on the left. Both pipes will have shutoff valves to allow you to turn them on or off during a repair or replacement of faucet.
Rubber Gasket
A rubber gasket acts as a protective barrier between different joints. It is used to stop water leakage from in between the pipe joints.
Basket Strainer
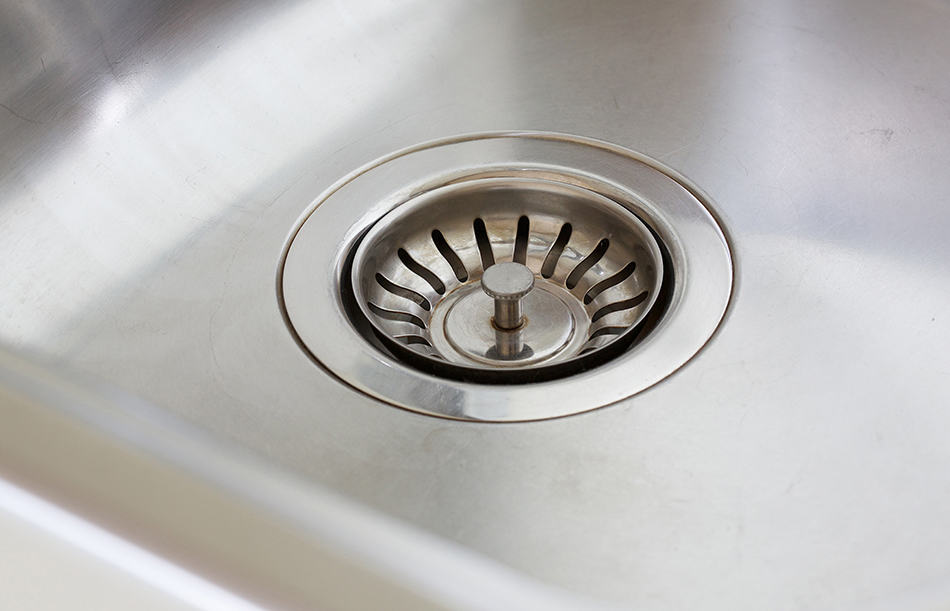
A basket strainer is a slotted piece at the bottom of the sink to allow water to go down the drain, but without the debris. This component is designed to keep foods and other solid materials out of the pipes. In the event the basket strainer doesn’t properly fit in the sink’s hole, use more putty or contact a plumber. Otherwise you’re likely to have a leak or risk clogging your plumbing pipes.
Drain Pipe
One of the most important kitchen sink parts is the drain pipe. Located below the sink, the drain pipe is a long tube made of metal or plastic. Its job is to transport dirty water from the sink and out of the house.
The drain pipe also helps regulate air pressure inside the water pipes in order to prevent air clogs. The most common types of drain pipes that are found today are PVC or copper. The older versions in pre-1960 homes tend to be made from steel or iron.
Shutoff Valve
Aside from wastewater that flows out of your sink’s piping system, fresh water will flow in. Instead of traveling through the same pipe as the wastewater, fresh water needs to have its own separate set of pipes.
Should any of these pipes leak or require replacement, you’ll need shutoff valves to stop the water flow. Rather than turning off the main water supply, you can simply use the shutoff valve to only stop the water to the kitchen sink.
The above were the most important parts of a kitchen sink. You should by now have a basic understanding of each component. If you want to install a new sink in your kitchen, keep reading for some step-by-step instructions.
DIY Tips on How to Install a Kitchen Sink
Once you’ve selected the right type of kitchen sink, (single or double for example) you can begin fitting it into your countertop surface. Undermount sinks must be installed under the counter and only used with a stone or solid-surface countertop.
You also have the option of choosing a deeper basin sink than your existing one. Just bear in mind that if the new sink hangs down too low, it will have drain problems and you will end up having to lower the tee connection in the drain pipe.
To get a basic idea of how to install a new kitchen sink, follow these steps:
Step 1. Measure the current sink. If the new sink has different dimensions, the location of the drain may need to be changed. Alternatively, you may modify the countertop opening or the plumbing system. Caution: wear safety goggles when working under the sink.
Step 2. Remove the old sink and take note (or picture) of the plumbing configuration so that you can reassemble the plumbing after installing the new sink. Turn off the kitchen’s water supply. There should be a shutoff valve below the sink. If you can’t find the valve, turn off the main water supply to the house.
Use a wrench to disconnect the water supply to the faucet. Make sure you have an empty bucket ready in case any water drips from the drain pipes.
Step 3. Now fit the new sink in the countertop hole. If it doesn’t fit, modify the opening using a tile cutter, router or jigsaw. If your new sink is bigger than the current countertop opening, turn it upside down. Trace the outline and create a cutout with one of the mentioned tools. Now remove the sink from the hole, attach the clips, then turn it inward toward the bowl.
Step 4. Once you’ve fitted the new sink in its place, it’s time to install the faucet and other necessary components. When installing the strainer, apply a small amount of putty around it and press the strainer firmly against the putty. For the edge of the basin, apply silicone sealant.
Step 5. Attach the water pipes to the faucet and tighten the connections. Take care not to overtighten the connections.
Step 6. Reconnect the water supply and check for leaks by turning the water on.
