Painting faded color onto a wall is also called an ombre wall. It can be created on one wall in a room to create a feature wall, or you could carry out the look across every wall in a room for a more immersive feel.
A fading color wall is easy to achieve, and you don’t need any special equipment that you wouldn’t ordinarily use when painting a room. Follow these guidelines to achieve a professional ombre look.
Table of Contents
Types of Fading Color Wall
There are two types of fading color walls: a blended version and a solid version.
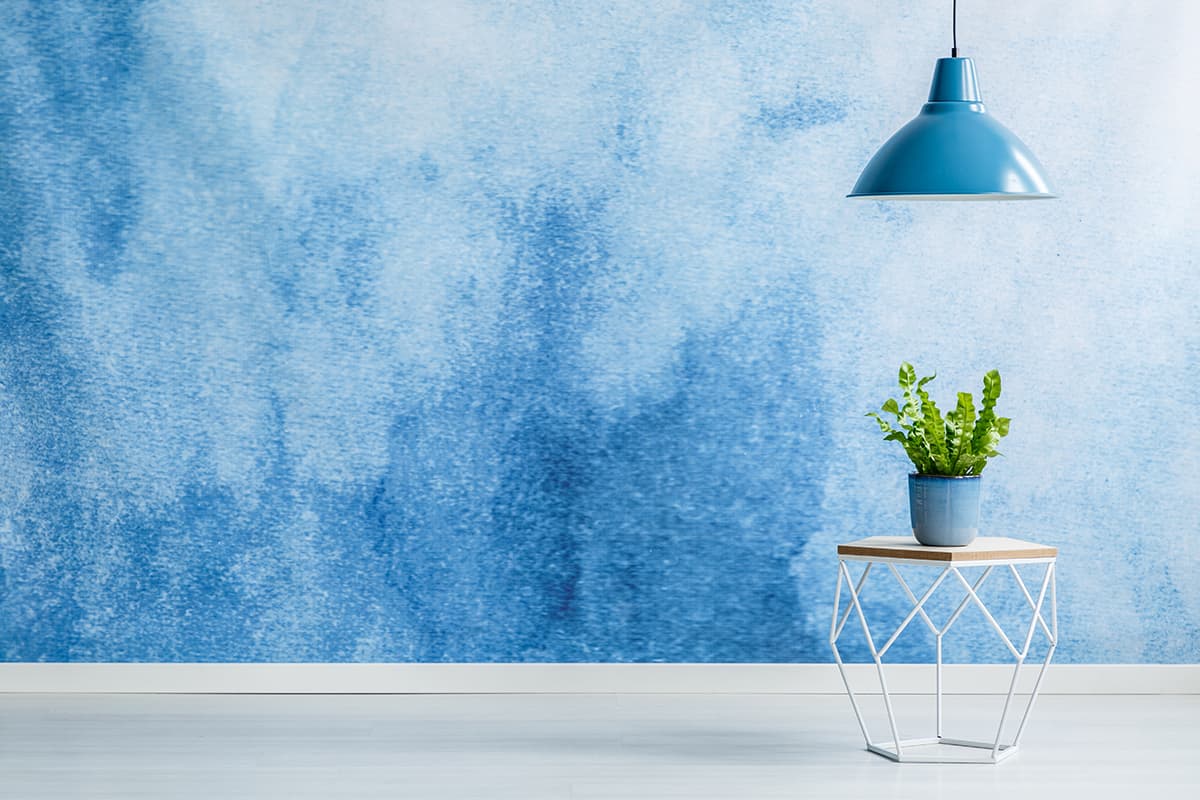
Blended Ombre
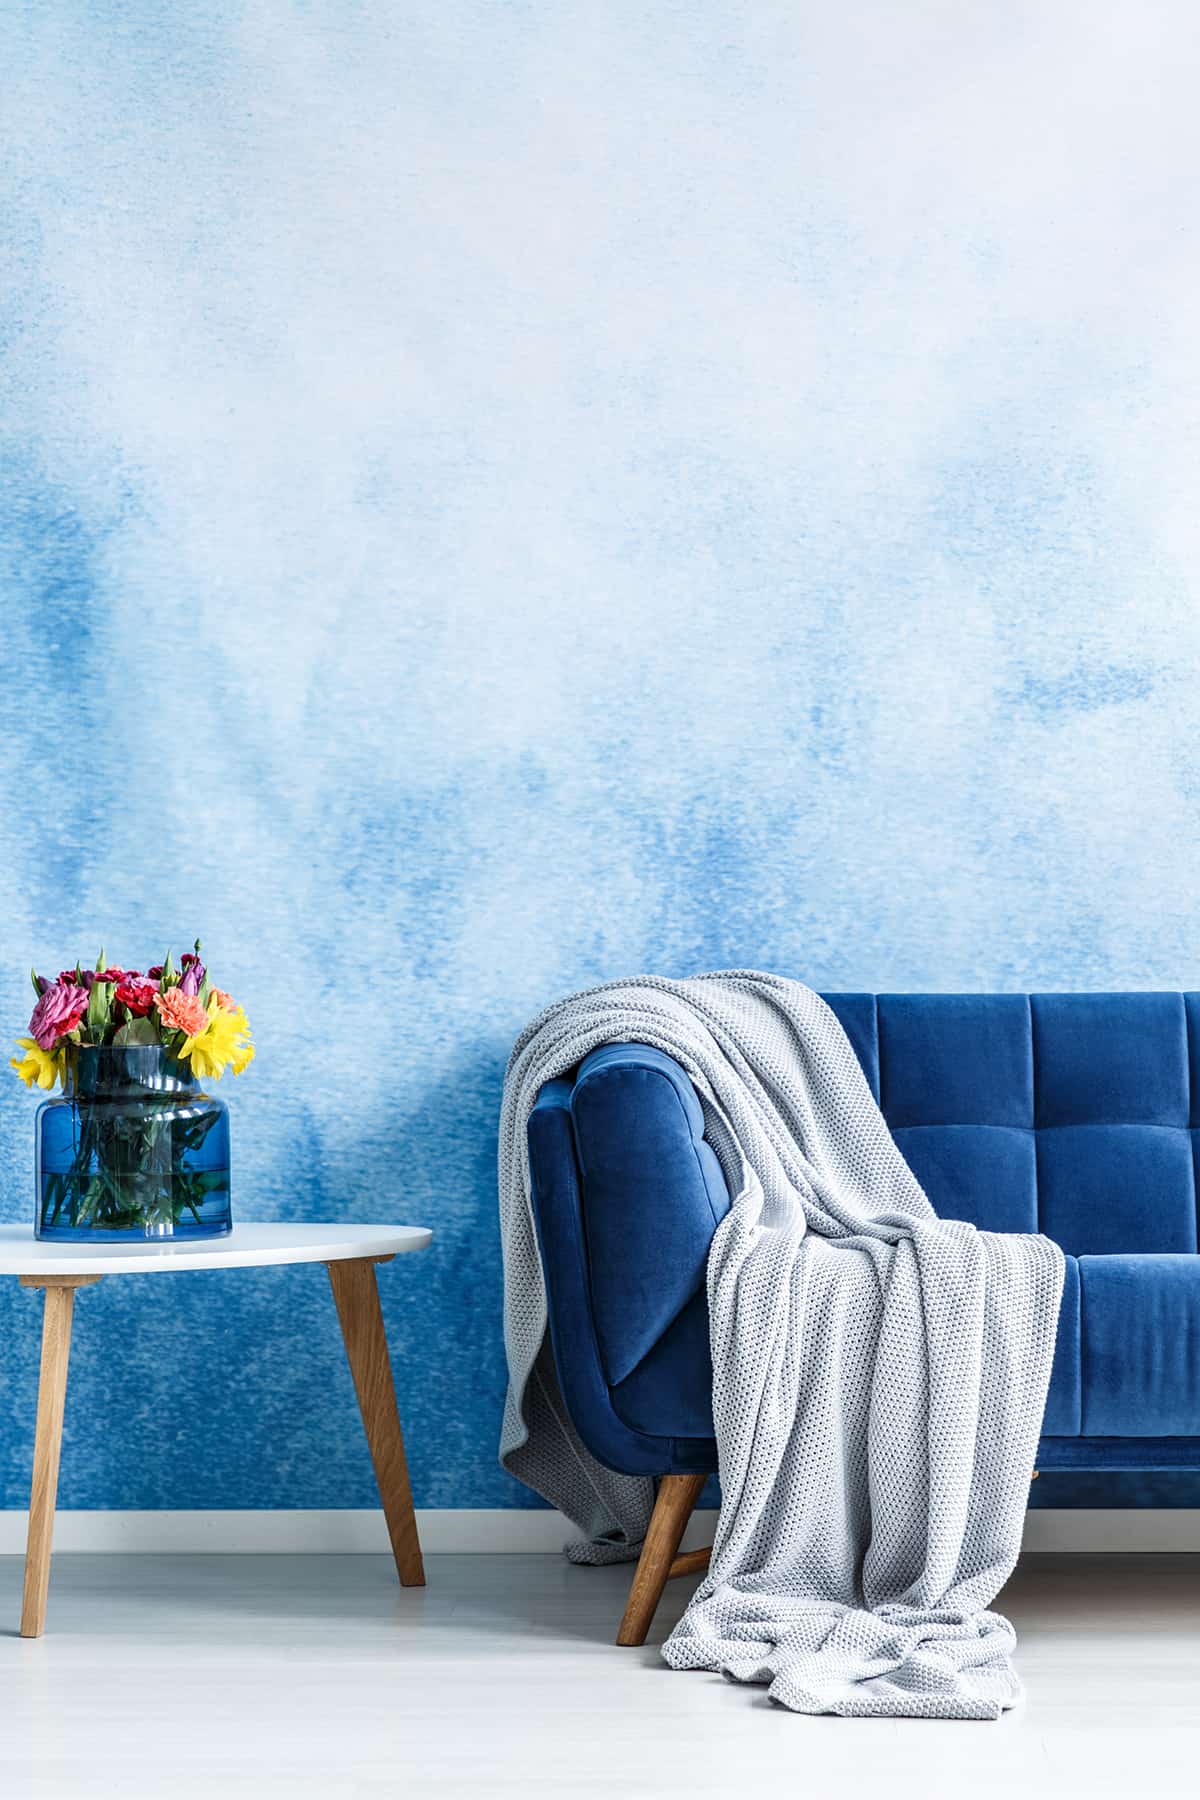
A blended ombre paint wall is going to see each color of paint gradually blend into the next shade. This will create a look that is similar to a sunset, with a dark or bright color at one end of the wall gradually transitioning into a light color at the opposite end of the wall.
Solid Ombre
A solid ombre paint wall will have a distinct line between each shade of paint, where one shade ends, and the next begins. This will be achieved using the decorator’s tape to get a sharp line. It creates a bold look that will feel more abrupt and modern compared with the subtle look of the blended ombre.
How to Paint a Fading Color Wall
Things You Need
When observing the finished article of fading color walls which have been created by other people, you might imagine that you’re going to need to buy a number of different colors of paint, but actually, this is not necessary.
All you will need in terms of paint color is your darkest paint shade and a tub of white paint. Other equipment you are going to need will be a paintbrush or roller, decorator’s tape, a spirit level, a pencil, primer, dust sheets, a measuring tape, several empty tubs, and some stir sticks.
Pre-Fading Step
Preparation is key with any paint project. Remove any screws or nails in your wall, then fill and sand them for a flawless end look. Use a damp cloth to wipe down the wall and allow it to dry. If you are going to be painting just one wall as a feature wall, then you’ll want to apply decorator’s tape down each vertical edge of the wall so that paint doesn’t run onto the adjoining walls.
Apply a primer to the entirety of your wall and allow it to dry. If the original color of the wall was dark or bright, you might need to apply a second layer of primer and allow it to dry before beginning the task of fading your paint.
Choose the Fading Shades & Direction
Decide which direction you want your fade to appear. For example, your fade could start with a dark color at the bottom of the wall, gradually fading through to a light color at the top, or you might want to fade from the left side of the wall to the right side.
You’ll also need to decide how many different shades of fade you want to include. The more shades you use, the more natural the fade will look, but the more work it will be.
Set up the Paints
Prepare your paints. Open your dark color, and pour it equally among your empty tubs. The number of empty tubs you start with should correspond to how many fade colors you want to include. For example, if you are going to start with your dark color and then add six fading shades, then you’ll want to distribute your dark paint color amongst a further 6 empty tubs, remembering to leave some in the original tub to start off the wall fade.
Always make up more paint of each shade than you think you will need because if you run out of a certain color while painting, it will be very difficult to mix up another batch of the exact same shade. Alternatively, you can buy separate shades of paint from the hardware store instead of mixing your own paint colors.
Next up, add varying amounts of white paint to the tubs you added the dark color to. In the first tub, add just a touch of white paint so that it is only a little lighter than your original color. In the second tub, increase the amount of white paint. Continue this until you reach your last tub, when you should be adding a significant amount of white paint to achieve your lightest color.
Use a different paint stirrer for each tub, and stir them until they are thoroughly mixed. You can alter the amount of white you add to each tub until you are happy with each color. As you look at the tubs, the colors should look like a gradually fading paint swatch strip.
Measuring the Wall Fading Direction
Now, you need to measure your wall in the direction your fade is going to be, so if you are fading from top to bottom, then measure the wall from top to bottom. Divide this measurement by the number of paint colors you have. For example, if your wall measures 7 feet and you have 7 paint colors, then this will mean one foot of wall for each paint color.
Using the tape measure, move along the wall marking out the measurements with a pencil, then use a spirit level to join up your marks to make straight, level lines across the wall. If you are allowing one foot of space for each paint color, you should end up with a wall that is separated into 7 rows with the pencil lines.
Decide Your Designed Type of Look
At this point, the type of look you want to create will affect how you proceed. If you are going for a solid ombre look, then you will need to apply decorator’s tape along each pencil line, or for a blended look, you won’t need to follow this step.
If you are creating a solid ombre, then you can use a roller tray and paint roller or a paintbrush to achieve your look. For a blended look, you will need to use a paintbrush because a roller won’t allow you to blend as effectively. Choose your darkest color and start applying this to the wall in the correct segment you have marked out (usually either the top or the bottom of the wall).
Next, move on to your next color, which should be the next darkest shade. For a blended look, paint the whole next segment, and then use your paintbrush to mix the two shades together on the wall, blurring the line between each section. Move on to the next darkest shade, and continue the process until you reach your final color and have painted every section of the wall.
If you want a blended look, your job is now complete; however, for the solid ombre, you’ll need to remove your decorator’s tape and then use a fine paintbrush and your various shades of paint to carefully fill in the parts of the wall that were behind the painter’s tape. Use a steady hand to ensure the colors don’t run into each other’s sections to maintain the bold, defined separation lines.
Usually for a small room of 12′ x 12′ feet room with a standard ceiling height of 8 feet, it’ll take you around 5 – 8 hours to paint the entire room.
Lastly, after all of your hard works are done, stand back and admire your masterpiece!