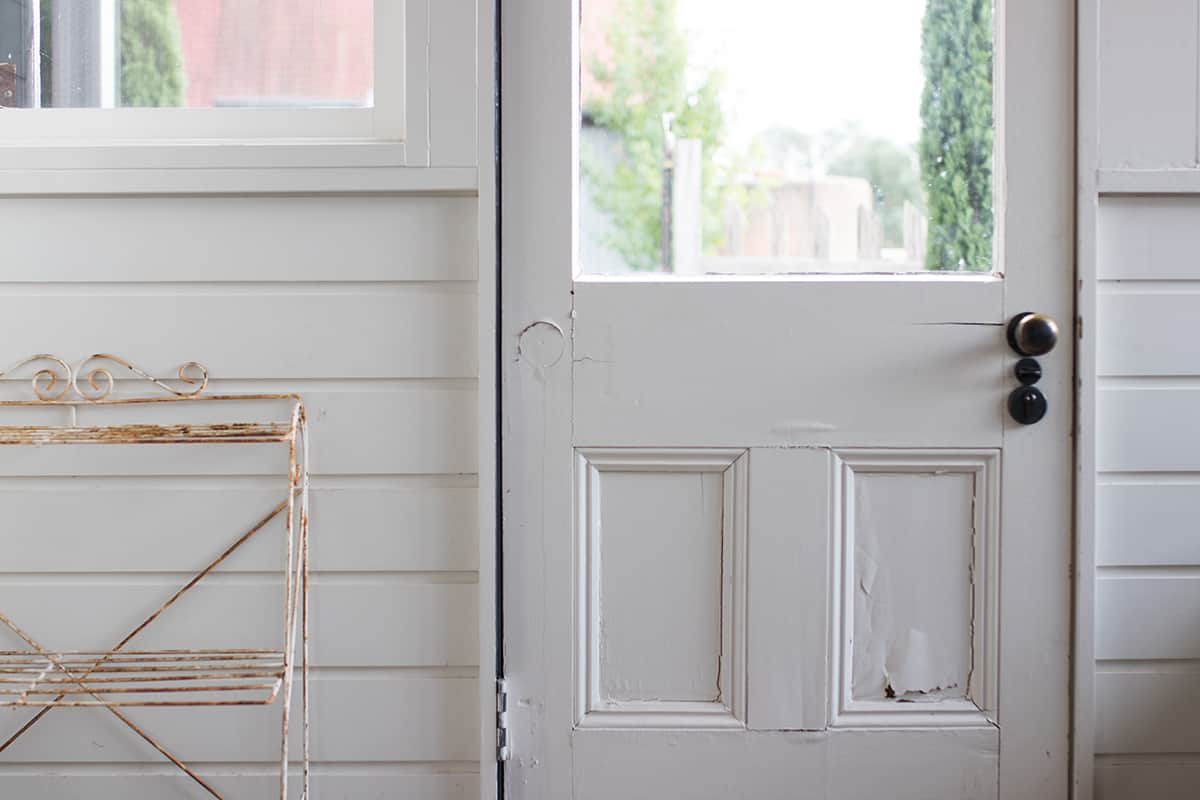
A cracked door, whether it be an interior or exterior door, is a problem for a number of reasons. Serious cracks can weaken the structural integrity of the door, while more minor cracks can lower the energy efficiency of the home, as well as look unattractive.
Fortunately, you can fix a door at home quite easily, but the method you use is going to depend on the type of crack you have in the door. Here we look at two different types of cracks and how you should respond to them.
Table of Contents
Hairline Cracks

Hairline cracks are small cracks in doors that appear over time, usually as a result of the changing temperature and humidity, which can cause the wood to contract and expand. If the wood doesn’t have adequate space to expand and contract, for example, if the panels on the door are too tightly packed together, then small cracks can form.
These types of cracks are usually very minor, and you might be tempted to leave them if the look of the crack doesn’t bother you too much; however, this would be a mistake. Hairline cracks will develop into deeper, more troublesome cracks as time passes, and these will be more difficult to fix.
It is always best to fix a hairline crack in a door as soon as you notice it because this will be much easier than trying to remedy a severely cracked door or, in the worst case, replacing the entire door.
How To Fix A Hairline Crack
To fix a hairline crack in a door, you will need a putty knife, sandpaper, and either putty or wood filler. Putty is a good option if you don’t plan to stain or paint your door, but it won’t dry hard and therefore cannot be sanded, so only choose this option if you will be leaving the door in its natural finish. Wood filler is a better long-term option since it dries hard to fill the cracks and will give a more seamless finish.
Opt for a high-quality filler for the best results. Using a putty knife, apply wood filler over all cracks on a door, firmly pushing it towards the door as you scrape the knife along to ensure the filler seeps into the cracks.
Apply more filler than you need since you can always scrape some away. Don’t worry about getting a smooth finish because this will be addressed with sandpaper once the filler has dried.
After you have finished applying filler, it will need time to dry and set before it can be sanded. Refer to the guidance on the packaging of the filler. Generally, you can expect that a higher quality filler will have a shorter drying time, so if you are impatient to get the job finished, then buying a more expensive filler will pay off in the time it can save you.
Once the filler has fully dried, you can sand it with medium-grit sandpaper until it is smooth, and you can no longer see the cracks or feel them when you run a finger over them. Use short, slow strokes with the sandpaper so as not to disturb the filler too much and cause it to flake out of the cracks.
The filler will need to be thoroughly dried in order to be sanded; otherwise, it can crumble, and you will have to start over. After sanding the wood filler, the door is ready to be stained or painted, and your project is complete.
Deep Cracks

If the cracks in your door have reached a point where they are more than just a shallow crack on the surface of the door, then these would be considered deep cracks. While you can attempt to fill deep cracks in a door the same way as you would hairline cracks, the results typically won’t be as good or long-lasting.
The structural integrity of the door may be compromised, and filler isn’t the best solution for remedying this. Deep cracks often start out as hairline cracks but become more severe over time when they are not properly dealt with.
Deep cracks can also appear due to trauma to the door. For example, if it gets repeatedly slammed, or if somebody kicks the door, then a wooden panel can split vertically under the pressure.
How to Fix a Deep Crack
To repair a deep crack in a wooden door, you will need a few different tools and pieces of material. This includes a chisel, a power sander with sanding discs, a putty knife, wood glue, a dremel tool with cut-off wheel, a wood spline, and some filler or putty.
To start off, use the dremel tool to clean up the crack in the door, opening up the crack so that it is the same width as your wood spline. This will also neaten up the crack to make it easier to insert the wood spline later. Use your sanding tool to smooth over the crack so that any loose splinters are removed.
Once the crack has been prepped, measure the spline to ensure it is going to be a good fit, both in width and length. Now liberally apply wood glue into the crack, ensuring as much as possible seeps deep into the crack.
Now insert the spline as far into the crack as it will go, and clamp the door tightly from either side while the wood glue dries and secures the spline into place. If some of the spline is protruding from the surface of the door, this does not matter since you can work on this later. Right now, the task is to fill the crack and repair the structural integrity of the door.
Once the glue has dried, leave the clamp in place and chisel away any of the spline that is protruding outwards. This doesn’t need to be perfect because you will also sand down the front of the door, but the more of the spline you can remove with the chisel will make your sanding job easier.
After the chisel work, use the power sander to smooth out the front of the door so that the spline is level with the rest of the door surface. At this point, it will probably be evident that a few small cracks or gaps remain since getting a spline to perfectly fit the crack in the door is almost impossible. These gaps can be filled with putty or wood filler using a putty knife.
Apply the putty or filler to the smaller remaining gaps or holes, ensuring they are completely filled. If the crack went all the way through the door, then you will also need to flip the door over and repeat the process on the other side of the door panel, chiseling down the spline, sanding it, and then filling any remaining gaps.
Once the filler has dried, you can sand it all down to give a smooth and even finish. In some cases, you might find that some gaps are still present after your final sanding, and this will mean you just have to fill them again, wait out the drying time, and sand the door back.
Once this is complete and you have a smooth, filled door, then you can prime it and paint it. Using a spline to fix a cracked door is the best way to ensure the strength and future longevity of doors with severe cracks. If you do it properly, the door should last for many decades to come.
Problems with Cracked Doors
If you have a cracked door in your home, then it isn’t just an aesthetic issue but also a practical issue. Understanding this can help you see the urgency regarding fixing a cracked door.
Weakens the integrity

If an external door on your property has a crack, then this needs fixing immediately because it can make it much easier for intruders to break into your home.
If potential intruders spot a front door with a crack in it, then they may consider this an easy target. A cracked door lacks structural integrity, so this door could easily be kicked to give intruders access to your home.
Lower energy efficiency
When a crack in a door is deep enough that it goes right through to the other side, then it is going to let cool air seep through to the next room.
If your exterior door is cracked, then this could even create water damage as moisture from snow or rain could get into your home. For internal doors, cool air will be able to spread through the home more easily, so you will need to have heating on at a higher setting to combat the temperature drop.
Won’t block noise

You’d be surprised at how much a small crack in a door can facilitate the spreading of sound. A cracked door can mean you become more aware of passing traffic or birds singing in the morning, which could disturb sleep.