Drilling through new or old tiles can be nerve-wracking as most are prone to cracking if they’re drilled incorrectly. Porcelain and ceramic tiles are the most popular as they boast better durability compared to many other types of tiles. However, the process of drilling through these tiles can be just as complicated. It takes patience and a certain technique to accomplish this task.
If you want to know how to drill through tile correctly, here is our step-by-step guide on the correct procedure.
Table of Contents
6 Steps for Drilling Through a Porcelain or Ceramic Tile
Tools you’ll need:
- A battery powered drill as you’ll be working in a wet area
- Drill bit
- Sponge
- Measuring tape
- Masking tape
- Marker or pencil
- Vacuum cleaner
Step 1: Know Your Tile
One of the first steps you need to take in learning how to drill through tile is to know what type of tile you’re working with. The characteristics of the material you’ll be drilling through will determine the size of the task at hand.
For instance, porcelain tiles are tougher to bore through than ceramic as they are highly dense and as a result will require more preparation. To accomplish this task, you’ll need a specialized drill bit that can penetrate through the tough surface of the porcelain tile. The same principle goes for stone tiles that require stronger drill bit.
Once you know your tile material, you can then decide on the best drill bit.
Step 2: Get the Right Drill Bit
No matter which tile material you’re going to bore through, it’s never wise to use an old drill bit. Worn out drill bits aren’t as efficient as new ones and the chances of damaging the tile will be much higher. You can buy new drill bits from your local hardware store. Otherwise, your drill won’t be performing optimally for this purpose.
Another useful advice is not to buy a regular drill bit for drilling through your tile. Regular drill bits aren’t strong enough to penetrate the hard surface of the porcelain or ceramic tile. Opt for carbide tipped masonry drill bit or diamond-tipped ones. The first option is more expensive but it is incredibly durable and can bore through the toughest tiles. What’s more, carbide tipped drill bits won’t burn out as quickly as other types of drill bits so you can use them again.
Step 3: Measure the Area
Anyone who has ever tried to drill through any type of tile will know that the drill bits tend to slip around on the tile’s surface, making it tricky to hold them in place. One wrong move and you can end up cracking the tile or at the very least scratch its surface.
One easy trick you can use is to create some tension over the area using masking tape. Do this by measuring the area that requires drilling, mark it with an X before placing the masking tape on it. After placing the masking tape on the marked area, measure it again so that you don’t misplace the hole. This technique will provide you with enough surface traction for the drill bit during the drilling process.
If you want to drill more than one hole on the tile, then you will need to use the same technique for all the other holes. Alternatively, use a block of wood to create a template and make sure it’s the same size as the drill bit. Simply cut a hole through the wood by placing it firmly over the drill hole.
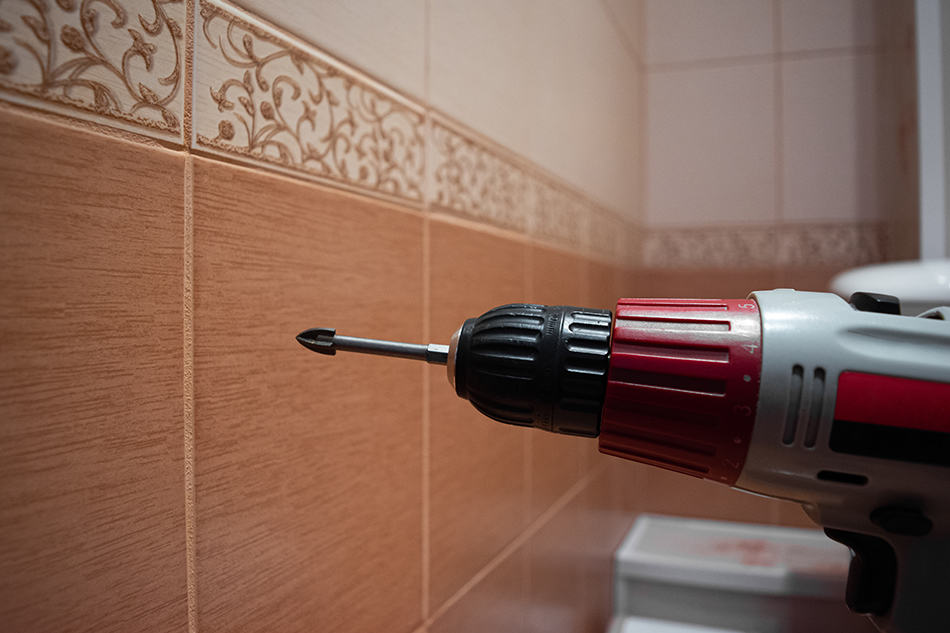
Step 4: Start Drilling the Tile
We’ve now come to the fun part where you will learn exactly how to drill through tile. After marking the surface of the tile, it’s time to bore a hole. Keep in mind that the task requires a lot of patience as the procedure starts at low speed and in a slow manner.
Penetrating the hard surface of a tile takes a while so you must never rush it by going full speed. You may end up overheating the drill bit and cause vibrations over the tile surface.
The best trick is to apply even and gentle pressure. Otherwise, you’ll break or crack the tile instead of drilling into it.
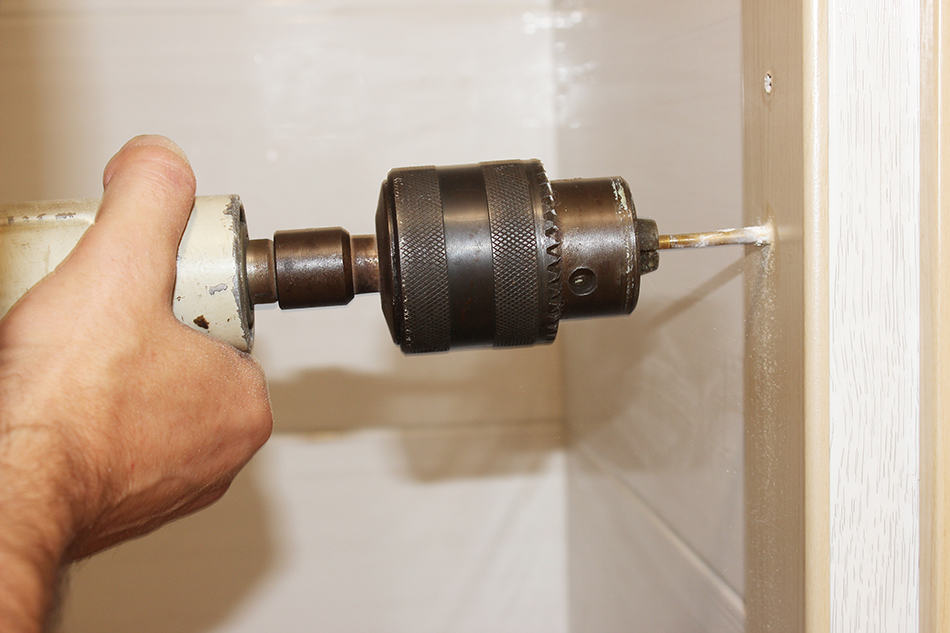
Step 5: Change the Drill Bit After Hitting the Wall
So you’ve successfully cut through the porcelain or ceramic tile and your drill has hit the wall surface. This is a good sign as you’re almost there! All is left to do is to bore through the wall before mounting the item on the tiled wall.
Since you’ve been drilling slowly into the tile, your drill will have safely reached the wall surface without coming loose. You may now change the drill bit to a regular one if you wish. The main pointer to remember is to drill slowly and steadily for even results.
Step 6: Clean the Drilled Hole
The last step is the cleaning of the drilled hole. Grab your vacuum cleaner and get all the debris out of the drilled hole. This hole should be as clean as possible so that whatever you wish to fix to the wall will not slide out because of the debris. After vacuuming the hole, use a wet sponge to wipe away any dust residue.
Tile Drilling Tips
– Carbide-tipped drill bits are more hard-wearing than other types of bits as they cope better with higher temperatures. When these drill bits get hot, they don’t stop functioning. Just cool them down before each use.
– If you don’t want to use a block of wood as a drilling template, consider a drill guide. This template has a suction cup that can easily attach to the tile and help you determine where the drill bit goes. These template guides are normally made of plastic and cost more than a block of wood.
– To ensure your hole isn’t too deep, cover the drill bit with some masking tape so you’ll know when you’ve reached the required depth.
If you’d like to see a demonstration of how to drill a hole through tiles, watch this video