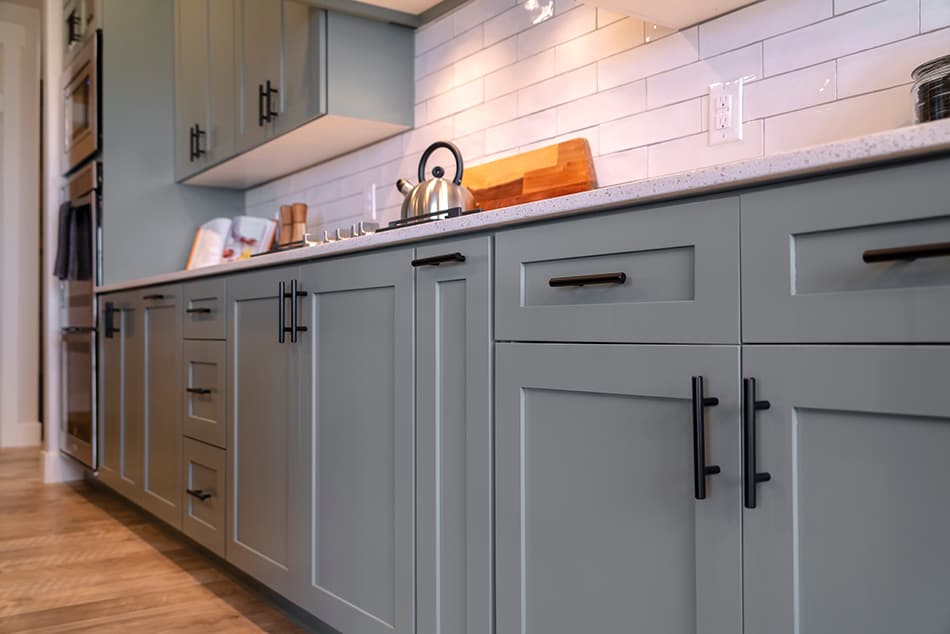
Kitchen cabinets are one of the first things you’ll notice when you step into any kitchen. It not only serves as a storage for food, spices, and dishes, but it can also set the tone for the style and theme of a kitchen.
But like in any other part or component of the house, kitchen cabinets won’t look good forever. It doesn’t help that the kitchen is one of the busiest rooms in the house. It’s natural, too, for wood to fade. Smudge marks are inevitable over time. Eventually, kitchen cabinets would have ugly dings and dents. It would have worn spots, too.
This leads you to the question: “how to fix worn spots on kitchen cabinets?”
Before you fix worn spots on your kitchen cabinet, it’s important to conduct a visual inspection first. Look at the cabinet inside and out. Look for signs of dents, chips, peeling, and water stains, among other kinds of cosmetic problems.
While you’re at it, clean your cabinet with a damp cloth. You may also apply a wood cleaning solution to clean off grime and grit. This would also help you bring to light the various imperfections of your kitchen cabinet.
Find below the detailed instructions.
Table of Contents
Touching Up Stained Wood
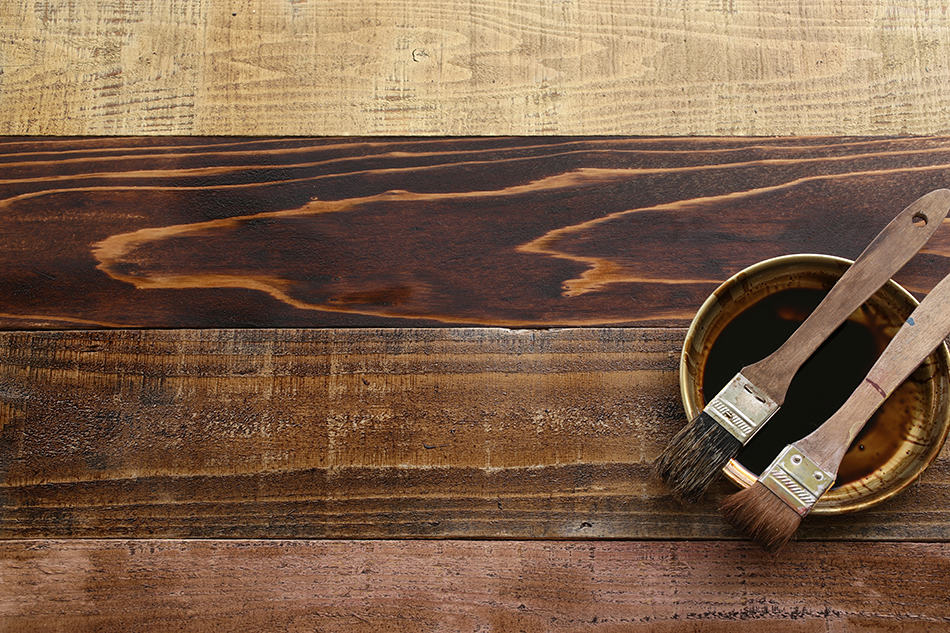
Stains on a wooden cabinet are an eyesore. You might be tempted to opt for an upgrade to kitchen cabinetry. But instead of spending hundreds of dollars, why don’t you touch up stained wood?
The good news is that, for a wood kitchen cabinet, it is quite a simple task, even for a novice DIYer. You can buy a colored wood marker from your neighborhood hardware store. It’s like a pen that you can apply on the cabinet surface to hide simple scratches and nicks. Of course, the wood marker or pen should match the tone and shade of the kitchen cabinet. In case the scratch is big, you can combine different shades of wood markers to make it less visible.
You may also add a layer of protection when using wood markers to hide obvious dings and scratches. Apply mineral oil or lubricant on the wood’s surface. This should add a layer of protection against water stains and moisturize the wood’s surface. In turn, the surface would prevent dust and debris from settling into the wooden surface.
Let the mineral oil or lubricant dry completely before proceeding to touch up the wood. Take the wood marker/pen and shake well. Remove the cap and run its tip over the scratch or nick.
Depending on the severity of the defect, you may need to apply several light coats to completely hide the damage. If there’s an excess coat, you can remove it by lightly applying mineral spirits on a clean and dry cloth. Make sure to cap the pen after use to prevent its tip from drying out.
As you can see, touching up a wooden cabinet is a simple task for hiding scratches and dings. But if the finish is coming off, then a touch-up may no longer be enough. Instead, you may need to give the cabinet a thorough restoration involving sanding and sealing.
Removing Excess Dried Stains on Kitchen Cabinets
Excess dried stains can come from numerous sources like water and food. These stains can affect the good looks of your kitchen cabinets. In the long run, it can also impact the integrity of the cabinet.
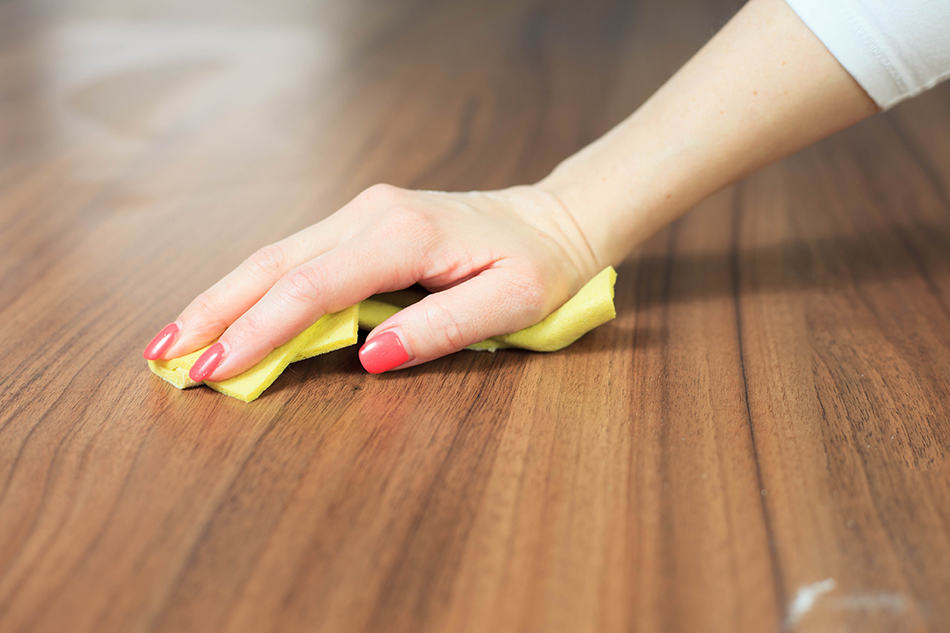
How do you remove excess stains? Prepare common household items like a cleaning pad. You may also use a rag or a sponge in place of it. Damp the cleaning tool with water and scrub it against the greasy part or surface of the cabinet.
If the excess stains are stubborn or difficult to remove, you can formulate your cleaning solution. Mix equal parts of white vinegar and water in a pan. Then dampen the cleaning pad or rag with it. You can now use the cleaning tool in scrubbing the excess and stubborn stains on the kitchen cabinet. However, don’t put too much of the solution into the kitchen cabinet’s surface. Too much moisture can damage its impact or finish.
Another eco-friendly alternative to the diluted vinegar solution is baking soda. Mix one part baking soda with two parts water, then dab it on the dirty spots. Let the paste stay for a few minutes before wiping it away with a clean cloth.
If those methods prove to be ineffective, you may also use a lacquer thinner to remove stains from a wooden cabinet. Brush the thinner with a paintbrush, then wipe it off immediately on the stain. The problem with this method, however, is that there’s a risk that you might lighten the color or tone of the wooden cabinet.
Filling Holes in Cabinets
Sometimes, the good looks of a kitchen cabinet are ruined not by stains but by small holes. Don’t worry, as you can patch these holes yourselves even without the help of a professional.
The first step in patching small holes in kitchen cabinets is to take a photo of the cabinet. Bring this to the hardware store so that you can find the wax crayon that exactly matches the shade of the wood. Once you’ve identified and bought the appropriate wax crayon, you can start with your little DIY project.
Take a soft cloth and spray it with an all-purpose cleaner. Use this in wiping down the hole. Let it dry. Take the wax crayon and push its tip into the hole. Rub it against the sides of the hole to fill the latter until it is leveled. Do the same on the other side of the hole.
However, you might have to replace the entire section of the cabinet if you’re dealing with larger holes. This is a task that may need professional help.
Fixing the Finish around the Knob
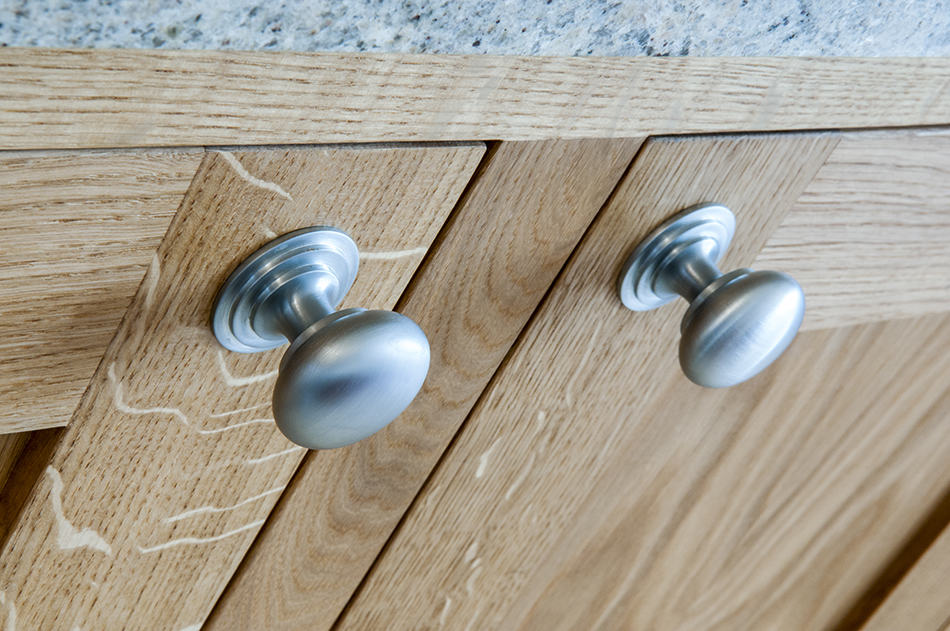
It’s also possible that there are worn areas around the knob of the kitchen cabinet, making the latter look old and ugly. You may consider tripping the old finish of the cabinet, but it’s not only difficult for a DIYer but also quite messy. A more practical, cost-effective, and easy solution is to restore the finish around the knob so that it would match the aged color of the cabinet.
You’ll need, however, to pick up stain markers usually sold at paint stores and home improvement centers. For bigger worn areas, you’ll need to rub a little stain using a soft cloth.
As you may have figured out, you’ll need to select a stain that best matches the color of your kitchen cabinet. You may take a picture of the cabinet to the store. Alternatively, you may dismantle the door and bring it to the store.
When you get back home, try the effect by sanding down a small portion of the worn-out spot. Dab stain onto a cloth before rubbing the color into the bare wood. You may apply a second coat if you think it’s necessary.
Once you’ve decided on the color match, you can determine if you can get away with touching up the worn areas or you need to retouch the bigger portion of the cabinet. To do this, select a door that’s not too prominent. Take it down, remove its knob, and wash the surface in warm water mixed with detergent. This would remove the greasy smears quite common on kitchen surfaces. Wipe off the residue and let the surface dry. Lightly sand the worn area, wipe off the sanding dust then proceed in applying the stain. You can apply a clear finish over the sanded area once the stain dries. If the patch looks good to you, then simply repeat the steps on the other doors.
But what if the effect is not? Don’t give up, as you can proceed to retouch a bigger portion of the cabinet. But you won’t have to do it on the exterior part of the cabinet door. Instead, you can do so on the wooden surface behind the knob. Use medium-grit sandpaper first before going on to finer grits. Stain the cabinet after wiping off the sanding dust. Once it’s dry, apply water-based polyurethane. Let it dry again before adding a second coat.
When the second coat has dried up, compare the surface with the exterior of the cabinet. You’d want to determine if the finish is as shiny as the finish on the exterior of the kitchen cabinet. If you’re satisfied with how the back part of the cabinet door turned out, then proceed to repeat the steps, this time on the front of the door.
Conclusion
As you’ve realized after reading this article, it’s relatively easy to fix worn spots on kitchen cabinets.
As they say, prevention is better than cure. If you don’t want worn spots to develop on your kitchen cabinet, then make it a habit to routinely clean them. Wipe off surfaces with a dampened cloth and diluted vinegar. You may also apply a layer of protective sealant that would prevent cracking and peeling of the kitchen cabinet surface.