Be it with your patio furniture, some of your utensils, or your lawnmower, chances are that you have several items that are plastic.
Plastic, while convenient to clean and also incredibly affordable, can get scratched over time or have its color get dull from being overly used, exposed to the sun, or basic wear and tear from having an item for a long time.
The question then is, how do you polish your favorite plastic item that you can’t discard? Plastic, just like other materials like metal, can be polished and restored to its former pristine state.
Table of Contents
Prepping
Before we get into the depths of items needed to polish your plastic, let’s prep the area and then gauge the damage done. For mild scratches, you’ll not need heavy-duty chemicals, tools, or manpower. A little toothpaste and baking soda will do the trick.
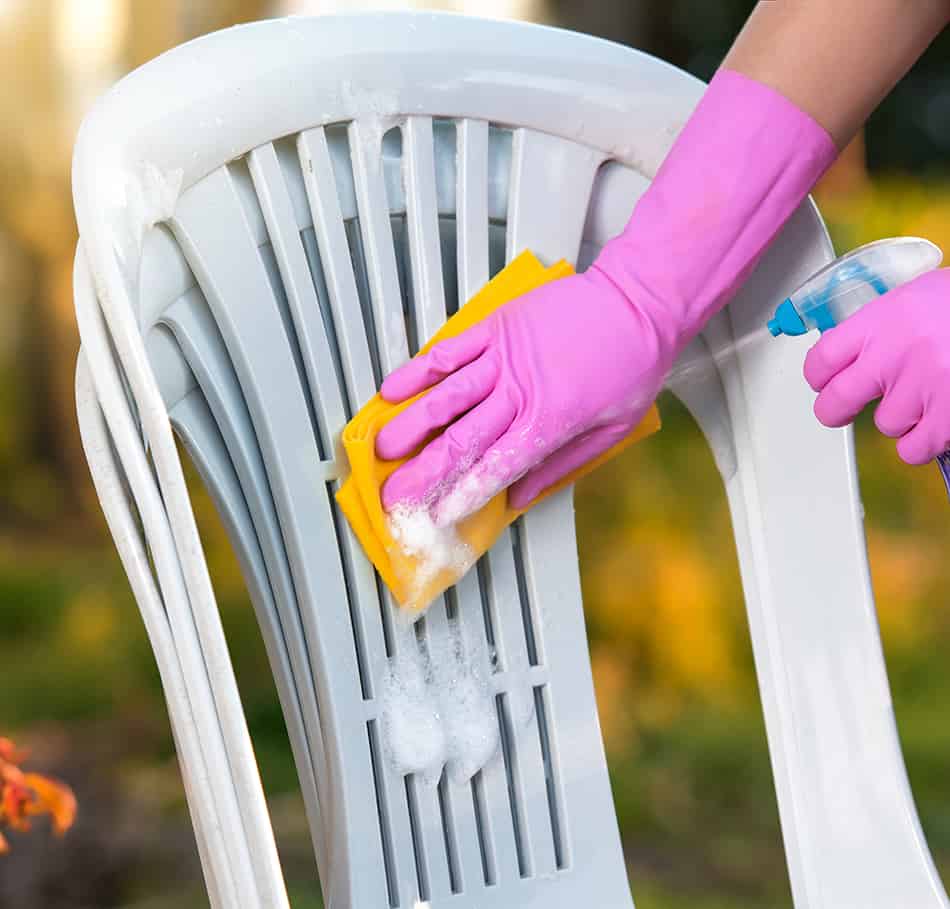
Whatever plastic you’re polishing, the first step should be to clean it and wipe it clean to remove any dirt and debris. Use any soap or detergent with water and wash down the item.
If it’s a sensitive surface like your car headlights, then opt for car soap that is specifically designed for it. After washing, dry the area thoroughly and then properly check for the scratches and level of discoloration of your plastic.
What You’ll Need
The following items are on a scale of minor destruction on plastic to considerable damage like deep scratches.
Toothpaste
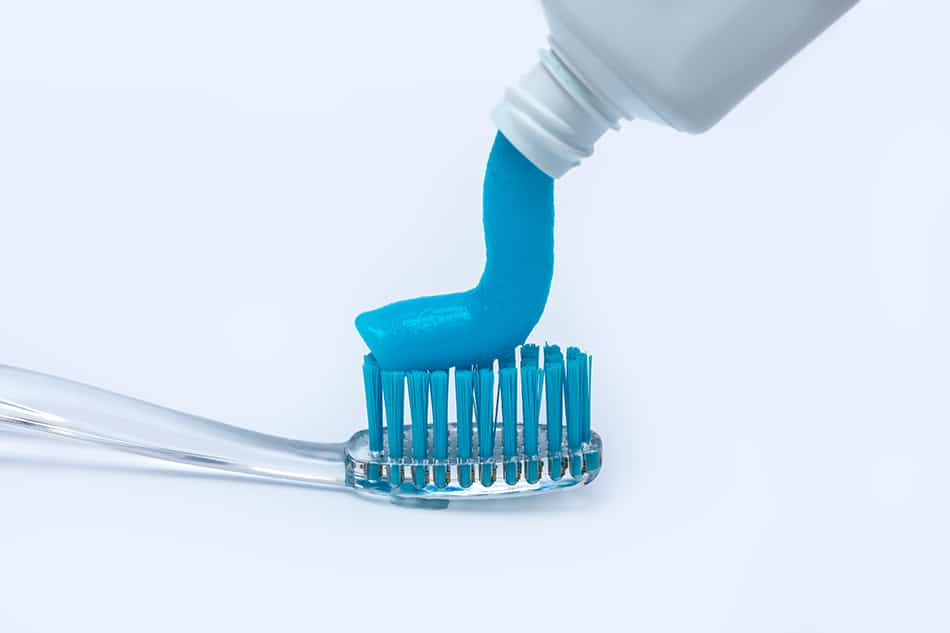
Not exactly what you were expecting to see; however, toothpaste contains minerals that are abrasive enough to remove minor scratches on plastic. If you have one that is gel-infused and also contains baking soda, then the better.
Simply apply a small portion to a cotton cloth and rub against the plastic in circular motions. Do this for a while until you see the marks disappear. Rinse and wipe with water and a clean cloth. If marks are still evident, then repeat the process till you see your desired results.
Baking soda
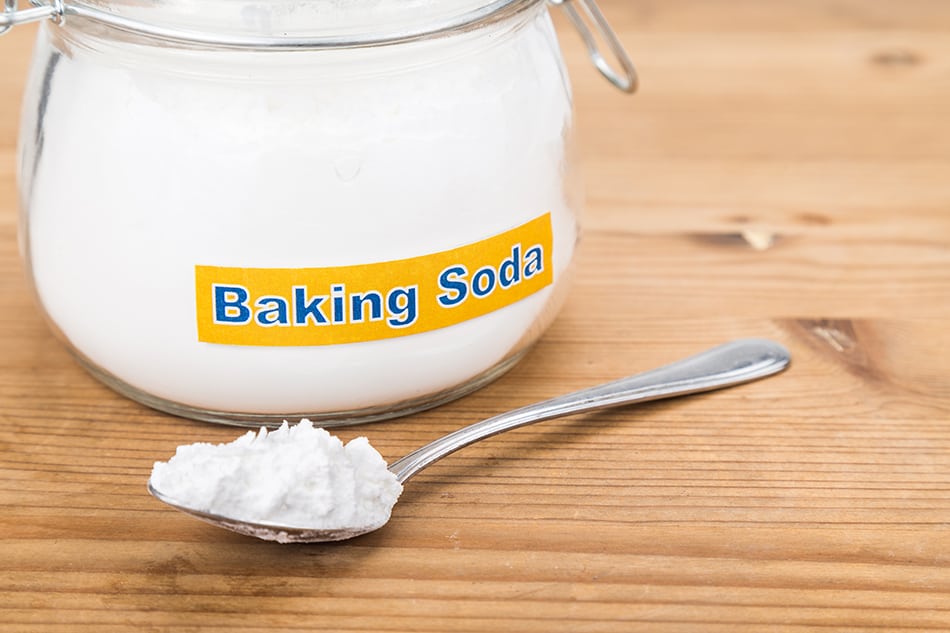
Baking soda might be the holy grail for baked goods like muffins and cookies, but this solvent is a great eco-friendly cleaning item to have. It’s used to clean the grout of tiles, sinks, and toilets; now add plastic to that list.
Mix a solution to your liking, perhaps one or two tablespoons, with enough water to make a thick paste. Use a cloth or even an old toothbrush to apply the solution to the plastic and clean in circular motions. This can be done several times to acquire the desired effect results and then rinsed and buffed with a lint-free towel.
Sandpaper
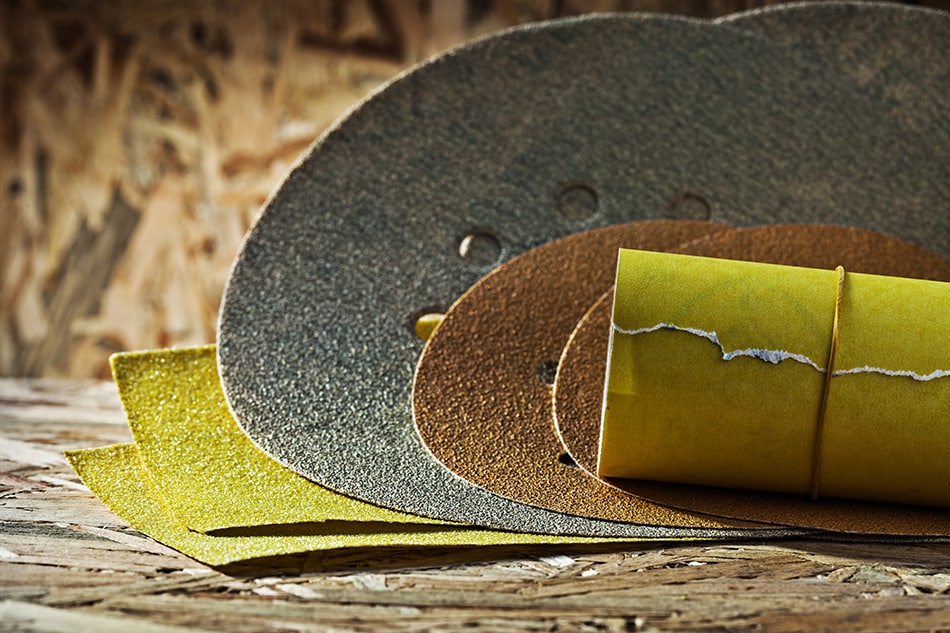
Sanding is a lot more aggressive than the options detailed above; therefore, it should only be used for highly damaged plastic that also covers a larger surface area. The trick is to, first of all, soak the sandpaper in water for about 10 -20 minutes and then also start small with a lower grit paper of about 220 grit and work your way up to 800 as you finish up.
Mark off the area and ensure not to sand perfectly fine plastic because this will damage it as well. Sand the area while making circular motions and wipe it with a cotton cloth after. Repeat this several times until you get the desired outcome.
Metal polish
You may opt to do this as a beginning remedy altogether like the options listed above or use it as an after remedy once the baking soda, toothpaste, and the like have gone first. You might notice that the plastic lost its luster while cleaning and looks a little grim.
Apply this liquid polish to a cloth and buff the area in circular motions. You may need to do this for 20 minutes or more and in intervals for the solution to work its magic.
Heat gun
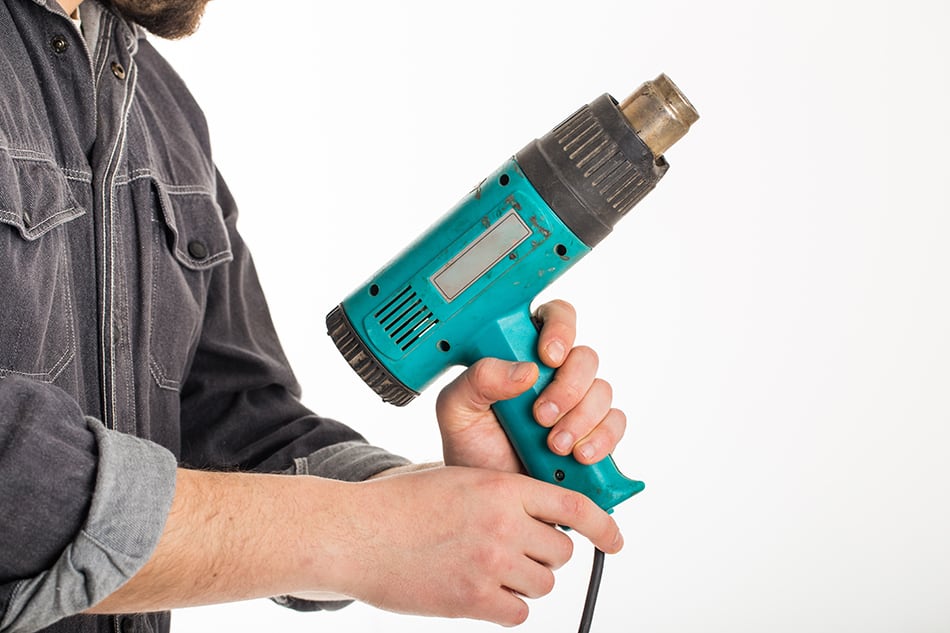
No worries, this isn’t a fire hazard waiting to happen, nor a case of plastic being melted. Once you do this well, it can offer perfect results, especially if all the options above have bared no fruit. What you’re looking to accomplish here is to burn off the affected area that will present the newer and smoother layer of the plastic without melting it.
There’s a delicate balance here that perhaps a professional would be best suited to handle. How do you know you’re getting the job done?
Once it looks like a bead of water is running across the plastic, almost to the point of melting but not going all the way. Make sure the area around you when doing this is non-flammable, but as you can see, this isn’t an ordinary DIY method.
Polishing machine
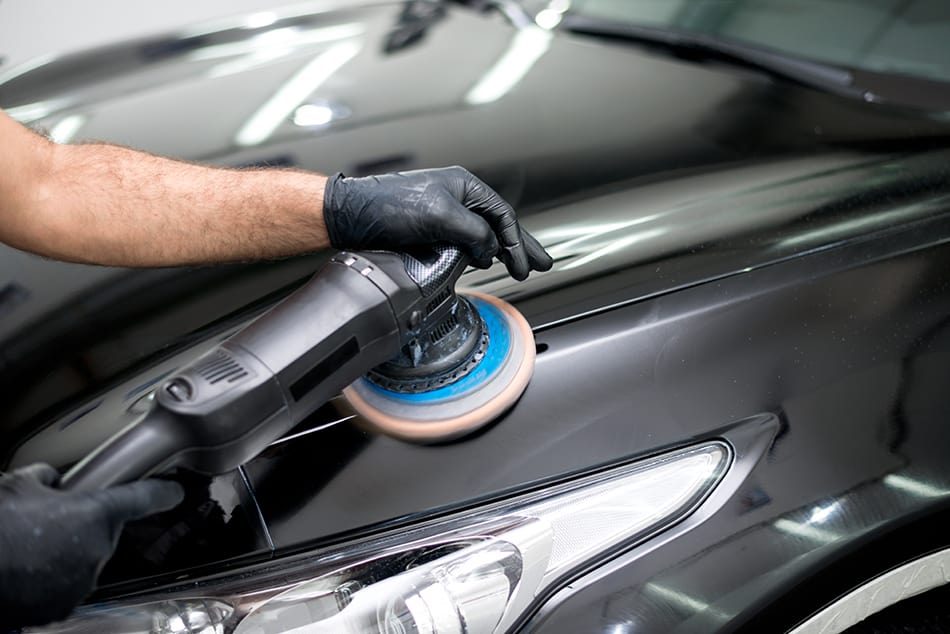
You may kick manual methods out of the way and head straight to a polishing machine that promises optimal results. Also called a buffing machine, this device is often used on soft metals like copper and brass, aside from plastic.
Have a soft woolen disk attached to the machine and start at a low speed. Apply any polishing cream or oil you got from your local shop onto the plastic and go over with minimal pressure, allowing the machine to smoothen and shine the area. You can keep amping up the speed for every try to ensure that you are getting in on all those scratches and absolving them completely.
Maintenance of Plastic
As they say, prevention is better than cure. Let’s look at ways you can prevent your plastic from reaching a deterioration level. You can make headway by preserving your plastics and keeping them in pristine condition. Here’s how;
Keep plastic away from direct sunshine
Plastic and UV rays don’t work at all. When plastics absorb UV energy, this leads to discoloration and weakening of the plastic. Certain plastics come with coatings that eliminate this problem, but you can never be too sure.
However, make it a point to look out for UV-resistant plastics when shopping for any home items. The best-case scenario here is to keep your plastics away from direct sunlight or buy chair covers for your patio. You may keep your patio furniture under a mini gazebo, or if they are foldable, keep them away in the shade and use them only when needed.
Clean plastic regularly
If your patio furniture is used quite frequently, then endeavor to clean those chairs and tables when they are used to immediately wash away any stains, or debris that may have accumulated. Therefore if there are coffee or wine spills on the table, don’t let them dry up because the chemicals in these drinks weaken the plastic.
Plus, it’s just hygienic to always wipe down any stains from food or liquid immediately to avoid flies and bugs. To ensure that you are correctly and efficiently cleaning your plastic like you’re supposed to, we have rounded up two basic cleaning techniques assured to keep your plastics spick and span.
White Vinegar
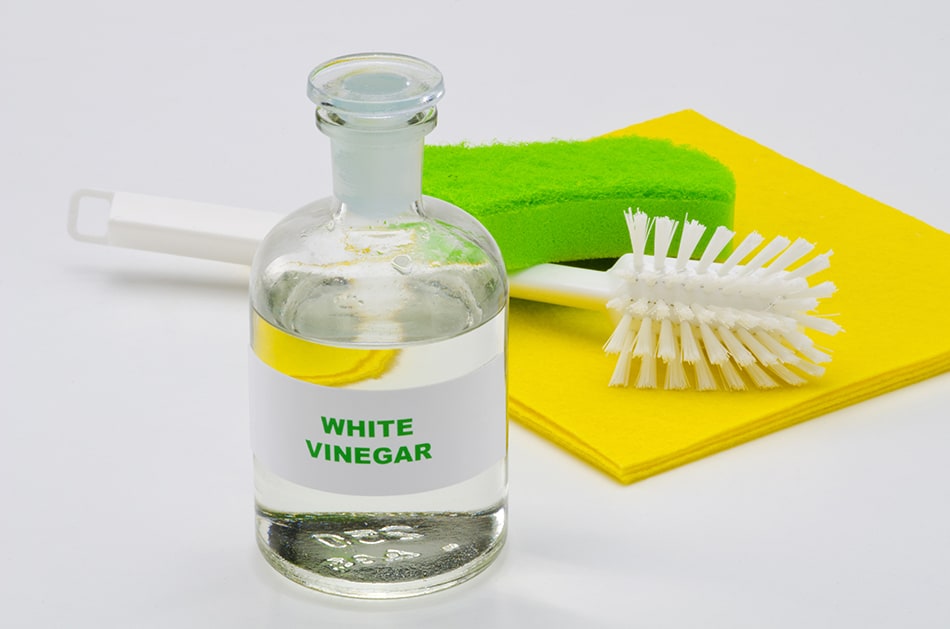
The much-loved salad dresser doesn’t only apply to food. Just like baking soda, vinegar is great for cleaning surfaces with stubborn dirt or stains.
Mix your vinegar with equal parts of water and put the solution in a spray bottle. Spray on the affected plastic that has been oxidized. This will take a couple of minutes to work, so leave the solution on the surface for 15-20 minutes before wiping it off with a cloth.
Detergent
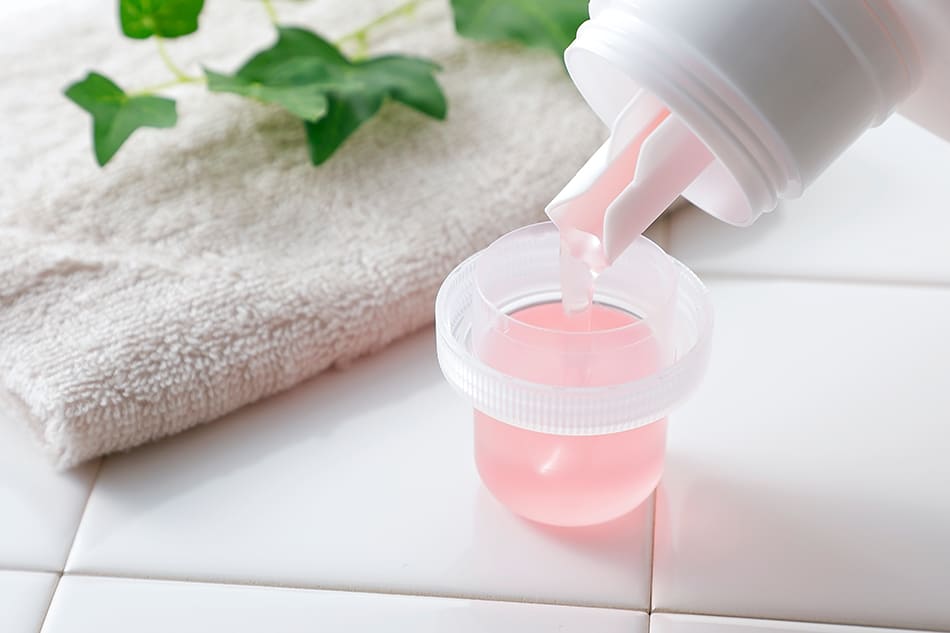
For plastic-like chairs that have gotten soggy and discolored over time, choose your normal laundry detergent to clean and polish these areas. You need to be careful here as very abrasive solutions will destroy your plastic further. Use a tablespoon of detergent in warm water, spray the area or use a bucket and later rinse with a hose.
Pros of Having Plastic
While plastic is always seen as a lesser material option for household items, some types of plastic are better with durability and management than materials such as brass or copper.
For instance, plastic is considerably cheaper than metal, meaning manufacturing costs are low, leading to much more varied products on the market to purchase.
Plastic is also quite light; therefore, it’s easy to move around, especially for your backyard which often has temporary furniture that’s switched out during seasons. To add to that is the increased resistance to corrosion and repeat use of items. For example, a peanut jar can double as a container for your cereals once it’s done.
Conclusion
Remember that not all home plastic items will end up in the “yes” pile for recycling. Plastic is very harmful to the environment; hence it’s important to always recycle the plastic you don’t plan to use so that it can be disposed of correctly.
Take note that any plastic items in the house can lose color and all sense of functionality or beauty which would cause discarding them. But if you are exercising the maintenance options above, then you don’t have to worry about this bad-looking plastic in the first place. Start with the simple methods and use the more complex ones for more damaged plastic.