
A shower pan, or shower tray, forms the base of most showers, and it can suffer from a lot of wear and tear over the years.
If your shower tray has faded, or you’ve moved into a new property where the shower tray looks old and out of date, you can paint it instead of replacing it. Painting a shower pan is an easy job that anyone with a basic understanding of DIY can do, following a few simple instructions regarding preparation and paint spraying.
Table of Contents
What is a Shower Pan?
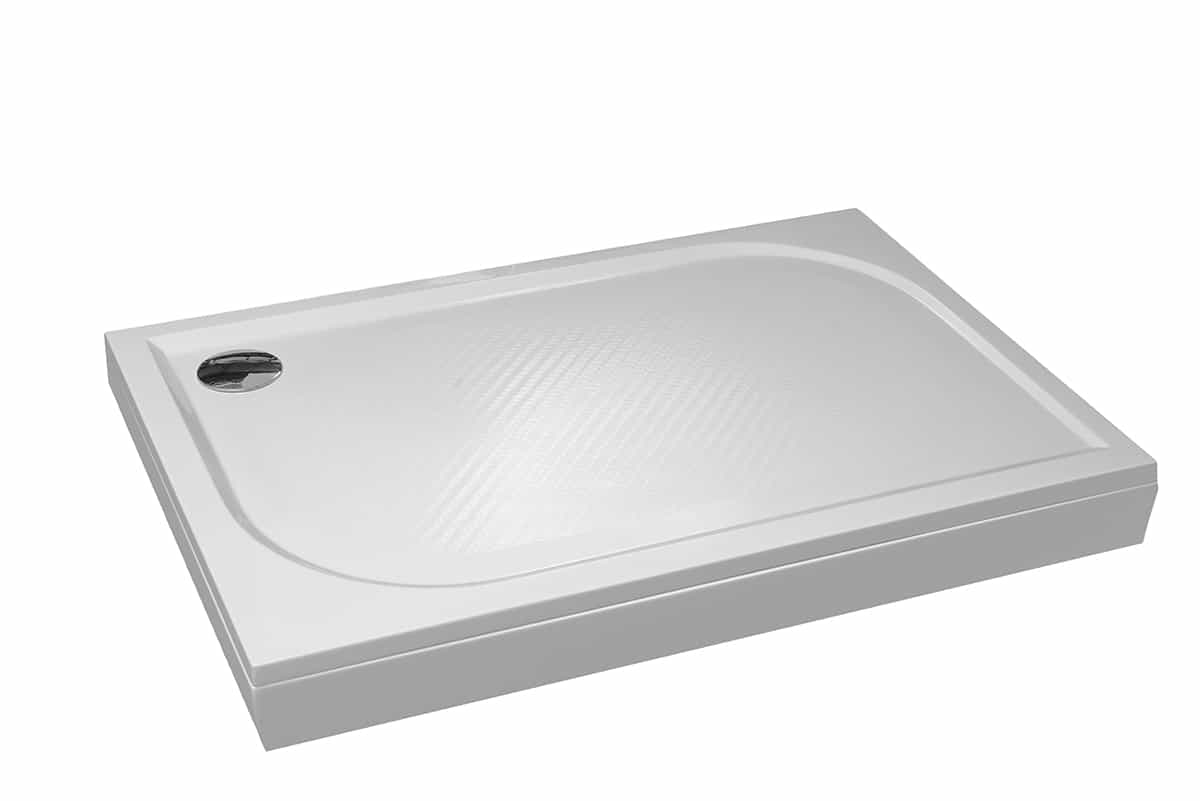
A shower pan is also known as a shower tray or shower base. It forms the floor of the shower and is installed on the floor of the bathroom or shower room. The shower pan collects the water when a shower is turned on and has slightly raised edges to prevent water from spilling out into the room.
It will have a drain, and water is directed toward the drain with a slight tilt on the surface of the pan. Most shower pans are made of fiberglass and are white in color, though other colors are available. They come in a wide range of shapes and sizes to suit different designs of bathrooms.
Can You Paint a Shower Pan?
Over time and use, shower pans can become dull. They might lose their shine or fade to a shade of gray or yellow. Shower pans that have been placed in direct sun can also take on an off-white color. When this happens, one option is to replace the shower pan, but this can prove to be quite expensive and disruptive.
In order to remove a shower pan and install a new one, you may need to replace the entire shower unit or re-tile the walls. You will also need to hire a plumber since the shower pan will need to be fixed up to the drainage pipes. Alternatively, painting a dulled shower pan is an option.
This can give a new lease of life to old shower pans or make a tired shower pan look presentable for a few more years until you have enough money to replace it. You can’t just use any type of paint on a shower pan, though, because it needs to be water-repellent and resistant to scratching or scraping. There are also certain steps you’ll need to take to prepare your shower pan to help the paint adhere to it.
Steps to Paint a Shower Pan
Preparation
Preparation is key for most DIY projects around the home, but it’s especially important when painting a shower pan because it can make the difference between a smooth paint job that will last and a textured paint job that will peel or scratch away after a few uses.
Remove caulk and grout
The first step to preparing your shower tray for being painted is to remove the caulk and grout that surrounds it. You’ll need to peel away any caulk or grout that comes into contact with the shower pan.
Usually, there will be caulk around the base of the shower tray where it meets the floor of the bathroom and caulk or grout around the top of the shower tray where it meets the tiles or walls of the shower. You can remove this with a screwdriver or a knife, taking care not to scratch the shower tray.
Clean the shower pan
After the caulk and grout have been removed, the shower tray needs to be thoroughly cleaned. First, sweep or vacuum away any loose hair or dust, then spray the shower tray with a bathroom cleaner. Scrub the tray to remove any soap scum or limescale, and repeat this until the pan is completely clean.
Dull the shower pan
Next, you need to remove the shine from the shower tray by lightly sanding it. This can be achieved with 120-grit sandpaper or a steel wool brush.
Taking away the glossy top surface of the shower pan creates a key, which allows the paint to bond much better to it. If you skip this step, the paint will be much more likely to peel away because it won’t have developed a strong grip on the shower tray. Once finished, rinse away the dust created by sanding the shower pan, and give it one final clean.
Protect surfaces
Once you have finished preparing the shower tray, you next need to protect the surfaces around it. Use plastic sheeting fixed to the wall with masking tape to cover up any areas that you won’t want to get paint on. This will typically include the shower walls and the floor of the bathroom, as well as any nearby bathroom walls where the paint could splatter.
Painting
After all the necessary preparations have been made, you can get started on the fun part; painting!
Use protective equipment
Protective equipment you will need to wear while painting the shower pan includes plastic gloves, goggles, and a respirator. The respirator will help you to breathe without inhaling dangerous fumes, but you should also open as many windows as possible to create good ventilation.
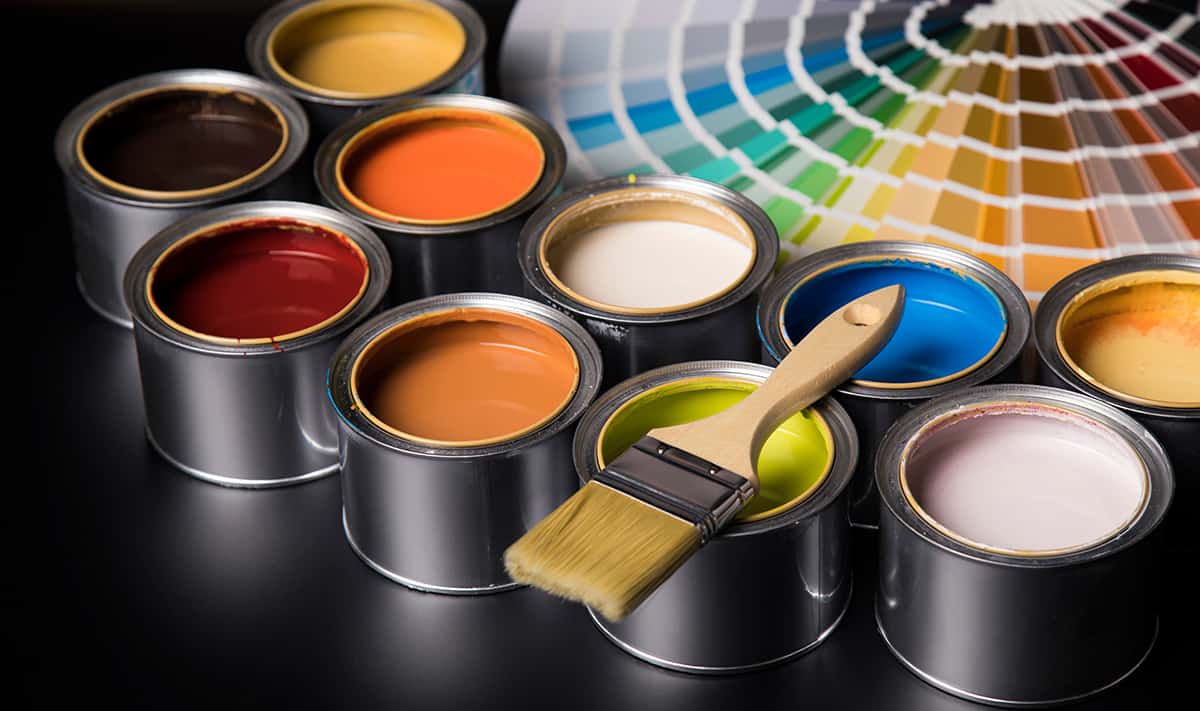
Choose correct paint
If you’re painting a fiberglass shower tray, you’ll need to use epoxy paint. You can also find shower pan painting kits, which will include the appropriate type of paint for your tray. You should use a paint sprayer for painting your tray for the most even finish, as this will prevent the evidence of brush strokes.
Most shower pan paints are white in color, since this is by far the most popular color to use to make your shower tray look new again. However, you can opt for a different color if you want to make a statement. Epoxy paints can be found in any color you can imagine, so these will work well if you want a less predictable look.
Apply the paint in layers
Follow the instructions from the paint manufacturer and the spray manufacturer to apply the paint. Several thin layers will give a much more even and professional finish than fewer thick layers, so bear this in mind when spraying. Allow the recommended amount of time for drying between each coat.
Smooth the paint
For the most even results, you can lightly sand the paint between each coat to help smooth it out. To do this, allow each coat to dry before taking to it with very fine sandpaper, and then wipe away any dust created with a wet paper towel before applying the next coat.
Caulk and grout
After enough layers of paint have been applied and you are happy with the finish, allow 24 hours to pass so that the paint can fully harden. Next, seal around the base of the shower pan where it meets the bathroom floor with caulk to prevent water on the floor from seeping beneath the shower tray.
The shower pan will also need to be sealed where it meets the shower walls. This can be done with caulk or grout, depending on your preference. Once the caulk and grout have been allowed to dry completely, the shower will once again be watertight, and you can use it as normal.