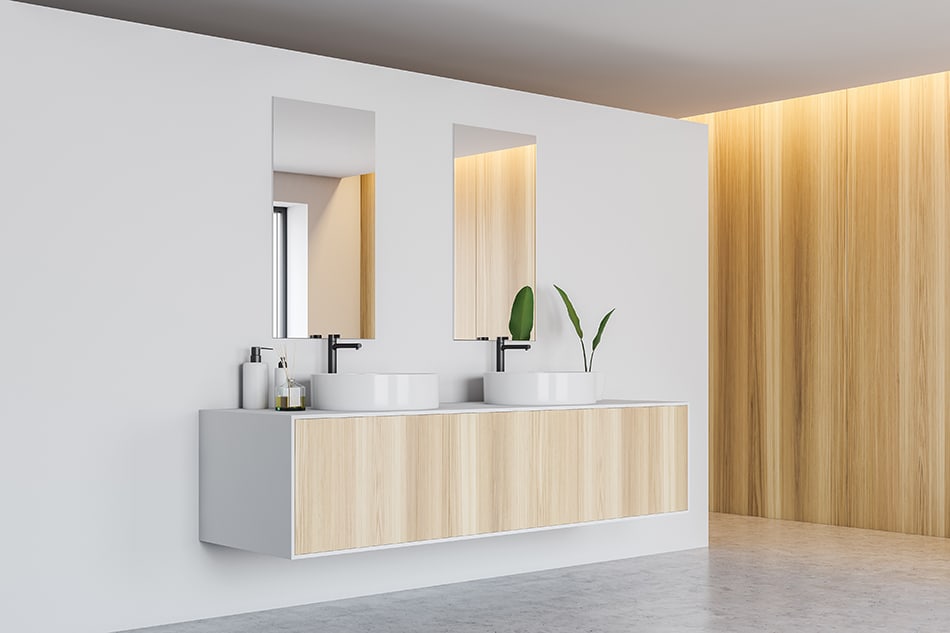
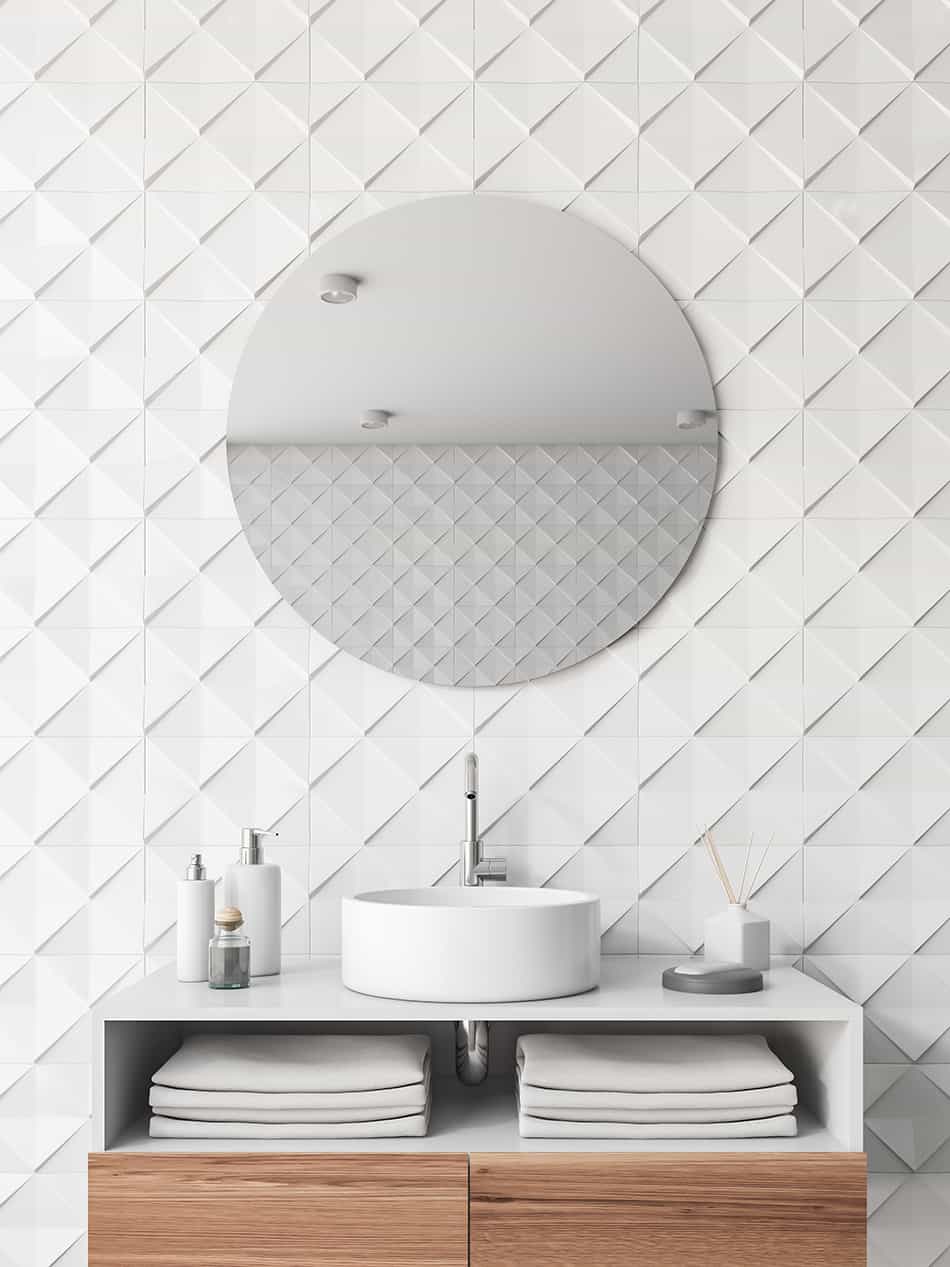
Frameless mirrors are most commonly used in bathrooms, over the top of a vanity unit to allow people to see their reflection while brushing teeth, washing skin, or applying make-up.
However, frameless mirrors are finding their way into other rooms of the home, as they have a simple style that works well in a wide range of interior decor styles, including minimalist, contemporary, art deco, and modern styles.
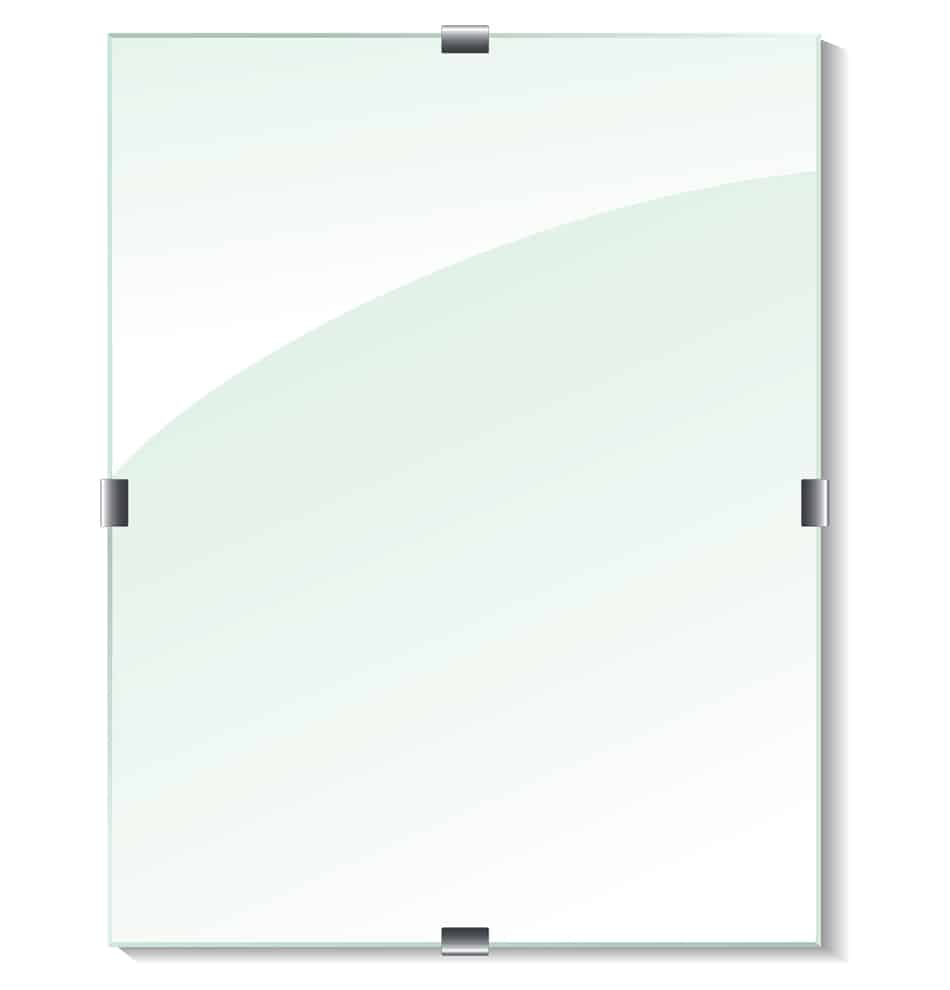
If you’ve bought a frameless mirror, you might be confused about how you can fix it to the wall, as these types of mirrors often don’t come with fixings or hardware on the back for hanging. Read on to learn about the three ways you can hang a frameless mirror.
When it comes to hanging a frameless mirror, you have three options: clips, adhesive, or picture hanging strips.
The best option for you will depend on the size and weight of your mirror, your level of DIY skills, how you want your mirror to look, and the type of damage you’re willing to sustain on your wall (if any).
Clips
Hanging a frameless mirror with clips is ideal for mirrors of any size, as the clips are fixed into the wall and can, therefore, reliably hold even the heaviest mirrors. You can also choose the number of clips you need to hang the mirror, with additional clips for peace of mind if you want to know your mirror is completely secure.
This method requires some basic DIY skills and the use of a drill, and it will leave some noticeable damage on your wall when the time comes to remove the mirror.
Choosing the Right Clips for Your Frameless Mirror
The first step when hanging a frameless mirror with clips is to choose the type of clips you want. Most clips designed for this purpose will have a low profile so that you can hardly see them once the mirror is on the wall, but they aren’t completely hidden, so if you want a truly frameless look, then you should opt for an alternative method.
For small to medium-sized mirrors, at a minimum, you’ll need two clips at the base of the mirror, one on each side and one along the top. Larger mirrors would benefit from at least three clips along the base of the mirror.
Marking and Drilling Holes for Your Frameless Mirror Clips
Once you have your clips, you’ll need to hold your mirror against the wall in your preferred spot and use a spirit level to ensure it is straight. Once you’re happy with the position, use a pencil to mark the corner edges of the mirror onto the wall.
It’s best not to use a pen as these marks won’t be able to be rubbed off afterward. You should also make the marks as small as possible so that they won’t be noticeable once the mirror is hung.
The next step in hanging your frameless mirror is to mark out the spots where your clips will go. These need to be aligned with the edge corners of the mirror you previously marked on the wall, and the hole for securing the clips to the wall will be around half an inch away from the edge of the clips, which will hold the mirror’s edge.
You should hold the clips up to the point where you want them to be and mark the holes accordingly.
Finding the Studs for Your Frameless Mirror
Ideally, you should locate a stud behind the wall by using a stud finder or knocking on the wall to see if it sounds solid or hollow. A stud behind a wall will sound solid. You can also try to locate the stud by looking at other fixings in the room, such as baseboards and light switches, as these are usually screwed into the studs.
If you have a small mirror, you could use plastic wall plugs or wall anchors instead of finding the studs, but these won’t be able to support as much weight.
Attaching the Clips to the Wall for Your Frameless Mirror
Once you are happy that you’ve found the studs and marked out where you want your clips to go, you’ll need to drill pilot holes with a drill.
Next up, place your clips in position and secure them by drilling a screw through the holes in the clips and into the pilot holes.
Positioning and Fitting Your Frameless Mirror
Finally, slide the mirror along the clips until it is in the correct final position. At this point, there may also be additional parts of the clips to fit into place for the top edge clips.
Adhesive
Using adhesive to hang a frameless mirror is a quick and easy method, but it can result in major damage to your wall when you want to take the mirror down, so use this method with caution.
Choosing the Right Method for Your Frameless Mirror
If you expect that you won’t want your mirror in the same place for the long term, then choose something other than adhesive to fix it into position.
While the clip method will leave drilled holes in your wall, these can be filled easily, whereas adhesive can pull large parts of the drywall off the wall when you want to remove the mirror, which is a more unsightly and complex job to fix.
Marking and Preparing Your Wall and Mirror for Adhesive
Hold your mirror in position and use a spirit level to make sure it is straight, then mark out each corner on the wall using a pencil.
To ensure a good grip, sand down the portion of the wall, which will be behind the mirror, to remove any paint. This is especially important if you have painted the wall in the paint with a medium to high sheen, as it will not be a good base for the glue to adhere to. After sanding, wipe away any dust with a wet cloth and allow the wall to dry.
Prepare the back of the mirror by cleaning it with rubbing alcohol and wiping it dry. This will help to ensure the adhesive can get a good grip on the mirror without any dirt or residue getting in the way.
Applying Adhesive to Your Frameless Mirror
Apply the adhesive to the back of the mirror, leaving an inch border around the back of the mirror, which doesn’t get any glue on it. This is because when you press the mirror to the wall, the adhesive will spread out, and you don’t want any squeezing out from behind the mirror and being visible.
Depending on the type of adhesive you have chosen, you may need to hold the mirror in place while the adhesive dries.
Positioning and Fitting Your Frameless Mirror
If your adhesive has a long drying time, you could fix a piece of wood to the wall underneath the mirror to act as a bracket or shelf and then remove it when the glue has dried.
However, this makes the ‘easy’ adhesive method of hanging a frameless mirror quite a bit more involved, and you’ll have to repair the wall under the wood bracket once you have removed it.
Picture Hanging Strips
There are a variety of picture hanging strips available, such as Command strips or Velcro strips, which make hanging frameless mirrors or pictures a breeze. They’re great because they don’t cause any damage to walls when you remove them and don’t leave any marks or sticky residue.
They are quick and simple to install and give you the freedom to change your mind about where you want to hang your mirror without hassle.
This method of hanging a frameless mirror is ideal for those with minimal DIY skills and anyone who doesn’t want to damage their walls; however, heavier mirrors may require a more substantial method.
Choosing the Right Picture Hanging Strips
First, choose the type of strips you’re going to use. Sticking with reputable, well-known brands is best because copycat hanging strips can damage your wall or have poor adhesion and cause breakages. There are different types of strips depending on what you’re hanging and what the size and weight of them are.
Preparing Your Mirror and Wall for Hanging
Next, clean the back of your mirror and the wall where your mirror will hang with rubbing alcohol. Do not use household cleaners as these will not be as effective in creating a good base for the strips to adhere to.
Applying the Picture Hanging Strips
Now you need to peel the tape from one side of the hanging strips and stick them directly onto the back of your mirror. Then, peel the remaining tape away from the command strips to reveal the part which will stick on the wall.
Place the mirror onto the wall and, using your hands, gently apply pressure to push the hanging strips against the wall and secure them in place. Now pull the mirror away from the wall, which should leave some of the strips on the wall and their matching counterparts on the back of the mirror.
Securing the Picture Hanging Strips in Place
Put the mirror to one side and use the palms of your hands to press directly onto the strips which are left on the wall. Now leave them for at least an hour to allow the adhesive to become fully secure. This will ensure the strips are completely set in place.
Positioning and Fitting Your Frameless Mirror
Finally, position your mirror back against the wall, matching up the strips on the back of the mirror with those on the wall.