Have you ever looked at your best friend’s aged, reclaimed wood coffee table and felt slightly jealous of their unique piece? You are not alone. In this age of mass production, we have grown to cherish the few items around that have history. Wrinkles and imperfections are no longer defects but rather something that makes objects unique.
This trend is now firmly established among furniture thrift shoppers and rescuers. However, it is now making its way into every corner of our homes. Gone are the smooth, brand-new panels of the 90s. Now, if you want to provide personality and stories for your sun porch, distressed wood panels are the name of the game.
Table of Contents
What is Distressed Wood?
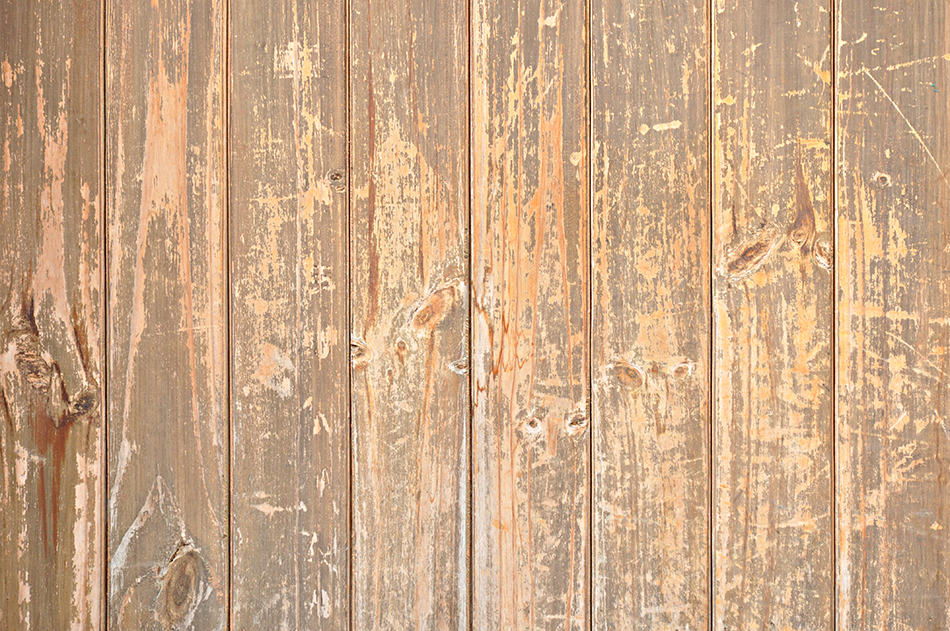
Distressed wood is a way of treating wood to make it look older. Essentially, it requires battering it a little so that it can be artificially aged. In this way, you can make regular wood panels look like you rescued them from a shipwreck or a colonial manor.
The process of distressing wood often includes sanding, battering, adding small dents to the panel, and removing some of the paint, so it looks like it’s fallen off. Distressed wood panels don’t receive these treatments evenly, just like they would not be damaged in real life evenly either.
Why Distress your Wood Panelling?
Many wood distressing techniques were originally invented by forgers, who wanted to be able to sell an endless supply of long-lost supplies.
Jokes aside, current décor trends have made true antique wood incredibly valuable. Plus, most houses built over the past 20 years used sleek, highly polished wood panels that continue to look new. However, décor preferences have changed a lot ever since, so these often look dated.
At the end of the day, if your main goal is to use sustainable materials, then it doesn’t make sense to buy extra furniture.
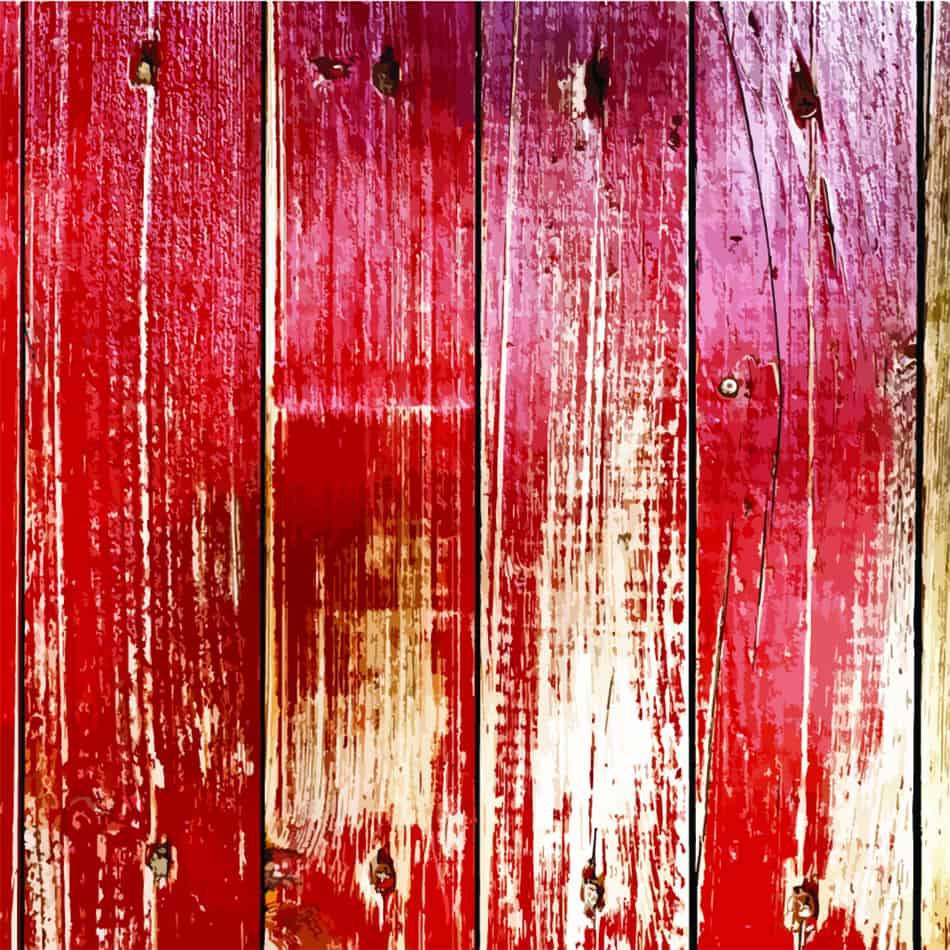
Distressed wood can also provide your home with more interesting textures and unique colors, which happen almost by accident during the process. These looks are highly coveted in the naval, cottagecore, and farmhouse décor styles.
Plus, they come without the risk of an accidental termite infestation!
How to Distress Wood Panelling
Making your own distressed wood panels will require some tools and elbow grease. However, you won’t need any prior knowledge in carpentry or home construction. A basic understanding of home repairs will be enough.
Keep reading to find a list of materials and a step-by-step guide.
Materials You Will Need
Gather the following before getting started:
- 1 tin of wood stain
- 1 tin of latex paint (ideally white or gray)
- A very old paintbrush
- Medium-grain sandpaper (around 150 grain)
- Sponge
- Cloth
- Cleaning wipes
- Hammer
Depending on the painting technique you use, you may also need:
- A plain wax candle
- Paper
- Vaseline
The Step-by-Step Guide
Prep the panels
Before you begin the distressing process, you will need to prepare the wood you will work with. This will involve removing any layers of varnish on top of it.
Go through the wood’s surface in circular motions using sandpaper. Get rid of any tarps or nails that you don’t want in the end result.
At this point, you can also try marking the surface with a nail at random parts of the wood. You don’t actually need to nail anything down: just hammer it a bit to create dented or “damaged” spots – just like reclaimed wood would have.
At this stage, you can also try adding a couple of extra nails and then removing them. Then, sand off the dent left behind, but ensure it is still visible. You can also try hammering around the edges of the panel, where it would naturally break off first.
Clean the panels
Next, get rid of the mess created by sanding and cutting. This is not a part of your aged or vintage look. Sawdust can actually get in the way of painting and staining, so just wipe everything clean. This step is also a good opportunity to see which parts of the wood could use a little bit more damage.
Optional: Staining the wood
Staining the wood is not really necessary if you just want a basic whitewashed look. However, it will give its texture extra depths. It may also help bring out the wood’s natural lines, making any changes in hue more noticeable.
If you don’t want to risk it, however, you can skip this step.
If you’re up for it, begin the staining process by carefully wetting the wood with a sponge. It doesn’t have to be soaked through. Moistening the surface is enough.
Before opening the stain tin, shake it thoroughly. In some brands, most of the color tends to settle at the bottom.
Staining is usually done with a paintbrush or a sponge. However, in order to distress the wood in natural-looking patterns, it’s best to use a rag. This will cause the staining fluid to drip more heavily in some parts and create natural-looking irregularities.
Dip the rag in the stain slightly. It should not drip. Then, begin rubbing the cloth rag against the wood panel. With straight movements, just drive it against the direction of the grain. Keep the coats thin – you can always apply an extra coat later on.
Check the label to see how long to let the stain dry. After it’s dry, use a cleaning wipe to get rid of any excess stain.
Painting the wood
The key part of this step is to remember that you don’t want a perfect paint job. The goal here is to make the wood look like it was painted a few decades ago and has since frayed or decayed a bit.
One of the best ways to achieve this is to use watered-down paint. This runnier paint can fall unevenly over the wood, painting only some of its ridges.
Distressed wood finishes are usually done with white or grey paint. However, depending on your home’s style, paste paints or steel blues can also work great. If you stained the wood, creams and pinks will look especially realistic.
In order to do this, mix two parts of standard latex paint with one part of water. Shake the mixture well.
To apply the paint, you can use any of the following techniques:
A Dry brush technique
This consists of using a very dry, stiff-bristled painting brush to stroke the paint around the wood. Instead of painting evenly, this method produces a series of roughly parallel lines across your “aged” wood.
Dip the tip of your paintbrush with just a little bit of paint. Then, keep your strokes straight and as light as possible. In between strokes, wipe the brush completely.
Waxing technique
For this method, you will also need a tall white candle.
Run the bottom of the candle along with the wood, following the direction of the grain. Don’t be too meticulous: you want to leave an uneven, thin trail of wax alongside the wood. Ideally, you should also try pressing harder on one or two random spots.
Then, paint on top of the wax. After the paint dries, you should be able to gently remove the wax from the wood. The wax will prevent the paint from penetrating the wood properly and leave blotches behind.
Vaseline technique
This works under the same principle as the waxing technique. It is meant to prevent the paint from sticking fully in some sections of the wood.
For this method, simply apply patches of Vaseline directly onto the wood. Then, apply a coat of paint like you usually would.
The wet paper technique
This mixed technique is best if you want to apply two layers of paint in different colors. It will make the wood look like it has been painted over a few times.
For this, use the lighter paint first, and paint the wood using a standard technique. Let it dry, and then grab a few pieces of wet paper and attach them to the wood. Make sure that these are all of the different sizes. Before the wet paper dries, apply the second layer of paint using the darker color, using the dry brush technique.
Sand again
Finally, we should repeat the sanding process. This will give it the final touch and will ensure your wood paneling doesn’t look like it was just painted last week.
The final sanding round should not be as extensive as the first one. This could accidentally remove some of your hard work!
Instead, just give it a very quick overall polish. Then, pick two or three spots to sand off a bit more thoroughly. This will round off the weathered looked of your old wood panels.
Final Thoughts
Knowing how to distress wood paneling can turn the dated, sleek design of the late 90s into a bucolic retreat. There are several techniques you can try to make wood look like it is much older than it is. They all take advantage of the same principles: they add imperfections and lines that will turn any mass-produced wood panel into a unique work of art.