When it comes to interior design and home decor, we often overlook the staircase wall. Your stairs are the first thing visitors see as they step into your entrance hall, so it makes sense to want to create a welcoming space by decorating the staircase wall with pictures.
However, due to the dimensions of photo frames or artwork, it can be hard to choose the best arrangement that doesn’t look out of place.
Notice we said hard but not impossible! You can easily arrange your framed family photos or artwork on your staircase wall by getting some inspiration from our ideas.
But before you get started, take a look at your staircase’s shape and how much wall space you have available. For example, an L-shaped staircase can look aesthetically appealing with just one picture at the landing, or a floating one will look good with a series of framed artwork on one wall.
To determine how much wall space you have, you must take measurements to ensure your pictures aren’t hung too high. For a naturally flowing look, follow our guide on how to hang pictures on a staircase wall right here:
Table of Contents
Step-by-Step Guide to Hanging Pictures on Staircase Wall
Prepare the Frames Before Hanging: when you want to hang your photos or artwork on the staircase wall, it’s always best to have a plan. Making some random holes on the wall isn’t a good start, so experiment with what works and what doesn’t before hanging the photos up. Start with placing the picture frame on a piece of paper bag or cardboard. Use scissors to cut around the template before moving on to the next step. Also, using appropriate picture hangers will ensure that your artwork is secure and displayed beautifully on the staircase wall.
Make a Rough Guide on the Wall: now that you have a paper template, get a pencil and measuring tape to make a mark around 60 inches across the wall starting from the center of each step. Make sure the rough guide is at your eye level.
Follow a Gridline: if you’re planning on creating a gallery wall, you’ll need to make a grid-like formation to keep the lines of the picture frames consistent and uniform. The best tool to help you hang photos in a gridline is a spirit level, which is a sealed glass tube filled with liquid. The air bubble reveals whether your picture is perfectly level on the wall.
Use Two Nails, Not Just One Hook: if you only use a hook to hang your picture, it can become crooked as you brush up against it while going up or down the stairs. The best solution is to use two nails together with a hook for more stability. That’s one nail on each side plus a hook in the center. Use your spirit level when hanging the picture to ensure it’s not crooked. Tip: for heavier, larger pictures, use anchors, and for lighter ones, use finishing nails to keep your picture sturdy on the wall.
Check Your Work Often: when hanging a picture on the staircase wall, you must keep an eye on your work’s progress. Since you’re too close to the picture, it may look straight to you, but it is crooked when you step back and check it from a distance. Every so often step back and monitor your work to ensure you’re completely happy. Once you’re satisfied with the final mounted picture, discard the template.
5 Picture Arrangement Ideas on Staircase Wall
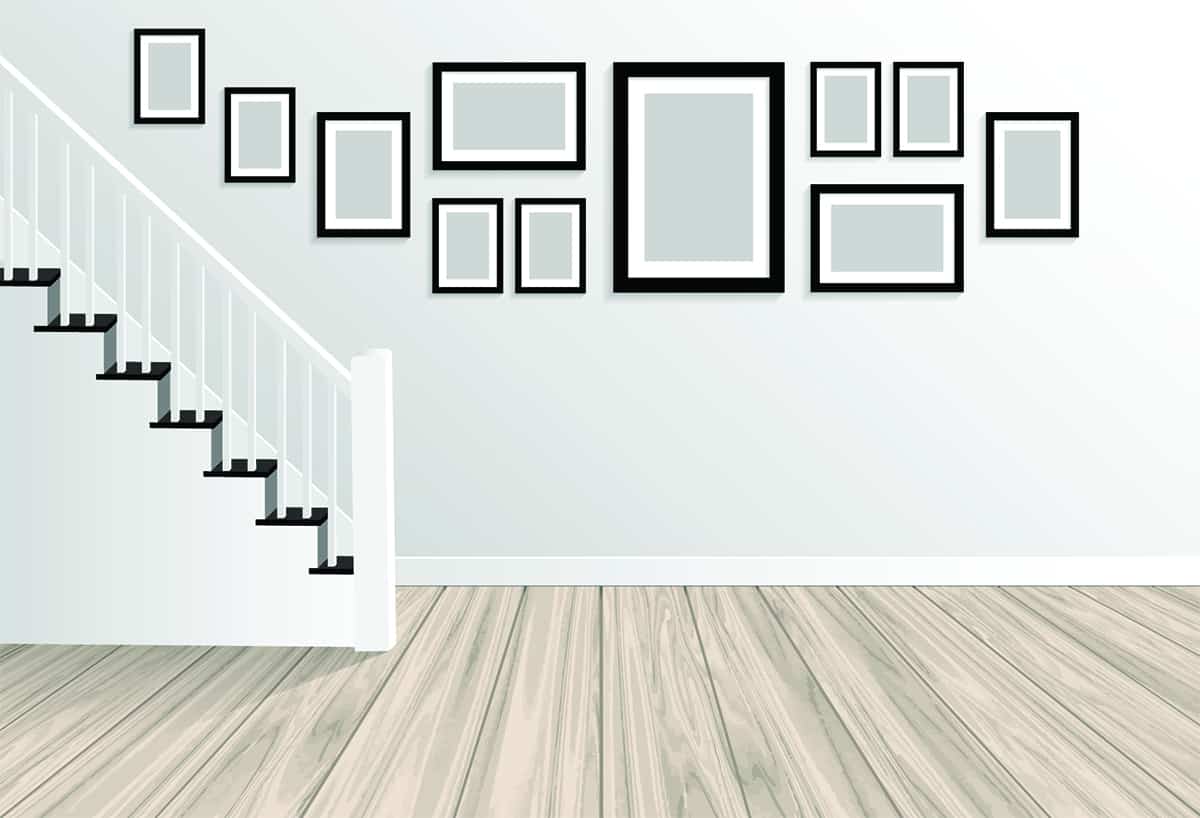
Gallery Wall Gridwork
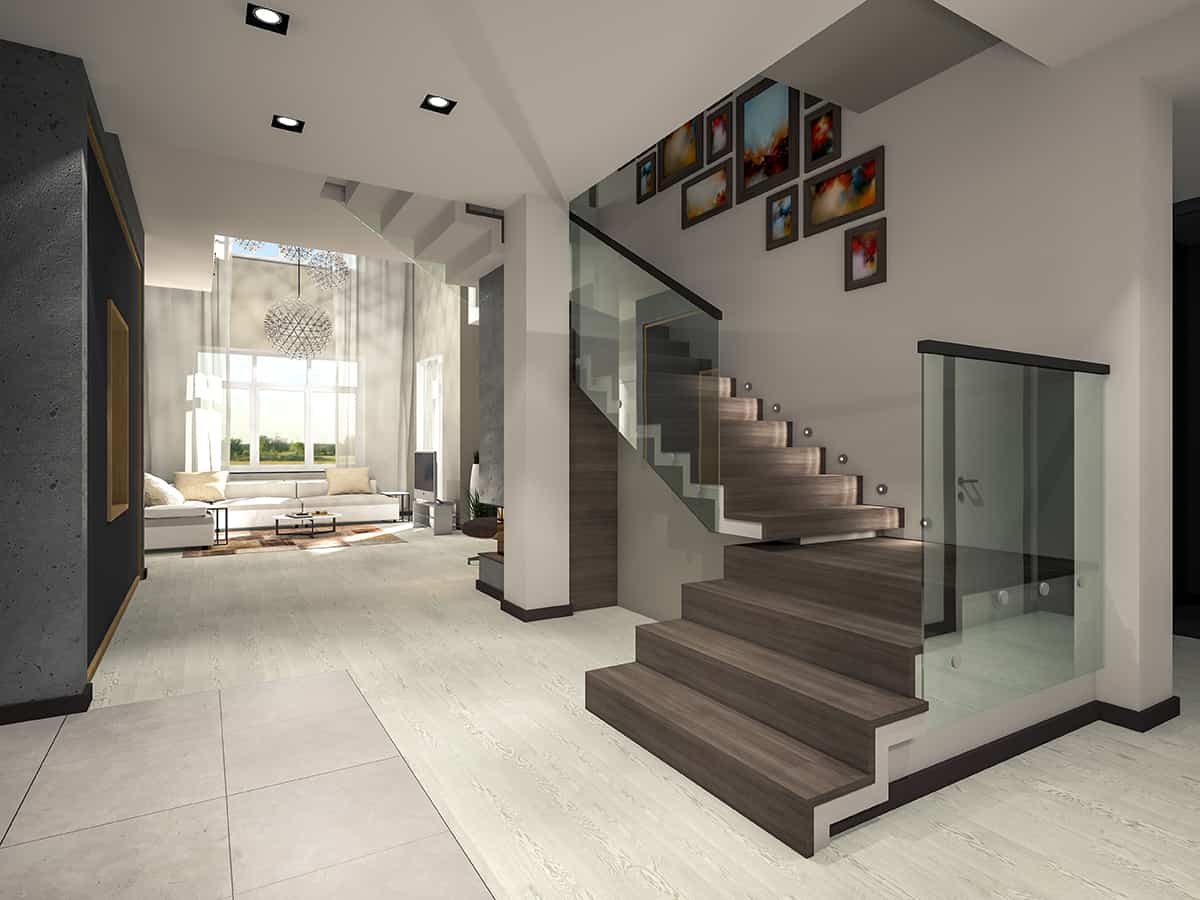
A staircase gallery wall is an excellent opportunity to showcase your favorite pictures or family portraits in an eye-catching way. Whether you line the photos in rows running up the staircase wall or use the lower section of the wall to arrange the images, this idea is sure to bring visual interest to your entrance hall.
For a fun and creative arrangement, your gallery wall can include lots of vibrant pictures in different shapes and sizes. Be sure to experiment with a particular layout by using paper templates. As long as your pictures don’t extend too far out from the wall’s surface, you can have them displayed in any shape or form.
An Artwork or Two at the Landing
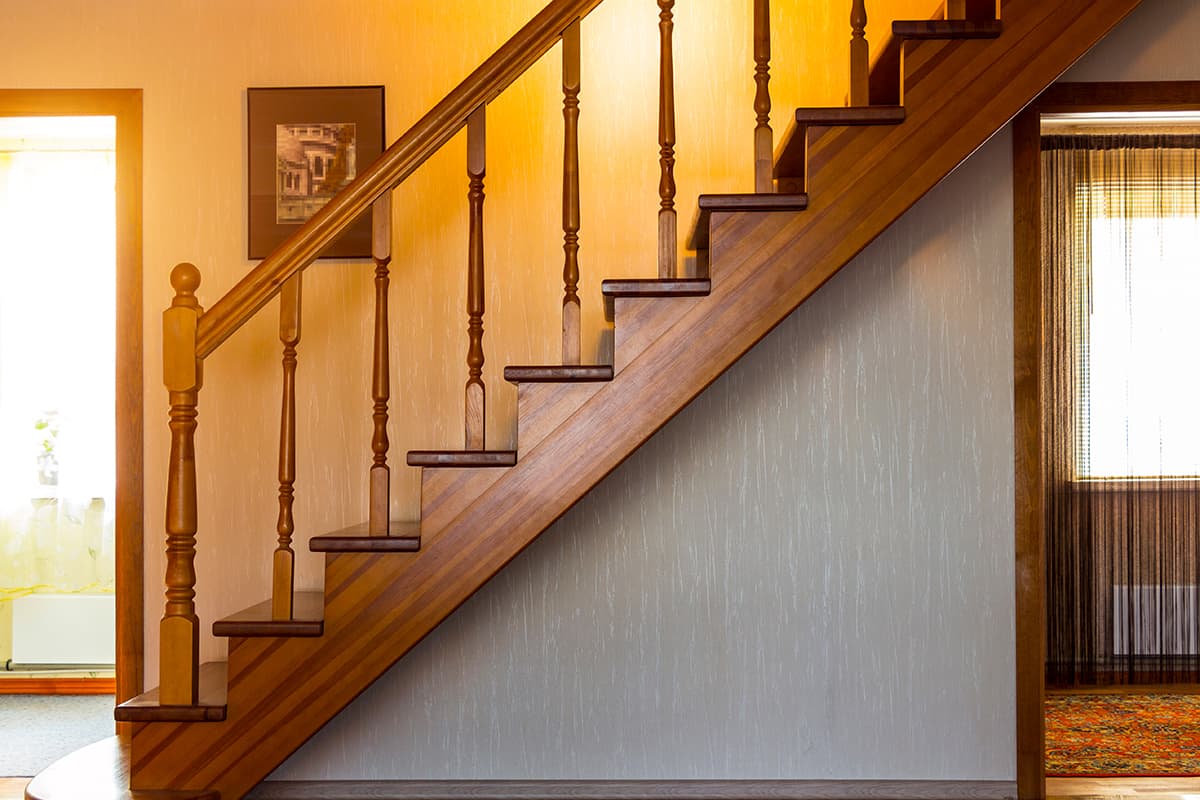
If your staircase is L-shaped or it has more than a landing, why not hang a large artwork or two on the wall of this place? The landing is the perfect place for the picture to grab the viewer’s attention.
If there is enough space in your landing, place a comfortable seat so the viewer can spend some time musing over the framed artwork. Just make sure the picture you choose is dramatic enough to make a big impact and takes up most of the wall space.
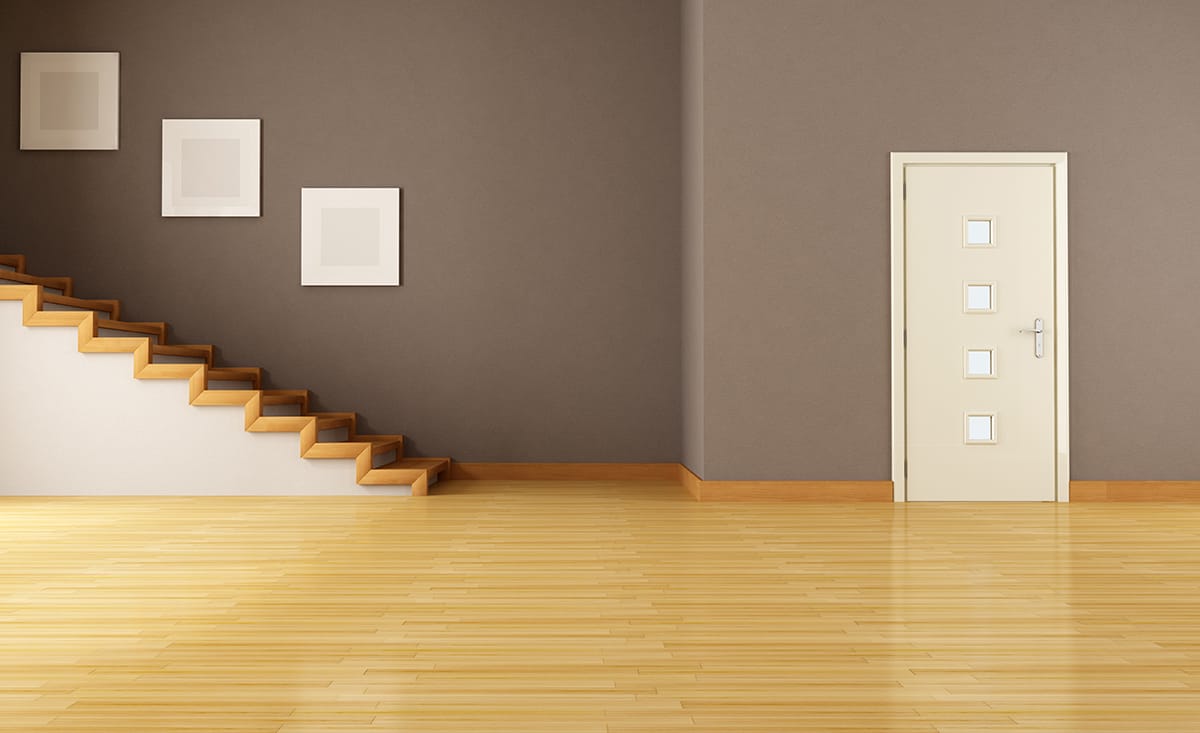
A One-Statement Piece At the Top of the Stairs
Some staircases don’t have a halfway landing for unique artwork to be displayed on the wall. Instead, hang your piece on the top of the stairs, where it’s instantly visible from the bottom of the steps.
Using a unique artwork or a large photo on the top of the staircase wall can act as a one-statement piece and create a beautiful focal point, just like in this example.
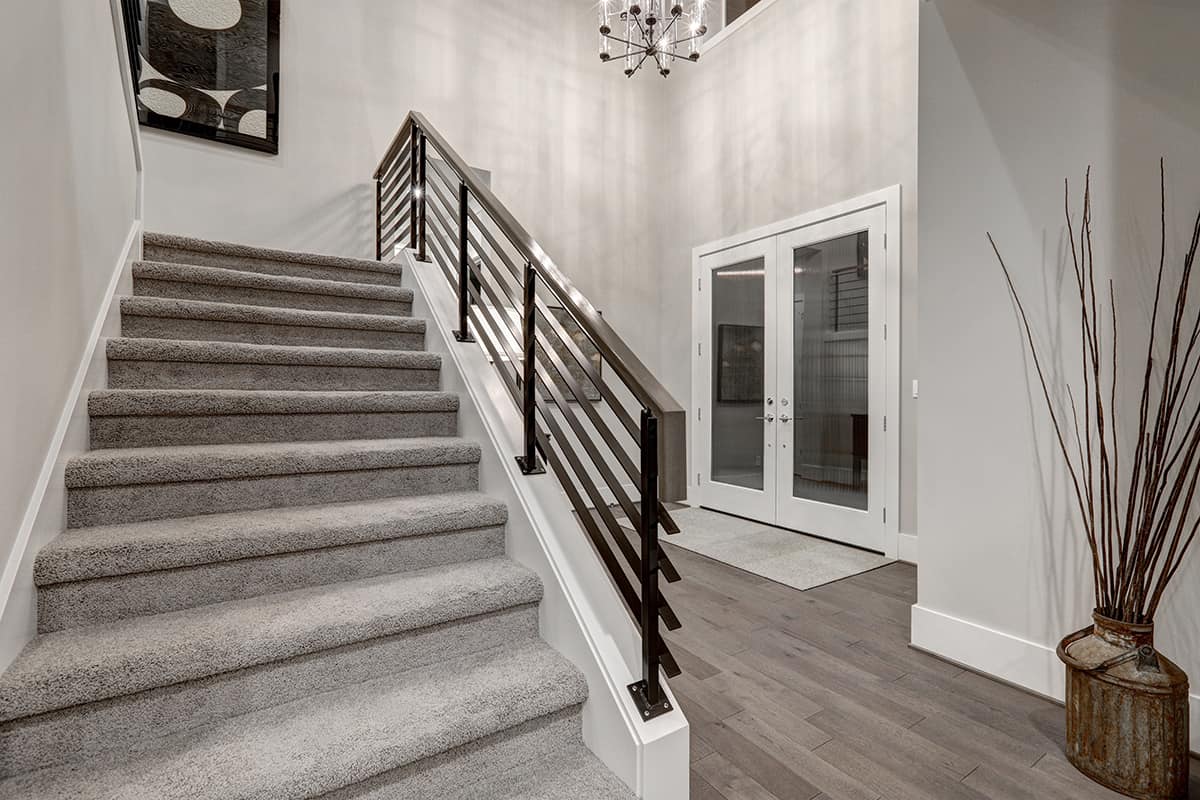
Frame Size Matters
When it comes to picture arranging ideas for your staircase wall, it is important to take into account the size of your picture frames, not just their location on the wall. If your staircase wall is quite large, you may still find it bare after hanging an artwork or two. To fill up most of the large wall, you might want to hang several frames in the same size.
Make sure you measure the wall before determining how many frames you’ll need. Take the gaps between each frame into account and use a variety of pictures in different shapes. If you struggle to fill the wall space after taking measurements with templates, try to add several large art prints in between your pictures to make an impact and fill up the entire wall.
Choose a Theme

When arranging framed prints on the staircase wall, it helps to choose a theme in order to pull each art piece together. But when we say theme, it doesn’t mean you have to keep all your prints the same size or color. Here are some suggestions:
Use different frame sizes with the same photo colors: when you have a variety of different framed photos that you want to hang, arrange them in the same frame color or material to pull them all together. You may choose different frame sizes but keep the theme the same. For example, all your pet, family, or vacation pictures can be in either black and white or color for a consistent flow.
Use similar photos with the same frame sizes: on the flip side, if you want to mix and match your photos, stick with the same theme but use different frame colors. For example, your black-and-white photos can be displayed in different frame sizes, so they are still the same theme.
How High Should I Hang Pictures on a Staircase Wall?
To make your picture look evenly spaced and symmetrical, hang it about 150 cm or 60 inches above your staircase step. To do this, use a measuring tape to mark the exact spot on the wall. If you only want to hang one piece of artwork or framed photo, hang it at eye level.
Take a tape to measure the distance from your eye level to the top of the stair tread. The ideal height should be 60 inches, as stated earlier.
Tip: for an aesthetically pleasing arrangement, hang your first picture at the first step, a second one in the middle of the wall and the final piece at the landing at eye level.
Conclusion
Your staircase wall doesn’t have to be bare or monotonous. A careful display of your treasured family photos or artwork can make your entrance hall complete and make your home feel more welcoming.
By arranging a gallery of pictures on the wall adjacent to the staircase, you can add plenty of visual interest to break the monotony. Whether you hang a unique piece at the top of the landing or a series of themed pictures in varying sizes along the entire wall, your creative arrangement can easily bring a more inviting and cozy vibe to your hallway stairs.
As you’ve seen from our ideas, the possibilities of how you can hang pictures on a staircase wall are endless. With a little creativity and dedication, you’ll no doubt achieve the desired result!
Want to know how to hang pictures in other places? Check out our article ‘ How to Hang Picture on Concrete Wall (4 Methods with Step-by-step Guide) ‘