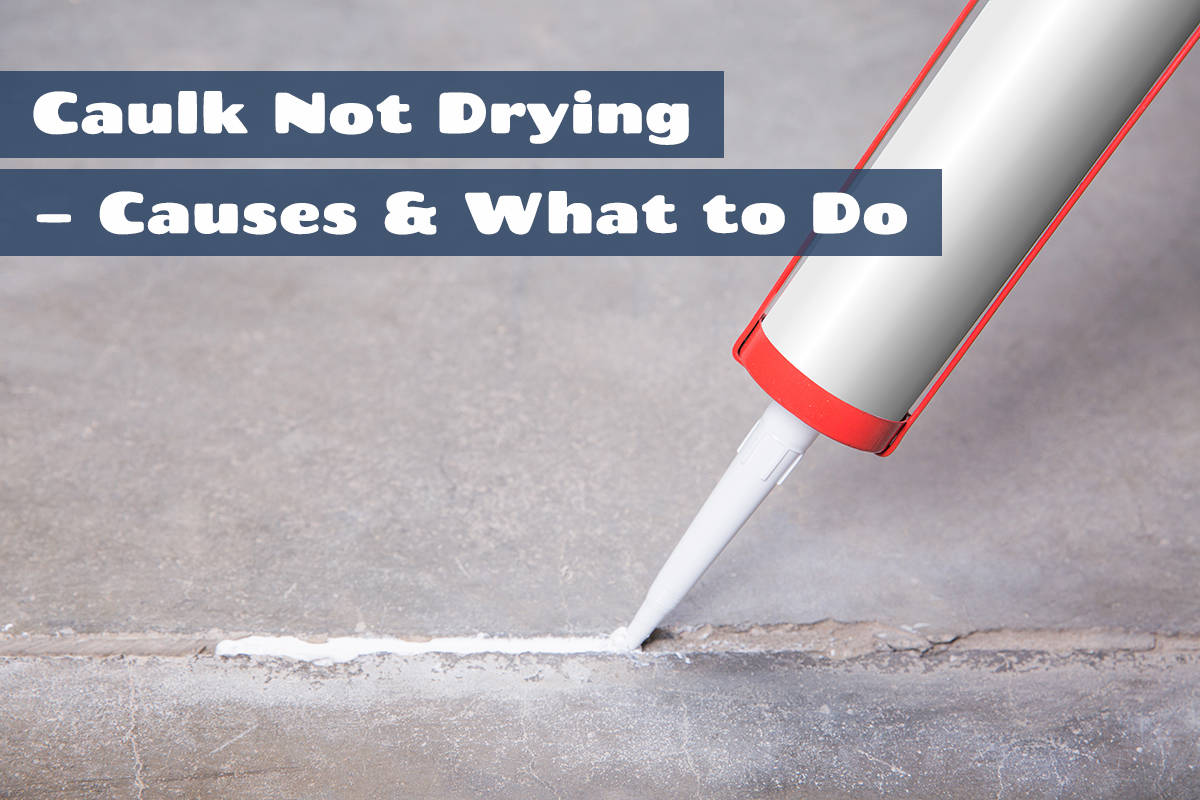
Caulk is a commonly used material in home renovations and DIY projects since it is versatile and highly effective at sealing gaps of any kind.
Caulk is easy to work with, but if you find that your caulk isn’t drying as it should then you might be wondering if there’s anything you can do to help it cure. When caulk isn’t drying within the expected timeframe it is usually a result of climate conditions or poor application. Fortunately, in most cases, this can be easily remedied.
Here, we explore the most common reasons that impact caulk’s ability to dry and explain the best ways to resolve caulk that isn’t drying.
Table of Contents
Why Isn’t My Caulk Drying?
If you’ve applied caulk and it isn’t drying properly, then this can be both frustrating and concerning because when caulk doesn’t dry, it can lead to potential issues like water leaks, poor adhesion, and an unfinished appearance.
There are a number of ways you can resolve the issue of caulk not drying, but first, you need to determine the cause of why the caulk isn’t drying as it should. Potential causes include:
High Humidity
Excessive humidity in the environment can significantly slow down the drying process of caulk. Moisture in the air prevents the caulk from curing properly.
If you’re working in a humid climate, it’s likely that the caulk isn’t going to dry correctly until there is less moisture in the air. You can consider using a dehumidifier to help lower the humidity in the room or waiting for drier weather to apply caulk.
Low Temperature
Caulk may take longer to dry or cure in colder climates because low temperatures can slow down the chemical reaction needed for the caulk to harden. Check the details supplied by the caulk manufacturer, which will ordinarily recommend minimum and maximum temperatures for applying the caulk.
If you suspect your caulk isn’t drying because it is too cold, you can try to remedy this by using a heater in the room where the caulk has been used. Alternatively, avoid using caulk when it is very cold.
Improper Ventilation
Poor ventilation can lead to caulk drying too slowly, or not drying at all. Adequate ventilation is essential because it helps the moisture evaporate from the caulk, which aids in the curing process.
After applying caulk, help to improve ventilation by opening a window or door. If the area you are working in doesn’t have any windows, leave the internal door open and then open other windows in the property. If ventilation proves to be a problem, set a fan in the room to move the air around and act as artificial ventilation.
Expired Caulk
Many people don’t realize that caulk has a shelf life. Using old or expired caulk can lead to issues with drying and adhesion. Always check the expiration date on the caulk tube before use, especially if you’re grabbing a leftover tube of caulk from your shed or garage.
If you’ve already applied the caulk and have since realized that the caulk was too old to use, you will need to remove it with a damp cloth and reapply new caulk to the area.
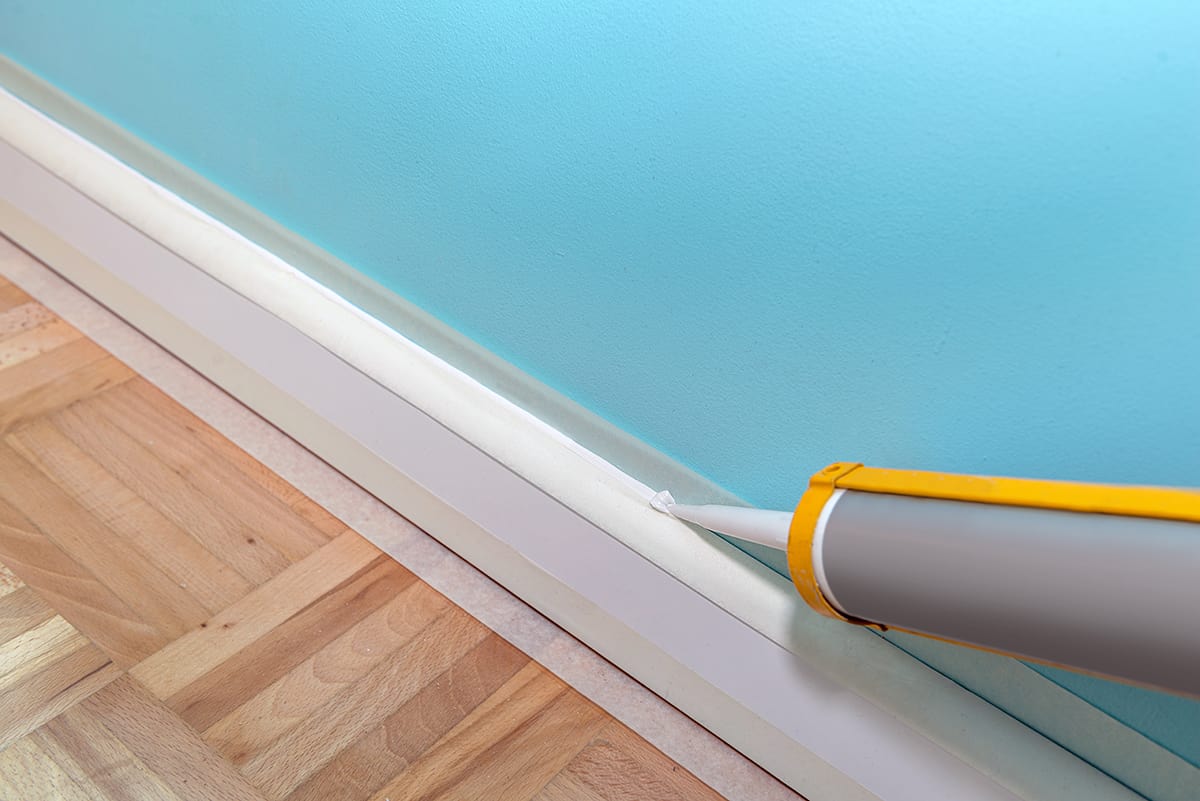
Thick Application
Applying caulk too thickly can prevent it from drying properly. In this case, caulk will take longer to cure and can remain tacky indefinitely. You can avoid this by ensuring that you’re applying a thin, even layer of caulk, however, if the caulk has already been applied you have two options.
If the caulk is still very moist, use your finger or a tool to remove the uppermost layer of the caulk, and then smooth the remaining caulk out for a neat finish.
The remaining layer of caulk will be thin enough to dry efficiently. If you don’t want to potentially cause a mess with the caulk, you can simply wait for it to dry. Thick caulk will usually dry and harden eventually, it typically just takes much longer.
Caulk Type
Different types of caulk have different curing processes, and as a result, they also have different drying times. Some caulk types require longer drying periods than others, and you can learn about this by reading the manufacturer’s instructions before using the caulk. By having clear expectations about the caulk and its curing time, you can prepare and plan your project with this time scale in mind.
If your caulk is taking a long time to dry, it may be that you have used oil-based or silicone caulk, both of which have longer curing times compared with water-based caulk. If this is the case, there is no cause for concern; you will just need to be patient and allow these types of caulk sufficient time to cure.
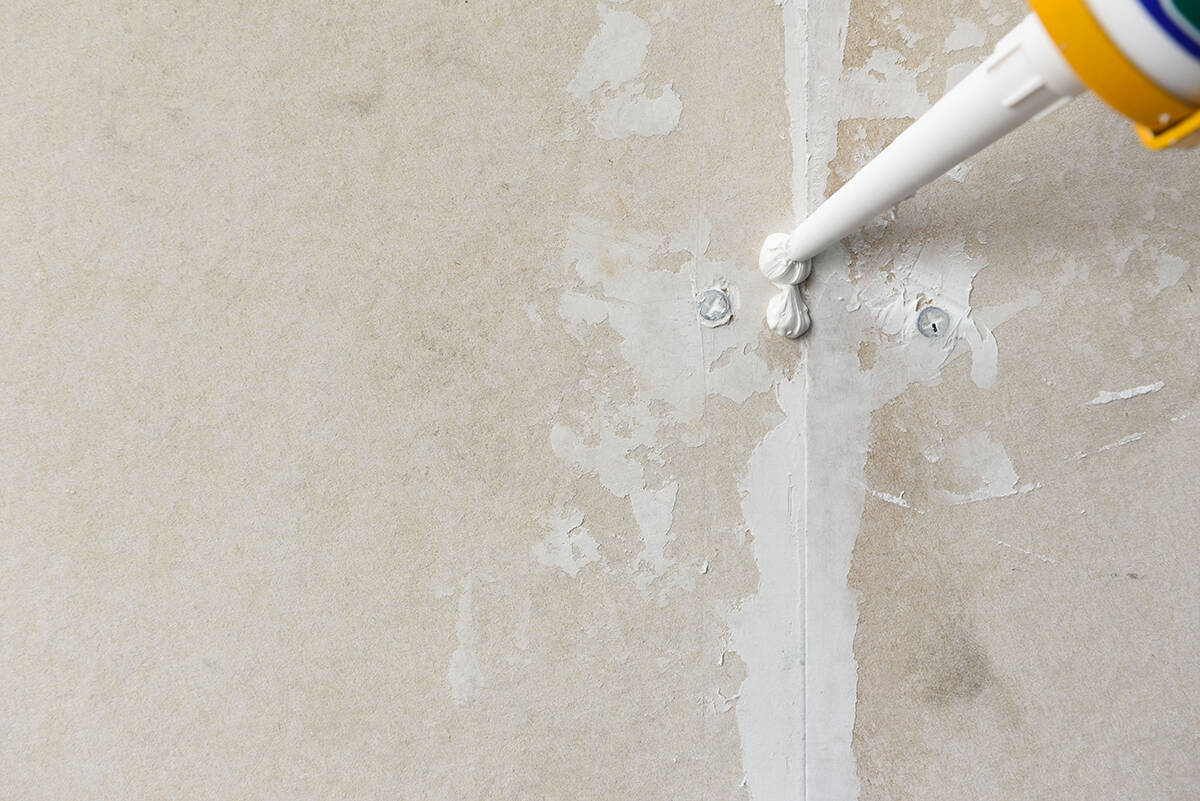
Contaminants
Dirt, dust, or debris on the surface where caulk is applied can hinder proper drying and adhesion. The surface where you are using caulk should always be thoroughly cleaned and dried before the application begins. This will ensure optimal results and avoid any issues with slow drying.
Improper Mixing
Some types of caulk, such as two-component epoxy caulks, require proper mixing before application. If you fail to mix the components correctly, then this can lead to uneven drying and incomplete curing.
Poor Application
Applying caulk too quickly or unevenly can affect its drying process. You will need to take your time to apply caulk carefully, following the manufacturer’s instructions, and aiming for a thin, even layer of caulk.
How to Make Caulk Dry
If your caulk isn’t drying as quickly as it should, or if it isn’t drying at all, then the best way to find a solution to this problem is by identifying the cause. If you have determined the reason why your caulk isn’t curing, then take the measures necessary to resolve the situation.
For example, if your caulk isn’t drying and your climate is unusually humid, you will probably be able to rectify this by installing a dehumidifier in the room where the caulk has been applied. Here we look at some general guidelines for applying caulk to help it dry efficiently.
Choose the Suitable Caulk Type
There are a number of different types of caulk which are made up of different formulas. The curing time of each type of caulk can vary significantly, so if you need your caulk to dry quickly then you’ll want to select the most suitable type.
Water-based caulk usually dries most rapidly, but this won’t be the best caulk for every type of application. Always check the manufacturer’s instructions which will list expected drying times, so you can be prepared for how long you need to wait.
Clean Surface
Always clean and prepare the surface where you intend to apply the caulk before you start. Remove any dust, dirt, grease, or old caulk residue. A clean surface ensures better adhesion and promotes proper drying.
Apply a Thin Layer
Apply a thin, even layer of caulk. Avoid applying caulk too thickly, as this can lead to extended drying times and incomplete curing. Use a caulk gun to control the flow and achieve a consistent application. You can smooth out any blobs or thick areas with a tool or finger directing after the caulk has been applied.
Ventilate
Good ventilation is essential to ensure the caulk is able to dry properly within the designated timeframe. Airflow will allow the moisture to evaporate from the caulk which is part of the curing process. After the caulk has been applied, improve ventilation in the room by opening windows and doors, or if necessary position a fan in the room.
Temperature Control
The temperature in the space you are using the caulk can significantly impact the caulk’s ability to dry. Each caulk will come with a manufacturer’s recommendation regarding temperature, so try to stick within this temperature range for best results.
In general, you can expect that low temperatures will hinder the caulk’s ability to dry properly, while warmer temperatures will help the caulk cure more rapidly. If the temperature in the room is cool, use a heater to increase the temperature to help the caulk dry.
Humidity Control
High humidity can prevent caulk from drying properly. If you’re working in a humid environment, consider using a dehumidifier to remove the excess moisture from the air or wait for drier weather to apply the caulk.
Avoid Moisture
Keep the freshly applied caulk away from water or moisture during the drying period. Moisture can interfere with the curing process and prevent the caulk from setting properly. If you have applied caulk in a bathroom, avoid using the bathroom until the caulk has completely cured.
Monitor and Protect
After applying caulk, monitor the drying progress over the recommended time frame. Avoid touching or disturbing the caulked area until it is fully dry and cured.
Test Before Touch
Before touching or using the caulked area, perform a gentle touch test in an inconspicuous spot. If the caulk is still tacky, allow more time for drying.