Plywood is used extensively in the building trades, so carpenters to cabinetmakers to home improvement enthusiasts alike should recognize the standard sizes it comes in.
A standard sheet is 4 by 8 feet and can be found in a series of thicknesses, with specialized sizes likewise offered for crafting projects or large construction jobs.
Table of Contents
Size Tolerances
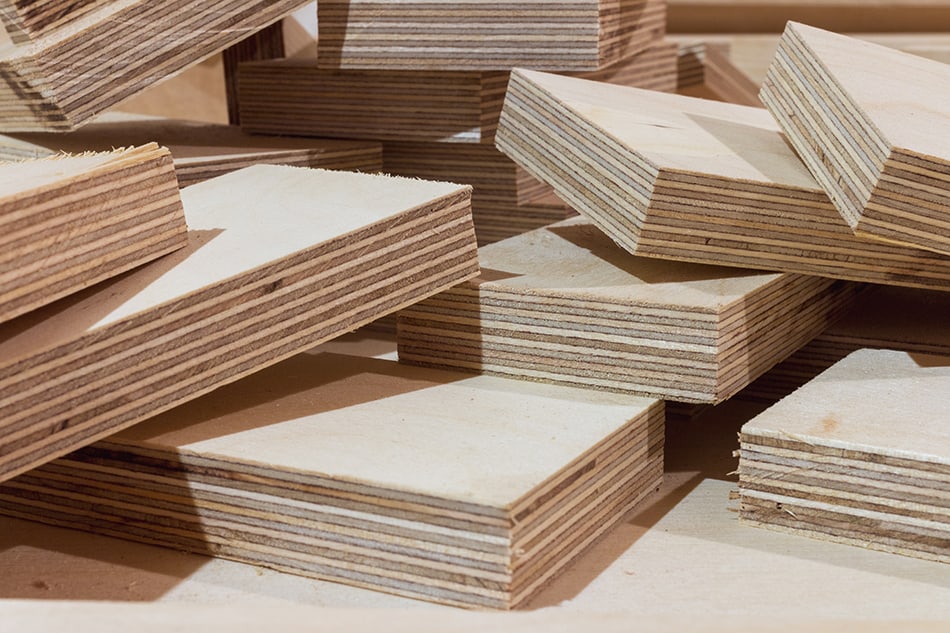
Plywood is made of thin sheets of softwood glued together in layers, with the wood grain of each layer perpendicular to the next. Its size tolerances– particularly for thickness– are smaller than those for the utility-grade plywood utilized in the construction trades. The tolerance for utility plywood is 1/32 inch, while it’s 1/64 inch for cabinetry plywood.
Actual and Nominal Thicknesses
The nominal (stated) thicknesses of plywood vary from 1/8 inch (3.2 mm) to 1 1/4 inches, which is comparable to 31.75 mm. Therefore, a sheet of plywood with a stated thickness of 3/8 inch is, in fact, 11/32 inches thick.
Understanding Plywood Sizes
As you purchase plywood, you will want to think about not just the numerous grading categories of plywood; you also need to know what the sizes mean. Shopping at a large home improvement center may lead you to think it’s a simple matter of selecting 4 x 8 sheets with your desired thickness, though it is not that easy– particularly if you to a specialized lumberyard or a woodworking shop.
Thickness
It’s crucial to recognize that the listed thicknesses are nominal sizes, not real measurements. Just as in building lumber, stated sizes vary from real measurements, and the exact same holds true for plywood sheet items:
Stated vs. Actual Size
- 1/4-inch equals 11/32-inch
- 1/2-inch equals 15/32-inch
- 5/8-inch equals 19/32-inch
- 3/4-inch equals 23/32-inch
Specialized woodworking stores might stock plywood in extra thicknesses.
If someone is creating a bookshelf in which a “3/4-inch” plywood rack is positioned into a dado slot cut with a 3/4-inch router bit, there will be a really obvious 1/32-inch space, and the rack will feel a bit loose in the dado. All great cabinets and woodworking tasks require taking into account the distinctions between real and stated measurements of the boards.
Lots of sellers now identify plywood items with the real thicknesses, along with the nominal thicknesses, just to ensure consumers know what they are purchasing.
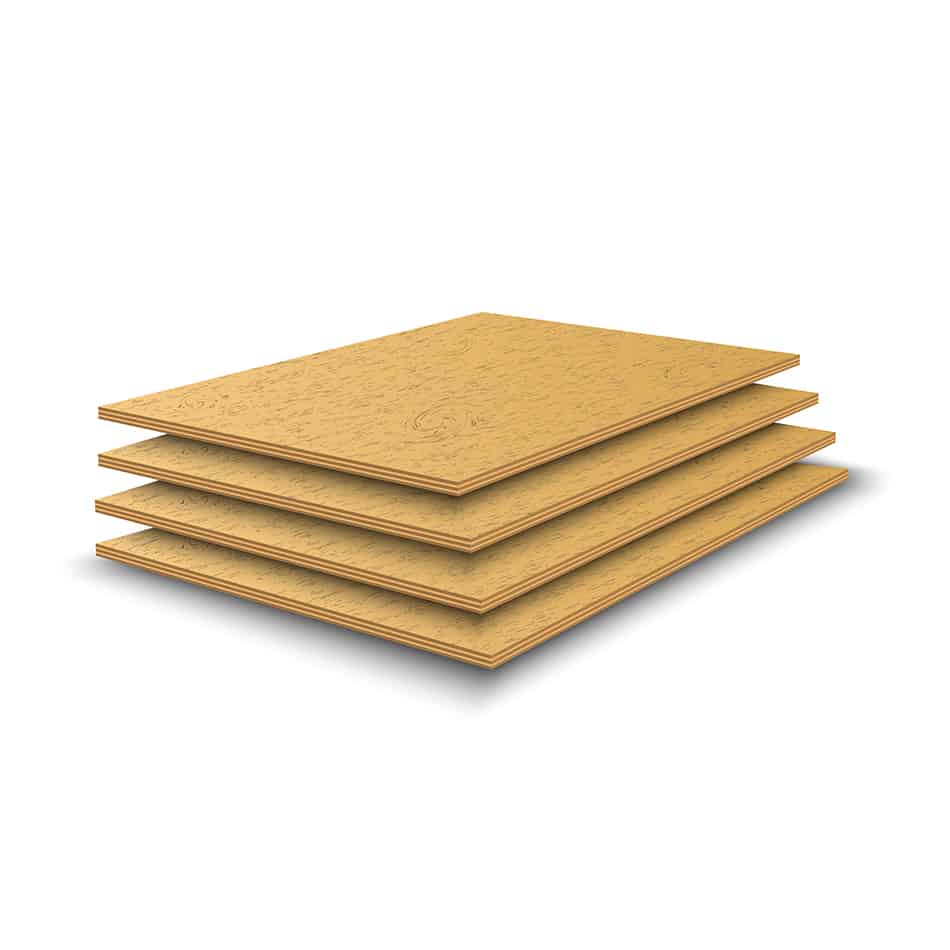
Dimensions of Plywood Sheets
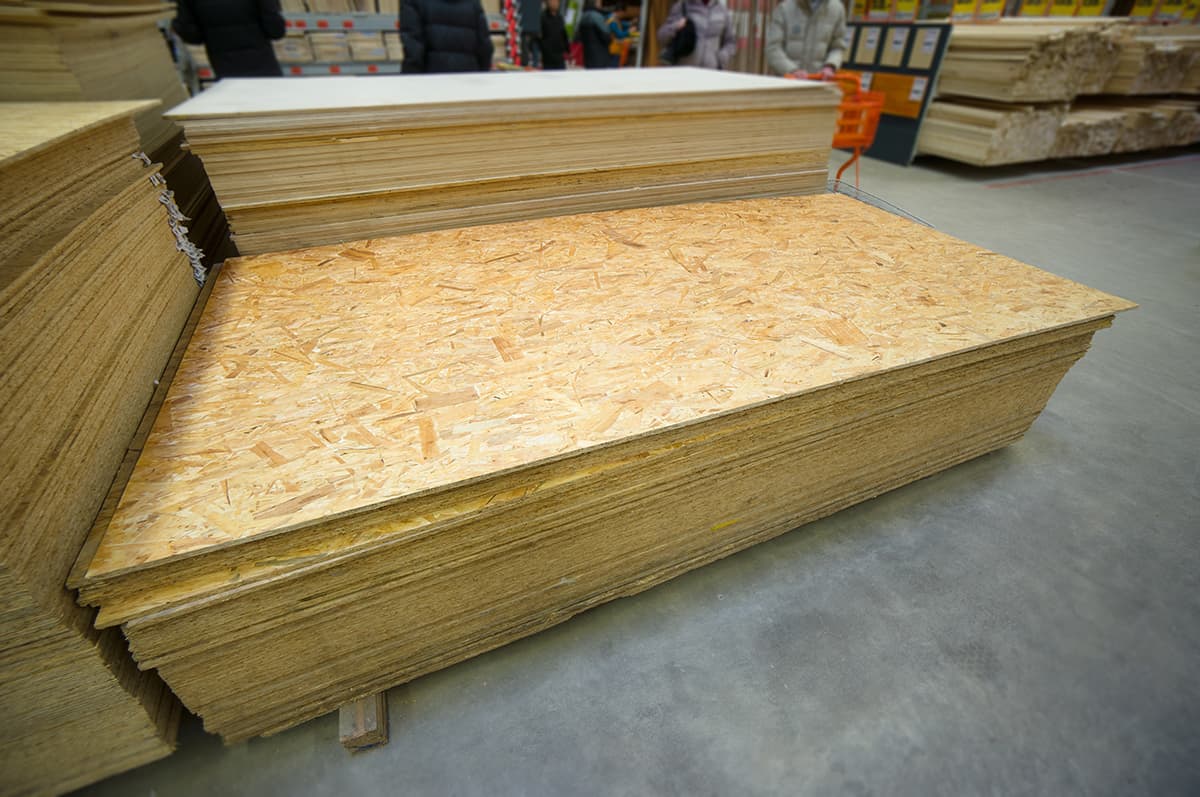
Big-box stores typically offer hardwood-faced or sanded pine ideal for woodworking tasks in sheets of 4 x 8 feet. They might likewise offer “project panel” pieces measuring 2 x 2 feet or 2 x 4 feet. These job panels are generally cut to size from big panels by the shop to fulfill a regional need.
Specialized woodworking shops frequently offer a range of hardwood-faced panels. Baltic birch panels (a kind of plywood including birch veneer) often come in 5 x 5-feet panels.
Why Are Nominal Sizes Different from the Actual Sizes?
The distinction between the stated size vs. its real size is due to how its planed and dried, which diminishes a board from the measurements it had when it was initially grated. A pine board, for example, is at first crushed to an exact 2 x 4-inch measurement, though the subsequent planning and drying procedure diminishes the board by about half an inch.
With wood boards offered in stores, the distinction in real vs. stated measurements is generally about 1/16 inch. When utilizing strong woods in their projects, woodworkers have to keep this in mind.
With plywood items, the distinction between real and stated thickness is due to the sanding procedure to complete the panel’s face after all the layers have actually been glued together and dried. This sanding normally eliminates approximately 1/32 inch of the board.
Tips for Using Plywood
Using plywood is constantly an experience. The size of the plywood sheets makes them difficult to manage in a little workshop. Dealing with big sheets of plywood will be a lot easier utilizing these standard techniques for precise design, cuts, and assembly.
Keep in mind that if you are using the larger, utility-grade plywood, you’ll need more framing to keep it sturdy. Larger plywood panels are more susceptible to cracking and breaking than shorter boards. Keep the spaces between studs or rafters narrow to ensure the plywood doesn’t sag or become vulnerable to the weight it’s meant to bear.
Accurate Layout
Prior to discussing what you need to do to cut precise plywood pieces, you need to get the plywood sheets into your workshop or garage. Cutting precise parts, particularly out-of-sheet products, begins with a strong structure. And here, that structure includes precise design lines.
The easiest type of design that you can utilize with big sheets is to merely make numerous marks all along your sheet. You can line up a woodworking ruler or a straightedge with a set of marks and draw the lines with your pencil or marker.
Smooth, Precise Cuts
After determining and identifying your lines, you’re now ready to make precise cuts to match those lines. When working with a smaller sheet, using a table saw is the fastest method to cut pieces to size. For larger sheets, you’ll want to use a track saw. Jigsaws are best for curves.
Assembly
With all the pieces of your project set out and properly cut, you’re all set to bring your task to completion. Your precisely cut pieces won’t mean a thing; however, if you glue your pieces askew.
When you’re ready to assemble your project, you first need to choose your glue. For most projects with plywood, you’re going to have multiple pieces to assemble, and they’re often large. For simpler assemblies, Titebond II works well.
Finally, ensure you have all the clamps you need to keep the pieces securely in place. After you square the corners securely, continue to place clamps all along your joints to make certain each area is pulled tight. Don’t go too tight to avoid warping the panels.
Now you can drive in your screws if your project requires it. Despite the fact that the screws protect the joints, I’ll often let the clamps stay on for a number of hours to ensure an excellent bond.