No, we are not being rude at food and beverage workers: dumbwaiters are a real home appliance! They are not as popular as they used to be a few decades ago, but if you still have a large, multi-story, or split-level home, dumbwaiters can save your knees a lot of trips! In addition, they offer a great conversation topic when guests come around.
If you don’t know what a dumbwaiter is exactly or are eager to explore the different models and options available, then this article is for you. We have compiled all the “must-know” information on dumbwaiter design, mechanics, and costs.
Table of Contents
What is a Dumbwaiter?
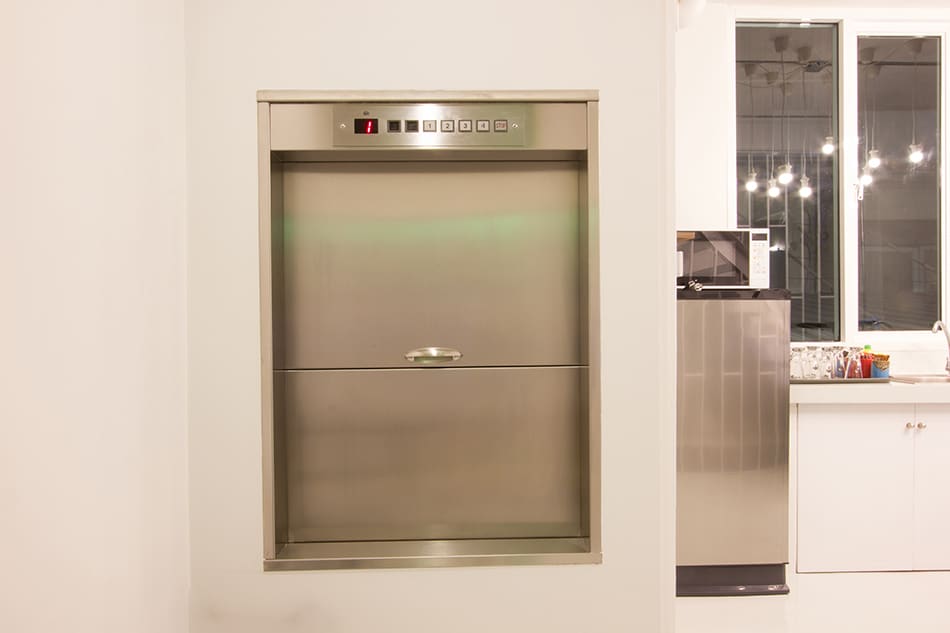
A dumbwaiter is a small elevator meant to transport food, plates, and trays inside the same house. They can help you move food from a downstairs kitchen to an upstairs dining hall without actually walking – or risking your carefully arranged cutlery when climbing the stairs.
A dumbwaiter usually consists of a movable cupboard, tray, or frame secured inside a shaft and tied to tense ropes on both sides. The rope then goes around a pulley and is guided by rails, which helps the cupboard or tray move up and down as needed. In this sense, they are basically miniature elevators, except that they can rarely carry more than 88 pounds (40 kg).
The concept behind a dumbwaiter has been around for centuries. However, they became especially popular around the second half of the 19th century, when technological innovations finally made it possible to automate their movement.
History of Dumbwaiters
The oldest dumbwaiters began to be used around Roman times: archeologists have found the pulley and moving tray mechanisms in Pompei. These early models used a system of counterweights and required someone to manually pull a rope to lower or raise a tray. They were used in the themopolium or “hot food sellers” that littered the ancient city’s working-class districts.
Other excavations have shown similar machines in stately manors and villas, where they were used to move wine amphora, laundry, and luggage.
These manual dumbwaiters remained largely unchanged until the 19th century. In 1840, the first mechanical food elevator was patented in the United States by George Cannon. Just a few years before, he had perfected an automated brake system, which he continuously adapted to other appliances to make them more predictable and safe enough for home use. Cannon also did away with the open tray and replaced it with a safer cabinet.
Have you ever watched Downton Abbey and wondered at the immense amount of goods being constantly carried between the “upstairs” and “downstairs” of the house? In reality, in most equivalent manors in the Americas, many of these trays would have been handled by dumbwaiters.
In 1920, dumbwaiters were once again revamped, and the old combustion engine was replaced by an electrical one. Now, they could operate silently and without any smoke. This allowed them to become an essential feature in many affluent townhomes, as well as pubs, bars, restaurants, and even hospitals.
As the century continued, residential dumbwaiters became a rarity once again for a simple, practical reason: the standardized suburban home layout usually placed both the kitchen and dining room on the ground floor. This eliminated the need to haul plates and cutlery across different stories – and it just didn’t make sense to add such a bulky appliance for the occasional breakfast tray.
Dumbwaiter Models
Because of their relatively simple construction, even now, we only have two main types of dumbwaiters: manual and powered.
Manual dumbwaiters
These still use the same system of pulleys, counterweights, and rope as the old moving trays found in Pompei excavation sites. The main improvement over them is an automatic braking system that ensures they will stop at each end of the rope and prevents one side of the dumbwaiter from dropping faster than the other one.
Manual dumbwaiters often just require one person to pull the rope from one side to move the tray: clockwise to go up and counter-clockwise to go back down.
The lack of an engine or any power also removes the possibility of installing any automatic safety systems, such as locks and childproof controls. Therefore, if you have any small children or pets in the house, make sure the dumbwaiter is in a room they can’t access – and do not place them inside the tray.
Electric dumbwaiters
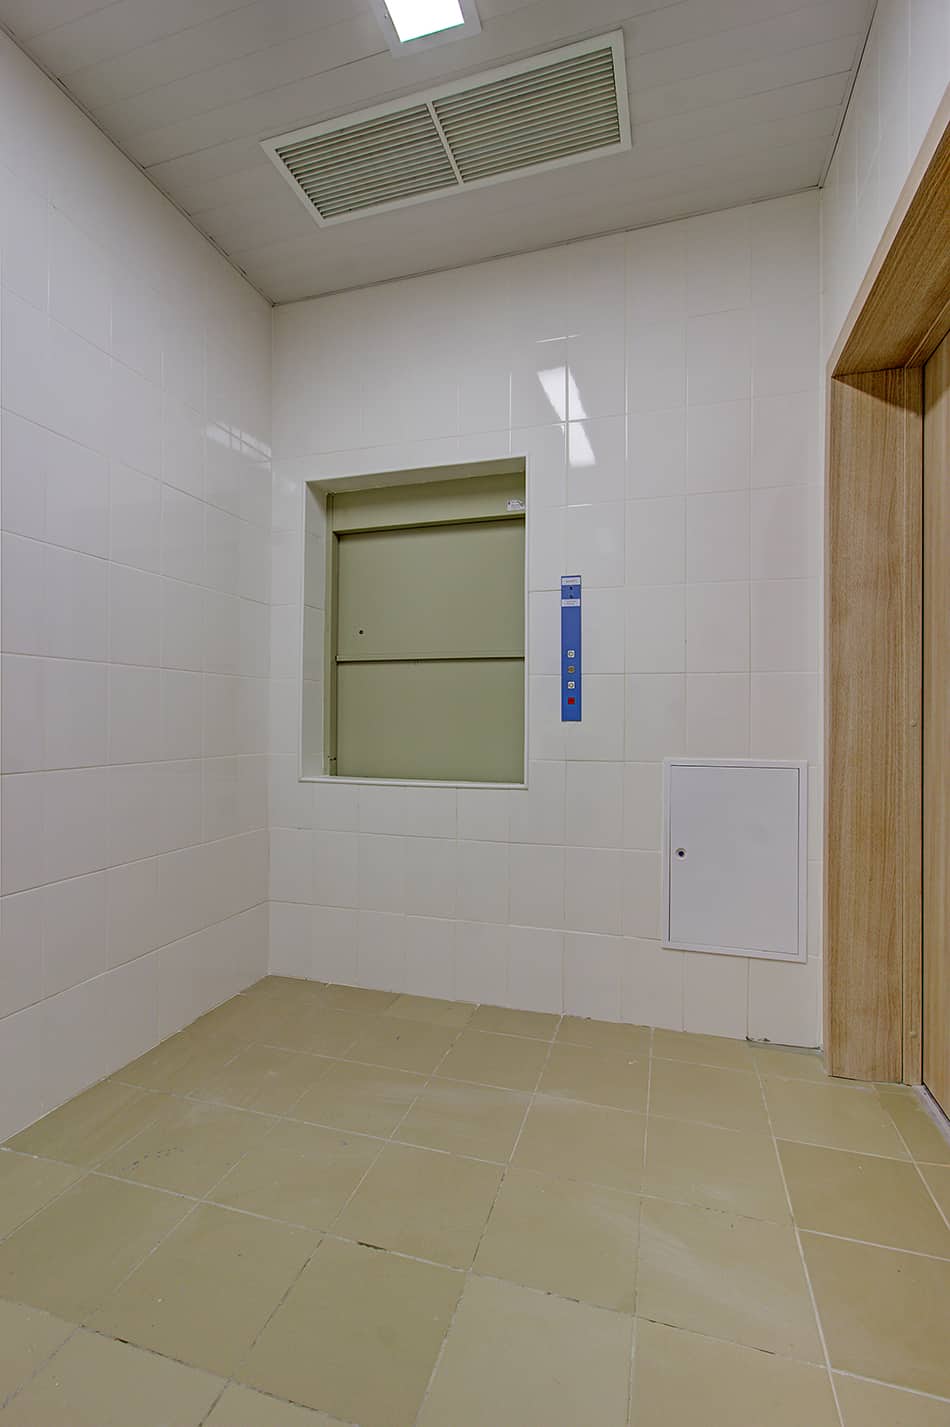
Why pull a rope when you can just push a button? The latest dumbwaiter models are powered with electricity, which radically increases the type of controls and settings you can use. Standard residential dumbwaiters usually only include a “power” button that drives the tray to the next position and interlocks that prevent the cabinet from opening between floors
More advanced models, such as the ones used in hospitals, can take this a step further. In addition to modest speed controls, many will add insulation to the cabinets to preserve the temperature of whatever is inside – whether it’s a hot plate of food or a cold syringe with medication.
Design and Finishes for Dumbwaiters
High-end dumbwaiters also offer a few extra customization options:
- Most dumbwaiter models are still made primarily from wood. However, there are now powder-coated steel and aluminum finishes available. Custom-made dumbwaiters also use Plexiglas and tempered glass for a futuristic finish.
- The need to keep the contents secure while moving has created the demand for more sophisticated gates. For example, some models offer roll-top and collapsible car gates, which look very similar to those you would find on a garage or a real elevator. Budget models still keep to basic cupboard-style two-door gates.
- Landings. Merely aesthetic landings allow your dumbwaiter to blend in better with your surroundings. These also hide the interlocks that will secure the objects you place inside the dumbwaiter.
How Much does a Dumbwaiter Cost?
Determining the cost of a new dumbwaiter will depend on three main factors:
- The type of dumbwaiter car you seek, including its finishes, insulation, and gate mechanism
- The number of stops you want it to make, and by extension, the full length of the shaft
- The amount of work needed for the initial installation, including adapting the rooms it will traverse
A simple dumbwaiter car with a bi-part wooden door that just moves between two floors with no intermediate stops can cost as little as $4,000. On the other hand, according to Fixr.com, the average cost to install a new dumbwaiter in the United States hovers between $8,000 and $10,000.
This figure should be taken with a grain of salt, as it includes all commercial dumbwaiters used in hotels and hospitals – which are remarkably more complex than the ones you would realistically install at home and may include 5 to 10 stops along the way.
Nevertheless, a top-of-the-line custom residential dumbwaiter can still cost over $15,000. At this price range, expect to be able to add 3 or 4 stops, with custom-made landings on each stop. You should also be able to adjust the speed and have an additional button pad to open the doors or for an emergency stop. This price should also include installing the shaft and electrical fixtures from scratch.
The Smart Home revolution has also affected the options available for residential dumbwaiters. Surprisingly enough, the cost of connecting your dumbwaiter’s controls may only add a couple of hundred dollars to your final tab. However, it would allow you to operate it directly from your smartphone or even to use voice commands.
DIY Dumbwaiters: How to Build Your Dumbwaiter
Nowadays, residential dumbwaiters remain a premium-tier home upgrade, where a difference of $ 1,000 may feel unimportant. However, this is not the only available option for those who are looking to install their miniature food elevator. The online “Do it yourself” scene offers a reasonable way to cut costs for those who are experienced enough in construction and carpentry installations.
Installing your dumbwaiter at home is not an easy project for a long weekend. You will need, at the very least, a full set of carpentry tools and the ability to read basic blueprints and schematics. If you want to install an electricity-powered model, you will also need to know your way around wires and may need to request an additional inspection to ensure the final installation is safe.
Here, we will briefly look over the basics of constructing a manual, wooden dumbwaiter at home.
First, you should construct the car or cabinet that you will be lifting. The easiest way to do this is by purchasing a “dumbwaiter kit.” This will include all the pre-cut pieces of wood you will need to construct a small cabinet. It will also include a set of guide rails or hooks, which should be attached to the sides of the cabinet to help guide it.
Dumbwaiter kits often come in a set of standardized sizes. Keep in mind that you will still need to construct a shaft around this cabinet, and therefore, the full dumbwaiter will take up more space than it initially seems.
Ideally, the shaft should be at least five inches wider than the actual cabinet or “car” that you will be moving around. You also need to make sure nothing is obstructing the shaft’s path.
First, construct the shaft. This is just going to hold the dumbwaiter and hide the ropes and pulleys that control it. It is not load-bearing, so a simple vertical cuboid made of wood should suffice. You can paint the outside of the wood to match the rest of the room. The wood itself should be at least ¾-inches thick to allow you to nail pulleys and cleats to it.
Determine the landing on each end of the dumbwaiter’s shaft. This should allow you to place or remove objects inside the dumbwaiter easily, without crouching or overexerting yourself.
If the bottom stop of your dumbwaiter will be located in your kitchen, use your existing kitchen counters as reference: the tray in which you place the objects should be at the same height.
On the deep bottom end of the shaft, install a set of two swiveling pulleys.
On the deep top end of the shaft, install two fixed pulleys and hang them from a joist.
Then, run a heavy cord or rope alongside the pulleys. This is what you will use to lift the cabinet or car. Start from one of the top fixed pulleys, and run the cord up and around this pulley. Let it drop to the corresponding swiveling pulley on the bottom end.
Run the rope around the bottom pulley, and then lead it back up, around the second top pulley (the one on the opposite side).
Let the rope drop again, twist it around the second bottom pulley, and tie it to a metal cleat or nail on one side of the shaft.
Now you can add decorative fixtures to your dumbwaiter. This may include accent paint or carvings on the shaft or a nicer set of cupboard doors to hide the main tray.
The same system of ropes and pulleys can be used for an outdoor dumbwaiter. These are often used for barbecues or outdoor dinners or to transport laundry.
Outdoor dumbwaiters are simpler to build, as they do not require a shaft. In addition, you can take advantage of your existing windows to determine the height of the landing. The final result may look odd to your neighbors, but it can make your everyday life easier.
Conclusion
Installing a dumbwaiter at home is not so common anymore. However, if you have a split-level home or an upstairs breakfast parlor, it will save you a lot of back and forth – and even a few spilled teapots. You can have a professional team of contractors install a high-end electrical dumbwaiter. However, if you are crafty and are looking to save money, you can also install your manual dumbwaiter.