Replacing your roof is one of the biggest home improvement projects you’re ever likely to do, so you’ll want to ensure you get it right. When deciding on the wood framing of the new roof, a hip roof style is the most popular choice because of its modern and highly durable design.
If you’re not familiar with this type of roof, let me explain all about its characteristics, advantages, and drawbacks, styles, as well as how you can build one for your home.
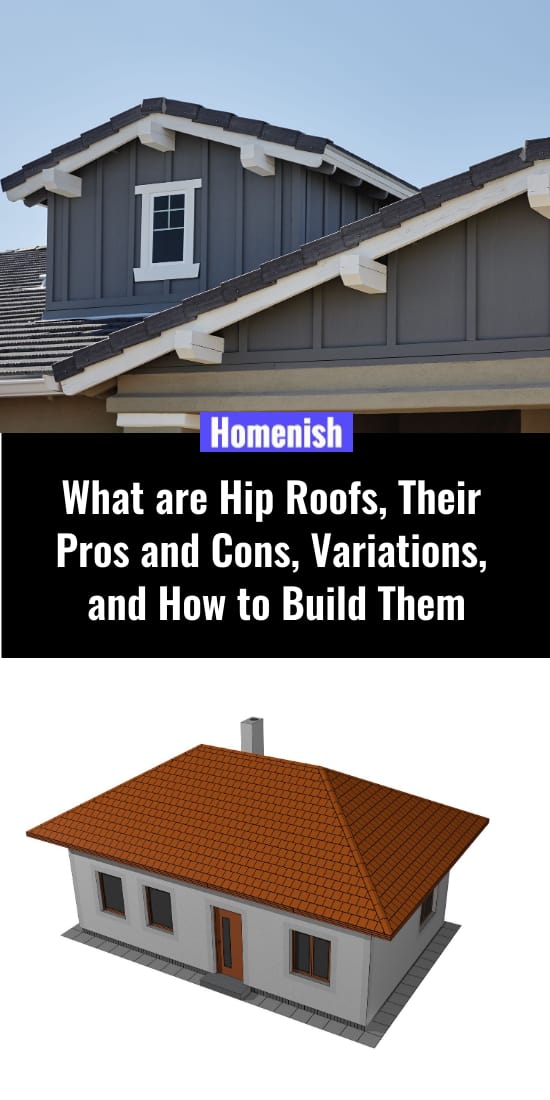
What are Hip Roofs?
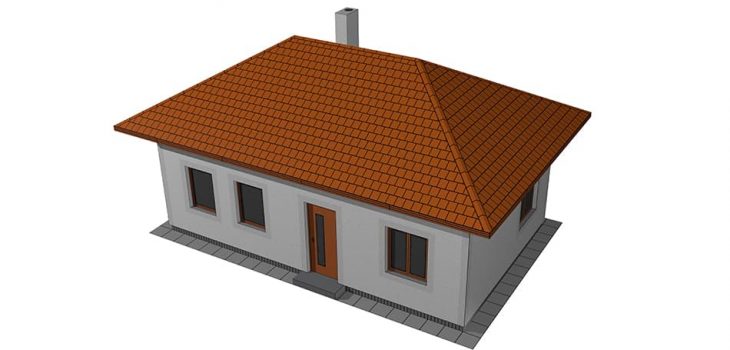
Hip roofs are most common in North America and are considered to be the second most popular roof styles after gable roofs. While a gable roof consists of two sloping sides that join together at the top of gable ends, a hip roof has four sloping sides with no gable ends. All the four sides of the hip roof slant downwards towards the walls at a consistent angle. The adjoining sides that meet the external angle are known as the ‘hip’ of the roof. The hip roof shape is usually rectangular.
Quick History of Hip Roofs
Hip roofs were originally popularized in America during the early 18th century. Many Georgian-style homes in the mid-Atlantic and Southern regions of the US featured rectangular hip roofs with brick structures. These roofs continued to be a common feature of American homes in the 50s and were mostly seen on ranch-style and the traditional American Foursquare style homes.
Today, hips roofs are still as desirable as before, especially in regions that experience high winds or hurricanes. This is thanks to the roof’s four sides that offer better protection against the elements than gable roofs.
Advantages of Hip Roofs
- Aesthetic appeal: Hip roofs are a visually appealing addition to a home and can even increase its value. Inside the house, the vaulted ceiling was naturally created by the hip roof design gives the homeowners many options for interior decor.
- Durable: these types of roofs are more durable and stable than gable roofs because of their four sloping sides.
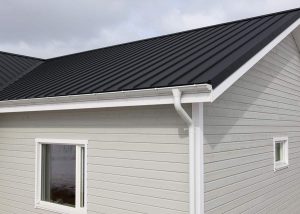
- Excellent weather protection: in regions that face high winds and heavy snowfalls, hip roofs make a better option since their slant allows ice or snow to easily slide off. Hip roofs are also excellent for hurricane-prone areas.
- Extra living space: hip roofs provide extra living space with the addition of a dormer or rooftop window in the attic.
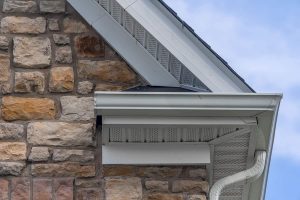
- Energy-efficient: hip roofs aren’t just ideal for cold and windy climates. Their ability to keep the house cool in the summer makes them perfect for warm climates. This is thanks to the four sides of the roof that shelter the house from excessive heat. These eaves keep the house adequately protected from extreme weather, thus making hip roofs one of the most energy-efficient design options.
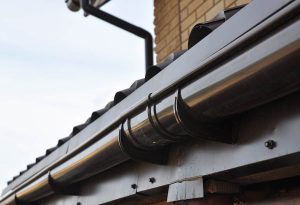
- Reliable drainage: the downward slopes of hip roofs provide excellent drainage during heavy storms and rainfalls.
Drawbacks
- More expensive than gable roofs: while a hip roof may be less expensive to install than a mansard, it is still more costly than a gable roof. Because of the roof’s design, it requires additional building materials that result in increased time and labor costs.
- Susceptible to leaks: a hip roof’s shape offers reliable drainage for rainwater, but it is still more susceptible to leaks. This is because of the valleys and hips of the roof that make water penetration easier. It is, therefore, important to use an expert roofer to install such a roof for your home in order to minimize risks.
5 Hip Roof Styles
1. Simple Hip Roof
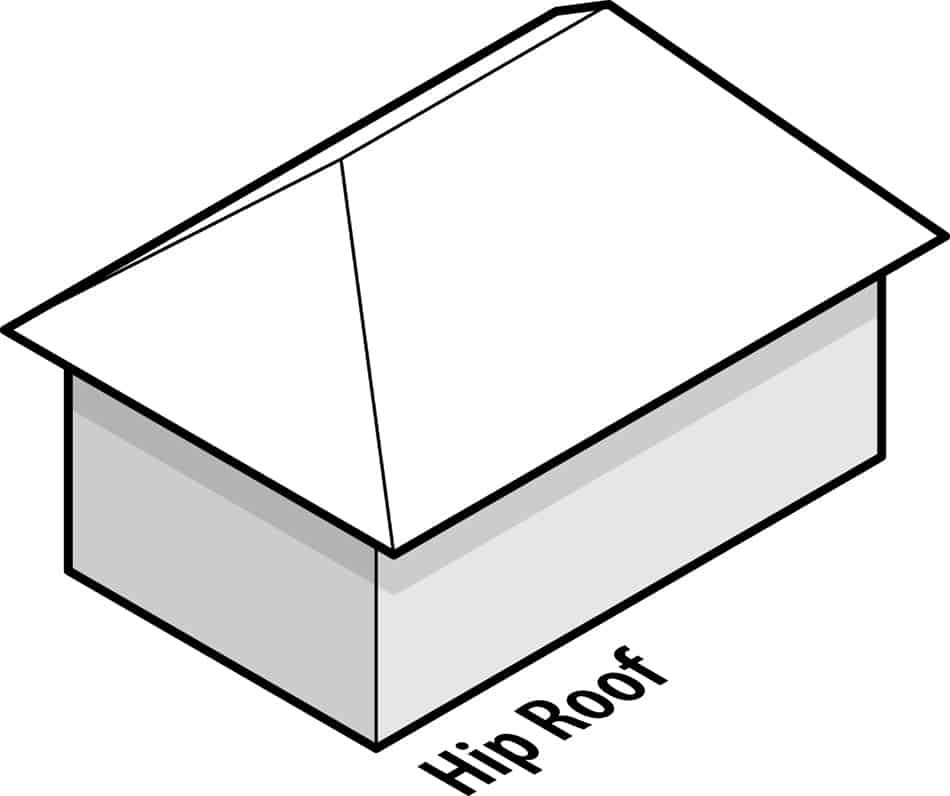
A regular hip roof is the most common style involving a polygon-shaped slope on two sides and a triangular-shaped slope on the remaining two sides. All four sides come together at the top to create a ridge.
2. Half Hip or Jerkinhead

Also referred to as jerkinhead or clipped gables, the half-hipped roofs have two short sides that form eaves. They are usually characterized by their upper points of gable rather than a small hip. One advantage of a half hip roof is the ease of drainage from the gutters.
3. Dutch Gable Hip
Dutch gable hip roofs benefit from extra internal space thanks to their small gable-like structure that can be found at the roof’s ridge (near to the top of the roof). This type of hip roof offers better ventilation while maintaining wind resistance. A dormer can also be installed in the center of the hip roof for additional living space. This provides a beautiful decorative touch to the hip roof as well as transforming the attic into a functional living space.
4. Cross Hip Roof
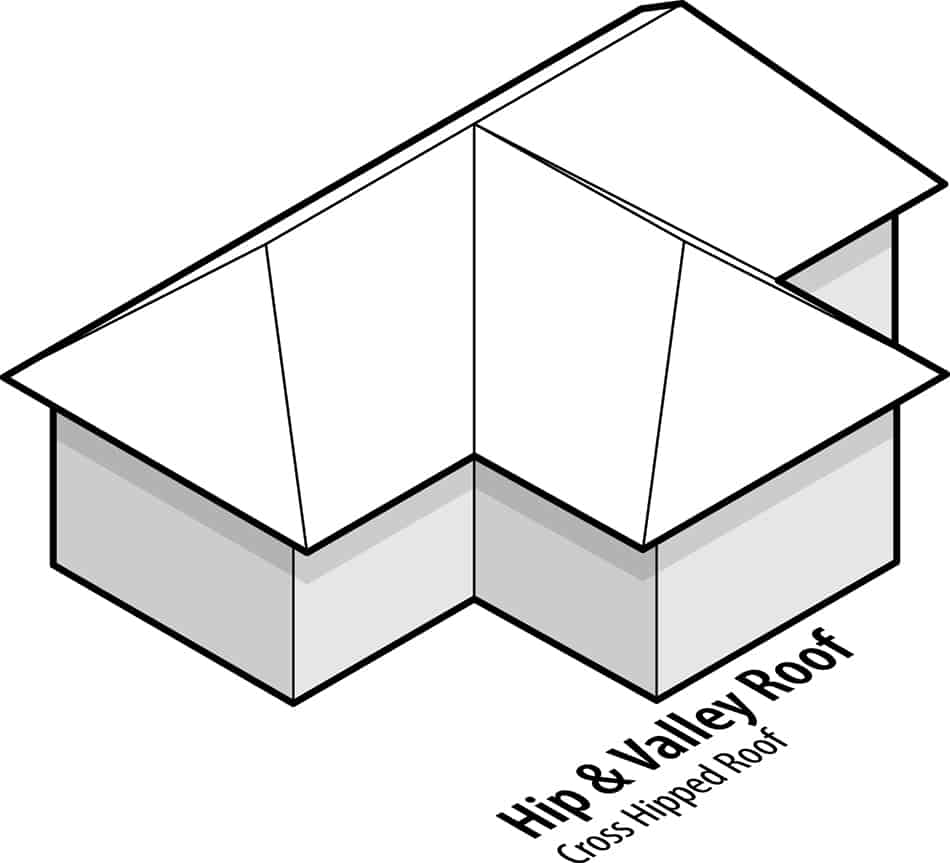
A cross-hip roof type is another popular style that’s laid out over L-shaped structures in a perpendicular manner. The seam forms the cross-hipped roof and the two sections join at the end to create a valley.
5. Pyramid Hip Roof
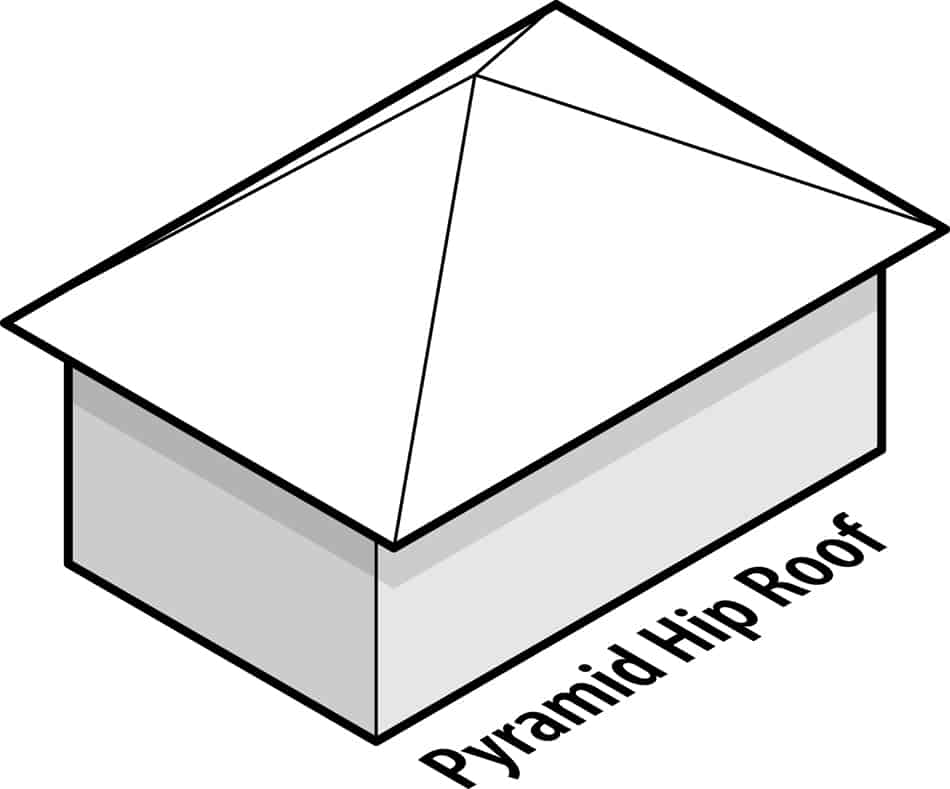
Pyramid hip roofs feature four equally-sized triangular-shaped sides that join together at the top of the square structure to form a distinct pyramid. This type of hip roof is also referred to as a pavilion roof. All four sides of the structure are equally hipped in one single centralized peak.
How to Build a Hip Roof in 8 Easy Steps
A hip roof is one of the simplest roofing styles to construct, especially when compared to a mansard roof. When combined with gables and other features, a hip roof construction can be a long-lasting home improvement project that you will enjoy for many decades to come.
Follow these 8 steps to start your hip roof installation. I’ve included a video at the end to help you get a better idea of how to frame your hip roof.
Step 1. Measure and cut rafters: the width and height of all four sides must be measured. A standard hip roof has a ridge, which is also called a board that forms the top of the roof. There are two sloping ridges angling out and down to the corners called hip rafters. These hip rafters run along the side walls, which are also referred to as common rafters.
Step 2. Calculate the length of all the common rafters: after you’ve measured the width of the building, divide this number by 2 as each rafter only covers half of the roof. Deduct the width from the ridge board before proceeding to calculate the roof pitch.
Step 3. Highlight the location of the birdsmouth on the rafters: the birdsmouth is the term used for a gap within the rafter so it can fit on top of the structure’s wall. You will need to cut the birdsmouth in order to find the location using a carpenter’s square.
Step 4. Cut the common rafters using a round-shaped saw: to make this task easier, use the first rafter as a follow-up pattern. Take a round saw and cut the same patterns on the rest of the common rafters. Place each of the common rafters every 50 cm along the walls of the building.
Step 5. Assemble the hip and king rafters: the end corners of the roof have a long central rafter that extends all the way from the wall to the end of the ridge. This is called a king rafter. Place 6 common rafters in their pinpointed positions along the two longest walls by nailing them firmly using a nail gun. Next, lift the ridge beam to the right height and nail it between the central rafters. You will need to set up to 6 common rafters in place by nailing them to the structure of the wall. These king rafters will provide additional support to the ridge beam and prevent it from collapsing.
Step 6. Nail the remaining common rafters to the ridge beam. Make sure each rafter is spaced 20 inches from the adjacent ones. Most hip roofs tend to have 1 common rafter on the roof’s side.
Step 7. Nail the plywood sheathing to the common rafters. This must be done before the final roofing materials, such as shingles are laid on the roof. To place the plywood sheathing, use nails to hold them in place on the rafters. Make sure the sheet of wood is completely straight and flat otherwise the shingles will wobble.
Step 8. The final stage is attaching the roof shingles.
Learn how to frame a hip roof by watching this video now
What is the Lifespan of a Hip Roof?
Hip roofs can last up to 5 decades if not more, provided they are constructed properly. The lifespan of a hip roof depends on the quality of the materials and the maintenance they receive. To make your hip roof last longer, use metal roofing or clay shingles and carry out regular maintenance to prevent water leaks.